This post may contain affiliate links. See my disclosure policy.

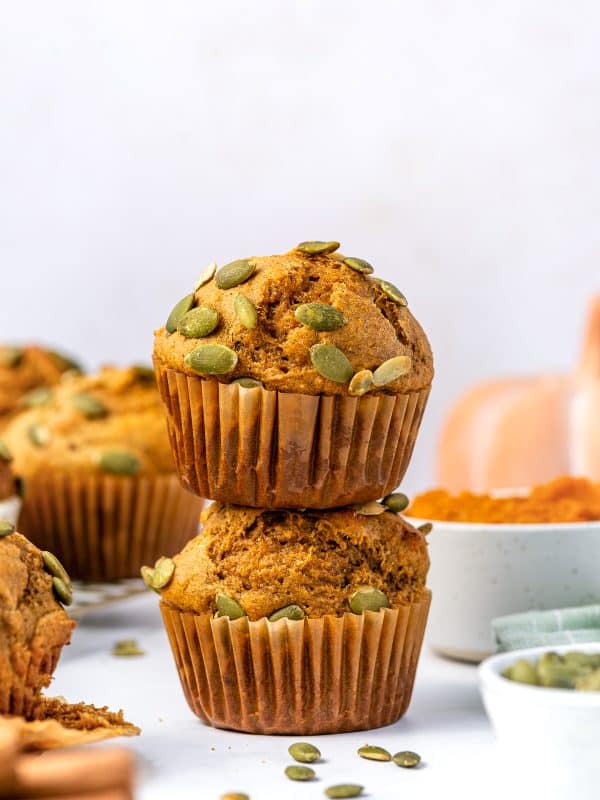
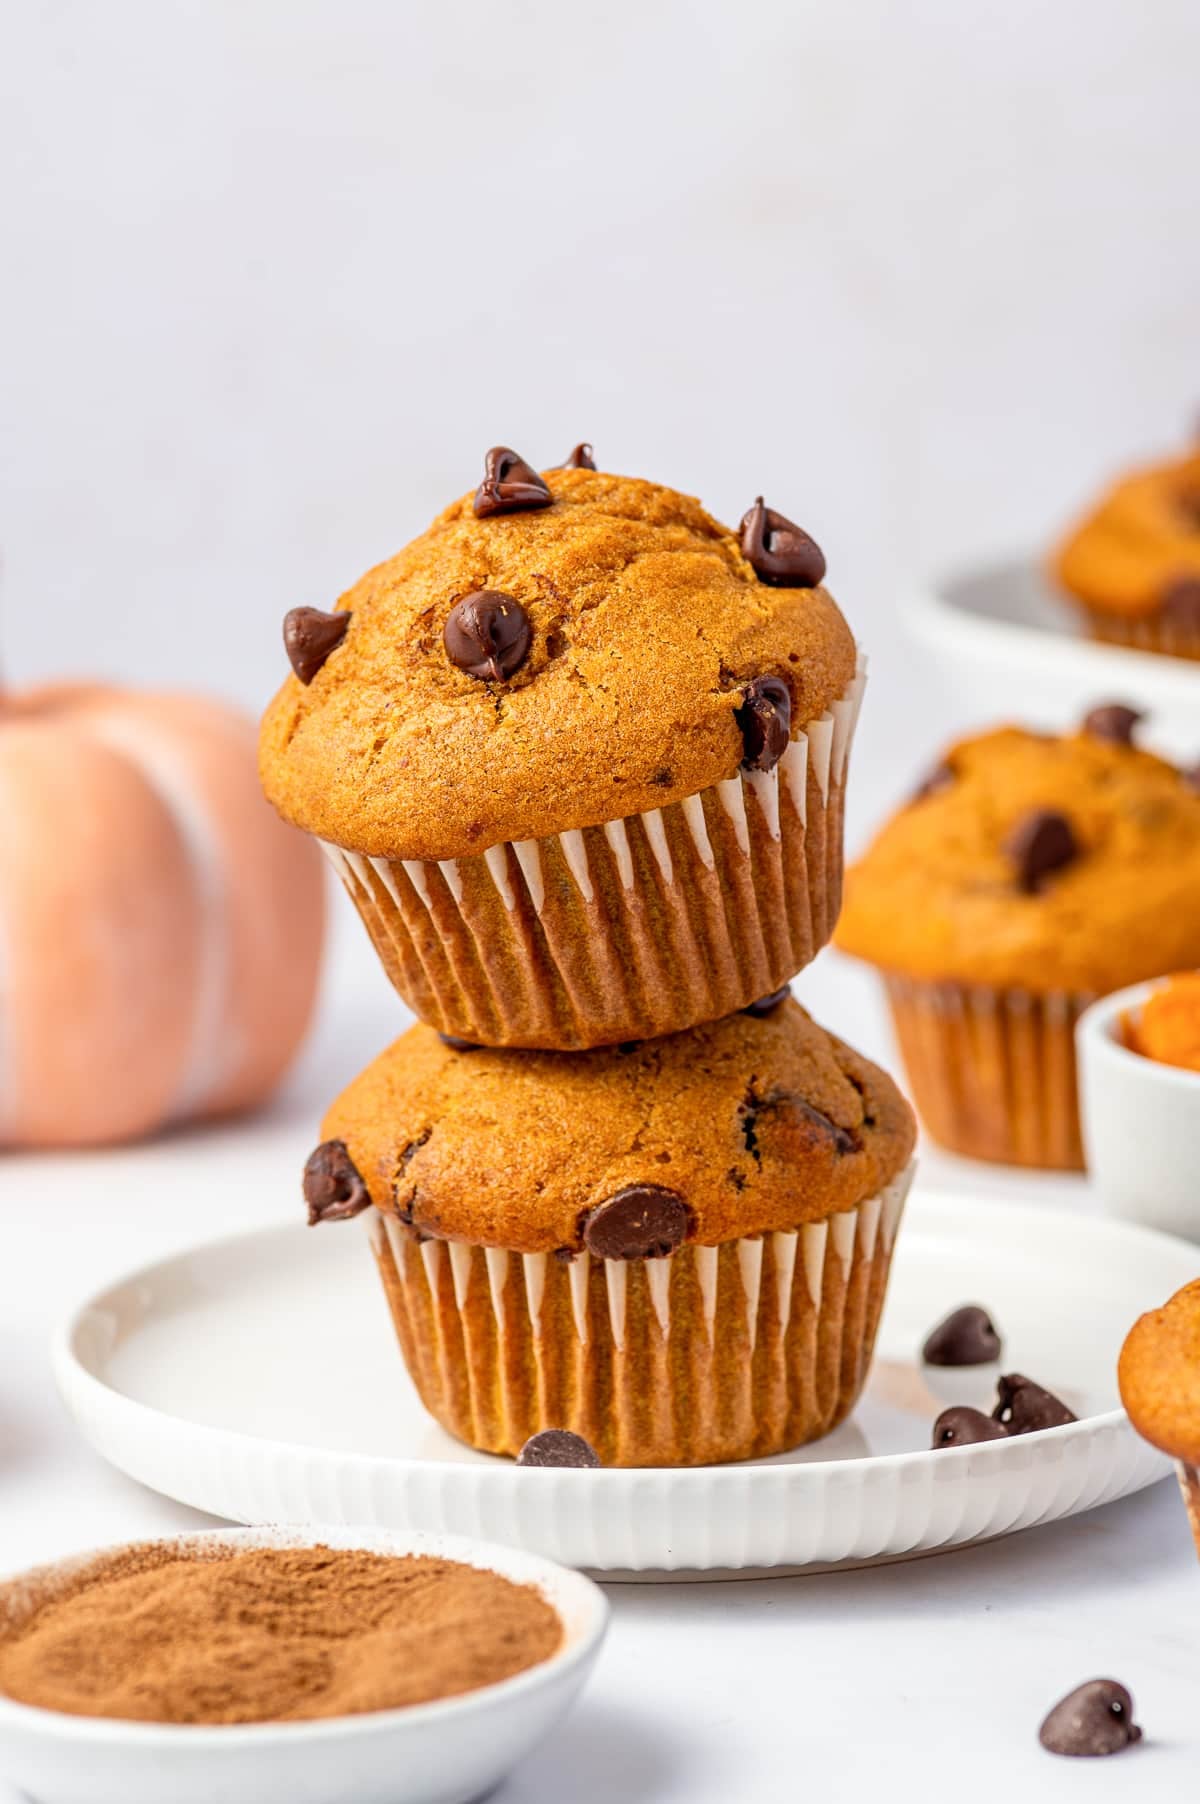
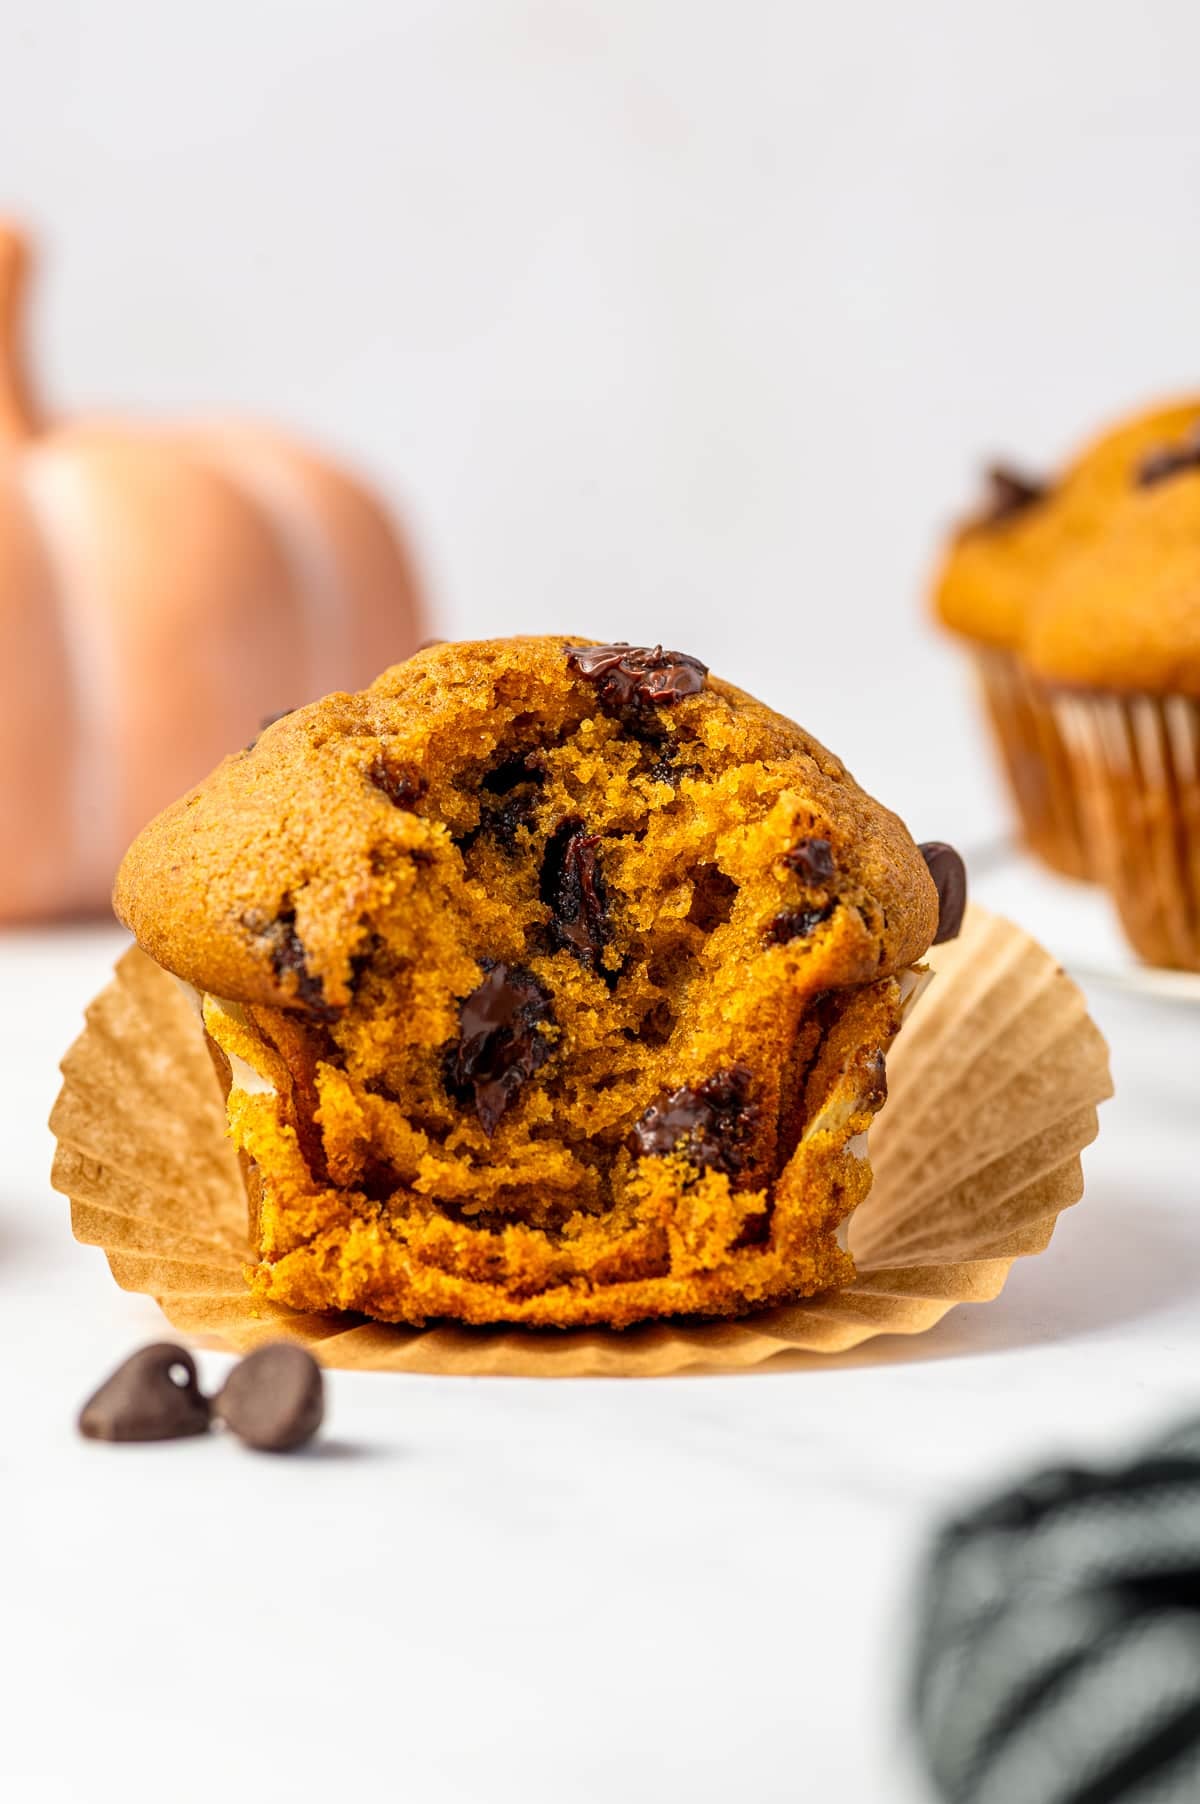
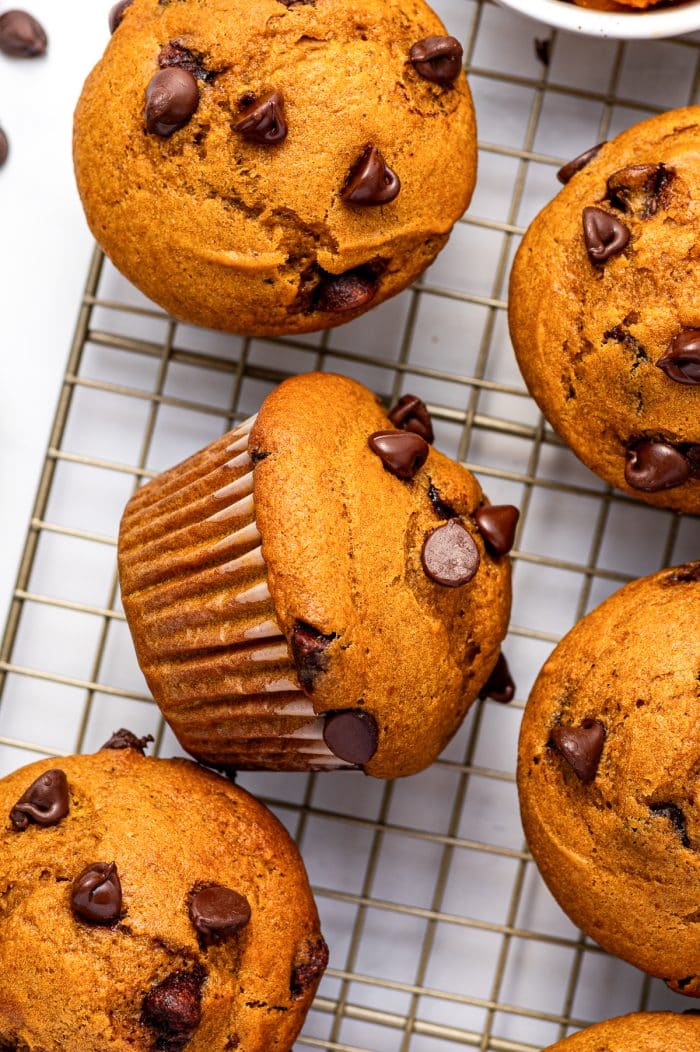
These pumpkin chocolate chip muffins are soft, fluffy, warmly spiced, and ridiculously moist, with tall bakery-style tops and melty chocolate tucked into every bite.
Now that my child is back in school and routine has been reestablished, it’s time to embrace the best time of the year – pumpkin season! Never mind that it’s still August; fall vibes are pretty subjective here in Central California, so I’m deciding that back-to-school is when salads stop and fall baking begins. Ok, maybe that’s a little too literal. I do enjoy a good fall salad from time to time.
Anyway, today I’m sharing my go-to recipe for pumpkin chocolate chip muffins. You guys, I just love these muffins so much. They’re ridiculously moist, perfectly spiced, and filled with plenty of gooey, melty chocolate chips. They aren’t fancy and the ingredients are simple – just pumpkin, cinnamon, brown sugar, a few basic baking ingredients, and chocolate. LOTS of chocolate. But that’s exactly what makes them so perfect.
Added bonus? These muffins use an entire 15-ounce can of pumpkin puree. So, more pumpkin with every bite and no random half-empty can hanging out in your fridge. And should you somehow find yourself with leftovers – I don’t believe you – they freeze beautifully for an easy weekday breakfast or afternoon snack.
Table of Contents
Ingredient Notes and Substitutions
Below you’ll find notes for the ingredients that need a little extra explanation. You can find the complete ingredient list with measurements in the recipe card below.
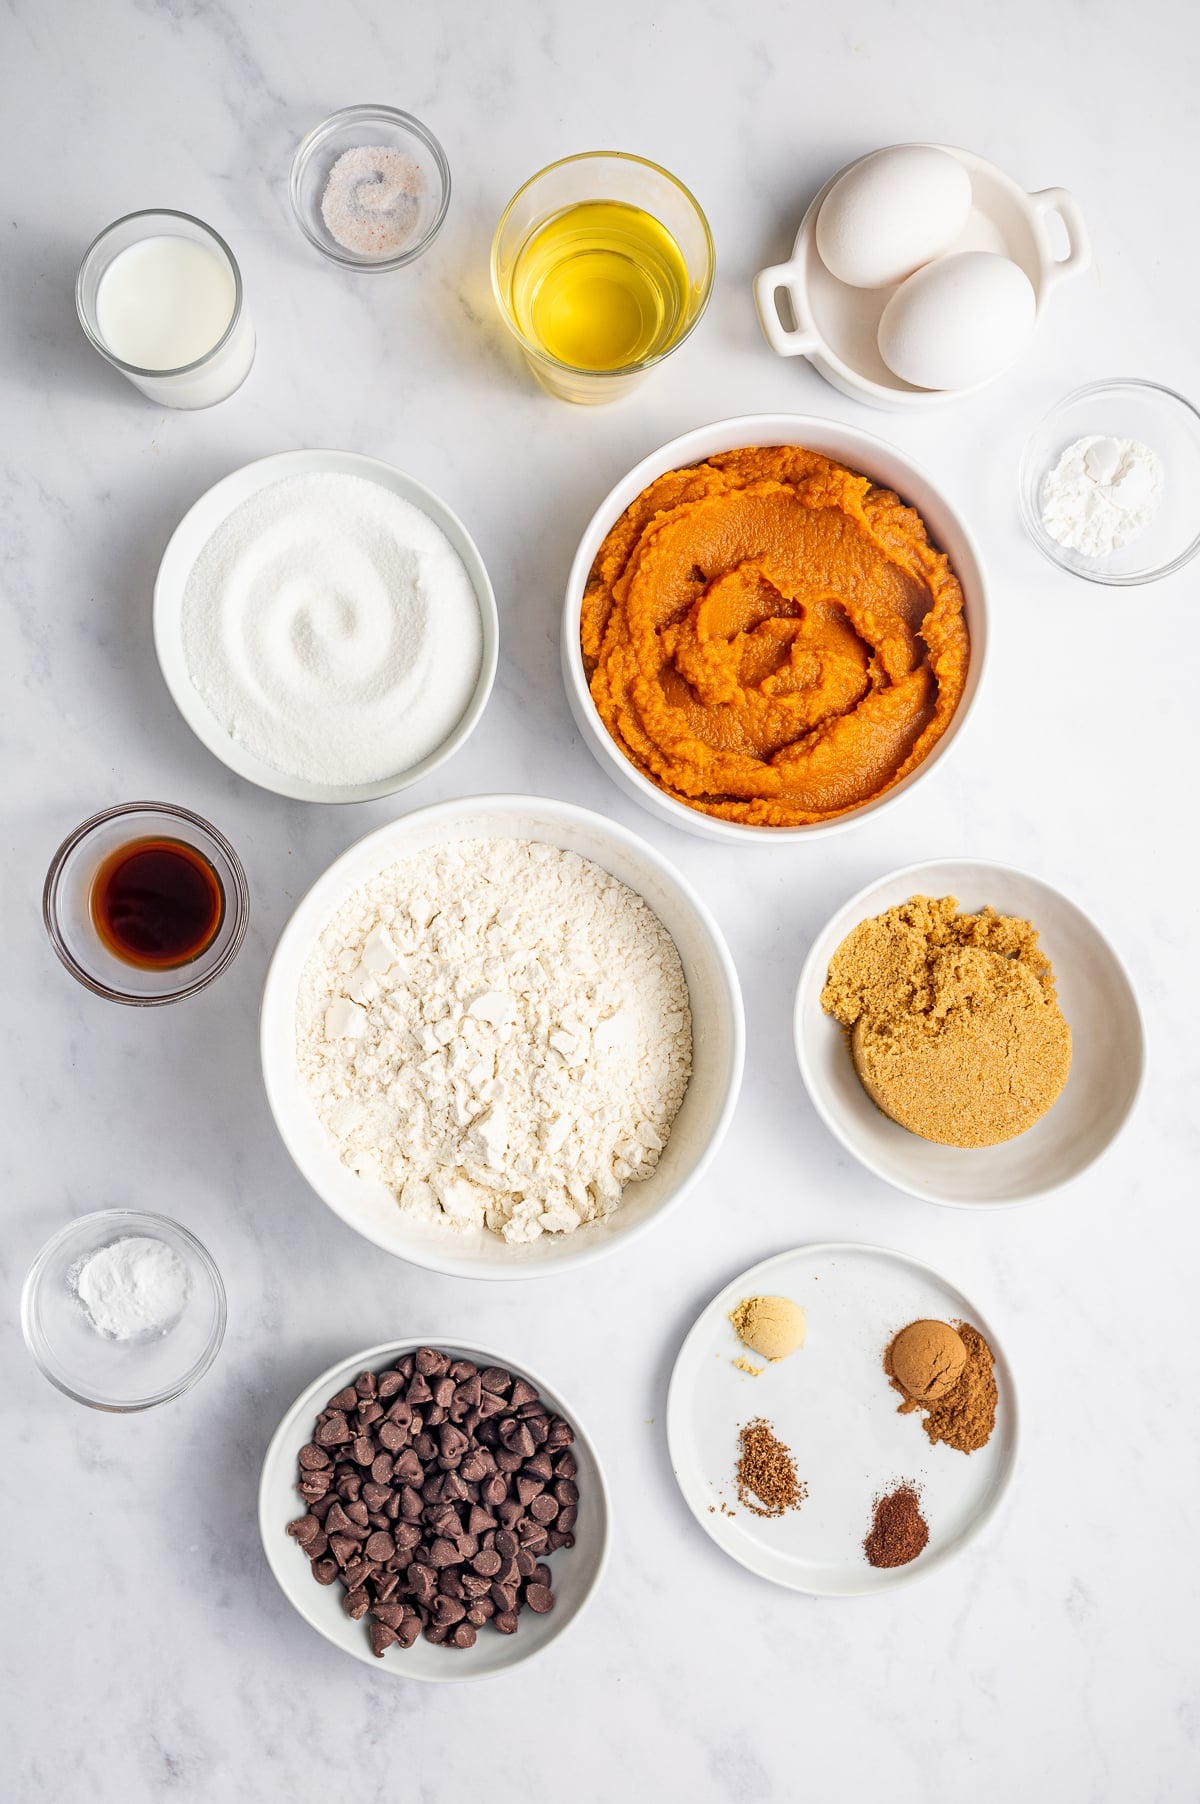
- All-purpose flour: Regular all-purpose flour gives these muffins their soft, fluffy texture. I haven’t tested this recipe with whole wheat, gluten-free, almond, oat, or any other types of flour, so I can’t recommend a direct substitution.
- Baking powder + baking soda: This recipe uses both, so please double-check that you’re measuring the right one since they are not interchangeable. Together, they help the muffins rise and create those tall, fluffy tops.
- Warm spices: These muffins use a combination of cinnamon, ginger, cloves, and nutmeg for their cozy pumpkin spice flavor. You can also replace the individual spices for 1 tablespoon of pumpkin pie spice.
- Pumpkin puree: You’ll need one full 15-ounce can of pure pumpkin puree – not pumpkin pie filling. If you’d rather use homemade pumpkin puree, you’ll need approximately 1 3/4 cups. Pureed butternut squash can also be substituted in the same amount for a slightly different, but equally delicious, fall flavor.
- Granulated sugar + brown sugar: Granulated sugar adds sweetness and helps with structure, while brown sugar adds extra moisture and a subtle caramel-like flavor that works especially well with pumpkin and warm spices.
- Neutral oil: Choose an oil with a mild flavor, such as avocado, canola, or vegetable. Avoid strongly flavored oils like extra-virgin olive oil or unrefined coconut oil, as their flavor can compete with the pumpkin and spices. If using coconut oil, keep in mind that it can also solidify as the muffins cool.
- Vanilla extract: For the best flavor, I recommend using pure vanilla extract rather than imitation vanilla.
- Whole milk: Whole milk adds moisture and a little richness to the batter, but low-fat milk or your favorite plant-based milk can be substituted if that’s what you have on hand.
- Semi-sweet chocolate chips: Regular or mini semi-sweet chocolate chips both work well, and chocolate chunks are another great option if you want bigger pockets of melty chocolate. You can also skip the chocolate altogether and substitute chopped pecans or walnuts.
How to Make the Best Pumpkin Chocolate Chip Muffins
This recipe is super simple to make, but a few small details make a big difference when it comes to getting soft, moist muffins with those tall, bakery-style tops.
- Avoid Overmixing the Batter: Once the wet and dry ingredients come together, mix only until a few streaks of flour remain. Then fold in the chocolate chips, which will finish bringing everything together. Overmixing can leave you with dense or tough muffins instead of the soft, tender texture we’re going for.
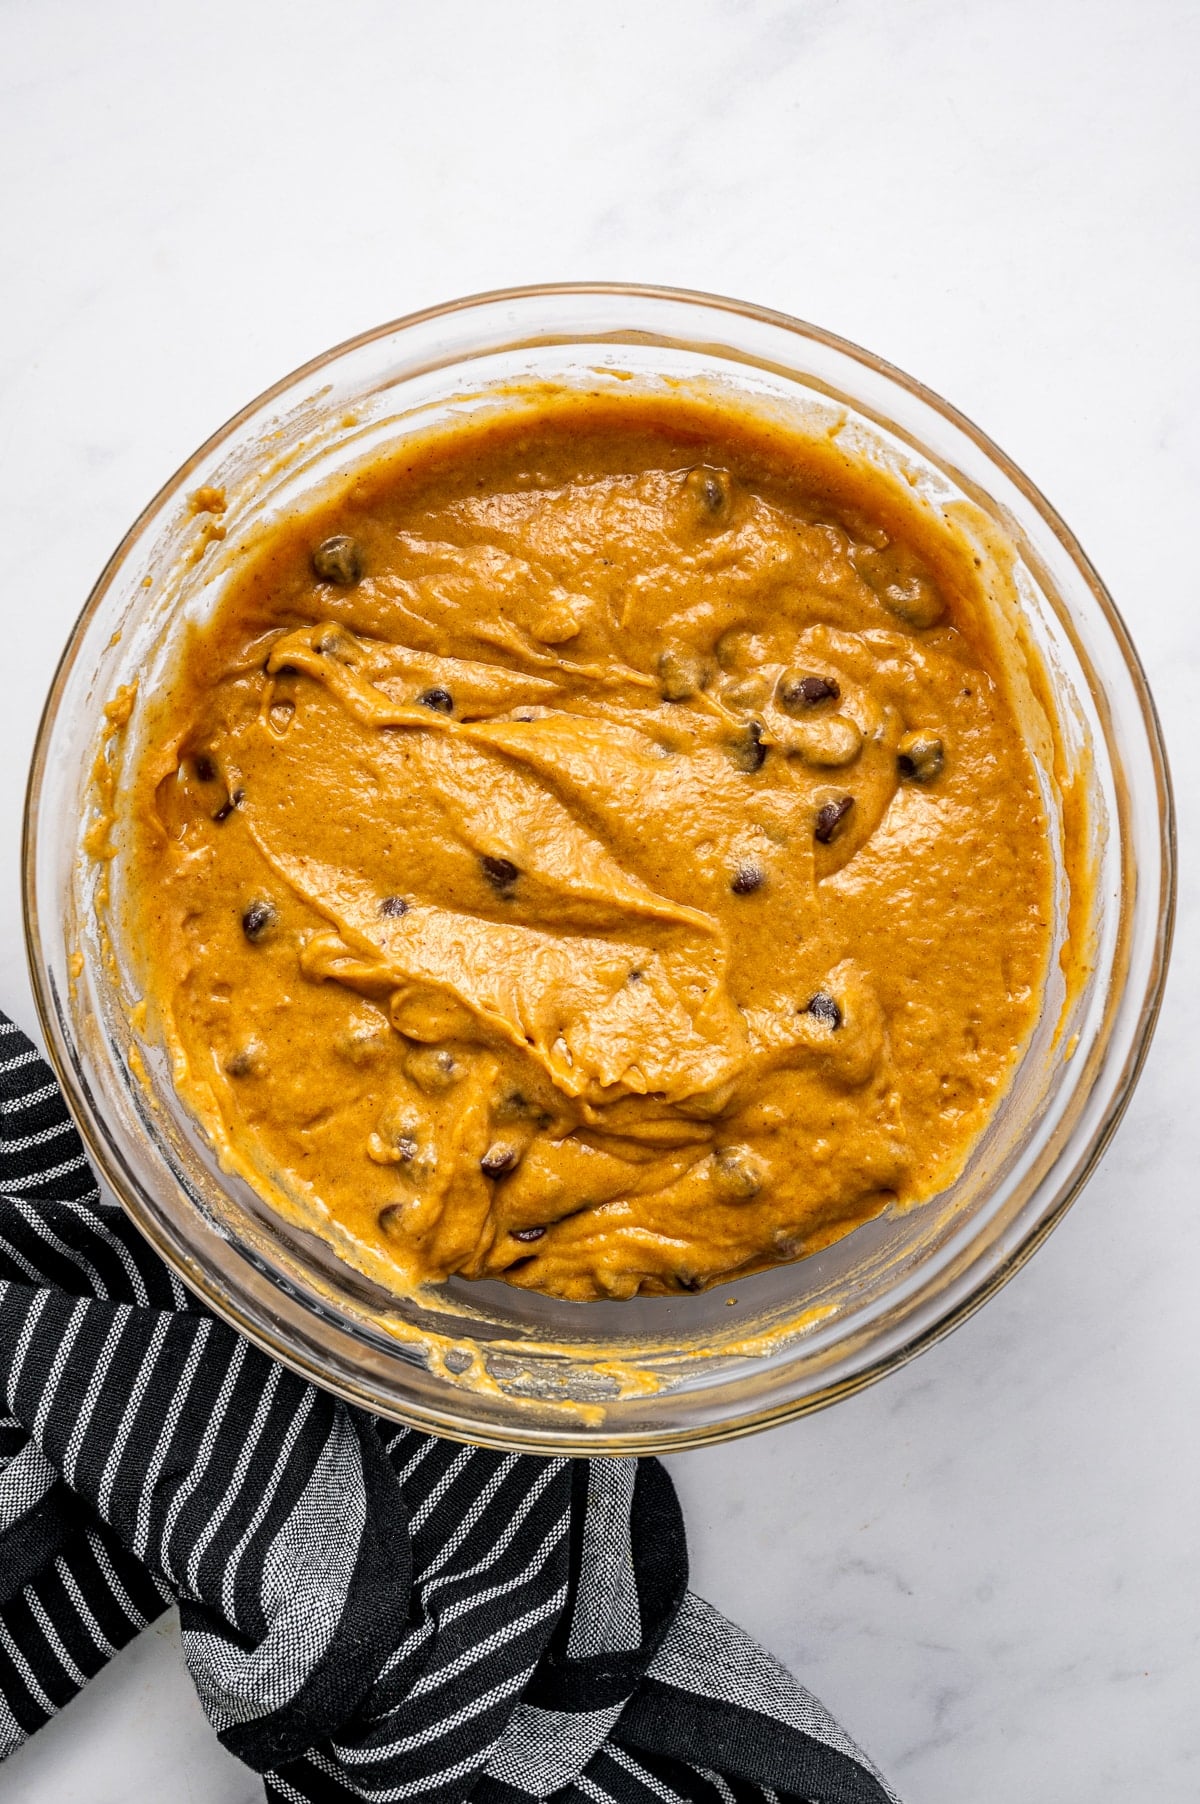
- Fill the Muffin Cups Almost to the Top: Don’t be shy with the batter! Divide it evenly between all 12 muffin cups, filling each one nearly to the top. This gives the batter enough volume to rise up and over the liners and create those big, beautiful muffin tops.
- Save Some Chocolate Chips for the Tops: Fold most of the chocolate chips into the batter, but save a handful to sprinkle over the muffins just before baking. They won’t change how the muffins bake, but they do guarantee plenty of visible chocolate on those golden tops – which is never a bad thing.
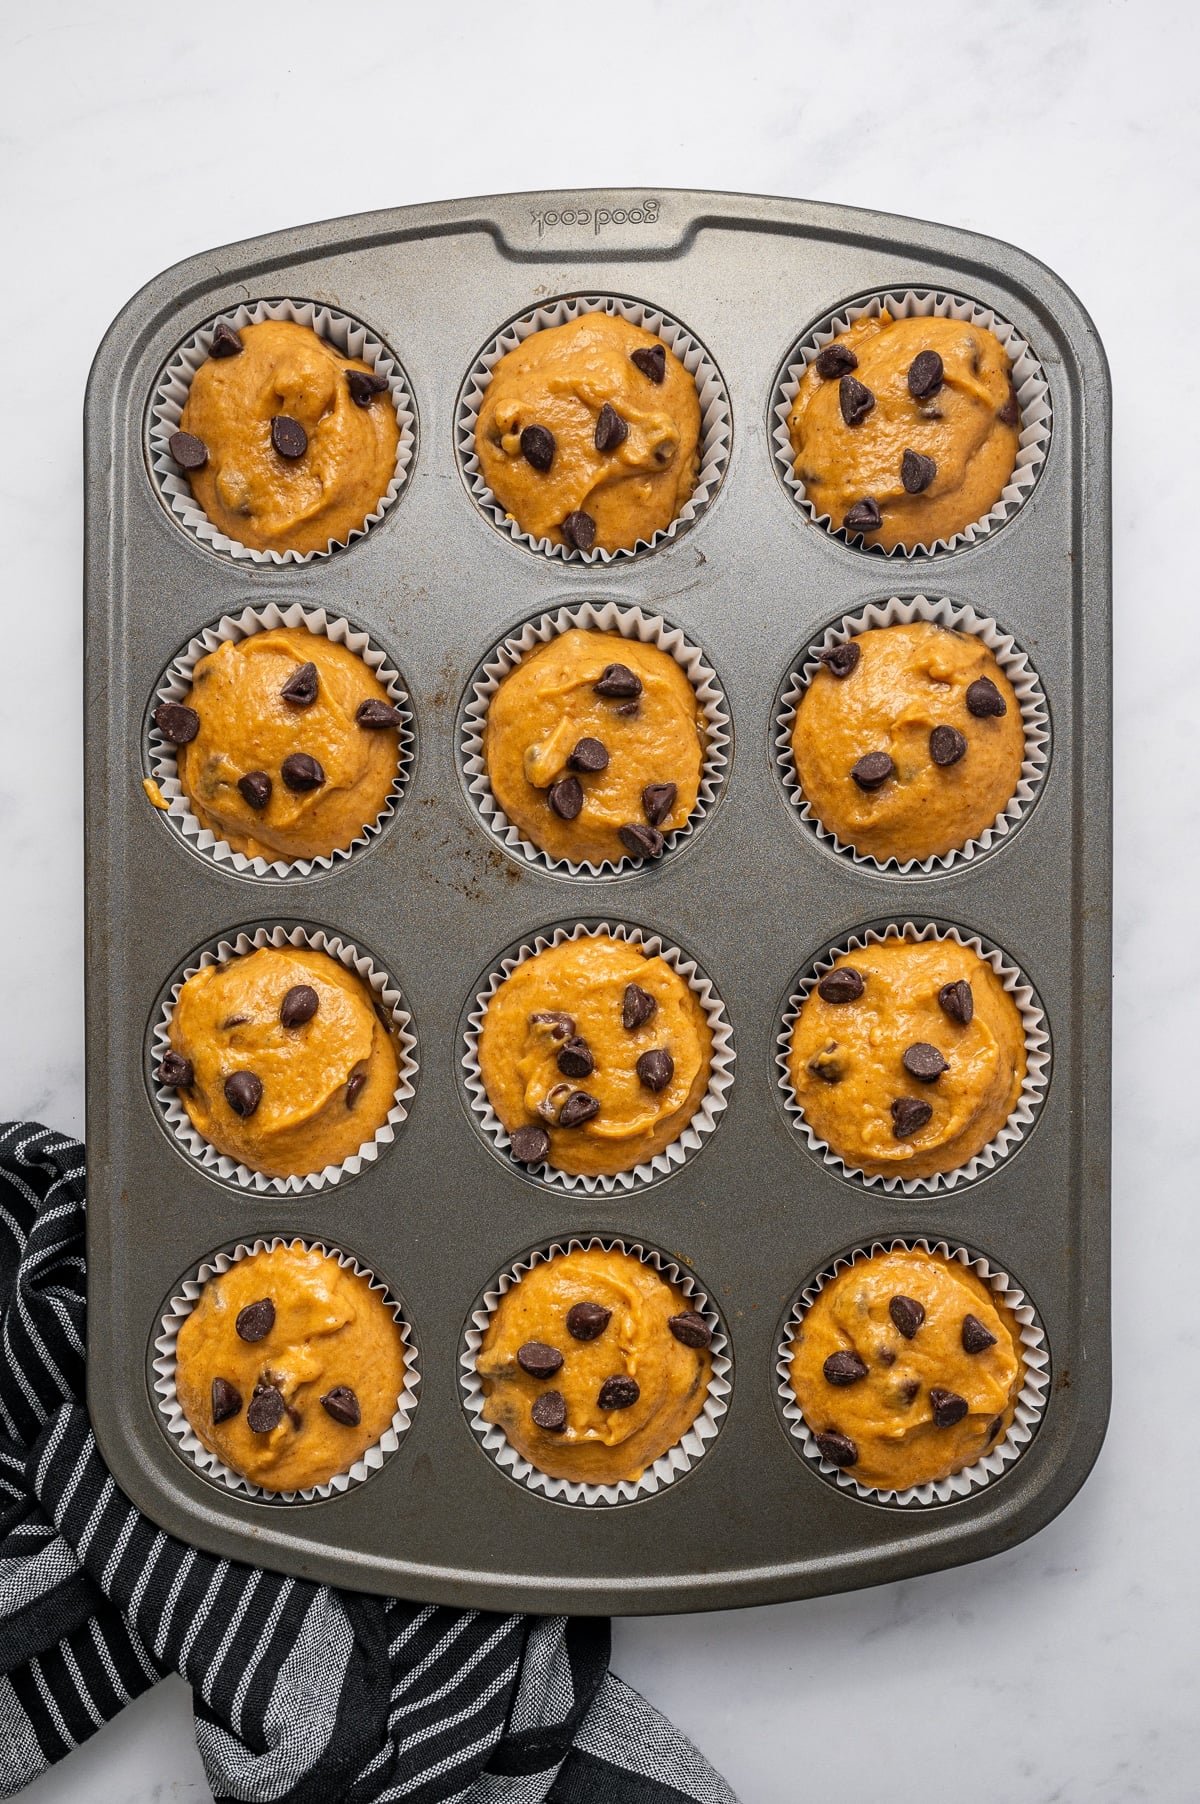
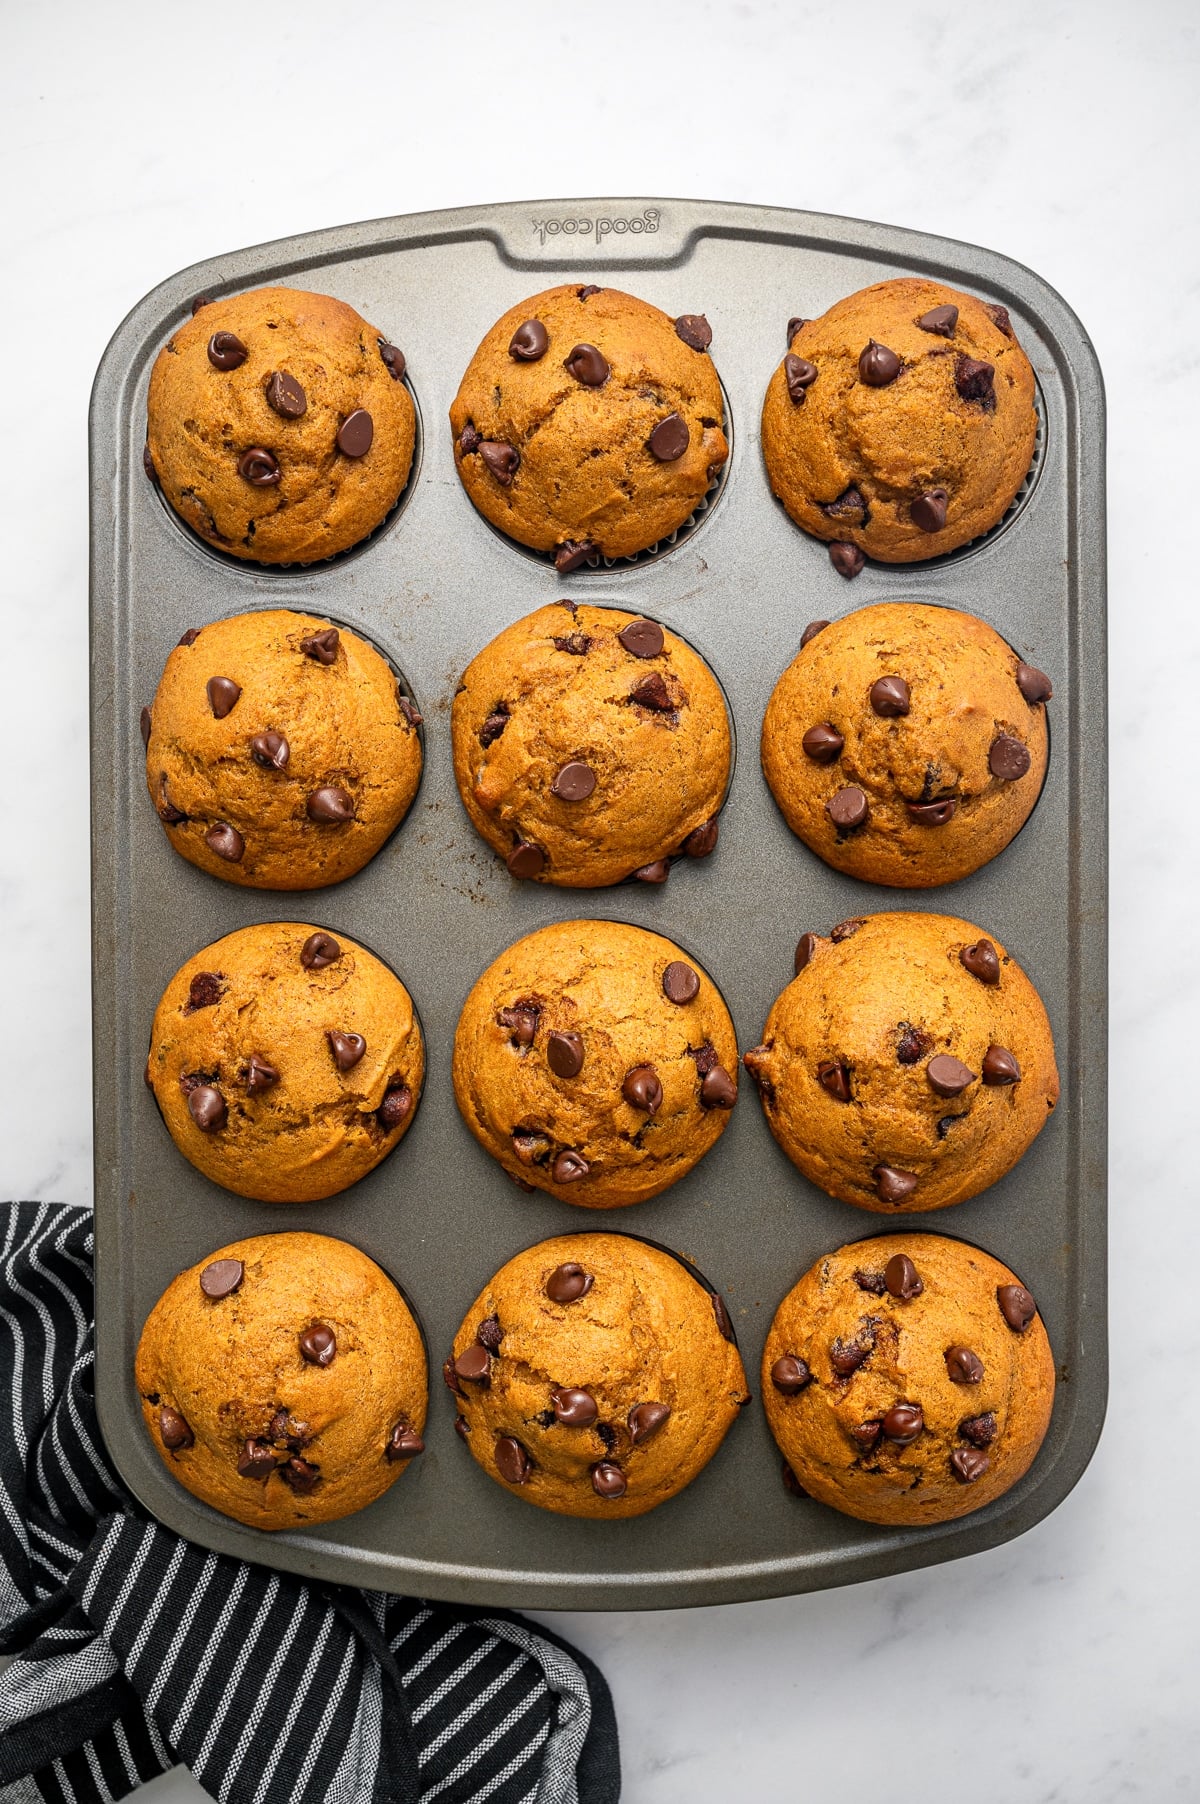
- Start with a Hot Oven: This is my favorite trick for getting those tall, bakery-style domes. Start the muffins at 425°F for 5 minutes, then lower the temperature to 350°F for the remainder of the baking time. That initial blast of high heat helps the muffins rise quickly before they finish baking at the lower temperature.
Important: Don’t open the oven door when you lower the temperature. Just adjust the setting and let the muffins keep doing their thing.
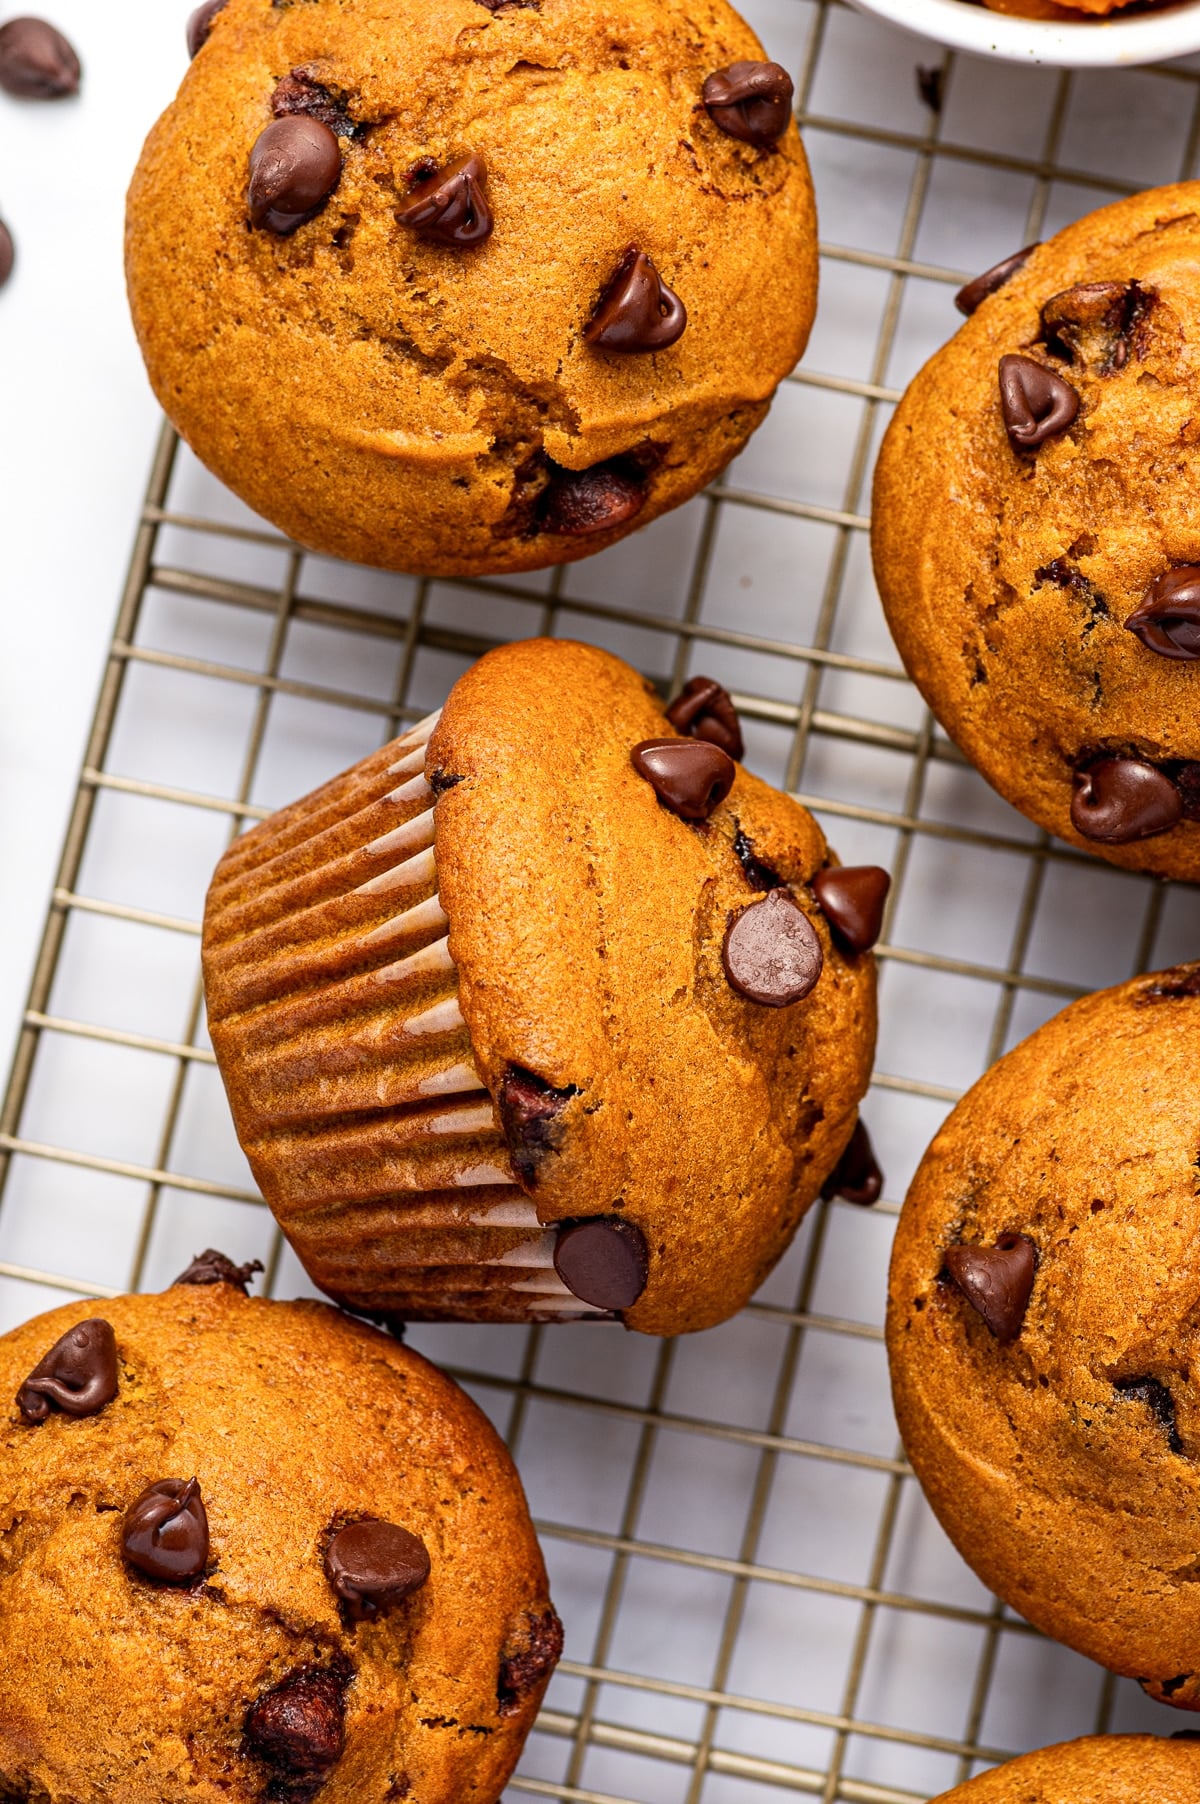
- Let The Muffins Cool Before Moving: Let the muffins cool in the pan for about 5 minutes before transferring them to a wire rack. This gives the soft crumb a little time to set while still getting them out of the hot pan before they continue cooking too much.
Storage Tips
Whether you’re saving a few extras or baking a double batch (because why not?), these muffins are easy to store and even easier to enjoy later.
- Room Temperature: Let the muffins cool completely before storing them in an airtight container. They can be kept at room temperature for up to 3 days.
- Refrigerator: For slightly longer storage, refrigerate the muffins in an airtight container for up to 5 days. Bring them to room temperature before serving or warm one briefly in the microwave if you prefer them soft and warm.
- Freezing: These muffins freeze really well. Once completely cooled, place them in a freezer-safe container or zip-top bag and freeze for up to 3 months. Thaw at room temperature, or warm individual muffins in the microwave for about 20-30 seconds. For the best texture, I like to freeze them individually so it’s easy to grab just one for a quick breakfast or snack.
More Favorite Pumpkin Recipes
- Pumpkin Oatmeal Chocolate Chip Cookies
- Homemade Pumpkin Puree
- How to Cook a Pumpkin
- Healthy Pumpkin Muffins
- Pumpkin Spice Cookies
- Persimmon Pumpkin Pudding Cake
- Pumpkin Smoothie
- Protein Pumpkin Muffins
You can also get all of my muffin recipes here, and my breakfast recipes here!
And if you try making these chocolate chip pumpkin muffins, I would love to hear what you think! Please leave a comment and a star rating below. Your feedback helps other readers discover and enjoy this recipe too. Thank you so much! 💛
Pumpkin Chocolate Chip Muffins

Ingredients
- 1¾ cups all-purpose flour
- 1½ teaspoons baking powder
- ½ teaspoon baking soda
- 1 teaspoon kosher salt
- 2 teaspoons ground cinnamon
- ½ teaspoon ground ginger
- ¼ teaspoon ground cloves
- ¼ teaspoon ground nutmeg
- 1 (15-ounce) can pumpkin puree , (about 1¾ cups)
- ¾ cup granulated sugar
- ½ cup light brown sugar, packed
- ½ cup neutral oil, such as canola, vegetable, avocado, sunflower, or grapeseed oil
- 2 large eggs, at room temperature
- 2 teaspoons vanilla extract
- ¼ cup whole milk, or low-fat milk, plant-based milk
- 1½ cups semi-sweet chocolate chips, divided
Instructions
- Prepare the oven and muffin pan: Preheat the oven to 425°F. Line a standard 12-cup muffin pan with paper liners or lightly grease each cup.
- Combine the dry ingredients: In a large mixing bowl, whisk together the flour, baking powder, baking soda, kosher salt, cinnamon, ginger, cloves, and nutmeg until evenly combined.1¾ cups all-purpose flour, 1½ teaspoons baking powder, ½ teaspoon baking soda, 1 teaspoon kosher salt, 2 teaspoons ground cinnamon, ½ teaspoon ground ginger, ¼ teaspoon ground cloves, ¼ teaspoon ground nutmeg
- Mix the wet ingredients: In a separate large bowl, whisk together the pumpkin puree, granulated sugar, brown sugar, neutral oil, eggs, vanilla extract, and milk until smooth and well combined.1 (15-ounce) can pumpkin puree , ¾ cup granulated sugar, ½ cup light brown sugar, ½ cup neutral oil, 2 large eggs, 2 teaspoons vanilla extract, ¼ cup whole milk
- Make the muffin batter: Add the wet mixture to the dry ingredients. Using a rubber spatula, gently fold the ingredients together just until only a few small streaks of flour remain. Avoid overmixing.
- Add the chocolate chips: Gently fold 1 1/4 cups of the chocolate chips into the batter, reserving the remaining 1/4 cup for topping.1½ cups semi-sweet chocolate chips
- Fill the muffin pan: Divide the batter evenly between the 12 prepared muffin cups, filling each almost to the top. Sprinkle the reserved chocolate chips over the batter.
- Bake at high heat: Bake at 425°F for 5 minutes. Then, without opening the oven door, reduce the oven temperature to 350°F.
- Lower heat and finish baking: Continue baking at 350°F for another 15-20 minutes, or until the muffins are tall and golden and a toothpick inserted into the center comes out with just a few moist crumbs.
- Cool: Let the muffins rest in the pan for 5 minutes before carefully transferring them to a wire cooling rack.
Notes
- This recipe uses both baking powder AND baking soda – they are not interchangeable. Double-check your measurements before adding them to the batter.
- These muffins use a combination of cinnamon, ginger, cloves, and nutmeg for their cozy pumpkin spice flavor. You can replace the individual spices with 1 TBSP of pumpkin pie spice.
- This recipe calls for one full 15-ounce can of pure pumpkin puree, not pumpkin pie filling. Homemade pumpkin puree may also be used; you’ll need approximately 1 3/4 cups. Pureed butternut squash can also be substituted in the same amount.
- These muffins can be made with regular or mini semi-sweet chocolate chips, as well as chocolate chunks. The chocolate chips may also be omitted or replaced with chopped pecans or walnuts.
- Store completely cooled muffins in an airtight container at room temperature for up to 3 days or in the refrigerator for up to 5 days.
- Freeze cooled muffins in a freezer-safe container or zip-top bag for up to 3 months.
Explore More with AI
Nutrition
Nutrition information is automatically calculated, so should only be used as an approximation.