This post may contain affiliate links. Please read our disclosure policy.
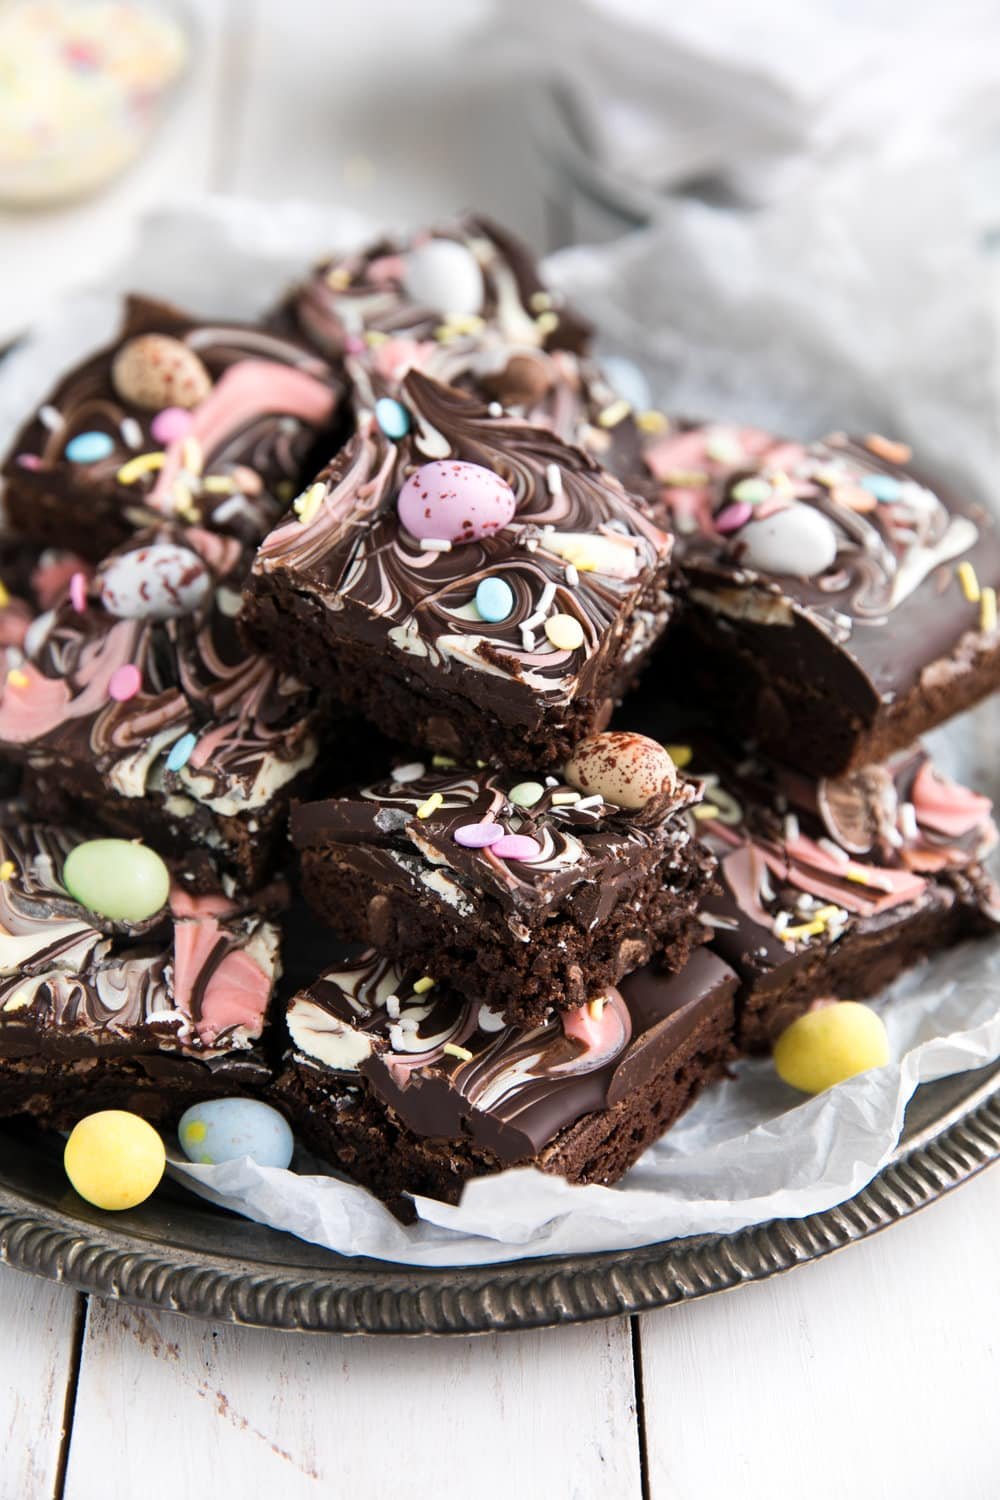
These Easter Brownies are the perfect festive treats to elevate any Easter celebration or springtime party. Chocolate brownies are covered with swirled dark chocolate bark and dotted with adorable candy eggs, they’re pretty, fun to make, and incredibly delicious!

Whenever I whip up these colorful Easter brownies, I’m amazed by how effortlessly they impress everyone. Made with fudgy chocolate brownies coated with a swirl of pink and white chocolate, they look like they took hours- when in reality, they couldn’t be easier to make.
While I kept the toppings simple with sprinkles and chocolate Easter eggs, you can let your imagination run wild by adding marshmallows, sour gummies, jelly beans, or even salty pretzels. These rich, decadent, and gooey brownies are a canvas for your creativity, so don’t be afraid to experiment and make them your own!

How to Make Easter Brownies
Make the brownies:
- Preheat the oven to 325°F and grease an 8×8 baking pan with butter or nonstick cooking spray.
- Whisk together the melted butter, cocoa, and sugar in a large bowl until combined. Mix in the eggs, one at a time, then add the vanilla extract.
- Mix in 3/4 cup flour, salt, and baking soda until combined. Coat the chocolate chips with one tablespoon of flour and fold into the batter.
- Spread the batter in the prepared 8×8 baking dish and bake for 30-35 minutes or until set. Allow the brownies to cool completely.
Melt the chocolate:
- In two medium saucepans over low heat, add 1 inch of water and bring to a gentle simmer. Place heat-safe bowls on top of each pot, making sure they don’t touch the water – and making sure there’s no space for steam to escape into the chocolate.
- Add the dark chocolate to one bowl and the white chocolate to another. Stir gently with a wooden spoon or rubber spatula until melted, then remove from heat.
Add the melted chocolate to the brownies:
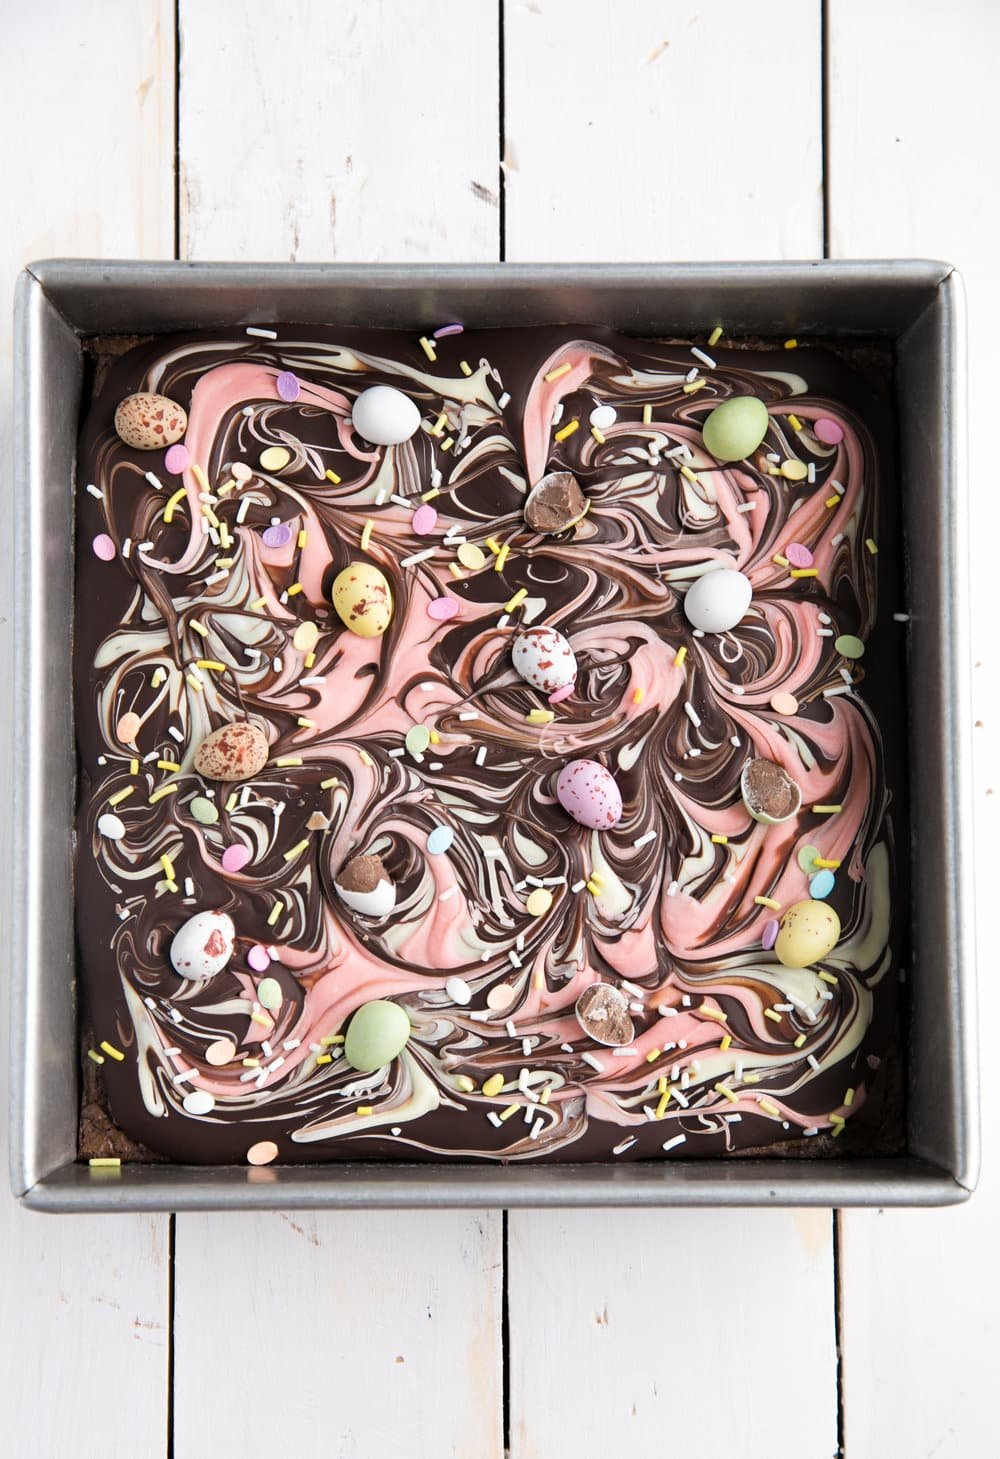
- Pour the dark chocolate over the cooled brownies and spread it to the edges. Drop a tablespoonful of white chocolate in 4-5 evenly spaced spots and use a knife to swirl them together. With the remaining white chocolate, add 1-2 drops of red food coloring to make the desired pink color. Repeat the same swirling process with the pink chocolate.
- While the chocolate is still wet, gently drop your favorite Easter decorations over the top.
Yield: makes one 8×8-inch pan, or 12-16 brownies.

Leftovers and Storage
These brownies can be stored in an airtight container at room temperature for 2-3 days when left out in a cool, dark place. You can also keep them stored in the refrigerator for up to one week in an airtight container, but make sure they are completely cooled before storing to avoid condensation. Brownies can be stored in the freezer for up to 3 months. Wrap them tightly in plastic wrap before placing them in a freezer bag or other airtight container.
More Dessert Recipes,
- Chocolate Dipped Easter Rice Krispie Treats
- Chocolate-Covered Cheesecake Bites
- Chocolate Sheet Cake
- Thai Mango Sticky Rice Recipe (Khao Niaow Ma Muang)
- Kheer Recipe (Indian Rice Pudding)
- Chocolate Chia Pudding
If you try making this Easter Brownie Recipe, please leave me a comment and let me know! I always love to hear your thoughts.


Easter Brownies Recipe
Ingredients
For the Brownies
- ½ cup butter, melted
- ½ cup unsweetened cocoa
- 1 cup sugar
- 2 large eggs
- 1 tablespoon vanilla extract
- ¾ cup all purpose flour, divided
- ¼ teaspoon salt
- ¼ teaspoon baking soda
- 1 cup chocolate chips
- 1 tablespoon all purpose flour
For the Chocolate Bark
- 12 oz quality dark chocolate, chopped
- 8 oz quality white chocolate, chopped
- sprinkles
- chocolate easter eggs
Instructions
Prepare the Brownies
- Preheat oven to 325 degrees F. Grease a 8×8 baking pan with butter or nonstick cooking spray.
- In a large bowl whisk together the melted butter, cocoa and sugar until fully combined. Mix in eggs, one at a time, stirring after each addition. Add vanilla and mix. Using a rubber spatula, gently mix in 3/4 cup flour, salt and baking soda until flour is just combined (being careful not to overmix). In a small bowl, mix remaining 1 Tablespoon flour with chocolate chips and fold into brownie batter.
- Spread the batter in the prepared 8×8 baking dish and bake for approximately 30-35 minutes, or until set. Remove from the oven and allow brownies to cool completely before adding melted chocolate.
Prepare the Chocolate
- Add 1″ of water to two medium saucepans or pots over low heat. Bring to a very gentle simmer- do not boil!
- Place a heat-safe bowl on top of the pot so that the bottom of the bowl is not touching the water. The idea is that the steam generated from the water will slowly warm the bowl. That said do NOT allow stream to escape from the pot, if possible, as this is not good for the chocolate.
- Add the chocolate to the bowl, the dark chocolate in one bowl and the white chocolate in the other, and gently stir with a wooden spoon or rubber spatula until chocolate is fully melted.
- Remove from heat.
- You can also melt the chocolate in the microwave (however, I’ve had very bad experience with this), by placing the chocolate in microwave safe bowls at 50% power for 30 second intervals, stirring after each.
Prepare
- Pour the dark chocolate over the cooled brownies and gently use a spatula to spread to to the edge of the brownies.
- Use a spoon to drop approximately 1 tablespoon of white chocolate onto the dark chocolate in approximately 4-5 evenly-spaced spots and use a sharp knife to gently swirl the dark and white chocolate together (be careful not to over mix). With the left over white chocolate, add 1-2 drops of red food coloring (start with less), until you get desired pink color. Repeat the same process with the pink chocolate.
- While the chocolate is still wet, gently drop your favorite Easter decorations over the top. You can keep it as simple or as crazy as you like! Have fun!
Notes
Nutrition
Nutrition information is automatically calculated, so should only be used as an approximation.


These tasted great at easter!
Hi! I just made these and they look so pretty! Any idea how long it will take for the chocolate to firm up?
Yum – these were a big hit with my grandchildren!!