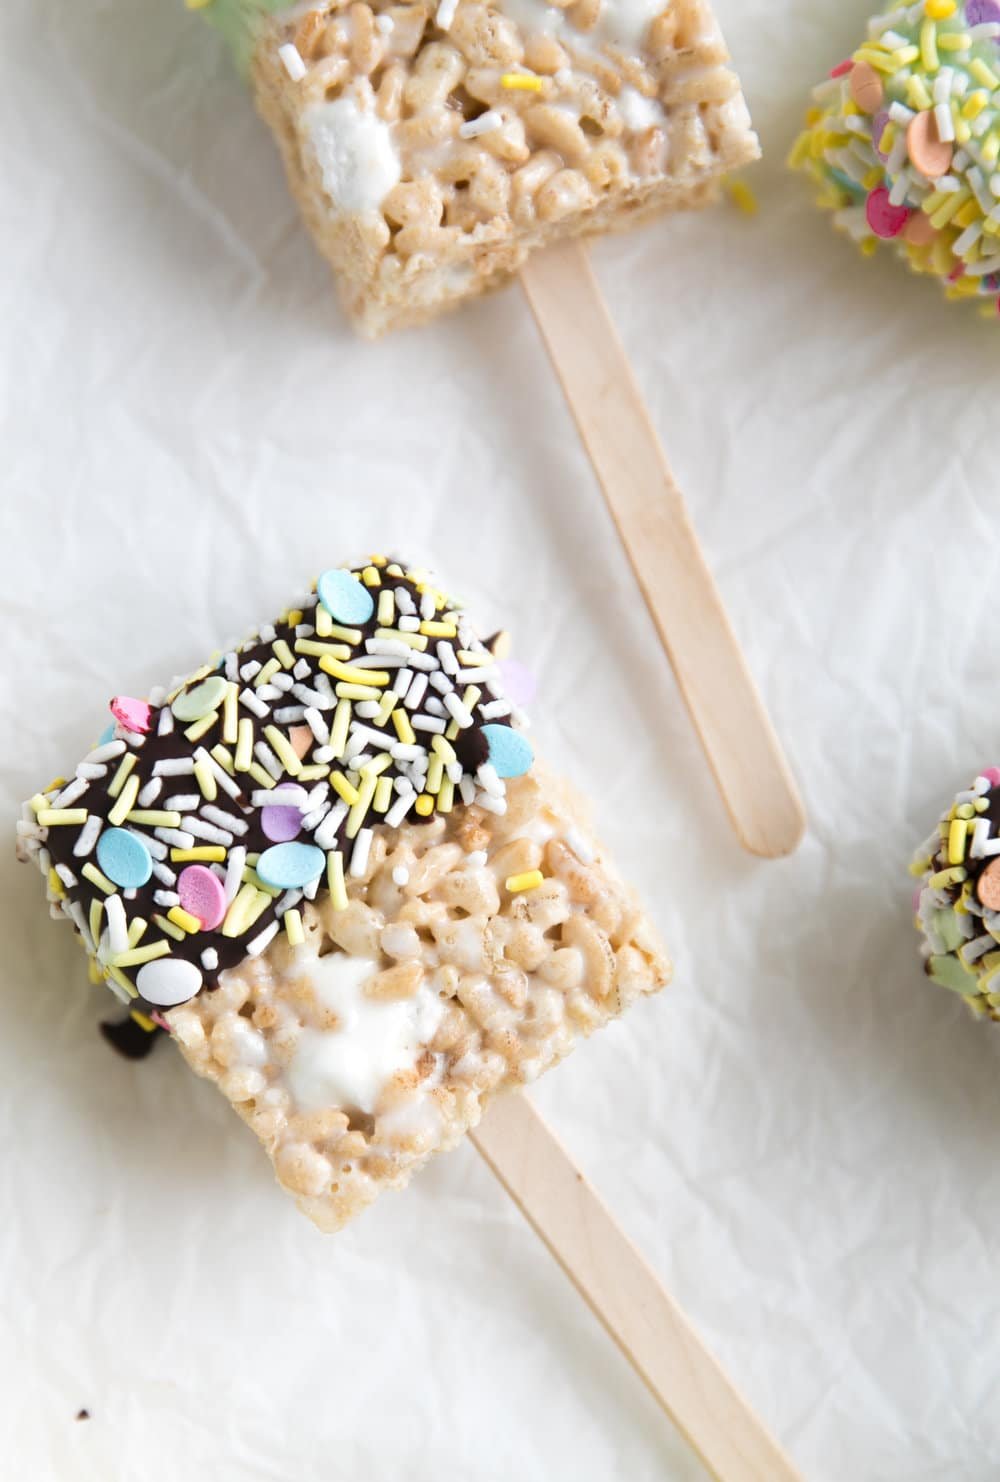
Easter Rice Krispie Treats, dipped in white and dark chocolate and fun, festive sprinkles, are the sweetest treat ever! A delicious and fun addition to any Easter celebration or springtime party.

Why You’ll Love Easter Rice Krispie Treats
Whenever I get out the box of Rice Krispie Treats to make this Easter dessert recipe, my young son wonders what on earth I am doing with his favorite snap, crackle, and pop cereal. And then I watch his eyes light up when he sees how they are presented back to him on adorable popsicle sticks. These elegant treats transform a simple cereal into the most amazing creations that look like they came from the local sweet shop.
If you want to try making vegan treats swap the butter with organic shortening, Rice Krispies with Organic Brown Rice Crisps, and your usual Kraft mini marshmallows with Dandies all-natural marshmallows. Full disclosure, I have personally never tried these substitutions before, so let me and others know how the vegan recipe turns out in the comments.
Why Chocolate Loses Its Shine
The official term for when chocolate loses its gloss and shine is “chocolate bloom.” There are two types: fat bloom and sugar bloom.
Fat bloom occurs when the chocolate is stored at too high of a temperature, causing the cocoa butter in the chocolate to melt and migrate to the surface, leaving a dull, greasy appearance. Sugar bloom occurs when the chocolate is exposed to moisture, causing the sugar in the chocolate to dissolve and then recrystallize on the surface, creating a rough, grainy appearance. While chocolate blooms may dull your chocolate, it remains edible and hopefully just as delicious!

Leftovers and Storage
You can wrap your Rice Krispie treats individually to keep them fresh or stack them in an airtight container, placing a layer of parchment paper between each layer to prevent them from sticking together. Store the container in a cool, dry place away from direct sunlight, such as a pantry or cupboard, for up to 3 days. Avoid storing them in the refrigerator so that the chocolate does not develop condensation and make the crispy rice soft.

How to Make Easter Rice Krispie Treats
- Line a 9×13-inch pan with foil and cooking spray.
- Melt butter in a large pot over low heat. Add 12 cups of mini marshmallows and stir until melted.
- Remove from the heat and add salt and cereal. Mix until coated. Add the remaining 4 cups of mini marshmallows and stir.
- Transfer mixture to prepared pan and spread evenly. Let it cool completely before slicing it into 20-24 squares.
- For the chocolate, fill two medium pots with 1″ of water and bring to a gentle simmer. Place a heat-safe bowl on top of each pot.
- Add dark chocolate to one bowl and white chocolate to the other. Stir until fully melted.
- If desired, divide melted white chocolate into separate bowls and add food coloring.
- Dip each Rice Krispie square halfway into melted chocolate and let the excess drip off. With wooden popsicle sticks inserted into the center of each treat, allow the chocolate to set for 1-2 minutes before dipping into sprinkles.
- Let the chocolate set fully and serve.

More Decadent Dessert Recipes
- Chocolate-Covered Cheesecake Bites
- Chocolate Sheet Cake
- Chocolate Cherry Smoothie
- Lemon Bars
- Strawberry Rhubarb Cobbler with Honey Butter Biscuits
If you try making this Easter Rice Krispie Treats Recipe, please leave me a comment and let me know! I always love to hear your thoughts.

RECIPE CARD

Easter Rice Krispie Treats
Ingredients
For the Rice Krispie Treats
- 8 tablespoon butter
- 16 cups marshmallows - divided
- 10 cups rice cereal
- ½ teaspoon salt
For the Chocolate
- 6 ounces high-quality dark chocolate
- 6 ounces high-quality white chocolate
- Sprinkles
Instructions
For the Rice Krispie Treats
- Line a 9×13 pan with foil and cooking spray, set aside.
- Add butter to a large pot over low heat. Once butter is melted add in 12 cups of mini marshmallows and stir to mix with the butter. Continue to stir the marshmallows until fully melted.
- Remove the marshmallows from heat. Sprinkle with the salt and pour in the cereal. Mix the marshmallows and cereal until just coated. Add the remaining 4 cups of mini marshmallows and stir to mix.
- Transfer the Rice Krispie mixture into the prepared pan and, using a piece of parchment paper sprayed with nonstick spray, gently press mixture into the pan until it is spread evenly across the surface.
- Allow the rice Krispie treats to cool completely before slicing into 20-24 evenly sized squares.
For the Chocolate
- Add 1″ of water to two medium saucepans or pots over low heat. Bring to a very gentle simmer- do not boil!
- Place a heat-safe bowl on top of the pot so that the bottom of the bowl is not touching the water. The idea is that the steam generated from the water will slowly warm the bowl. That said do NOT allow steam to escape from the pot, if possible, as this is not good for the chocolate.
- Add the chocolate to the bowl, the dark chocolate in one bowl and the white chocolate in the other, and gently stir with a wooden spoon or rubber spatula until chocolate is fully melted. Remove from heat.
- You can also melt the chocolate in the microwave (however, I’ve had very bad experience with this), by placing the chocolate in microwave-safe bowls at 50% power for 30-second intervals, stirring after each.
- If desired, divide the melted white chocolate into separate bowls depending on the number of colors desired, and add 1-2 drops of food coloring, stirring after each addition.
Assemble
- Dip each rice Krispie treat square approximately half way into the melted chocolate of your choice (I did different combinations) and allow the excess chocolate to slowly drip off.
- Allow chocolate to set for 1-2 minutes then gently dip into your favorite sprinkles or add sprinkles to the top (if you dip too soon, it becomes a big mess; but, if you wait too long, they won’t stick).
- Allow chocolate to fully set and serve.
Jessica’s Notes
Nutritional Information
(Nutrition information provided is an estimate and will vary based on cooking methods and specific brands of ingredients used.)


Last Updated | 0 Comments