This post may contain affiliate links. See my disclosure policy.
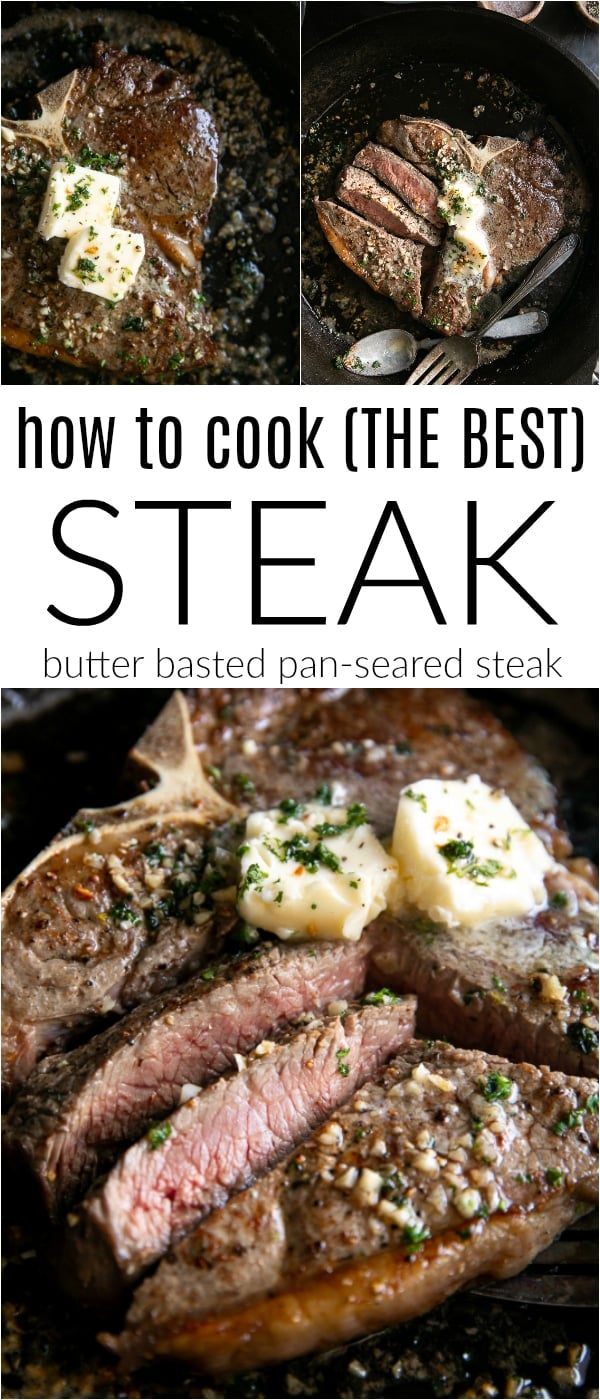
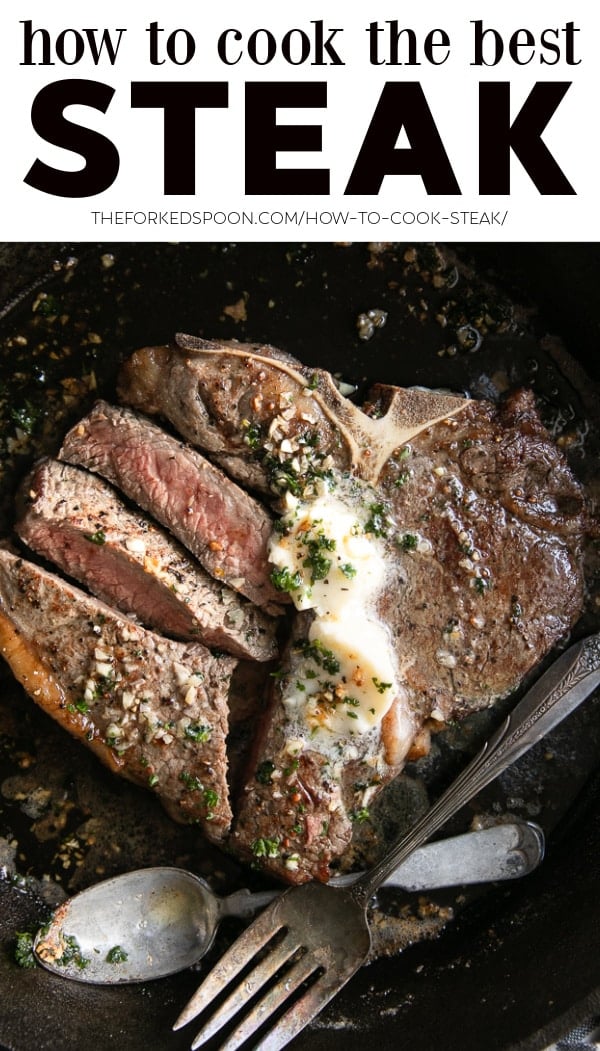
How to make steakhouse quality steak right at home – it’s easier than you may think! With a handful of helpful tips and tricks, today I’m sharing how to cook the best pan-seared steak with a perfect brown crust and a juicy, buttery, tender inside.
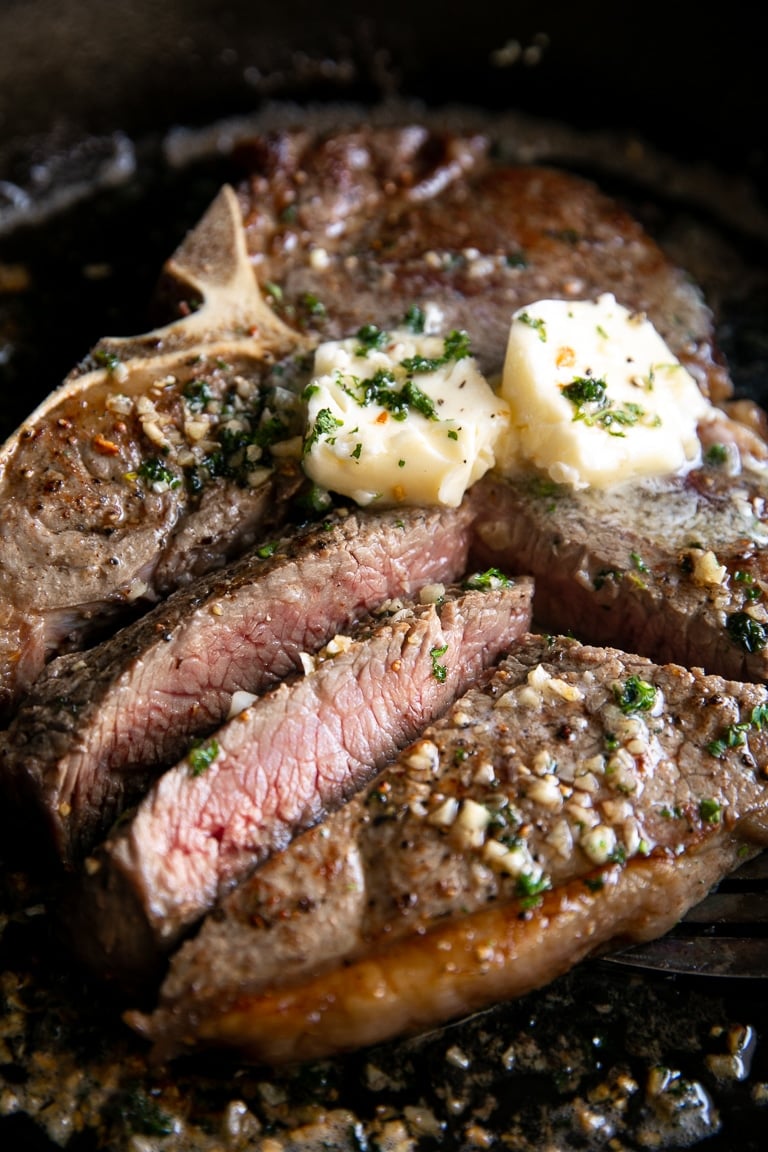
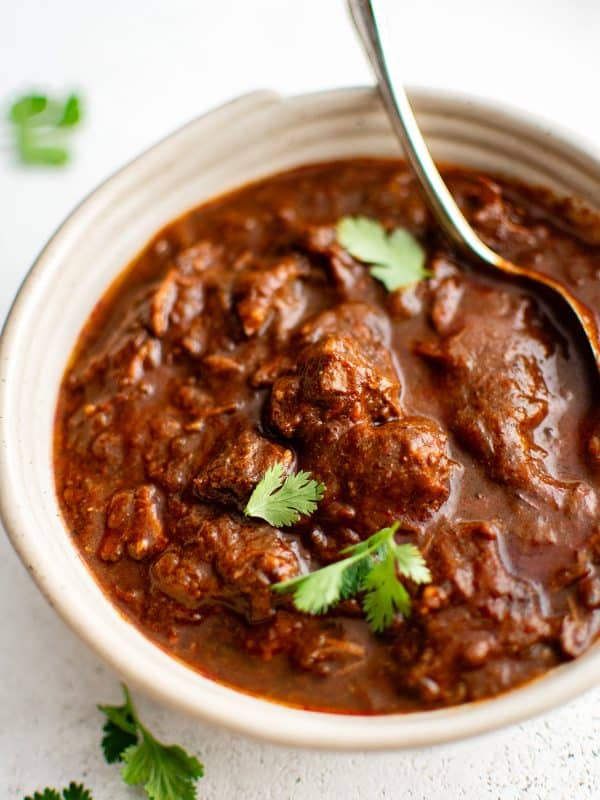
Who is ready to learn all about cooking steak!? Lately (thanks to several requests from you guys) I have been working to bring you guys more delicious and easy. A couple of recent recipes include these reader-favorite garlic butter steak bites and this easy steak chili, for today, however, I’m going to share how to butter baste and pan-sear steak.
Table of Contents
- What You Need To Cook the Best Steak Ever
- Most Popular Cuts of Steak
- What is the Best Cut of Steak for Pan-Searing?
- How to Pick the Perfect Steak?
- When Do I Know My Steak is Finished Cooking?
- Tips and Tricks (and things to avoid) When Cooking Steak
- How to Serve
- More Easy Dinner Recipes
- How to Cook Steak Recipe (Butter Basted Pan-Seared Steak)
If you’re new to cooking steak and feel super intimidated, I totally understand.
I mean, how do I even choose a good steak? do I marinade? how do I check for doneness?
With so many questions I avoided cooking steak for YEARS because I was positive that I would ruin whatever steak I purchased.
Fortunately, I learned. And now you can too.
And, if you’re sitting there wondering what in the world “butter-basted steak” is, don’t worry about that either. I’m going to walk you through it.
Ok, let’s get started.
What You Need To Cook the Best Steak Ever
Let’s start with what’s most important. You will need a DIGITAL MEAT THERMOMETER.
Here’s why. Gone are the days of slicing into our steak midway through cooking just to see if it’s done. No more of that, my friends. We have the technology to help us be better cooks and the digital meat thermometer is probably my number one must-have kitchen gadget. If you prefer your steak super well done, then a meat thermometer may not be necessary (when cooking steak, chicken is a different story).
You will also need a good skillet and kitchen tongs.
What qualifies as a “good skillet”?
- Any pan or skillet that you absolutely love to cook with. Just make sure it’s big enough to fit the entire steak comfortably and it’s sturdy. I have a couple of skillets like this, my cast iron skillet and my stainless steel skillet.
- If you don’t have a favorite or you’re up for trying something new then I would go with cast iron. Actually, I really really recommend using a cast iron pan , but I don’t think it’s a MUST-HAVE (just a HIGHLY recommended).
Most Popular Cuts of Steak
These are some of the most popular cuts of steak that you can purchase from your local grocery store.
Tenderloin
- Also known as filet mignon, Châteaubriand, fillet, or filet, it is the most expensive cut of steak you can buy, so this is one piece of meat you really don’t want to mess up when cooking at home.
- The tenderloin cut is always sold boneless and comes from the short loin and sirloin, under the ribs. Depending on which part of the tenderloin the steak is cut from determines its name – the filet mignon is from the smaller end while the Châteaubriand is from the thicker end.
- Super lean, lower in fat, and extra tender (hence the name), the tenderloin is often a cut extra thick.
New York Strip Steak
- Also goes by the names strip, Manhattan, Kansas City strip, top sirloin, top loin, contre-filet.
- Usually sold boneless, the New York Strip is the short loin just behind the ribs. With fat on one end of the steak and some marbling scattered throughout, this cut has more overall fat compared to the Tenderloin.
- This means that the New York Strip is a happy middle-of-the-road cut of steak that is neither too fatty nor too lean.
Porterhouse
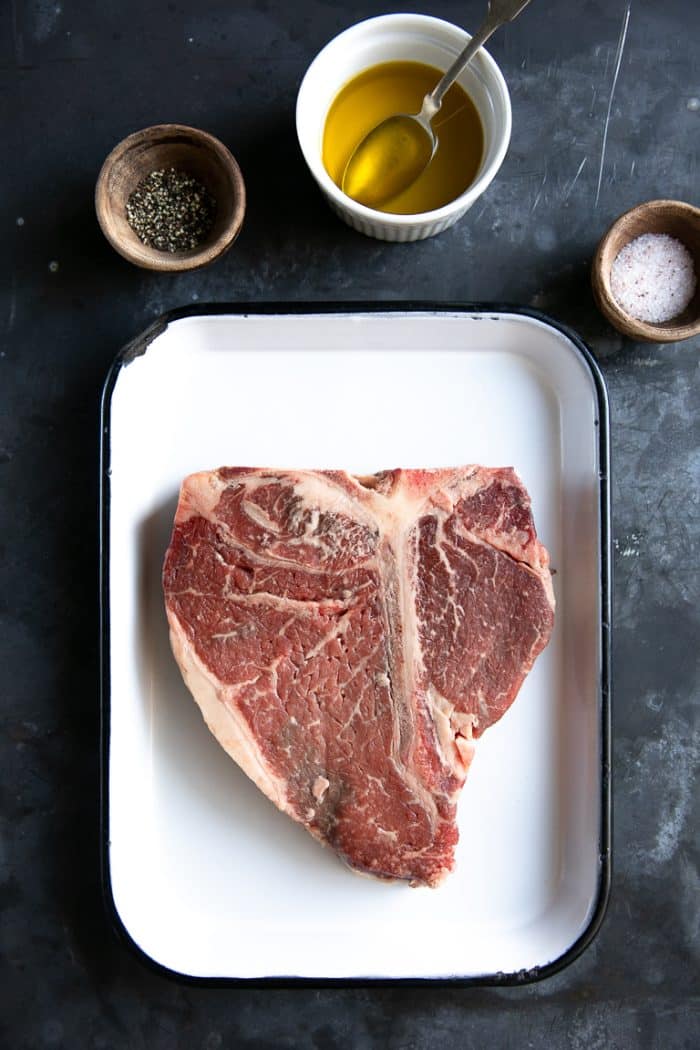
- Aka T-Bone (also what’s shown in this post)
- Fun fact– According to USDA regulations, in order to be classified as a porterhouse, the tenderloin portion of the steak must be 1.25″ wide, while only .5″ wide to be classified as a T-bone.
- Served bone-in, with the bone looking like a “T” and having meat on both sides. On one side is a piece of the Tenderloin and on the other is a piece of the New York Strip.
- Cooking the Porterhouse (or T-Bone) can sometimes be tricky as you are essentially cooking two different cuts of meat at the same time. Don’t worry, I have a solution for that (although some would say to never cook a Porterhouse in a cast iron skillet).
Ribeye Steak
- May also go by (though I’ve never heard of) Entrecôte, Delmonico, Scotch fillet, Spencer, market, beauty.
- Sold boneless or bone-in, the Ribeye is from the upper ribcage and are basically individual cuts of prime rib.
- With lots of fat and marbling, this cut of steak is extra juicy and flavorful and loves being cooked over high heat.
Flank Steak
- Also known as the London Broil (and what my dad always cooked for us when we were growing up)
- Known for being super lean, flank steak love to be marinated and grilled or thinly sliced and added to stir fry.
- I wouldn’t recommend the Flank Steak for the method I describe in this post.
What is the Best Cut of Steak for Pan-Searing?
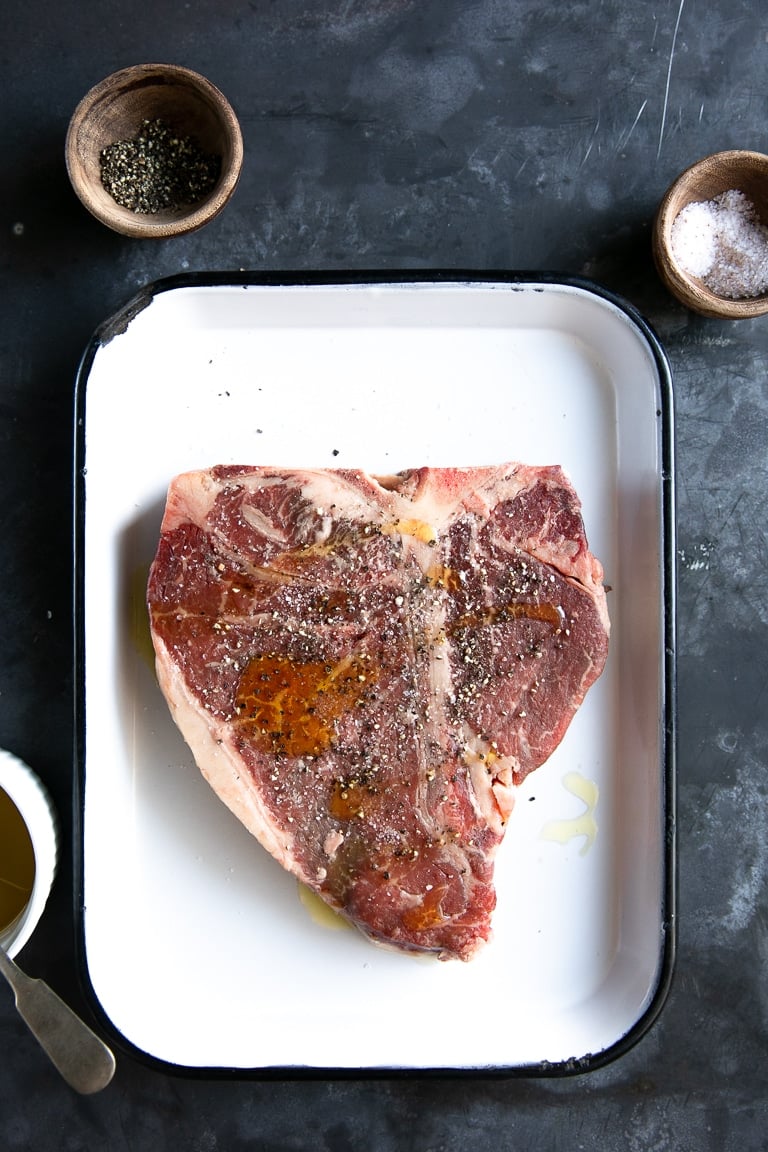
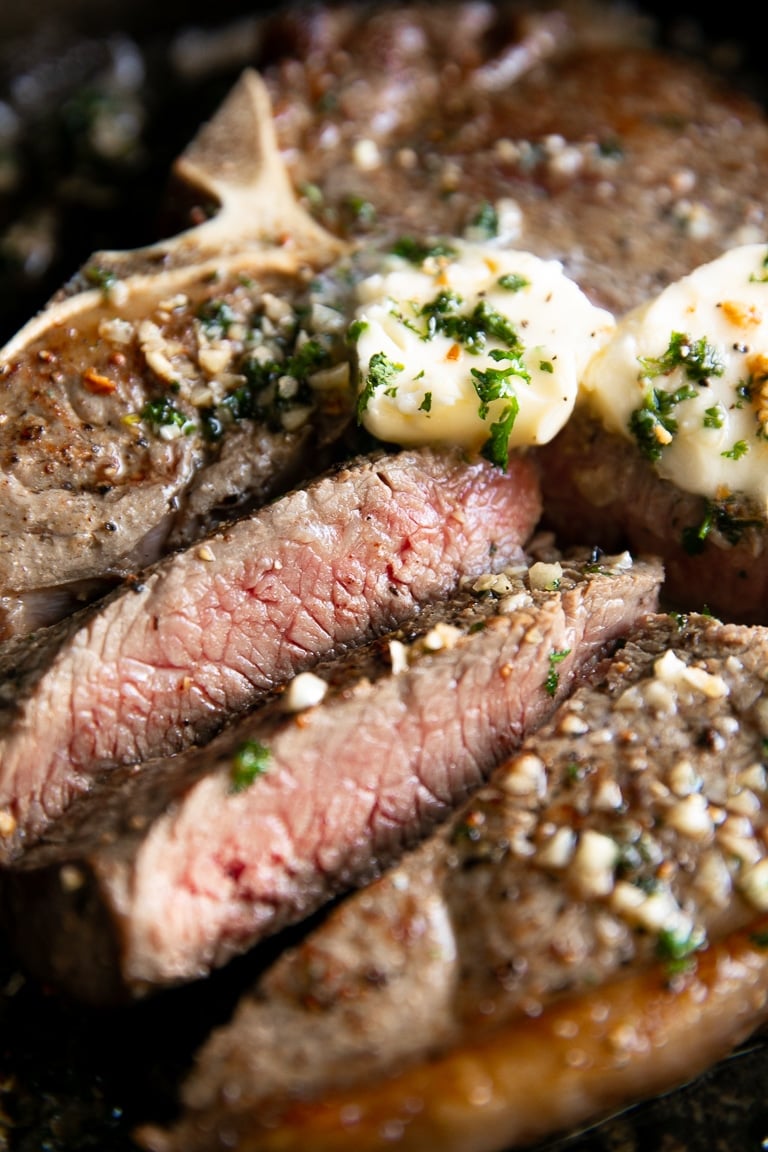
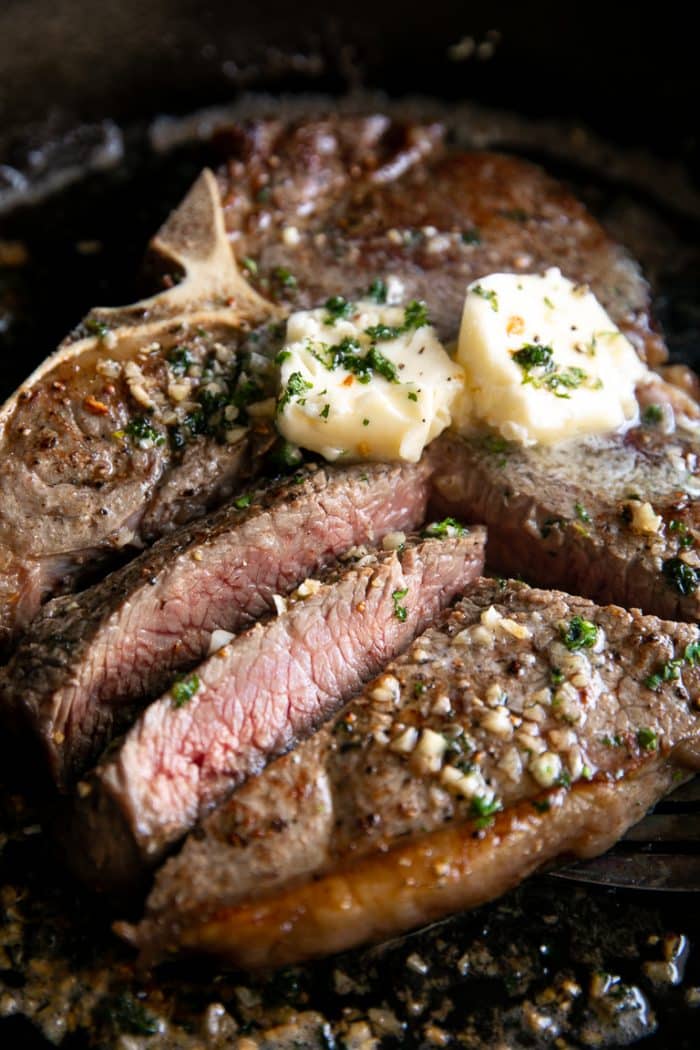
As you can see, I cooked a Porterhouse (aka T-bone) in my cast iron skillet. The results were amazing (despite warnings not to cook a T-Bone in a hot pan).
If this is your first time, give the Porterhouse a try or play it safe and go with the Ribeye. That said, any of the following would work great! Just remember to use your digital thermometer and read the following instructions thoroughly.
- Ribeye. Safest choice.
- Porterhouse (T-bone). Best of both worlds.
- New York Steak. Economical.
- Tenderloin. Best cut, but most expensive.
How to Pick the Perfect Steak?
Have you ever wondered what the different grades for steak mean? I mean, I’ve seen them, but I’ve never really understood them. So I usually just pick up whatever looks good.
Turns out, those grades actually mean something! And may actually help guide your decision when picking out your next steak dinner.
What determines the grade of the meat?
Two main things determine its grade- the age of the animal and the marbling of the cut. There are three different consumer grades for beef.
- Prime Grade Beef– making up only 2% of all the beef produced in the US, Prime Grade is almost always sold to restaurants and hotels. Produced from young, well-fed beef, it has abundant marbling and therefore, superior flavor.
- Choice Grade Beef– Somewhere in the middle between Prime and Select, Choice Grade is the best choice when shopping for steak. Still high quality, but with less marbling when compared to Prime.
- Select Grade Beef– Typically leaner, somewhat less tender, and less marbling overall. Select beef is ideal for marinating or braising.
When Do I Know My Steak is Finished Cooking?
Your digital meat thermometer will tell you. I typically start checking the thickest part of the meat after 4 minutes of cooking.
- Rare (120-130℉) – Just a minimal sear on the exterior of the meat.
- Medium Rare (130-135℉) – A true sear on the outside, yet still pink on the inside.
- Medium (135-145℉) – Not bloody, not dry, with some pink.
- Medium Well (145-155℉) – It’s been cooked. Teetering on drying it out.
- Well Done (155℉ and higher) – Totally browned, cooked through, and probably lost some of its juiciness.

Tips and Tricks (and things to avoid) When Cooking Steak
I cooked several steaks while putting together this post because I wanted to make sure that it was so legit and so good that anyone could do it. In the process, I learned a few helpful tricks.
- Bring your steak to room temperature before adding it to the skillet. If you plan to spend good money on a delicious steak, it only makes sense that it be cooked properly from the start, right?
- Rub your steak with extra virgin olive oil, but cook it in oil with a higher smoke point like canola oil or avocado oil.
- Season your steak. You have a piece of meat that is 1.5 inches thick and you can only season the outside. You can be a little generous with the salt, ok? Kosher salt with coarse granules is my top pick.
- Use kitchen tongs to flip your steak when cooking. This is for two reasons- if you try to flip it with a fork, you may accidentally (but easily) drop it, which could actually hurt because hot oil splattering everywhere never feels good. And second, every single time you stab your steak you are releasing delicious juices. In other words, you’re hurting yourself and drying out your steak.
- Make sure your skillet is hot enough before you add the steak. This is SO important. Do NOT add your steak to a warm, or just a sorta-kinda hot, skillet. You want a HOT skillet, you guys. This is why cast iron is recommended for this method.
- Imagine you want a medium-rare steak, but you don’t trust your instant digital read meat thermometer so you just give it one more minute to cook. DO NOT DO THIS. Basically, you just went from medium-rare to medium and dry.
- If you plan to add garlic, you may add whole smashed garlic cloves halfway through cooking, or minced garlic at the very end of cooking. Remember that minced garlic will burn if it is added too soon.
- You need to rest your steak. I know, we’re all hungry and we all want our food like right now, BUT, wait 5 minutes. It’s worth it.
- Don’t try to make this a diet recipe and cut out the added oil and butter. It just won’t work.
- Pick the right steak (see above) and one that is at least 1 1/2 inches thick.
How to Serve
Basically, everything goes with this pan-seared steak! This steak recipe is especially versatile since it wasn’t marinated in any sweet or overpowering sauces. And since this steak recipe is so amazing on its own, I recommend serving it with something that won’t take away from its awesomeness.
My top pics for vegetables include this easy 10-minute bok choy, sautéed Brussels sprouts, roasted carrots, or oven-roasted cauliflower. Growing up my dad would always serve steak with buttered corn or broccoli and cheese sauce.
Other popular sides include any and all potato recipes: mashed potatoes, baked potatoes, garlic roasted potatoes, twice-baked potatoes, scalloped potatoes…
A simple green salad is also good.

More Easy Dinner Recipes
Skillet Salisbury Steak Recipe
One Pan Creamy Spinach Artichoke Chicken Recipe
Have you tried cooking your own steak recipe?
Tell me about it in the comments below! I always love to hear your thoughts.
How to Cook Steak Recipe (Butter Basted Pan-Seared Steak)
Ingredients
- 1 (1.5-2) pound Steak (Porterhouse, Ribeye, or New York Strip (see notes)), bone-in, at least 1 1/2-inches thick
- 2 teaspoon extra virgin olive oil
- Kosher salt and freshly ground black pepper, to season
- 3 tablespoon canola or vegetable oil or avocado oil
- 4 tablespoon unsalted butter
- 3 cloves garlic, minced (optional)
- Fresh parsley, to garnish
Instructions
- Bring your steak to room temperature before adding cooking (about 30 minutes). If you plan to spend good money on a delicious steak, it only makes sense that it be cooked properly from the start, right?
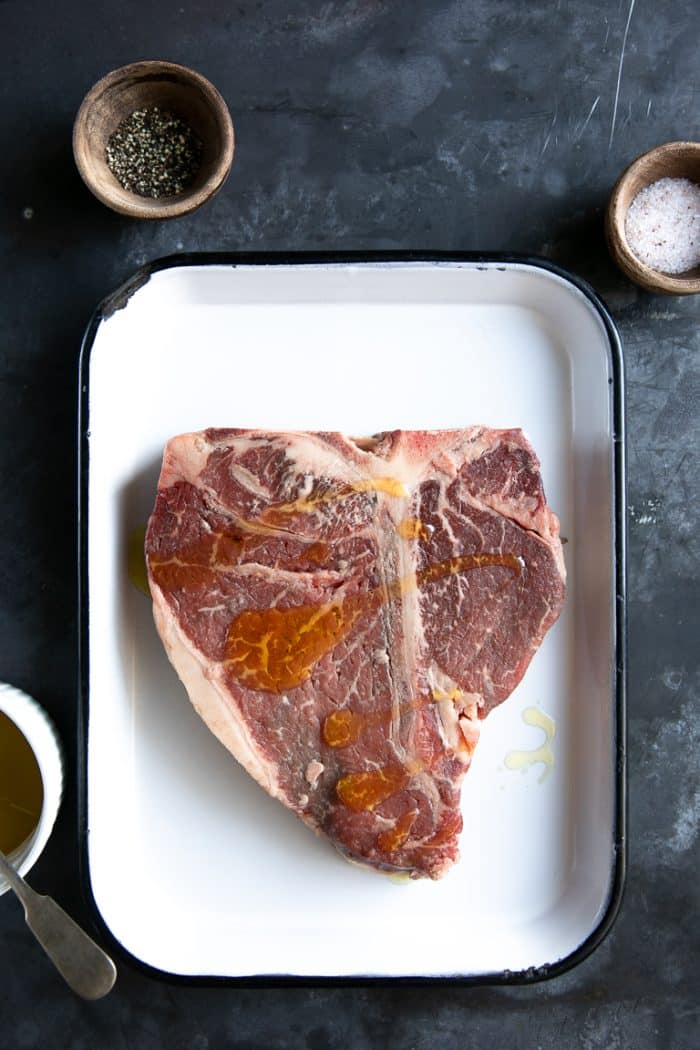
- Rub your steak with extra virgin olive oil, but cook it in oil with a higher smoke point like canola oil or avocado oil.
- As your steak comes to room temperature, gather any additional ingredients and tools and get them ready. You’ll need oil, butter, minced garlic (if using), large skillet, a spoon, tongs, and your meat thermometer.
- Place a large heavy-bottomed skillet over high heat. Allow your skillet to get nice and hot for a minute or so before adding the oil. Allow the oil to get hot before adding the steak. Add your steak to the skillet and allow the first side to cook for 1 minute undisturbed.
- After one minute use your tongs to carefully flip your steak. Allow the other side to cook for 1 minute, undisturbed. Then flip again.
- Now, assuming you are right-handed (if you are left-handed, it will be the opposite), take the handle of your skillet in your left hand and tilt the pan just slightly. In your right hand use a spoon to collect and baste the top of the steak with hot oil. Baste everywhere, but focus more on the New York Strip side as that has a higher fat content. Continue for 1 minute then flip. Repeat this same process for 1 minute on the other side.
- By this point, your steak has been cooking for 4 minutes total (2 minutes on each side). Check the internal temperature of your steak with your digital meat thermometer.
- Add the butter.
- Continue flipping (every 30-60 seconds) and basting with butter. After 1-2 minutes more, add the garlic and check the internal temperature of your steak again (in the tenderloin side of your steak).
- Continue until the thickest part of the tenderloin side registers 120-125 degrees F (49-52 degrees C) for a medium-rare steak or 130 degrees F. (54 degrees C) for medium.
- Immediately transfer steak to a large plate or cutting board and allow it to rest for at least 5 minutes. Serve with pan drippings and garnished with fresh chopped parsley, if desired. Enjoy!
Notes
- The best steak for this recipe would include the Porterhouse (T-Bone), New York Strip (Top Sirloin), or Ribeye.
- Bring your steak to room temperature before cooking.
- Tools needed for this recipe include a solid, heavy-bottomed skillet (I love my cast iron skillet), kitchen tongs, and a digital meat thermometer.
- This recipe is best for very large thick steaks approximately 1.5-2 pounds (24-32 ounces).
- If you plan to add minced garlic, add it in the last minute of cooking to prevent burning.
- Optional- toss in 1-2 sprigs of fresh rosemary or fresh thyme with the oil and butter as the steak cooks for extra yummy garlic, herb, butter sauce.
Nutrition
Nutrition information is automatically calculated, so should only be used as an approximation.




Was so annoyed when we went to grill our steaks tonight and out of propane! Your recipe, however, really came to the rescue!. Didn’t feel like it was second best – produced a delicious medium rare, 2 inch thick New York Strip in about 10 minutes!
Hi Jennifer,
I am so happy that this recipe was able to save the meat and the meal! 🙂
I mad the strip steak. My favorite pan started burning a bit. I finished cooking in the oven after flipping it for four minutes. I also let it rest. It was one of the juiciest and tastiest steaks I had ever made.
So good! The only mistake I made was not timing the 1 minute and just guessing it’d been a minute. I over did it on one side, but overall it was still amazing! I used filet mignon and followed recipe exactly 🥰
Excellent!
I like what you said about making sure that it’s important to rest the steak before eating it. My husband is always so eager to eat the steak that he forgets to do that! We’ll have to make sure the next time we get steaks to cook it according to your instructions and add a little spicy BBQ sauce to zest it up.