
This post may contain affiliate links. See my disclosure policy.

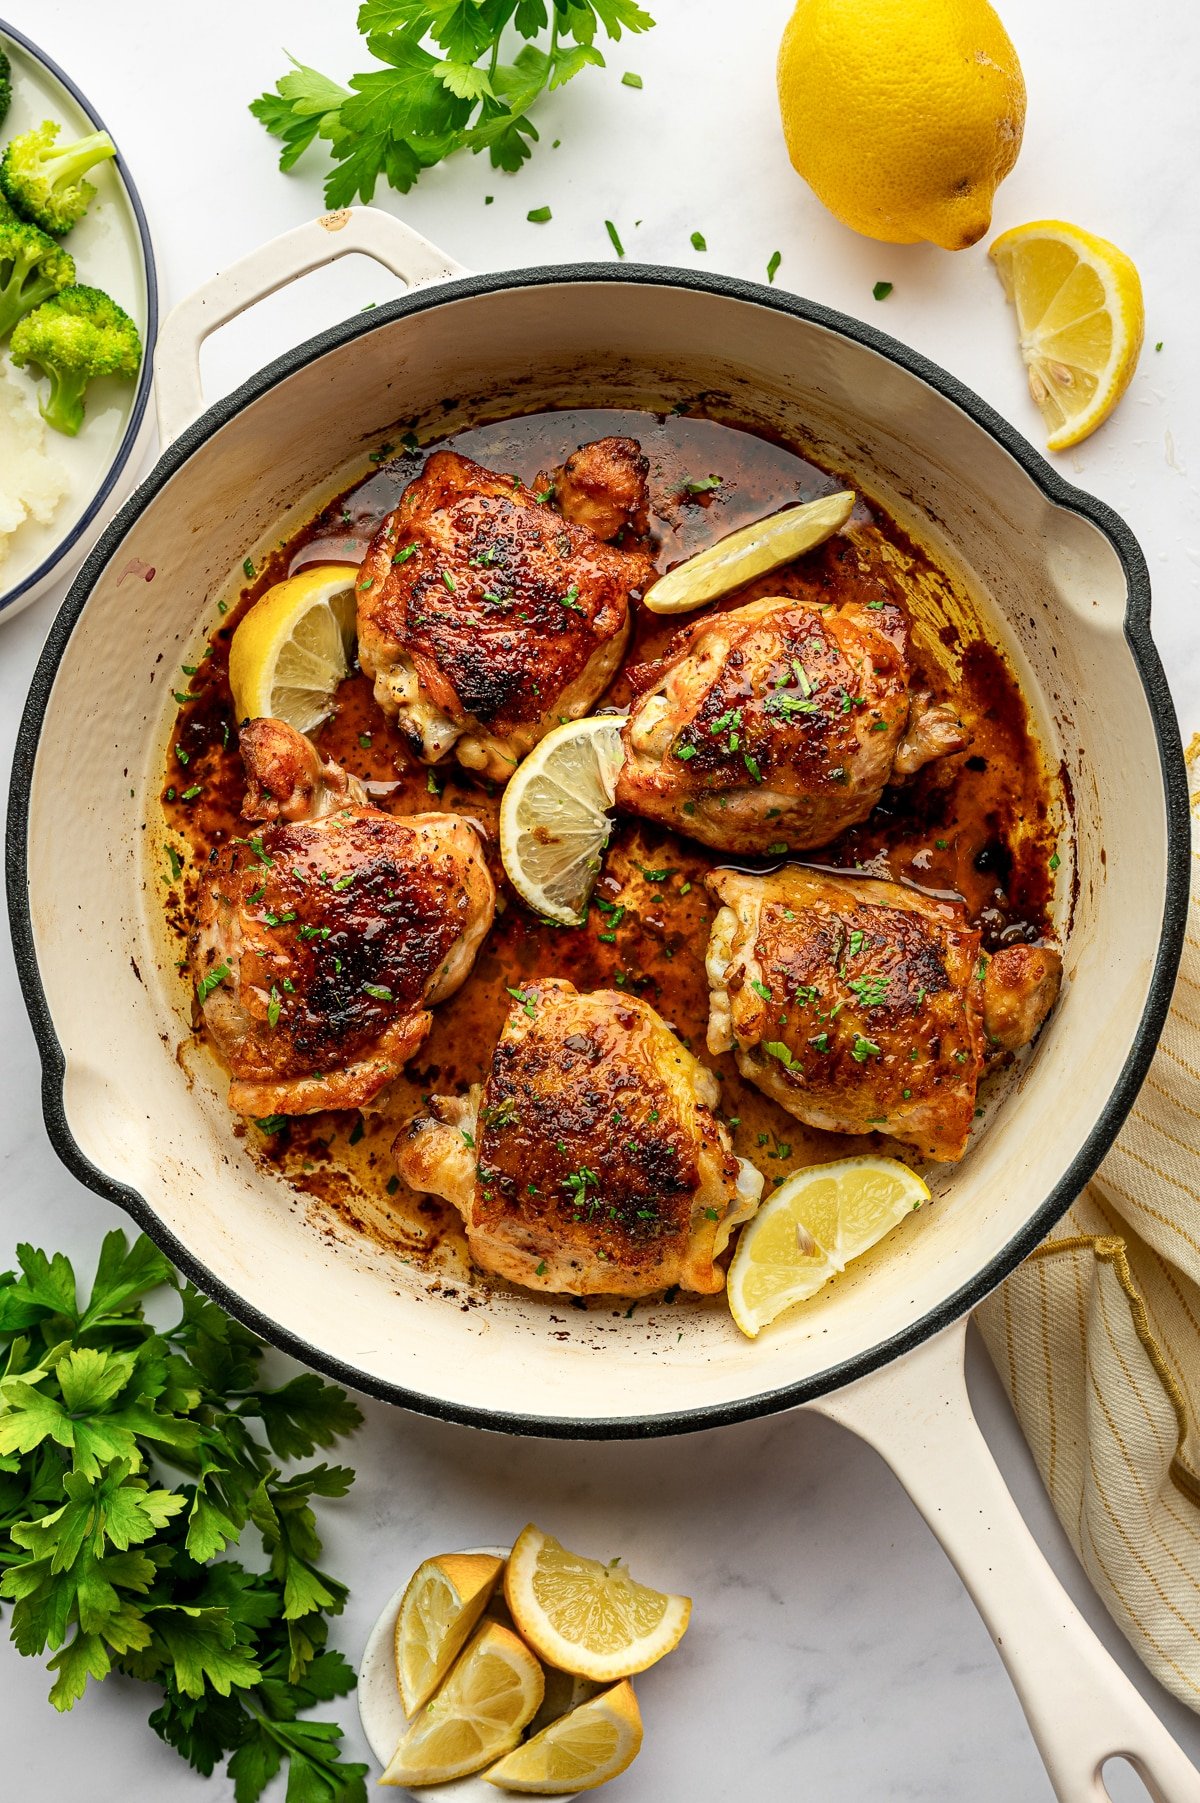
Juicy, golden-baked Lemon Pepper Chicken thighs in a bright and zesty lemon-garlic butter sauce. An easy one-skillet recipe ready in less than an hour!

I’ve tested this lemon pepper chicken recipe at least a dozen times using both bone-in and boneless chicken thighs, as well as boneless chicken breasts. The clear winner is always bone-in, skin-on thighs for their juicy, more flavorful meat.
To make it, the chicken is first seared in a large oven-safe skillet then finishes in the oven with a lemon-garlic butter sauce until the chicken is perfectly golden and juicy. The flavors are bright and savory, similar to my popular Greek chicken marinade and Greek lemon chicken thighs, but with added richness and comfort from the buttery pan sauce.
It’s an easy one-skillet dinner, especially when served alongside buttery mashed potatoes, steamed broccoli, or fluffy Greek lemon rice.
Why You’ll Love This Lemon Pepper Chicken Recipe
- One-skillet recipe: The chicken is seared, baked, and finished in the same pan for big flavor and easy cleanup.
- Tender, juicy chicken thighs: Unlike my baked lemon chicken breasts, this recipe uses bone-in, skin-on thighs, which stay extra moist as they bake and add rich flavor to the lemon garlic butter sauce.
- Crispy skin, flavorful sauce: A quick sear followed by an oven-baked finish gives the chicken crisp skin while the sauce reduces into a glossy, buttery coating.
Table of Contents
What You’ll Need to Make Lemon Pepper Chicken
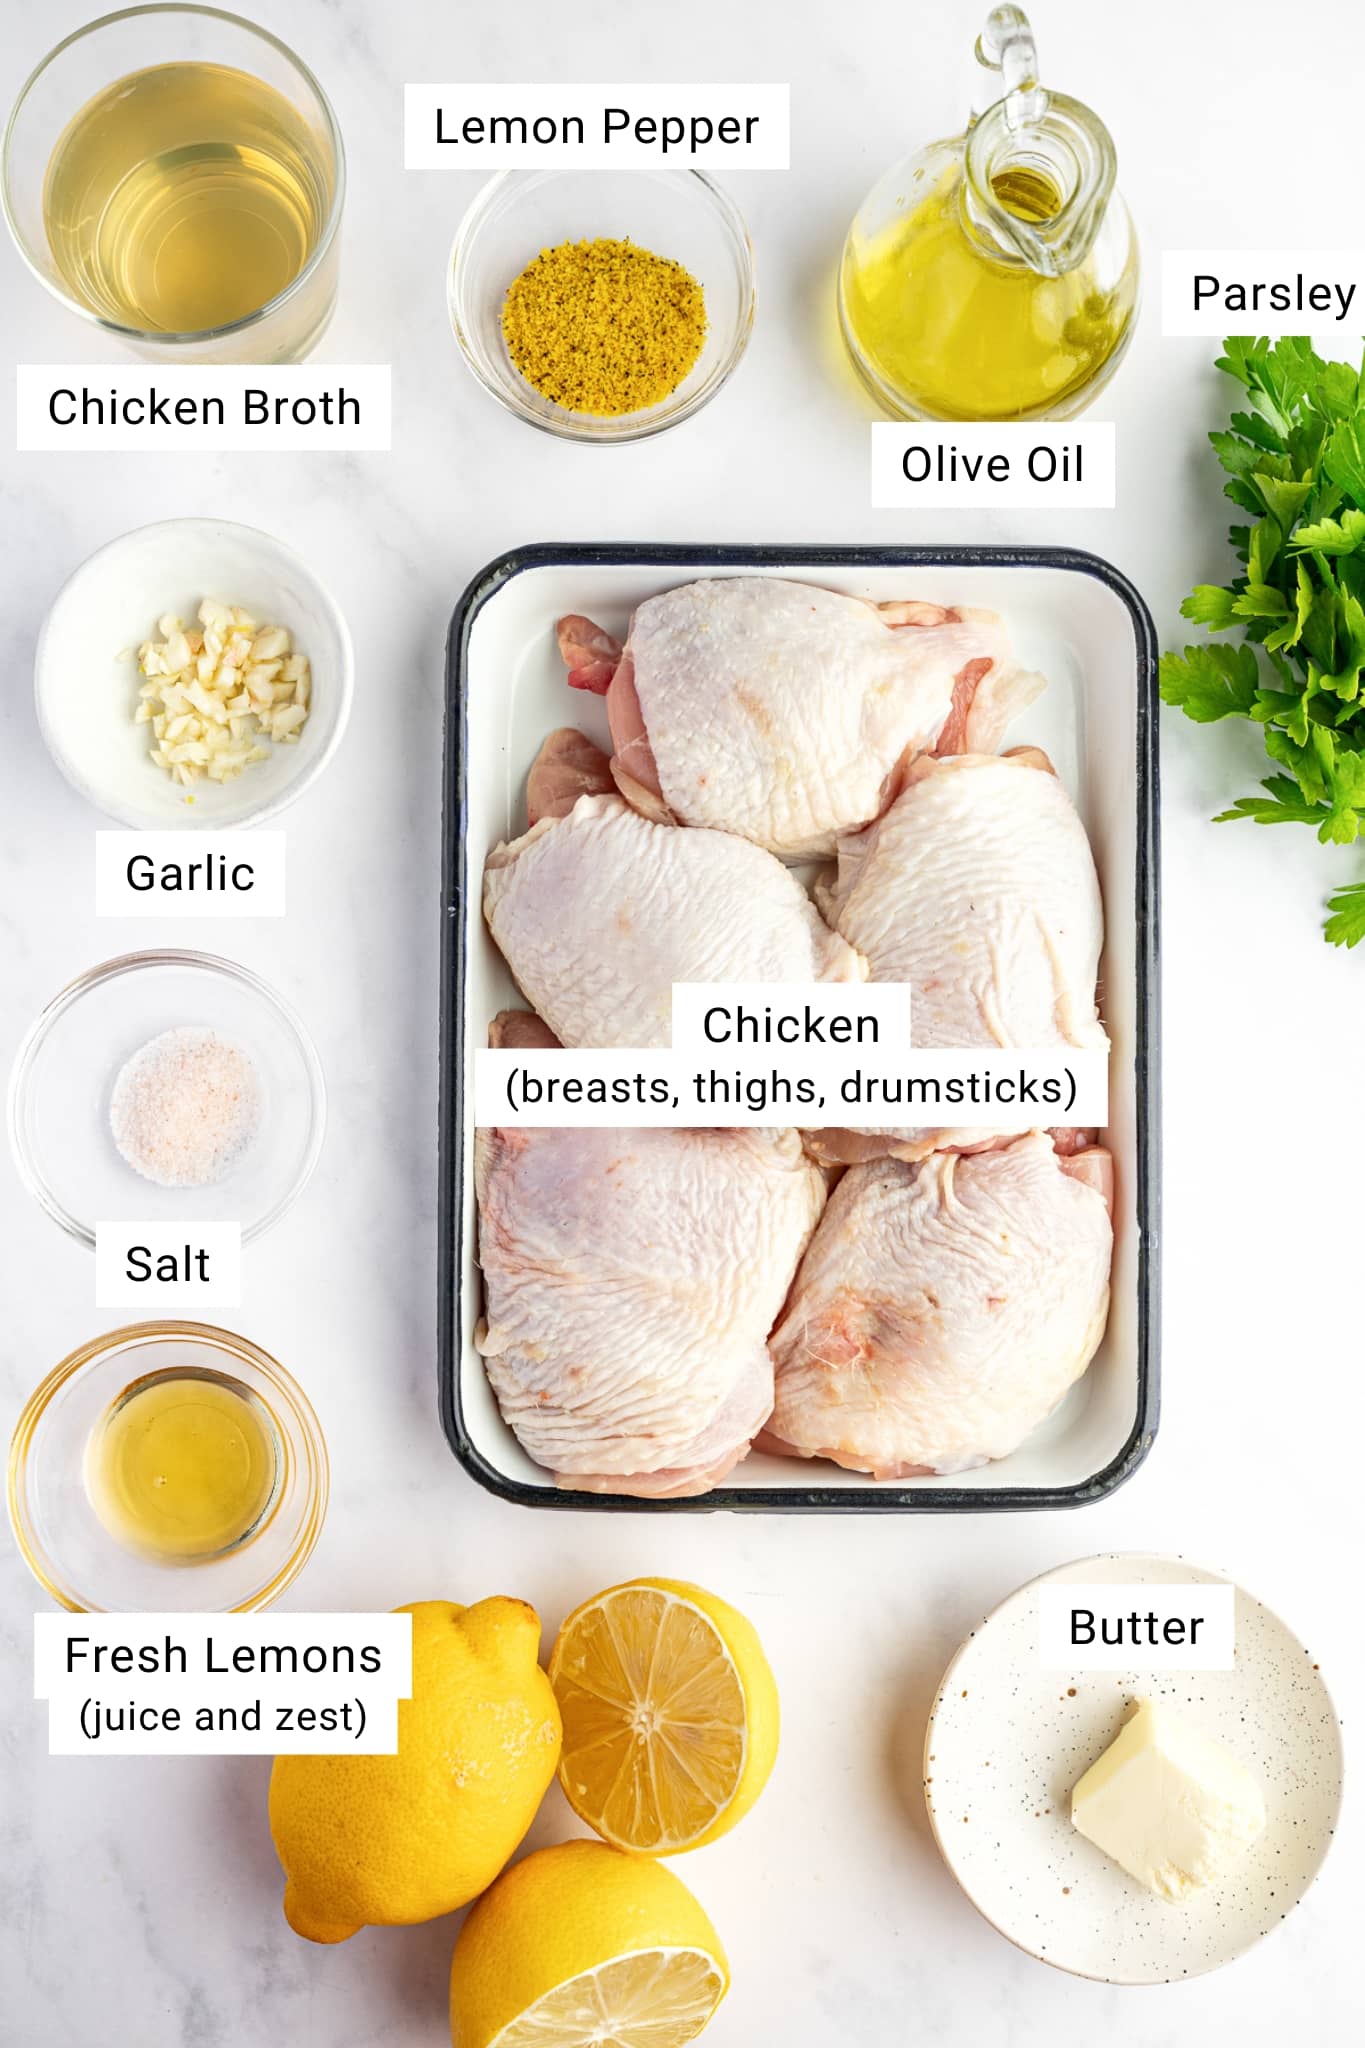
- Chicken Thighs: Bone-in, skin-on chicken thighs will give you the best flavor and stay incredibly juicy. You can also use boneless thighs or chicken breasts. Just reduce the baking time slightly since leaner, boneless cuts cook faster.
- Lemon Pepper Seasoning: Use a good-quality store-bought blend or make your own by mixing 1 teaspoon of black pepper with 1 teaspoon of lemon zest and a pinch of garlic powder.
- Olive Oil: Olive oil helps the chicken brown evenly during searing. Avocado oil or vegetable oil also work well if that is what you have on hand.
- Butter: A must for added richness and flavor to the pan sauce.
- Garlic: Fresh garlic gives the sauce a deep, savory flavor. Garlic powder can be used in a pinch, but reduce the amount to about one-half to one teaspoon.
- Chicken Broth: Creates the base of the sauce and helps deglaze the skillet after searing. Vegetable broth or white wine can also be used.
- Fresh Lemon Juice and Zest: These add the bright, tangy flavor that makes lemon pepper chicken so refreshing. I prefer Meyer lemons when they’re in season as their natural sweetness helps balance the pepper’s heat.
- Fresh Parsley: Adds color and a burst of freshness right before serving. S
- Optional Add-Ins: Add a pinch of red pepper flakes for mild heat or a splash of heavy cream for a silky, richer sauce. You can also toss in vegetables such as asparagus, broccoli, or zucchini to make it a complete one-pan meal.
Looking for the full, printable recipe with measurements? Scroll down to the recipe card below.
How to Make Lemon Pepper Chicken
Step 1. Prep the Chicken:
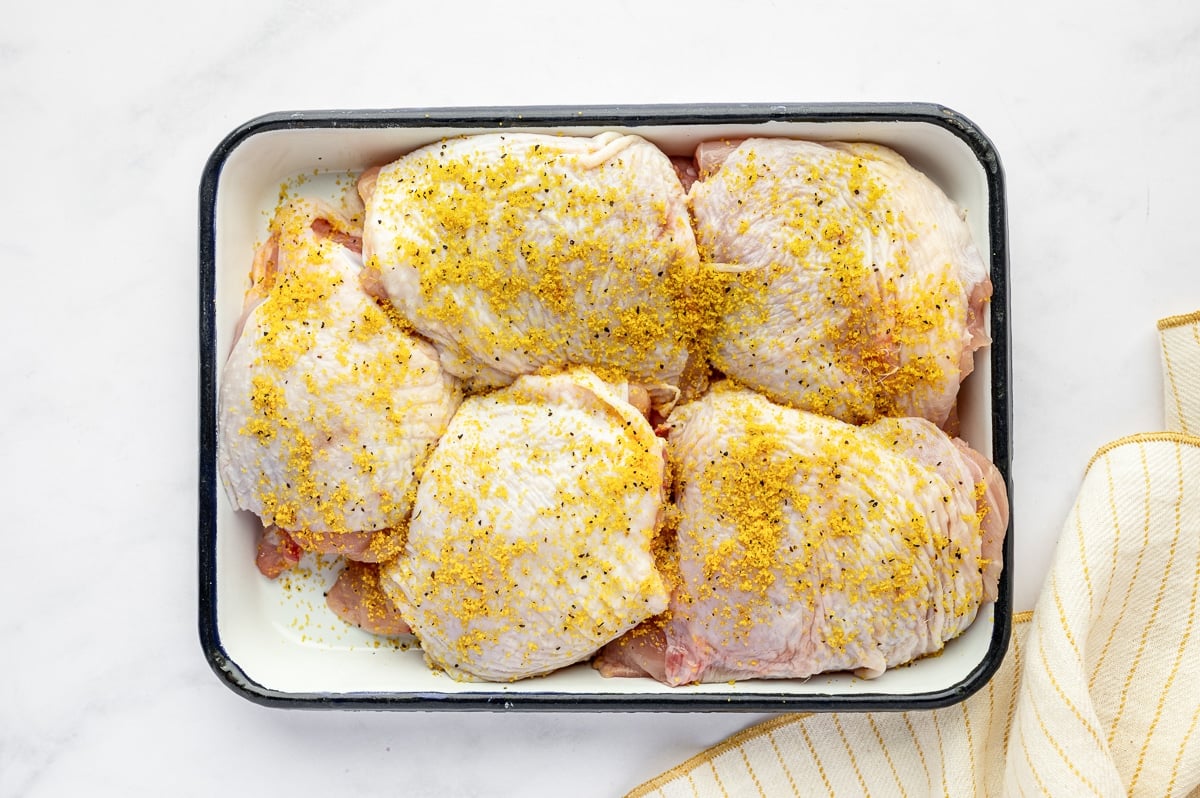
The key to crispy chicken skin starts by patting the chicken thighs dry with paper towels. Season both sides with lemon pepper seasoning and salt.
Step 2. Sear for Flavor:
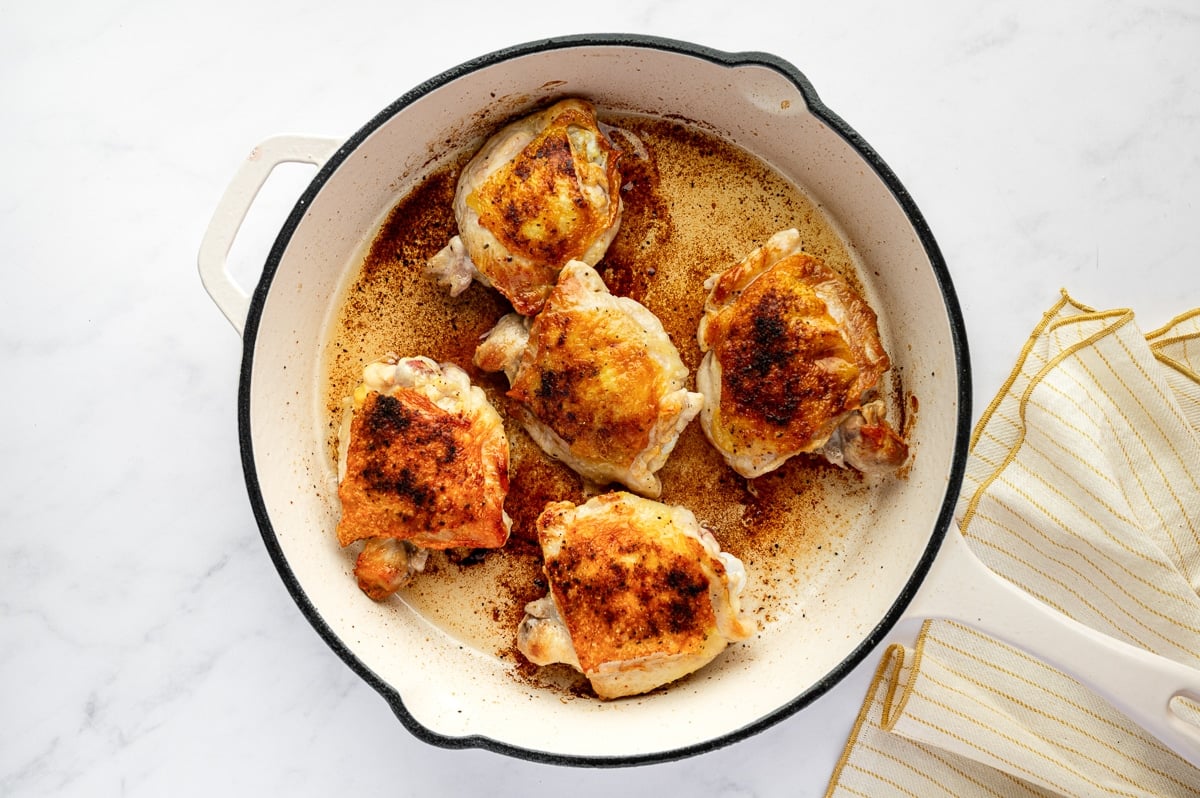
Heat the olive oil in a large oven-safe skillet over medium-high heat. Place the chicken skin-side down and sear 4 to 5 minutes per side until golden brown. Transfer the seared chicken to a plate and set aside
Step 3. Build the Sauce:
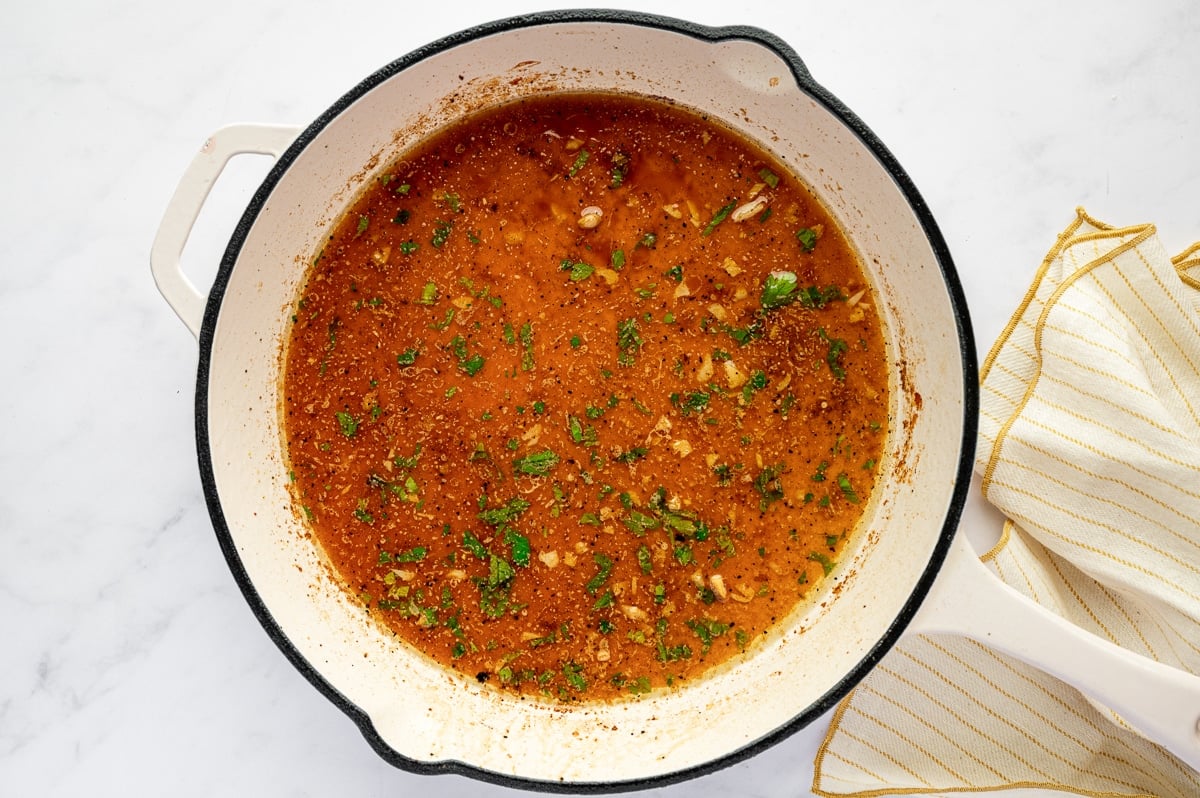
Reduce the heat to medium. Add the butter and minced garlic; sauté for 30 seconds until fragrant. Stir in chicken broth, lemon juice, and lemon zest, scraping up any browned bits from the bottom of the pan as the sauce comes to a gentle simmer.
Step 4. Bake:
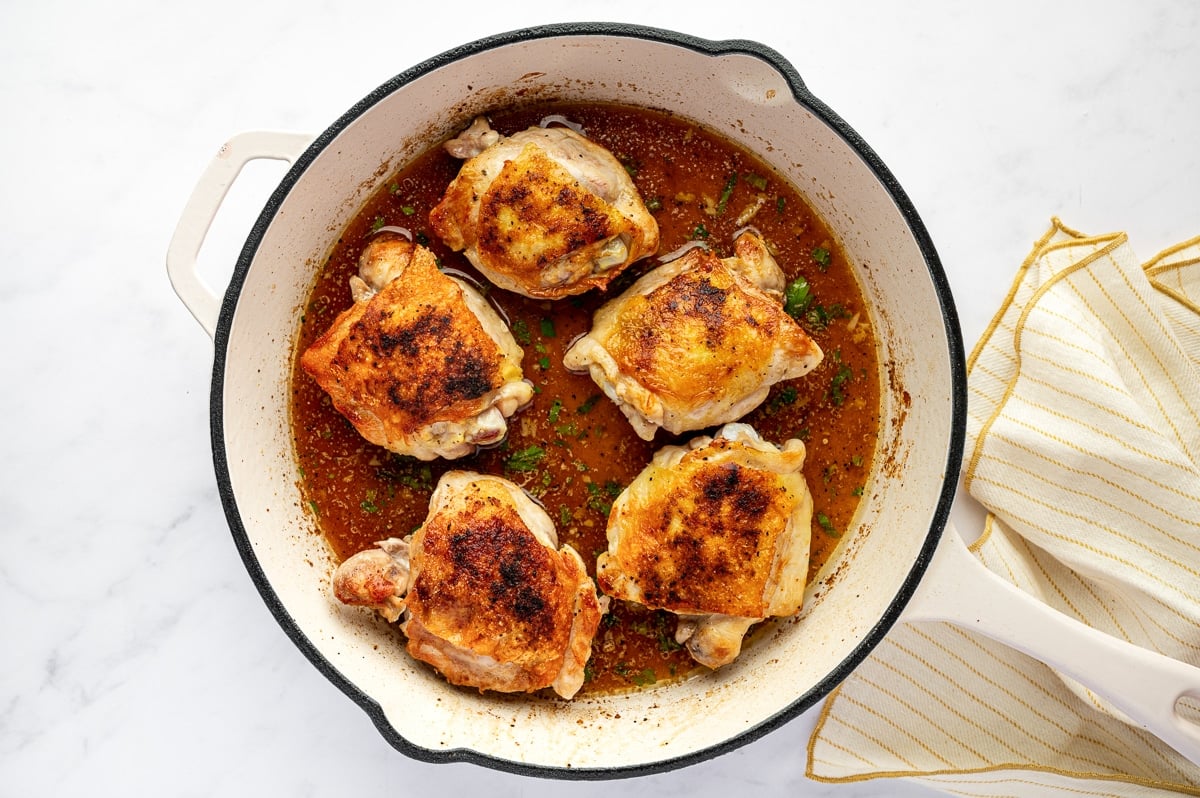
Return the chicken to the skillet, skin-side up. Spoon some sauce over the top. Bake in a preheated 400°F (200°C) oven for 25 to 30 minutes, or until the internal temperature reaches 175°F (80°C).
Step 5. Finish and Serve:
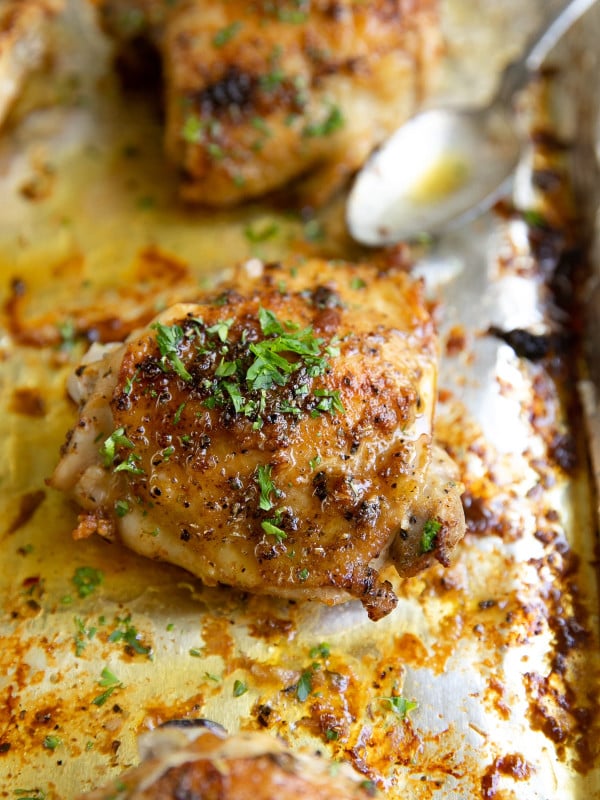
Spoon the lemon-garlic butter sauce over each piece and sprinkle with fresh parsley. Serve warm with mashed potatoes, roasted vegetables, or rice. Tip: For extra-crispy skin, broil 2 to 3 minutes at the very end of cooking.
Quick Tips for the Best Lemon Pepper Chicken Thighs
- Sear the chicken skin-side down first. This helps render the fat and crisp the skin before the chicken goes into the oven, giving it a “fried chicken without frying” texture.
- Cook chicken thighs to 175°F. After multiple tests, I found this temperature gives bone-in chicken thighs a tender, pull-apart texture without drying them out. Use a digital meat thermometer for the most accurate reading.
- Use freshly cracked black pepper. It adds the best flavor and aroma, especially compared to pre-ground pepper, which loses its freshness quickly.
- Use a large oven-safe skillet. Cast iron or enameled cast iron works best for a deep golden sear and even cooking. I like using a 3.6-quart enameled cast iron casserole dish for this recipe.
Serving Ideas
This lemon pepper chicken is rich, buttery, and bright, so it pairs well with simple sides that can soak up the lemon garlic butter sauce. For an easy weeknight dinner, serve it with fluffy white rice, brown rice, or buttery mashed potatoes. Garlic roasted potatoes, Greek lemon rice, or creamy polenta would also be delicious.
For vegetables, try it with roasted asparagus, Air Fryer green beans, broccoli, roasted Brussels sprouts, or a simple side salad. The fresh lemon flavor also pairs especially well with Mediterranean-inspired sides like this couscous salad, Greek salad, or Mediterranean orzo salad.
Tip: Remember to spoon the extra pan sauce over the chicken and sides before serving.

Storage and Reheating Tips
- To store: Allow your leftover lemon pepper chicken thighs to cool completely, then transfer them to an airtight container. Store in the refrigerator for up to 3-4 days.
- To freeze: Place the cooled chicken thighs in a freezer-safe container or zip-top bag with as much air removed as possible. Freeze for up to 3 months. Thaw overnight in the refrigerator before reheating.
- To reheat: For the best texture, reheat the chicken in a 350°F oven or air fryer until warmed through. This helps re-crisp the skin. You can also reheat leftovers in the microwave, but the skin will be softer.
Tip: If you have extra lemon garlic butter sauce, store it with the chicken or in a separate small container and spoon it over the chicken after reheating.
More Easy Chicken Recipes



If you make this recipe, I’d love to hear what you think! Please leave a comment and a star rating below, your feedback helps other readers discover (and enjoy) this recipe too. Thank you so much! 💛

Lemon Pepper Chicken

Ingredients
- 6 bone-in skin-on chicken thighs
- 2-3 teaspoons lemon pepper seasoning, store-bought or homemade
- ½ teaspoon salt, adjust to taste
- 2 tablespoons olive oil
- 2 tablespoons unsalted butter
- 3 cloves garlic, minced
- 1 cup low-sodium chicken broth
- 2 tablespoons fresh lemon juice
- 1 teaspoon lemon zest
- 2 tablespoons fresh parsley, chopped
- Optional: extra lemon wedges for serving
Instructions
- Preheat the oven. Set the oven to 400°F (200°C) and allow it to preheat while you prepare the chicken.
- Season the chicken. Pat 6 bone-in skin-on chicken thighs dry with paper towels. Sprinkle both sides with 2-3 teaspoons lemon pepper seasoning and ½ teaspoon salt, pressing gently so it adheres to the skin.
- Sear to build flavor. Heat 2 tablespoons olive oil in a large oven-safe skillet over medium-high heat. Once hot, add the chicken skin-side down and cook for 4 to 5 minutes per side, or until golden brown. Transfer to a plate.
- Make the sauce. Lower the heat to medium. Add 2 tablespoons unsalted butter and 3 cloves minced garlic to the same skillet. Sauté for about 30 seconds, then pour in 1 cup low-sodium chicken broth, 2 tablespoons fresh lemon juice, and 1 teaspoon lemon zest. Stir, scraping up any browned bits from the bottom.
- Bake until juicy and tender. Return the chicken to the skillet, skin-side up, and spoon a little sauce over each piece. Transfer the skillet to the oven and bake uncovered for 25 to 30 minutes, or until the internal temperature reaches 175°F (80°C).
- Finish and serve. Remove from the oven and let rest for 5 minutes. Spoon more sauce over the top, sprinkle with 2 tablespoons fresh parsley, and serve warm with your favorite sides.
Notes
- Chicken options: Bone-in, skin-on thighs give the most juicy, flavorful results. But, you can also use boneless thighs or chicken breasts. Reduce the cooking time by about 10 minutes and bake until the internal temperature registers 165 °F.
- Lemon pepper seasoning: If you don’t have store-bought seasoning, you can make your own by mixing 1 teaspoon of black pepper with 1 teaspoon of lemon zest and a pinch of garlic powder.
- Storage: Store leftovers in an airtight container in the refrigerator for up to 4 days, or freeze for up to 2 months. Reheat gently on the stove or in the oven until warmed through.
Explore More with AI
Nutrition
Nutrition information is automatically calculated, so should only be used as an approximation.












the chicken and gravy was delicious ious. i cooked it for the required time and it came out perfect.
Hi Linda! I am so happy to hear that! Thank you for sharing – I am glad the chicken and gravy turned out delicious and cooked perfectly for you. 🙂
Dear Jessica,
I made this years ago for a Sedar Dinner (Passover). Then proceeded to loose the recipe!
I was thrilled to see it in Friday’s email!!
Thank you! I absolutely enjoy this recipe and plan on making this next week!!
Have a blessed weekend!
God bless you and your family in Jesus Name amen
Thank you so much! I am so glad you found the recipe again and that it brought back such a special memory. I hope you enjoy making it next week, and I really appreciate you taking the time to leave such a kind comment. 🙂
All your meals look delicious 😋
Thank you, Tony 🙂