Porcupine Meatballs are an old-fashioned meatball recipe made with seasoned ground beef mixed with long-grain rice and then simmered in a rich and flavorful tomato sauce. Serve these yummy meatballs with roasted veggies and buttery biscuits for an easy weeknight meal the whole family will love.
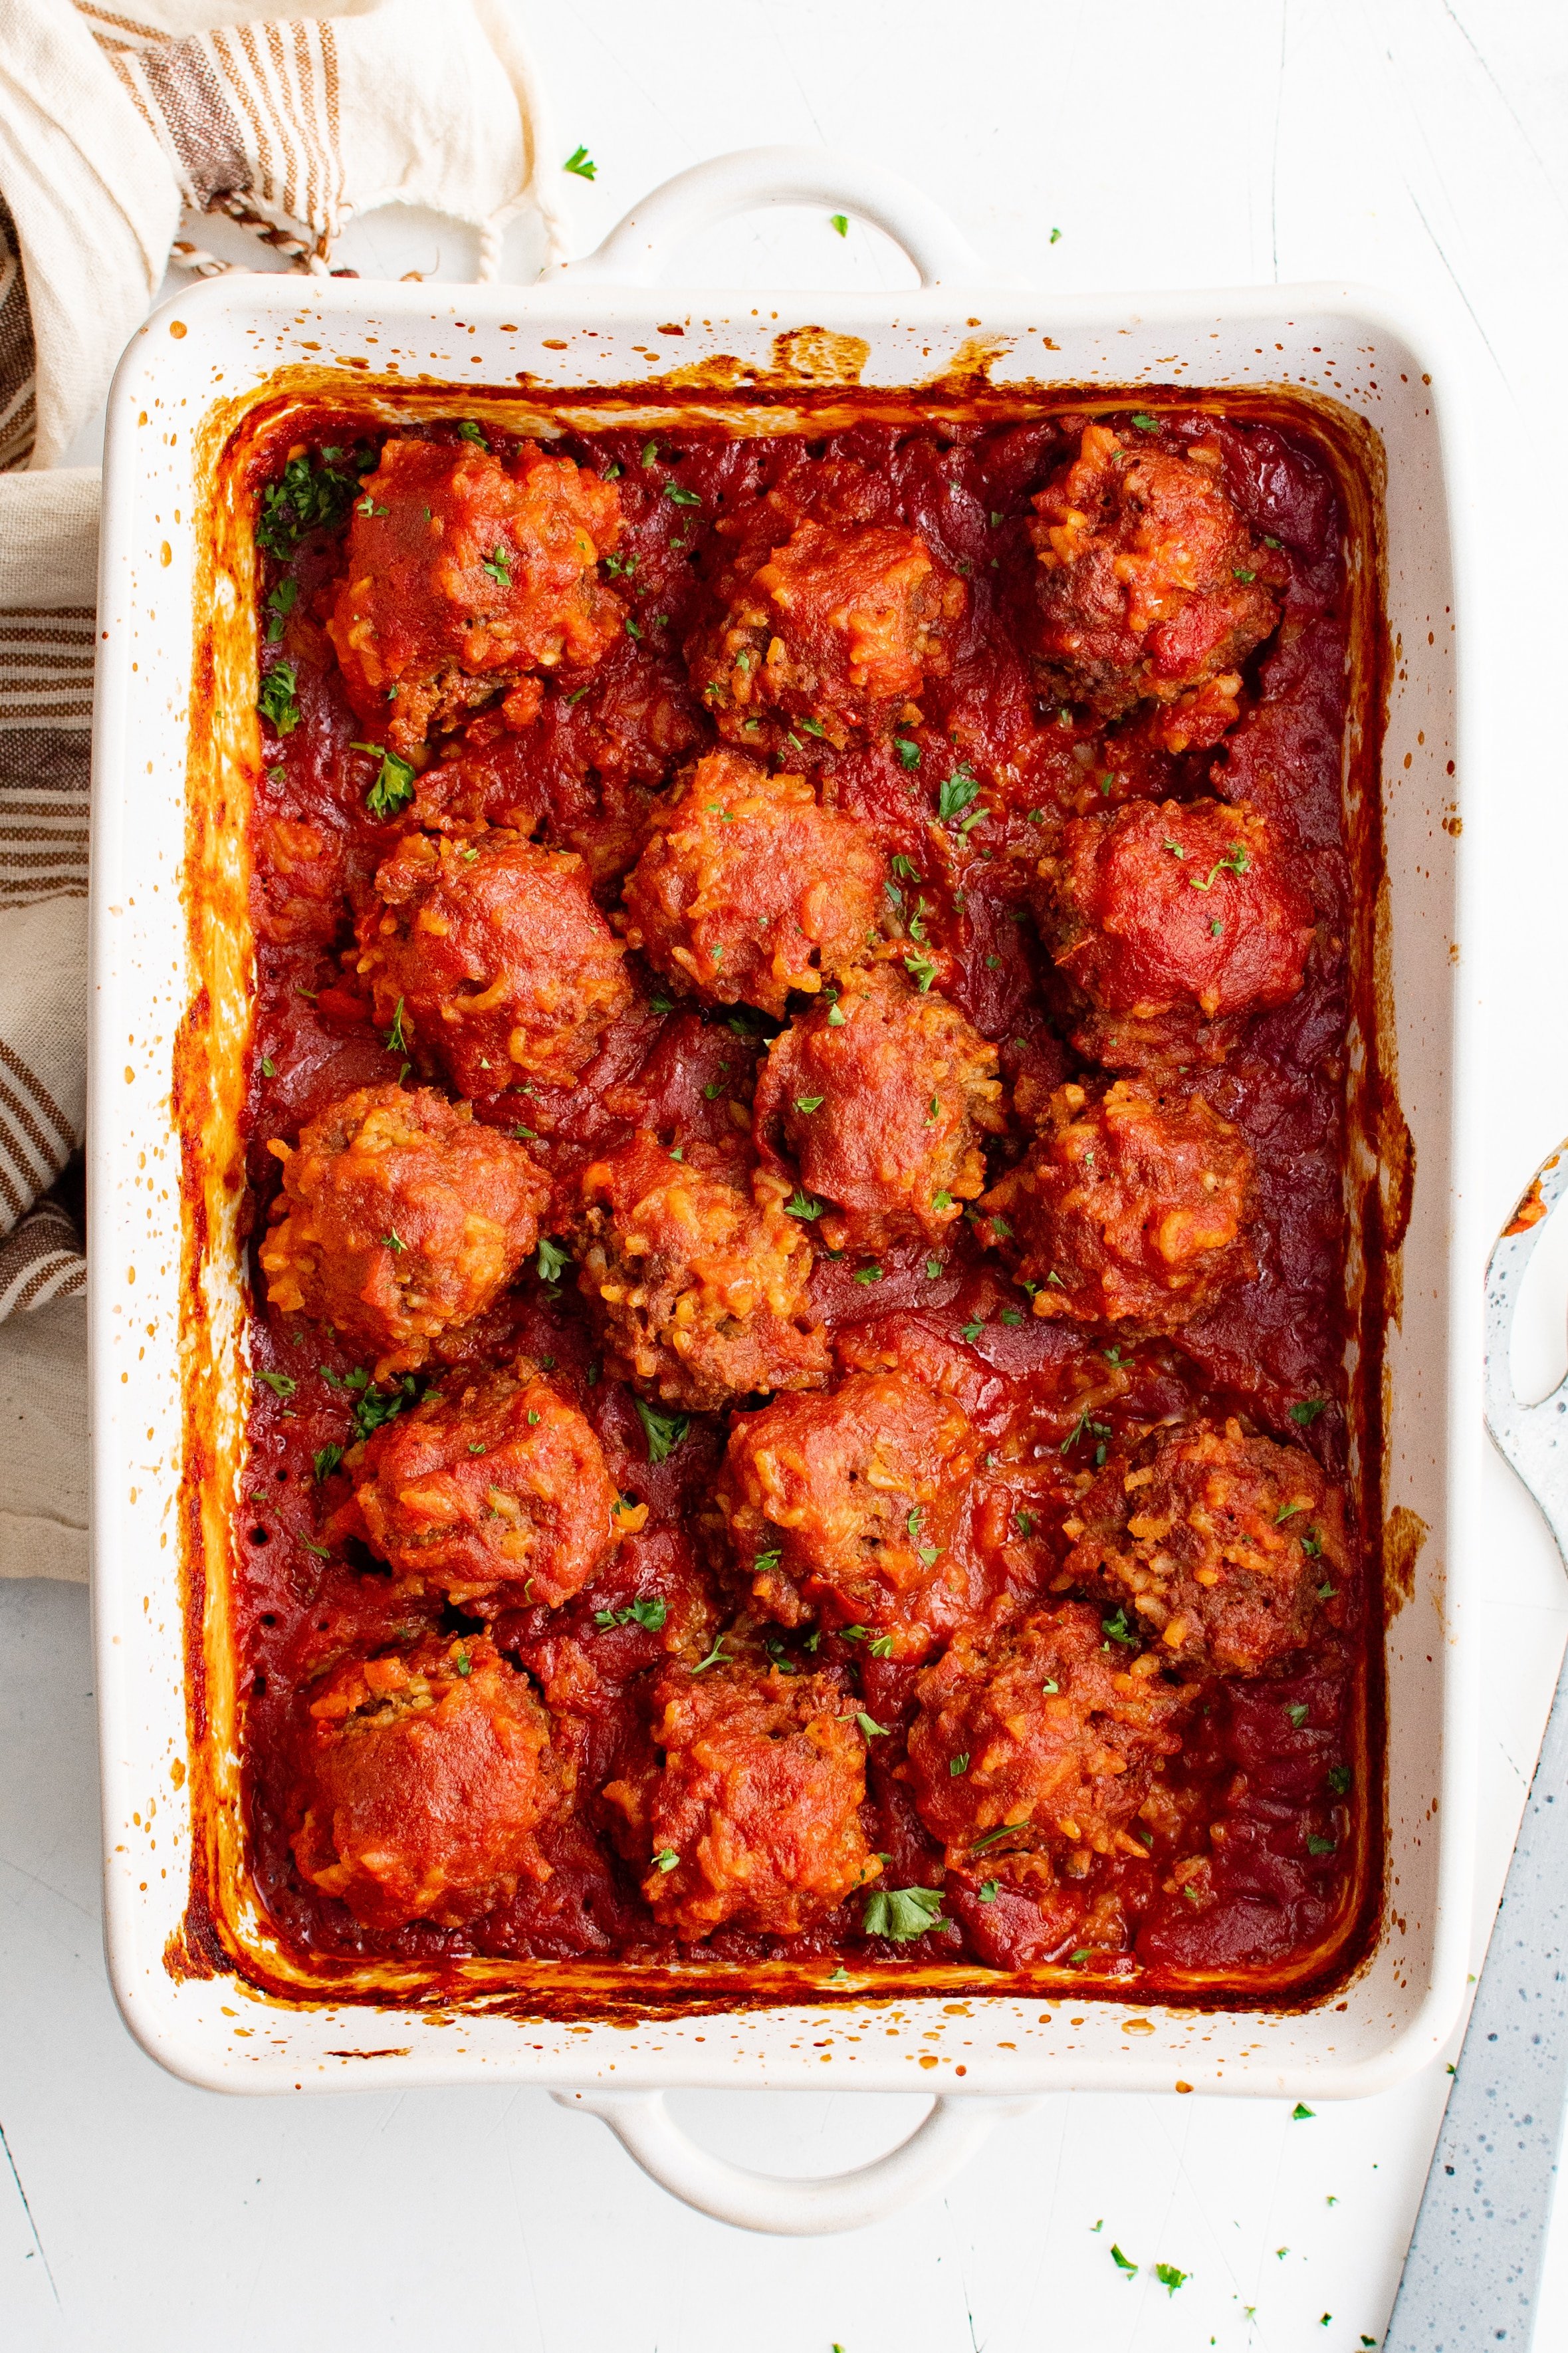
Porcupine Meatballs Recipe
If you’ve never tried (or heard of!) porcupine meatballs, then you are in for a treat. No, they’re not made with actual porcupine meat. Instead, they’re made with a simple combination of ground beef, seasonings, and long-grain white rice, then smothered in tomato sauce and baked in the oven. So easy! You can even add some shredded cheese or fresh herbs to the meatball mixture.
Tip: If you love meatballs cooked with rice, you’ll also love this albondigas soup recipe.
What are Porcupine Meatballs?
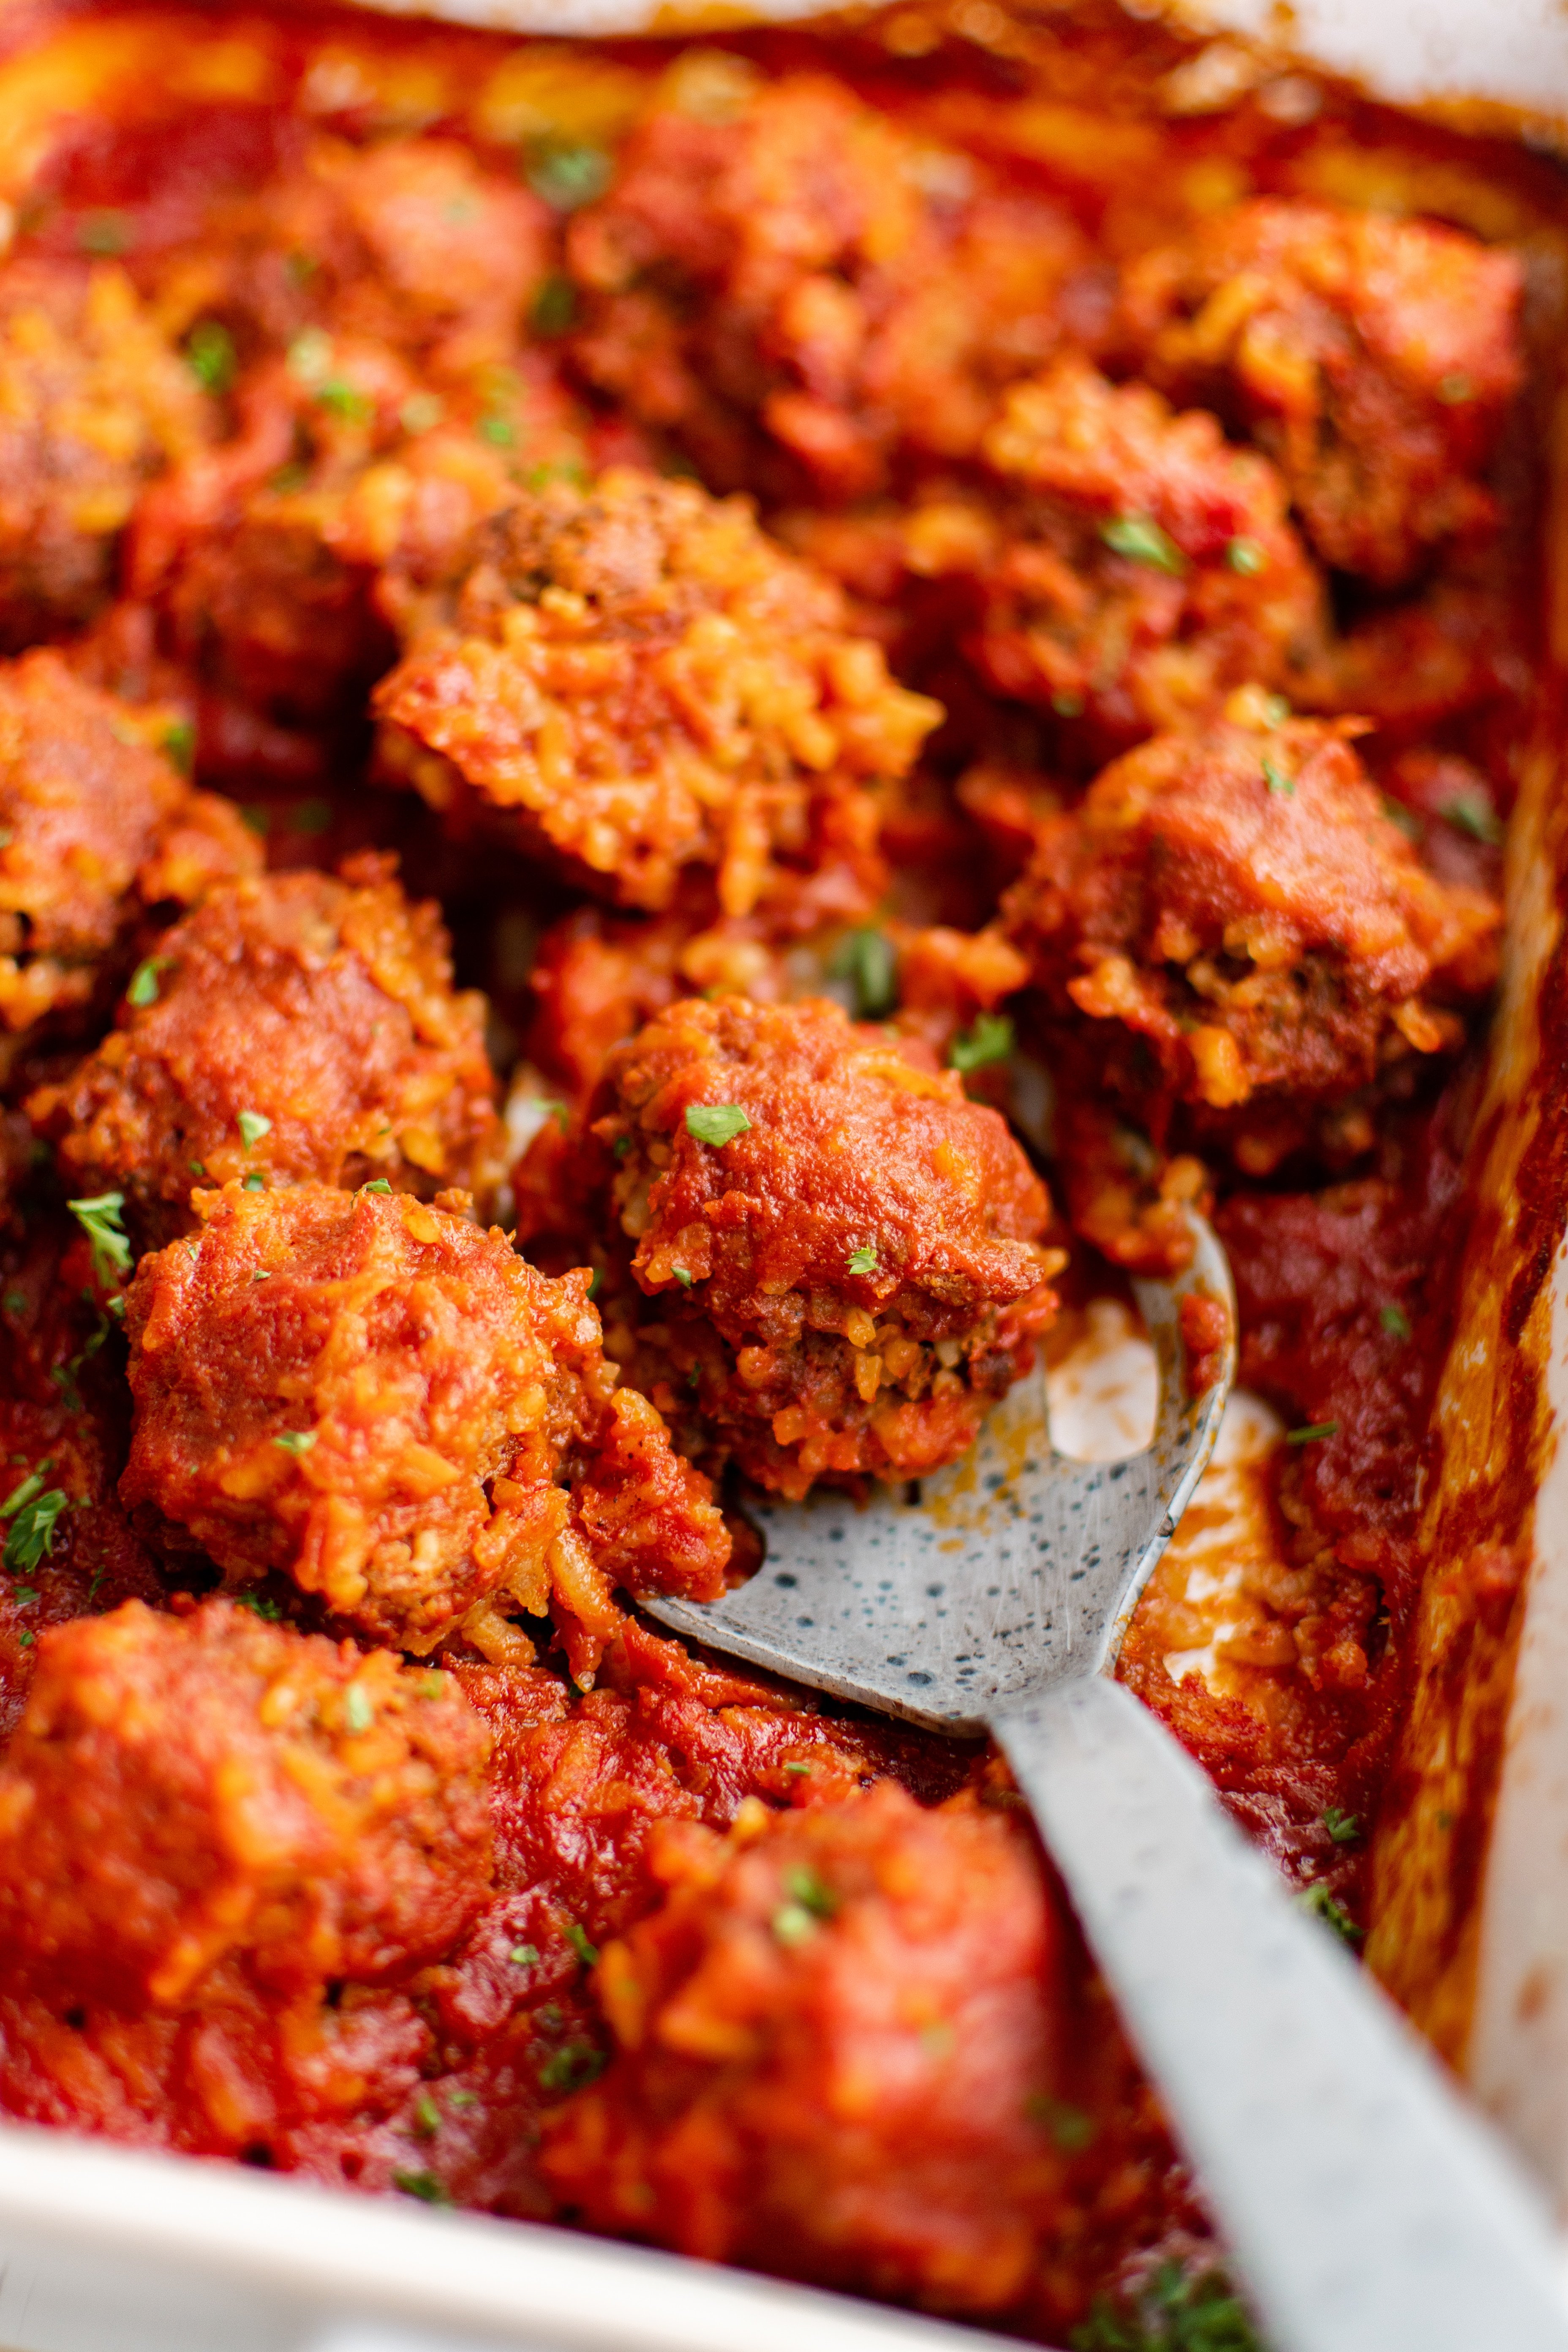
Porcupine meatballs are a classic American casserole dish that originated during the Great Depression. They were originally made with just a few basic ingredients: ground beef, white rice, and canned tomato soup. They are named porcupine meatballs because as they cook, the rice sticks out of them, making them appear prickly, just like the quills on a porcupine.
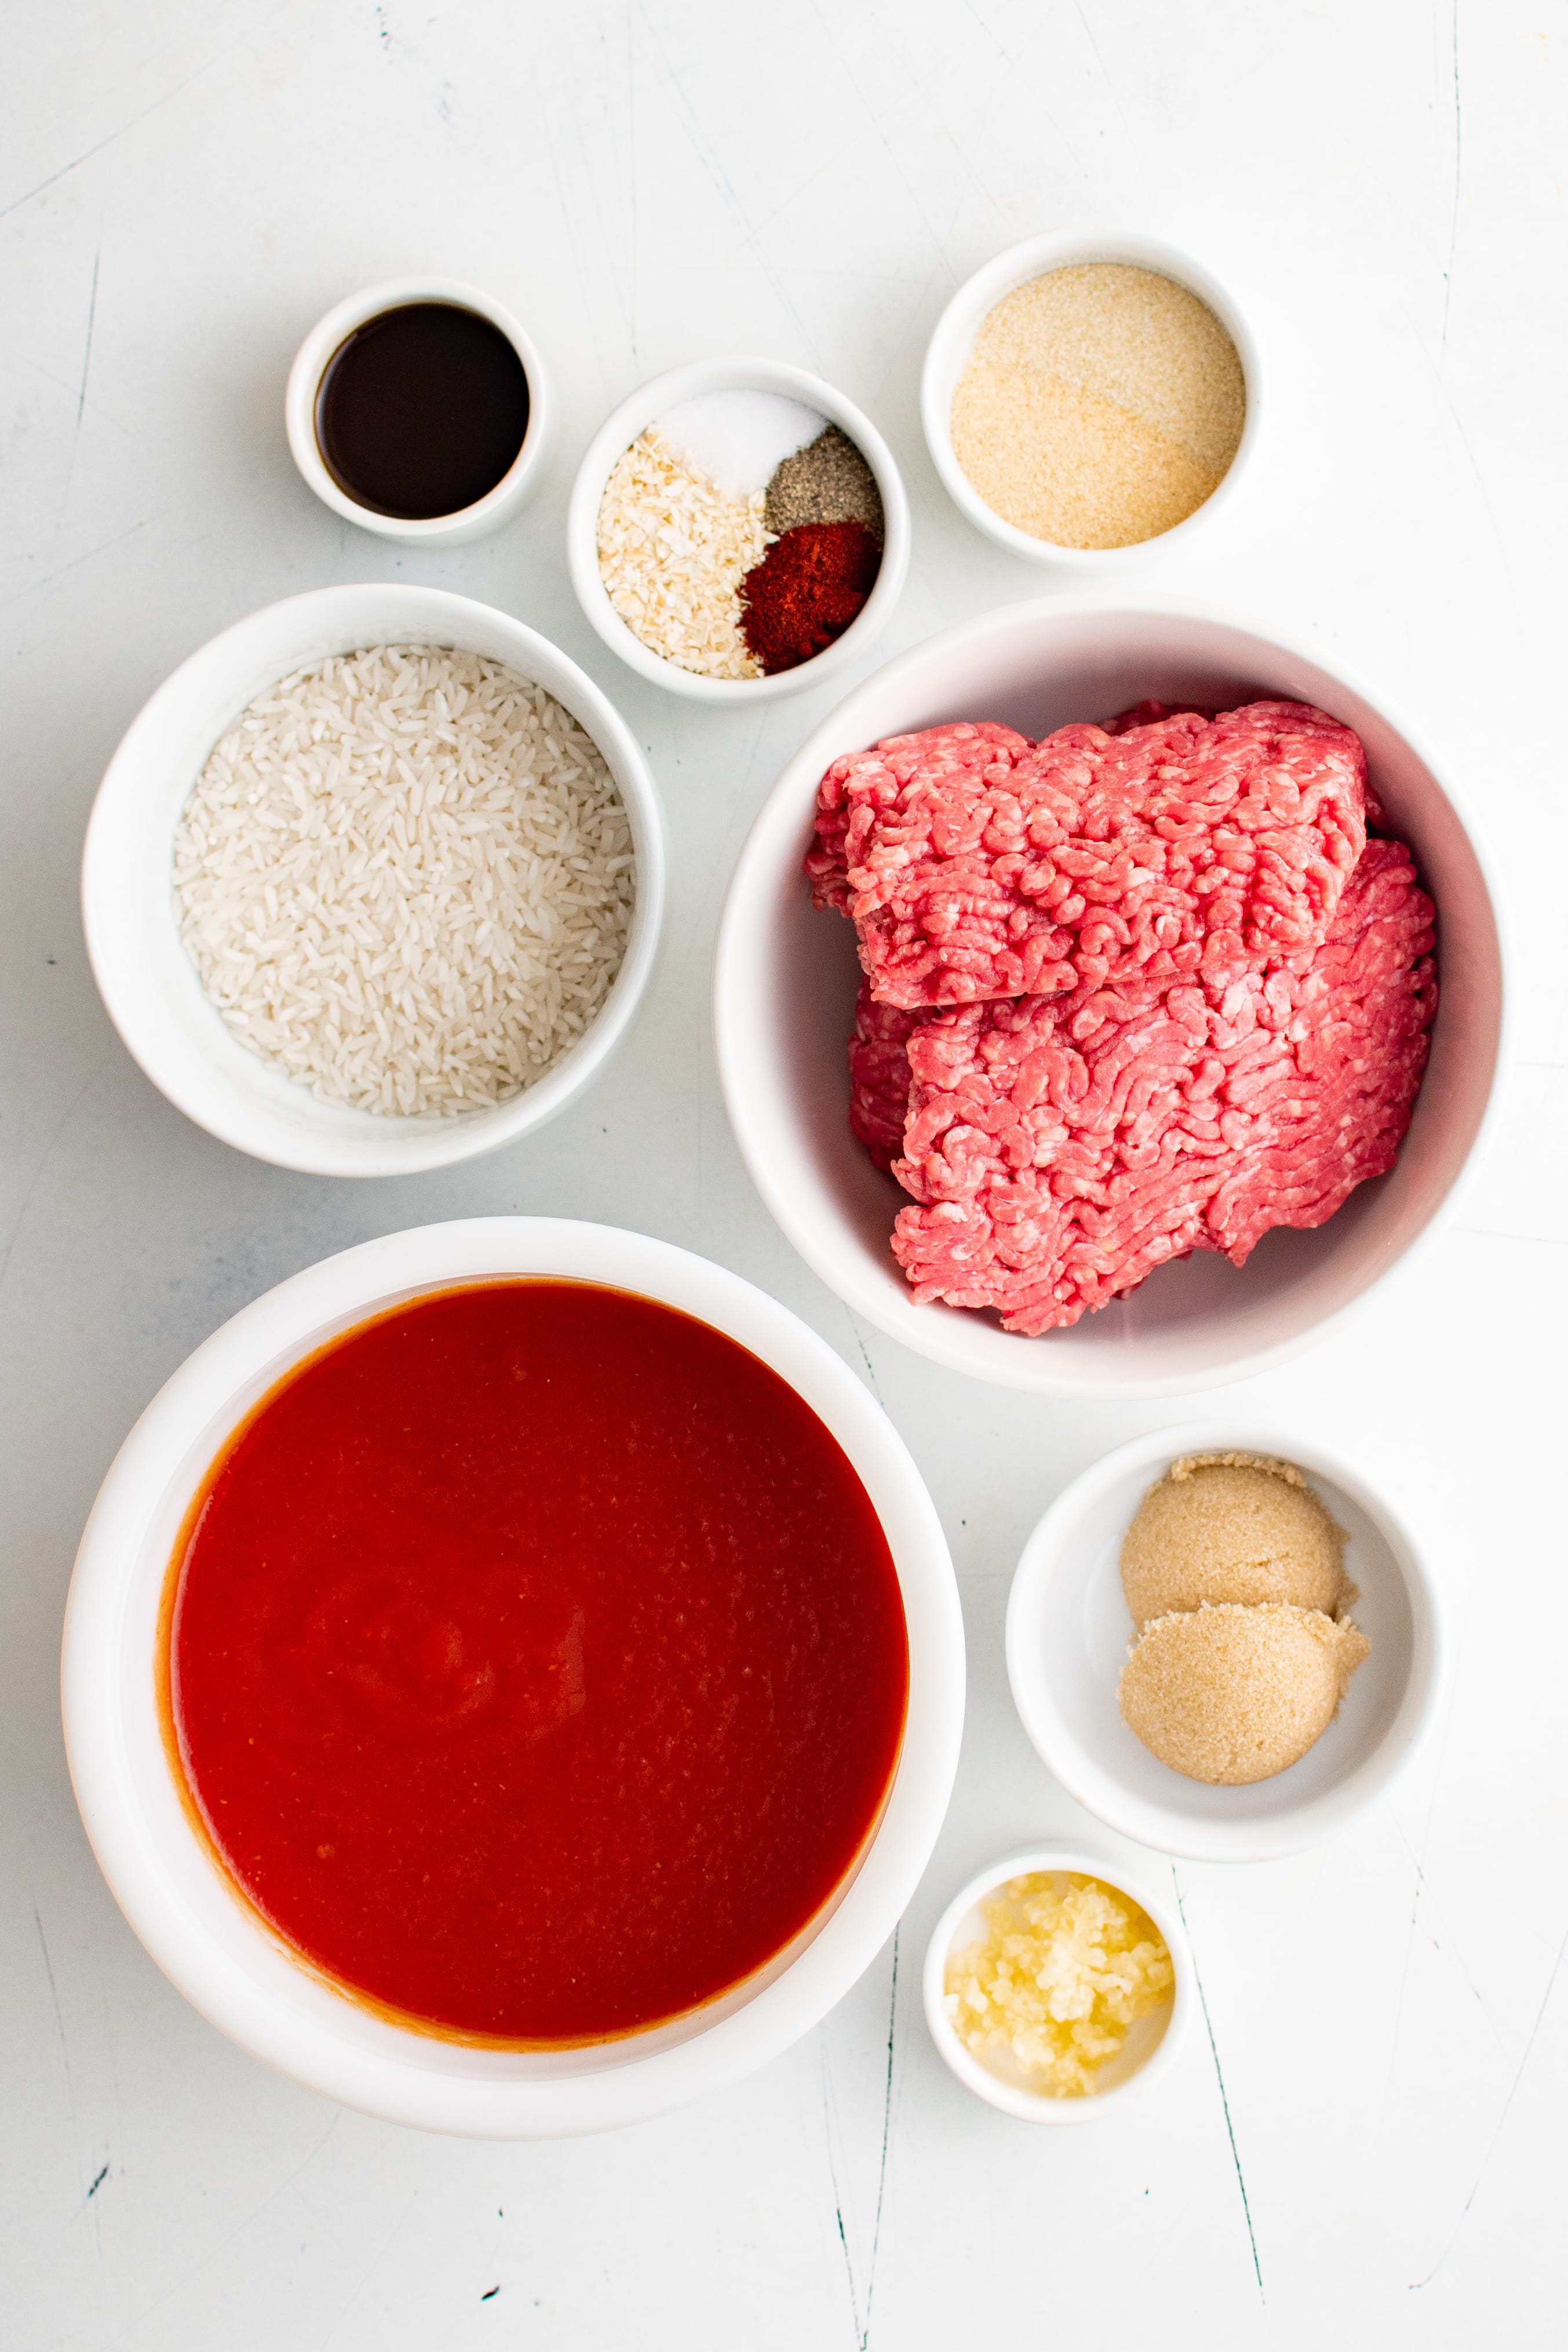
Recipe Ingredients
- Ground beef – I used 93% lean ground beef
- Uncooked long-grain rice
- Garlic
- Dry minced onion
- Salt & Black pepper
- Paprika
- Tomato sauce
- Brown sugar
- Worcestershire sauce
- Garlic powder
- Onion powder
How to Make Porcupine Meatballs
1. Preheat the oven to 350 degrees Fahrenheit.
2. In a medium size bowl, mix all the meatball ingredients by hand or with a spoon until combined.
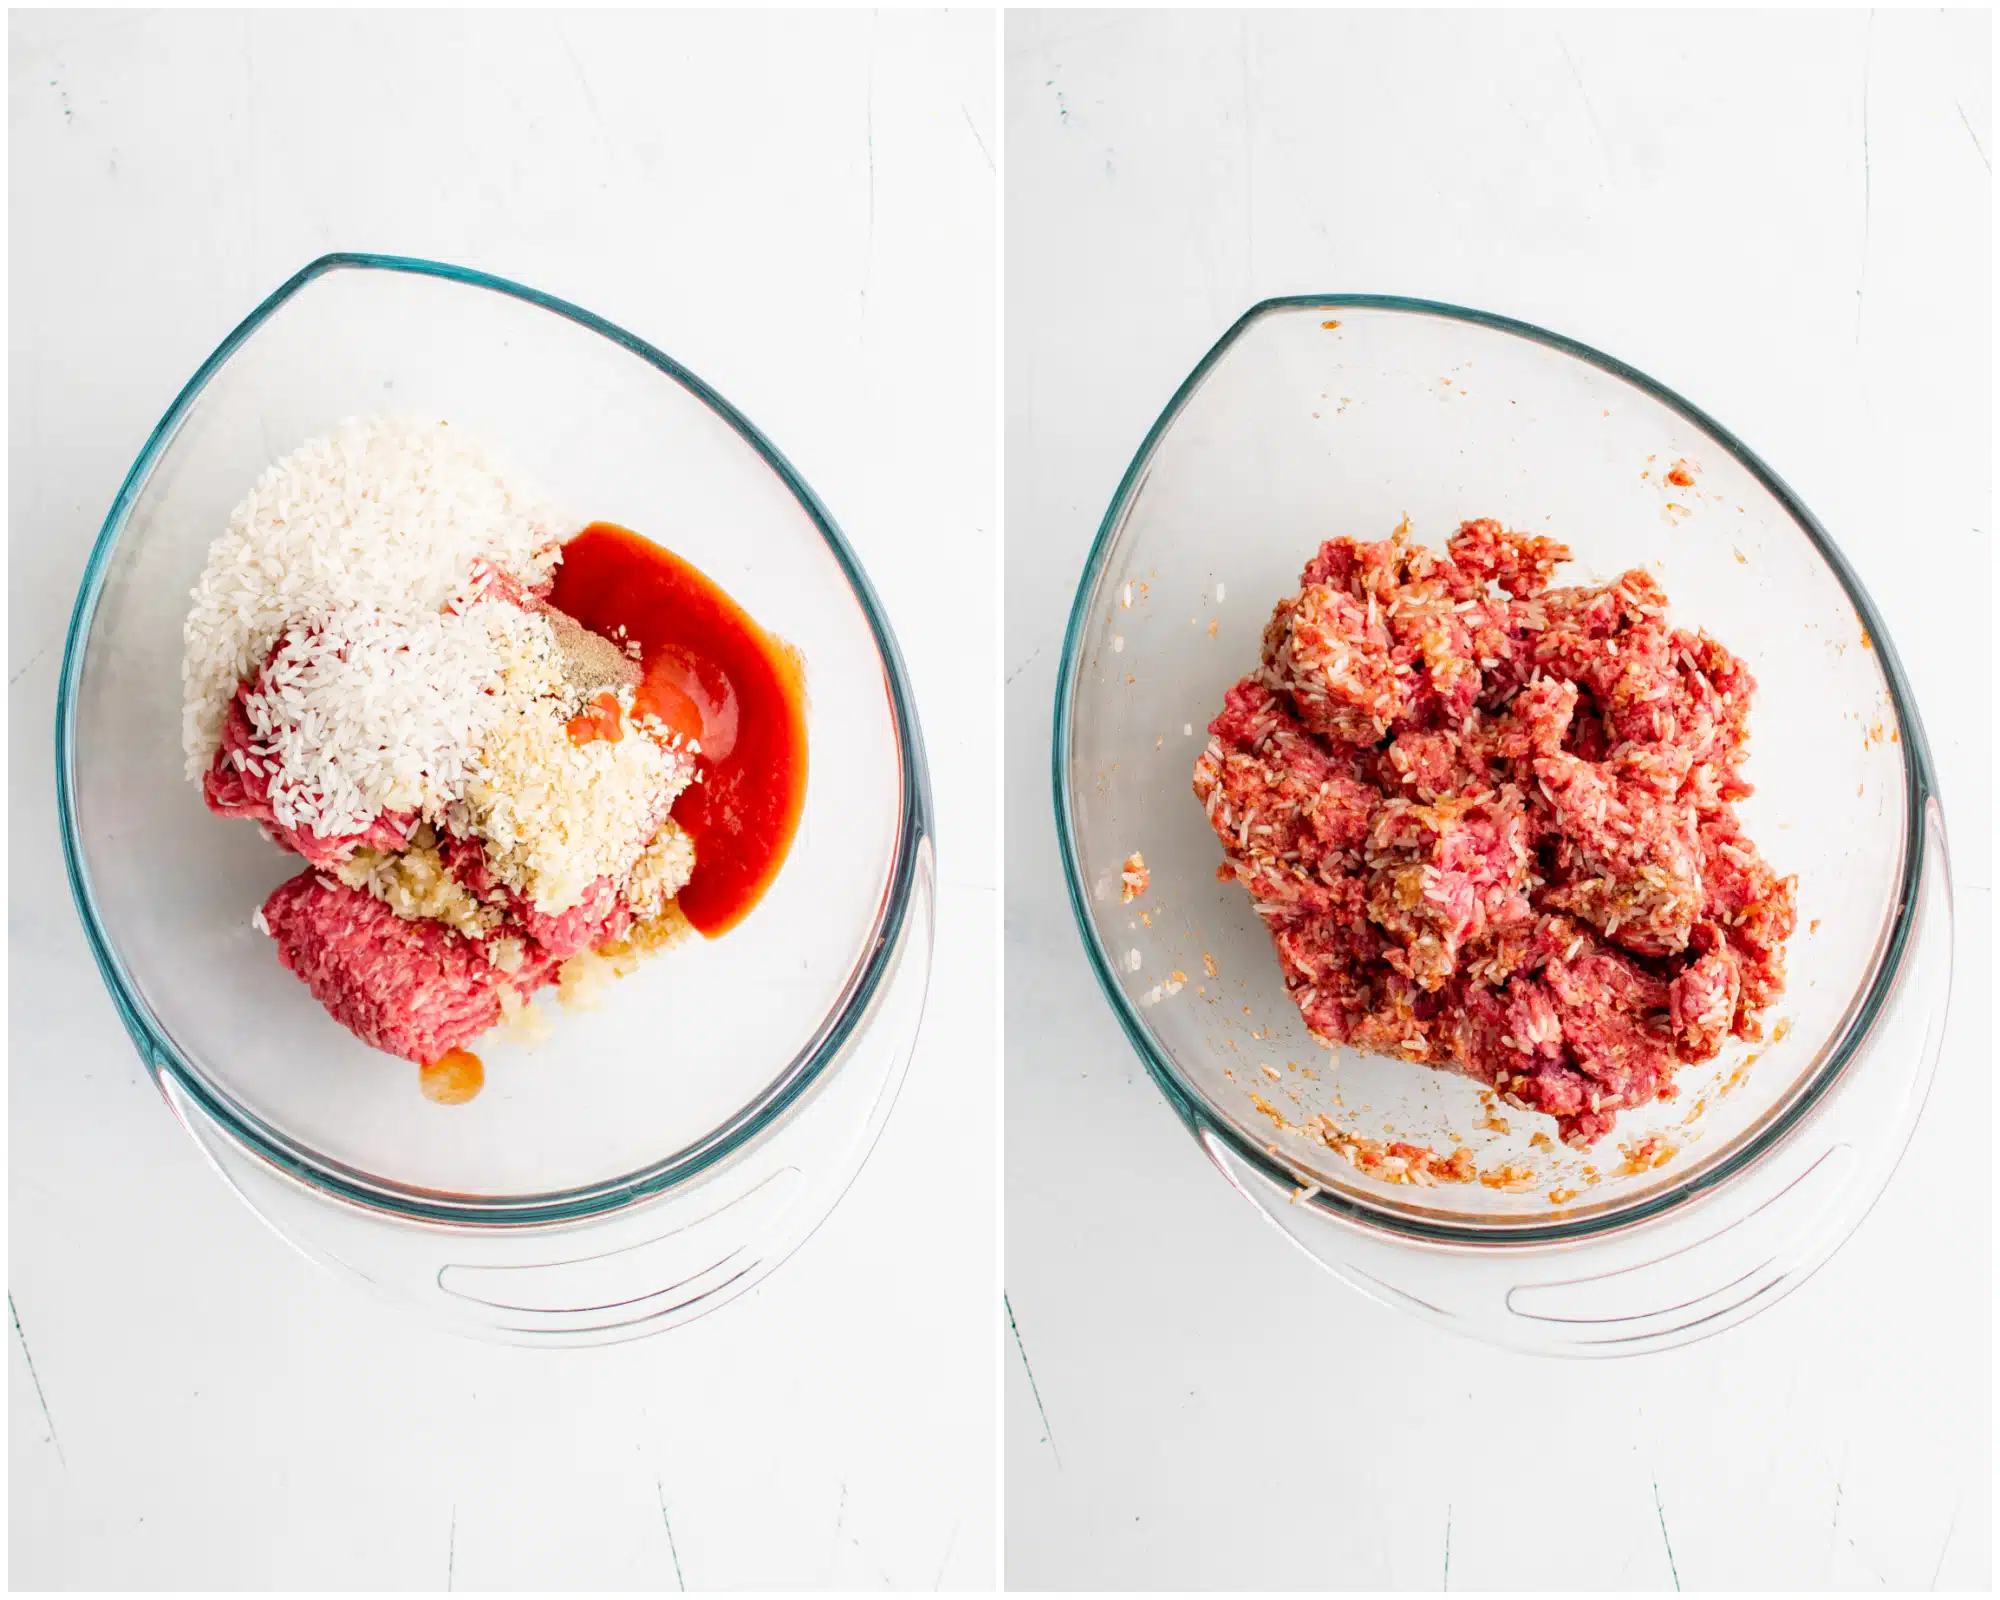
3. Once the ingredients are combined, form the meat mixture into 1 to 2-inch meatballs (about 15) and set aside.
4. For the sauce, pour all of the sauce ingredients into a 9×13-inch casserole dish and stir to combine.

5. Nestle the meatballs into the sauce and cover the baking dish tightly with foil.

6. Bake the meatballs for 40 minutes, then remove the foil and bake for an additional 10-15 minutes or until the rice is cooked through.
7. Remove from the oven and garnish with some freshly chopped parsley, if desired.
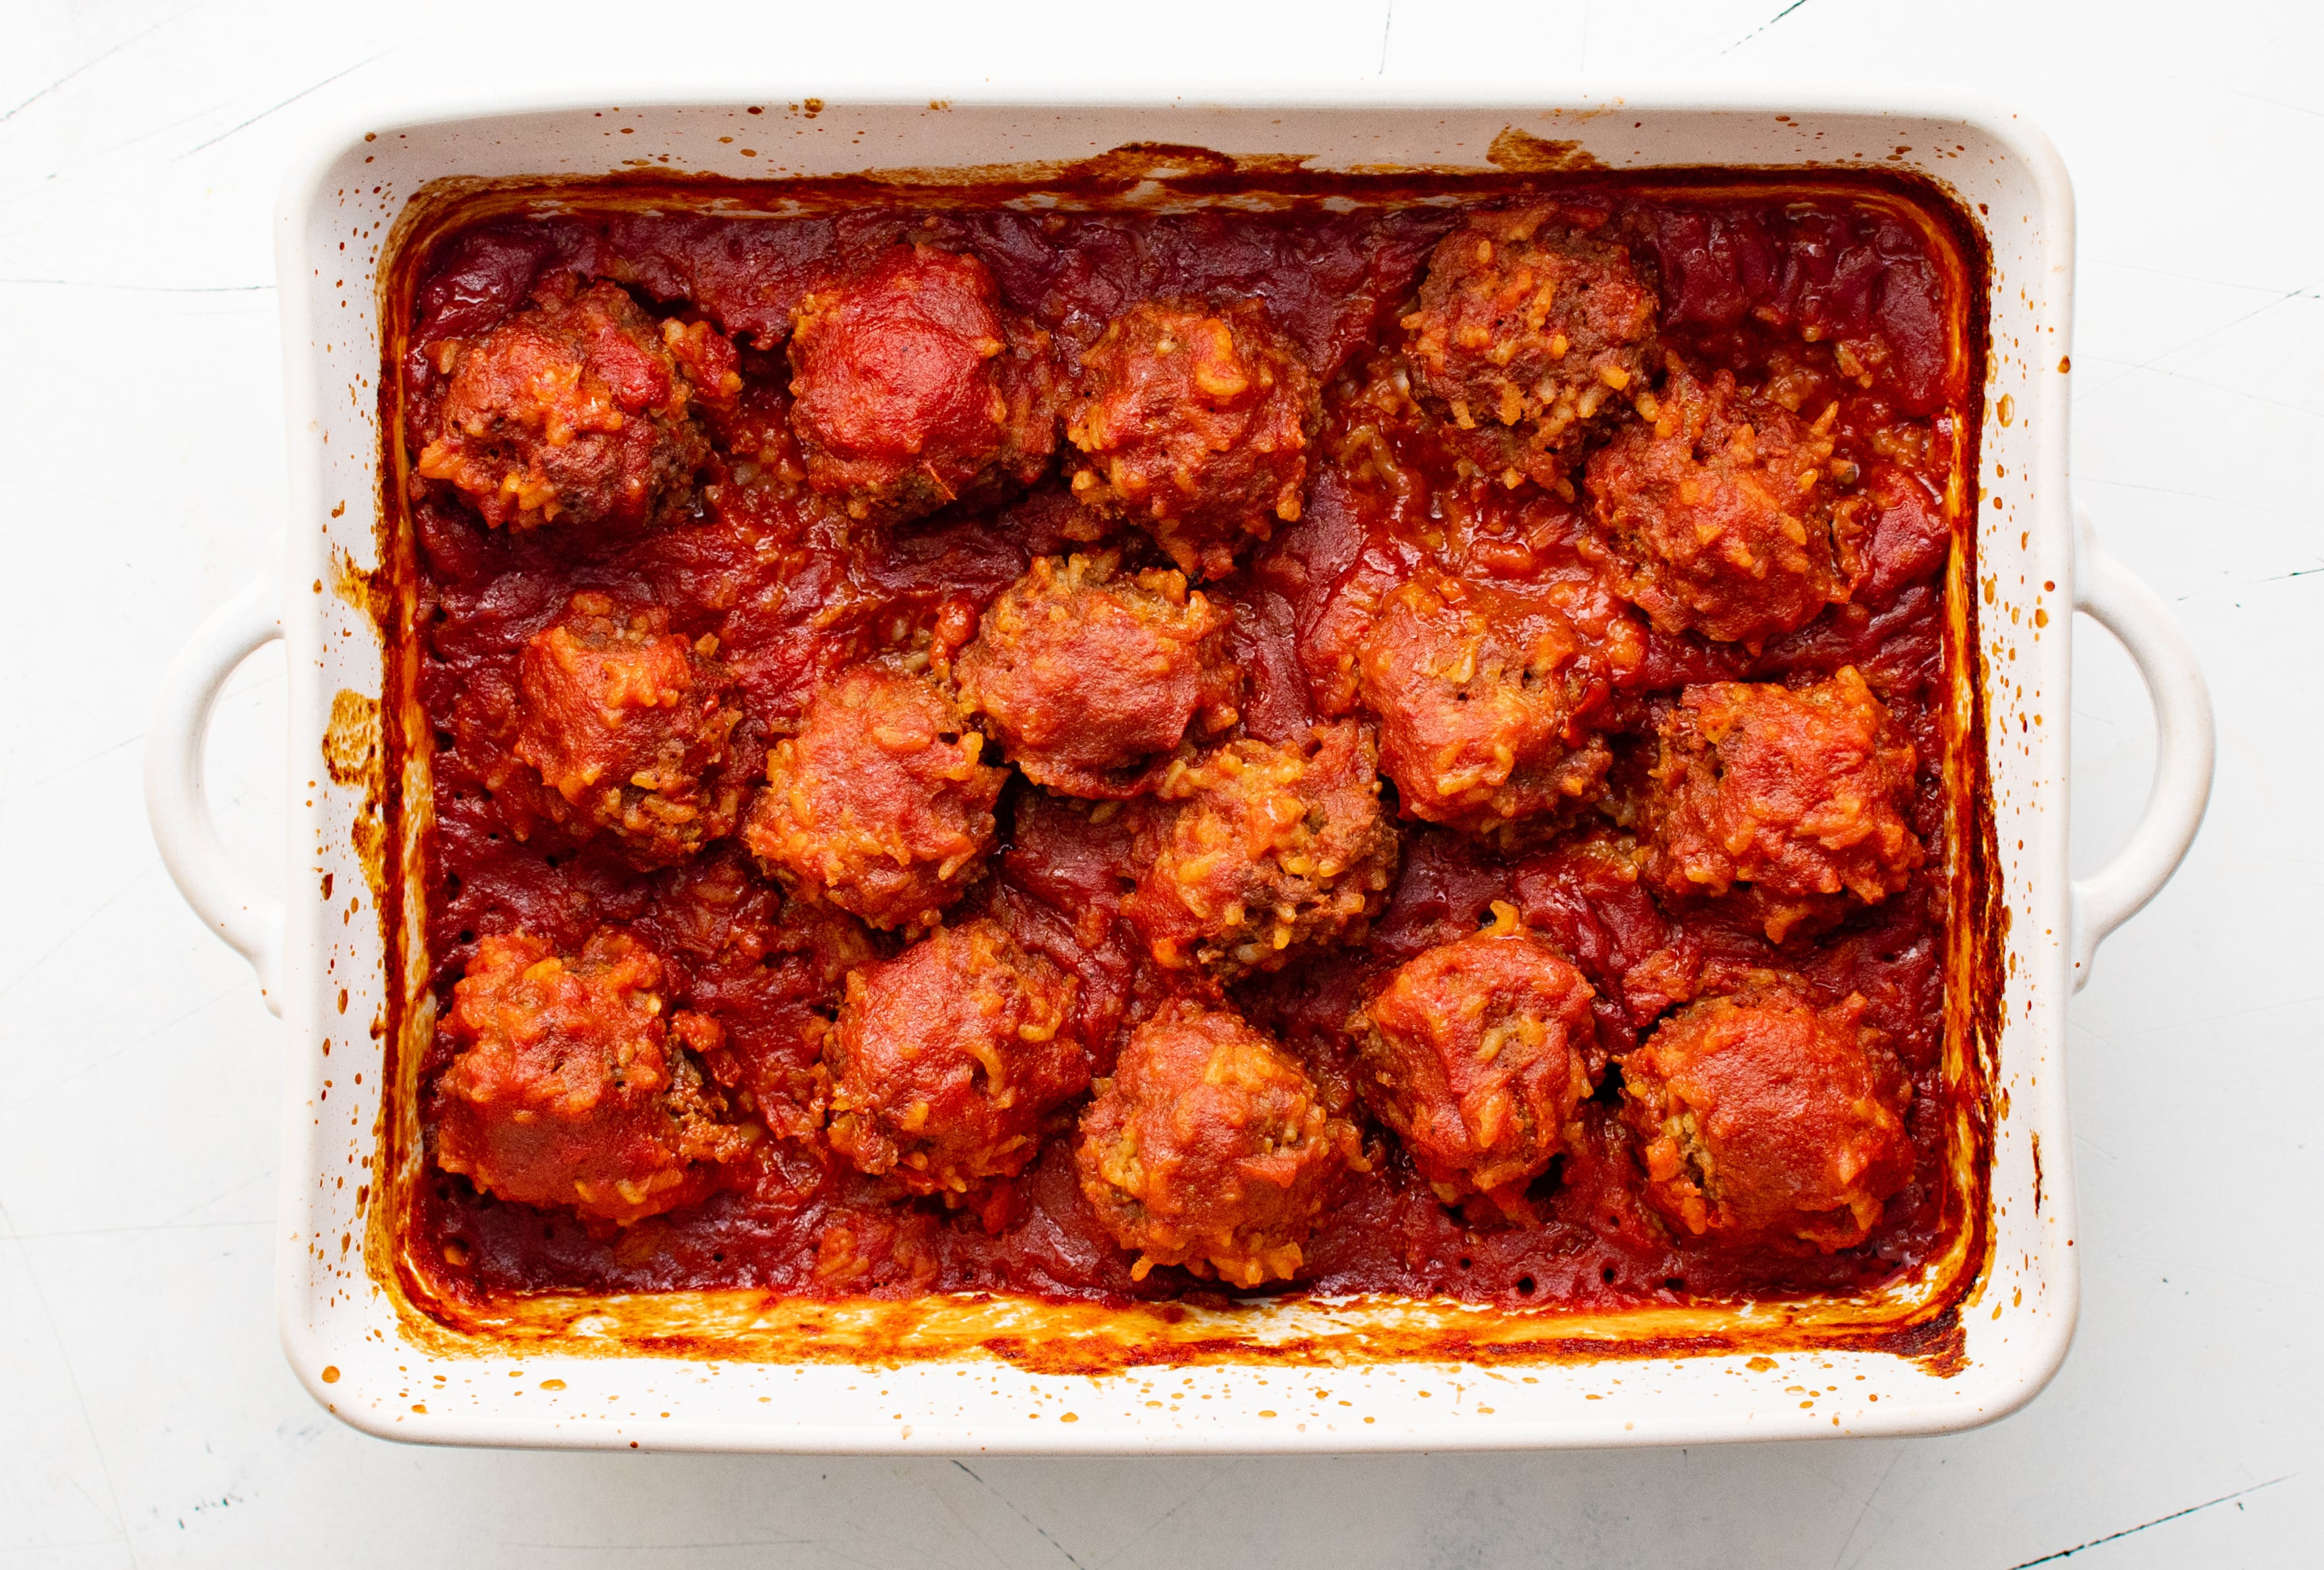
How to Store Porcupine Meatballs
Keep leftover meatballs stored in an airtight container in the refrigerator for up to 4-5 days. To freeze porcupine meatballs, allow them to cool before transferring them to an airtight ziplock bag or freezer-friendly container. Freeze for up to 3 months. Thaw in the refrigerator overnight before reheating in a little olive oil on the stovetop, in the oven, or in the microwave until reheated.
Slow Cooker Porcupine Meatballs
- Combine the ingredients for the meatballs as detailed in the recipe card below.
- Combine the ingredients for the tomato sauce plus 1/2 cup of water directly in the bowl of a large slow cooker.
- Form the meatball mixture into small meatballs and nestle them directly into the sauce.
- Cover and cook on low for 5-6 hours. Do not remove the lid during that time. The internal temperature of the meatballs should register 160 degrees F.
What to Serve with Porcupine Meatballs
I usually serve these porcupine meatballs with a side of roasted veggies (roasted zucchini is my favorite, but asparagus or green beans are also yummy). Sometimes I’ll serve them with buttery mashed potatoes or oven-roasted potatoes. Cornbread or warm buttery biscuits are also great options (kids like to make mini meatball sandwiches with the biscuits and the meatballs).
More Meatball Recipes
- Eggplant Meatballs
- Cranberry Meatballs
- Sweet and Sour Meatballs
- Easy Meatballs Recipe (and How to Freeze Them!)
- Middle Eastern Curried Lamb Meatballs
- Hawaiian Meatballs Recipe
If you try making this Porcupine Meatballs Recipe, please leave me a comment below! I always love to read your thoughts and feedback!
RECIPE CARD
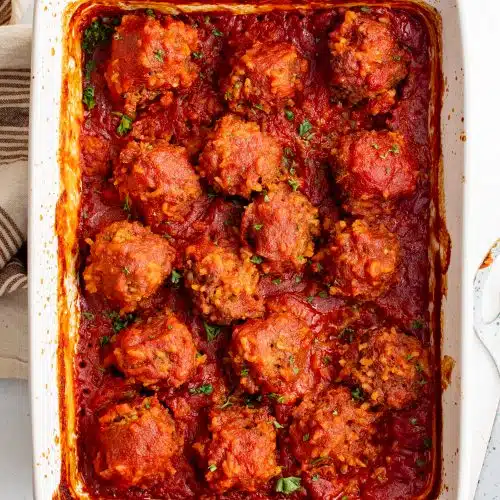
Porcupine Meatballs Recipe
Ingredients
For the Meatballs
- 1 pound ground beef - I used 93% lean
- ½ cup long-grain white rice - uncooked
- 3 cloves garlic - minced
- 2 tablespoons dry minced onion
- ½ teaspoon salt
- ½ teaspoon black pepper
- ½ teaspoon smoked paprika
For the Tomato Sauce
- 2 (15-ounce) cans tomato sauce
- 2 tablespoons brown sugar
- 1 teaspoon Worcestershire sauce
- 1 teaspoon garlic powder
- 1 teaspoon onion powder
Instructions
- Preheat the oven to 350 degrees F.
- In a medium-sized bowl, combine the ingredients for the meatballs by hand or with two forks until just combined. Do not over-mix, as it may result in less tender meatballs.
- Once combined, use your hands or a small cookie scoop to form approximately 15 meatballs (about 1-2 inches). Set aside.
- Meanwhile, combine all of the ingredients for the sauce in a large 9×13-inch casserole dish or baking pan. Gently stir to combine.
- Nestle the meatballs into the sauce and cover the casserole dish tightly with foil.
- Bake the meatballs for 40 minutes then remove the aluminum foil and continue to bake for an additional 10-15 minutes or until the rice is tender and fully cooked.
- Remove from the oven and garnish with fresh parsley, if desired.
Jessica’s Notes
- To make this recipe gluten-free, be sure to use a gluten-free Worcestershire sauce.
- If you love extra sauce, easily double the ingredients needed for the sauce or have a jar of your favorite store-bought tomato sauce on standby just in case.
- Keep any leftover meatballs stored in an airtight container in the refrigerator for up to 5 days. Reheat in the oven or the microwave until reheated.
Nutritional Information
(Nutrition information provided is an estimate and will vary based on cooking methods and specific brands of ingredients used.)



Been making them for many years. Recipe is in the old Campbell Soup Cookbook except yours replaces tomato sauce for the tomato soup used in the original recipe.
I love the rice texture in these meatballs. The whole batch was gone before I knew it…
The flavor was really good but the rice was hard. I cooked for a total hour and 10 minutes. It was so disappointing to sit down to a less than appetizing meal.Any suggestions? I would make this again if the rice were cooked.
Cook the rice first then put in the recipe @Stacy Brown good luck it should come out perfect once you cooked the rice first .