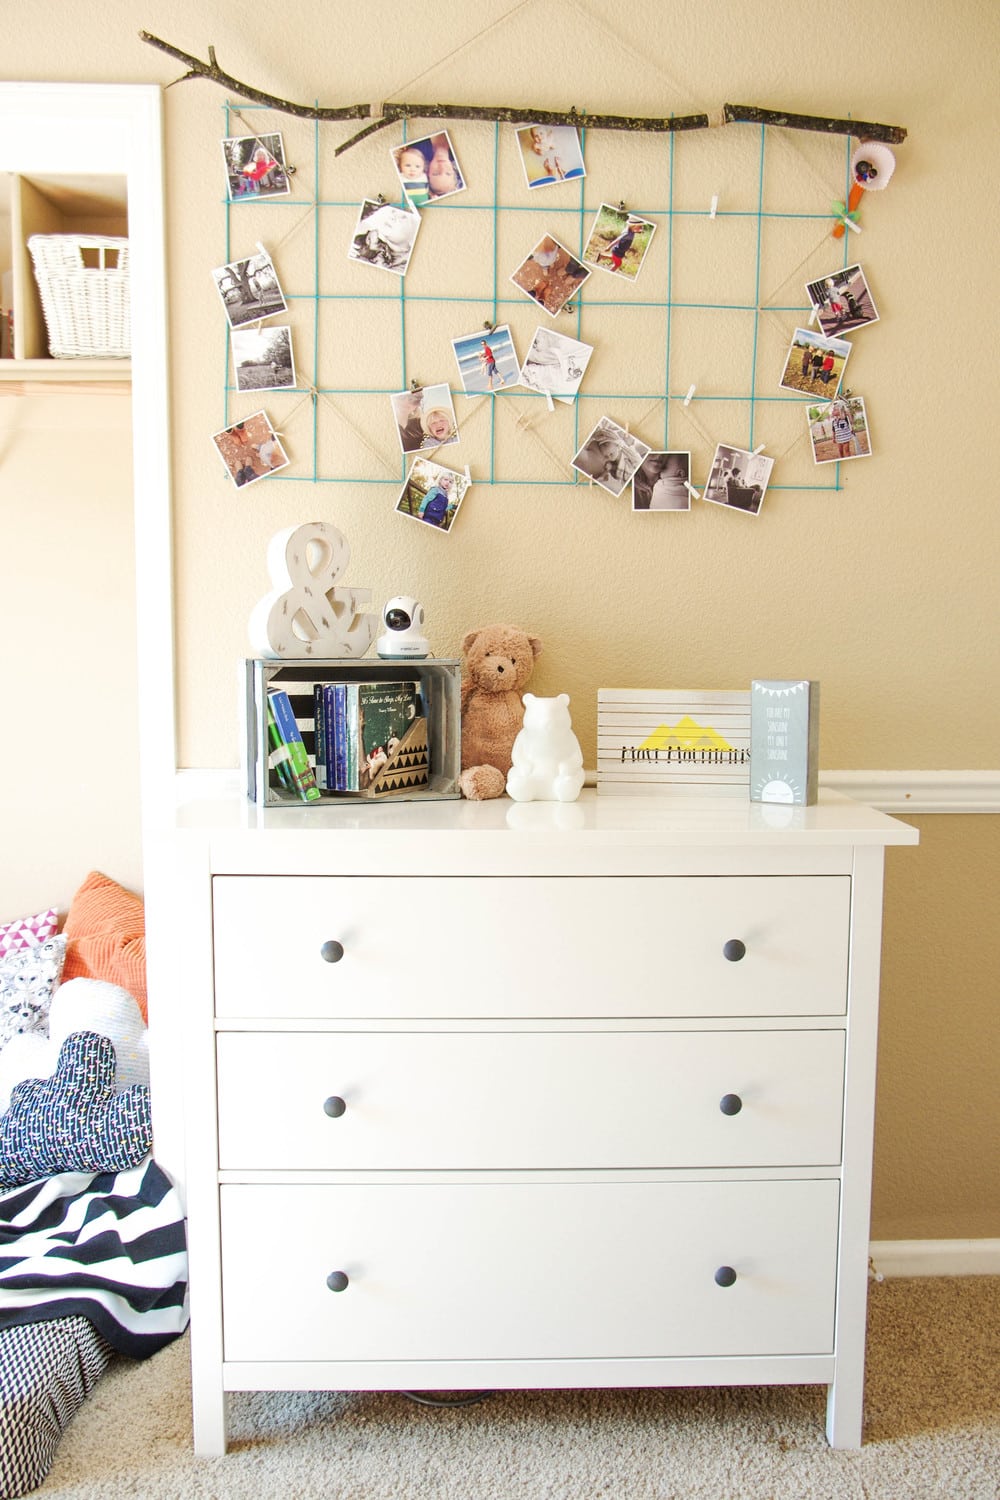
While upgrading Octavian’s room from baby space to big boy room, I decided to get crafty. Thanks to the countless hours I’ve spent on Pinterest over the years, my ideas were overflowing. With the completion of one idea or project, came another, and another and another. In order to keep all these projects going, I had to keep costs as low as possible.
I knew I wanted to display Instagram photos in the space above his dresser. When I saw this a sold by Urban Outfitters, I was sold. It was exactly what I was looking for. Great size, simple colors, and easy. Then I went to the site and I saw they wanted $59 for it!!!
Ummm, sorry Urban Outfitters, way too rich for my blood. I could totally make my own.
So off to Home Depot we went.
Now, before you start thinking I’m a super crafter or something, let me just stop you right there. I’m not. In fact, before Octavian’s room I would get anxiety just stepping foot inside a place like Home Depot or Lowes and craft stores always left me feeling so overwhelmed I either walked out with nothing or everything. Either way, I never finished a project.
So, you can imagine my husband’s excitement when I told him our child’s room was going to be a giant DIY project.
To build up my crafting confidence, I’ve started easy. Hence, the wall grid.
So there I found myself, in a maze of aisles and stuff, better known as Home Depot. Octavian was a terrific shopping buddy until he woke up, but I found the wire grid I was looking for (only $7.98) and promised to let him hold the mini bush trimmer if he didn’t scream bloody murder (for no reason at all. his favorite). With the wire grid in hand, I could finally envision what I was going to do.
To make this project you will need,
42 in. x 84 in. Sheared Welded Steel Wire Remesh Sheet, cut to desired size (the sheet is HUGE. I could have made 3 of these from one sheet. If you don’t have wire cutters-I didn’t- ask someone at the store to cut it for you)
Spray Paint- I used Rust Oleum Painter’s Touch 2X in Seaside (Octavian’s choice)
Twine, ribbon, thread of choice
Thumbtacks or small nails
Large stick (the one I used was in my backyard)
Mini clothespins
4×4 Instagram Prints
Speaking of Instagram prints, it’s pretty important to get your photos printed on quality paper with quality ink, otherwise, what’s the point? After all, the whole idea of the wire grate is to show off your favorite photos (and maybe some of your 2-year-old’s artwork).
I looked at several websites that offer Instagram printing and finally decided on Social Print Studio. Social Print Studio was kind enough to provide me with prints for this project, but I would have ordered through them either way, and here’s why…
- The website is lovely and SUPER easy to navigate.
- Uploading photos to print was fast and easy.
- You can also upload and order from your phone thanks to their super handy app.
- They have other really awesome products, too, like Giant Photostrips, this photo-a-day calendar, and sticker book!
- They’re made in California (gotta represent)
- They’re an independent company that cares about their customers.
- Shipping is FAST!
In other words, I’m a huge fan and will definitely be ordering from them again in the future.
In my excitement to get this project started, I did not do any step-by-step photos. But, I promise, you don’t need them.
First, order your Instagram prints. Once they arrive you are good to go!
To get started, grab your wall grate and head outside. Hang your wall grate from something (I hung mine from a tree with a clothes hanger and sprayed both sides with spraypaint). Allow at least 30 minutes for the paint to dry, before applying the second coat.
I allowed 48 hours for the paint to dry before figuring out how to get the thing on the wall.
Here’s the thing, your wire grate probably won’t sit flat against the wall once it’s been hung. There was a slight bend. We didn’t want to put large holes in the wall and I was pretty much flying solo on this project, so I had to get creative (I have no experience with hanging things on walls beyond thumbtacks).
That’s where the stick and twine swooped in and saved the day; which was actually perfect since his room is woodland/adventure themed. There is no glue involved, just twine, wrapping, some knots, and thumbtacks. That’s it! So super easy!


We love this idea so much! Thanks for letting us include it in our round-up about DIY art displays. You can see the whole round-up here: https://thediynuts.com/creative-ways-to-display-artwork/
Thank you, Erin, I just shared your post on my social networks 😀
I love you ideas. Can’t wait to try a few! Thanks for sharing!