This post may contain affiliate links. See my disclosure policy.
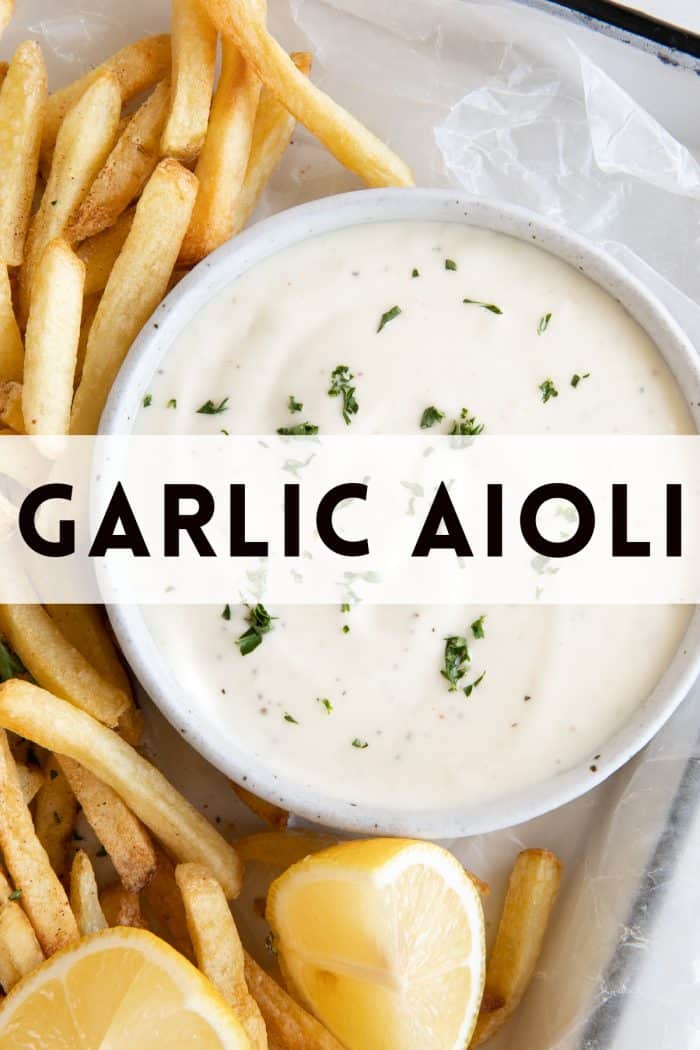
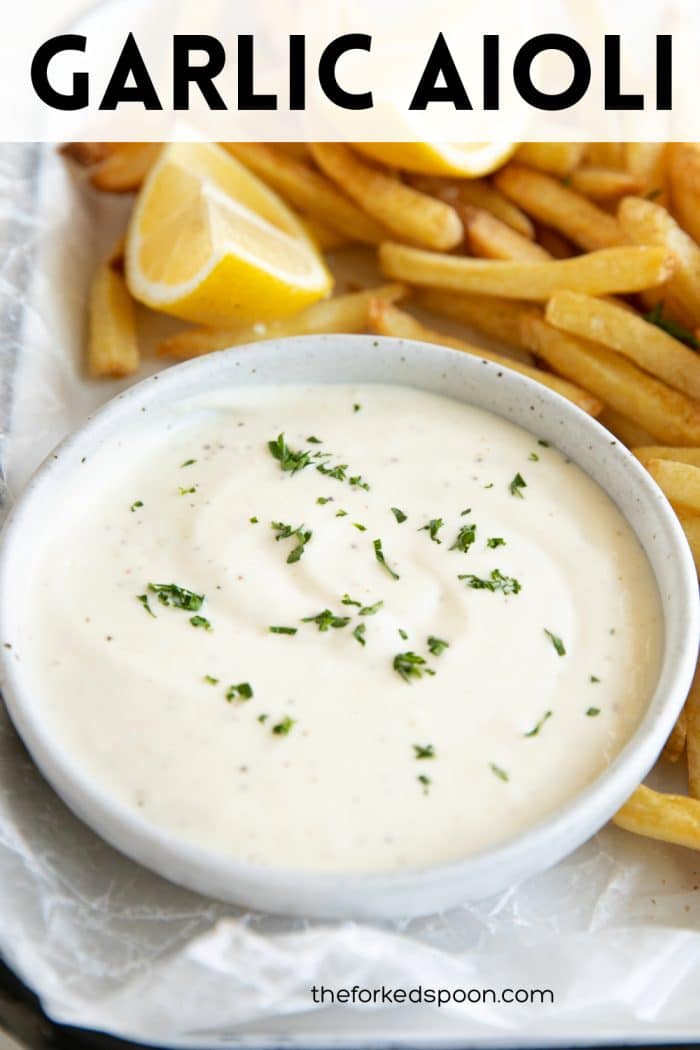
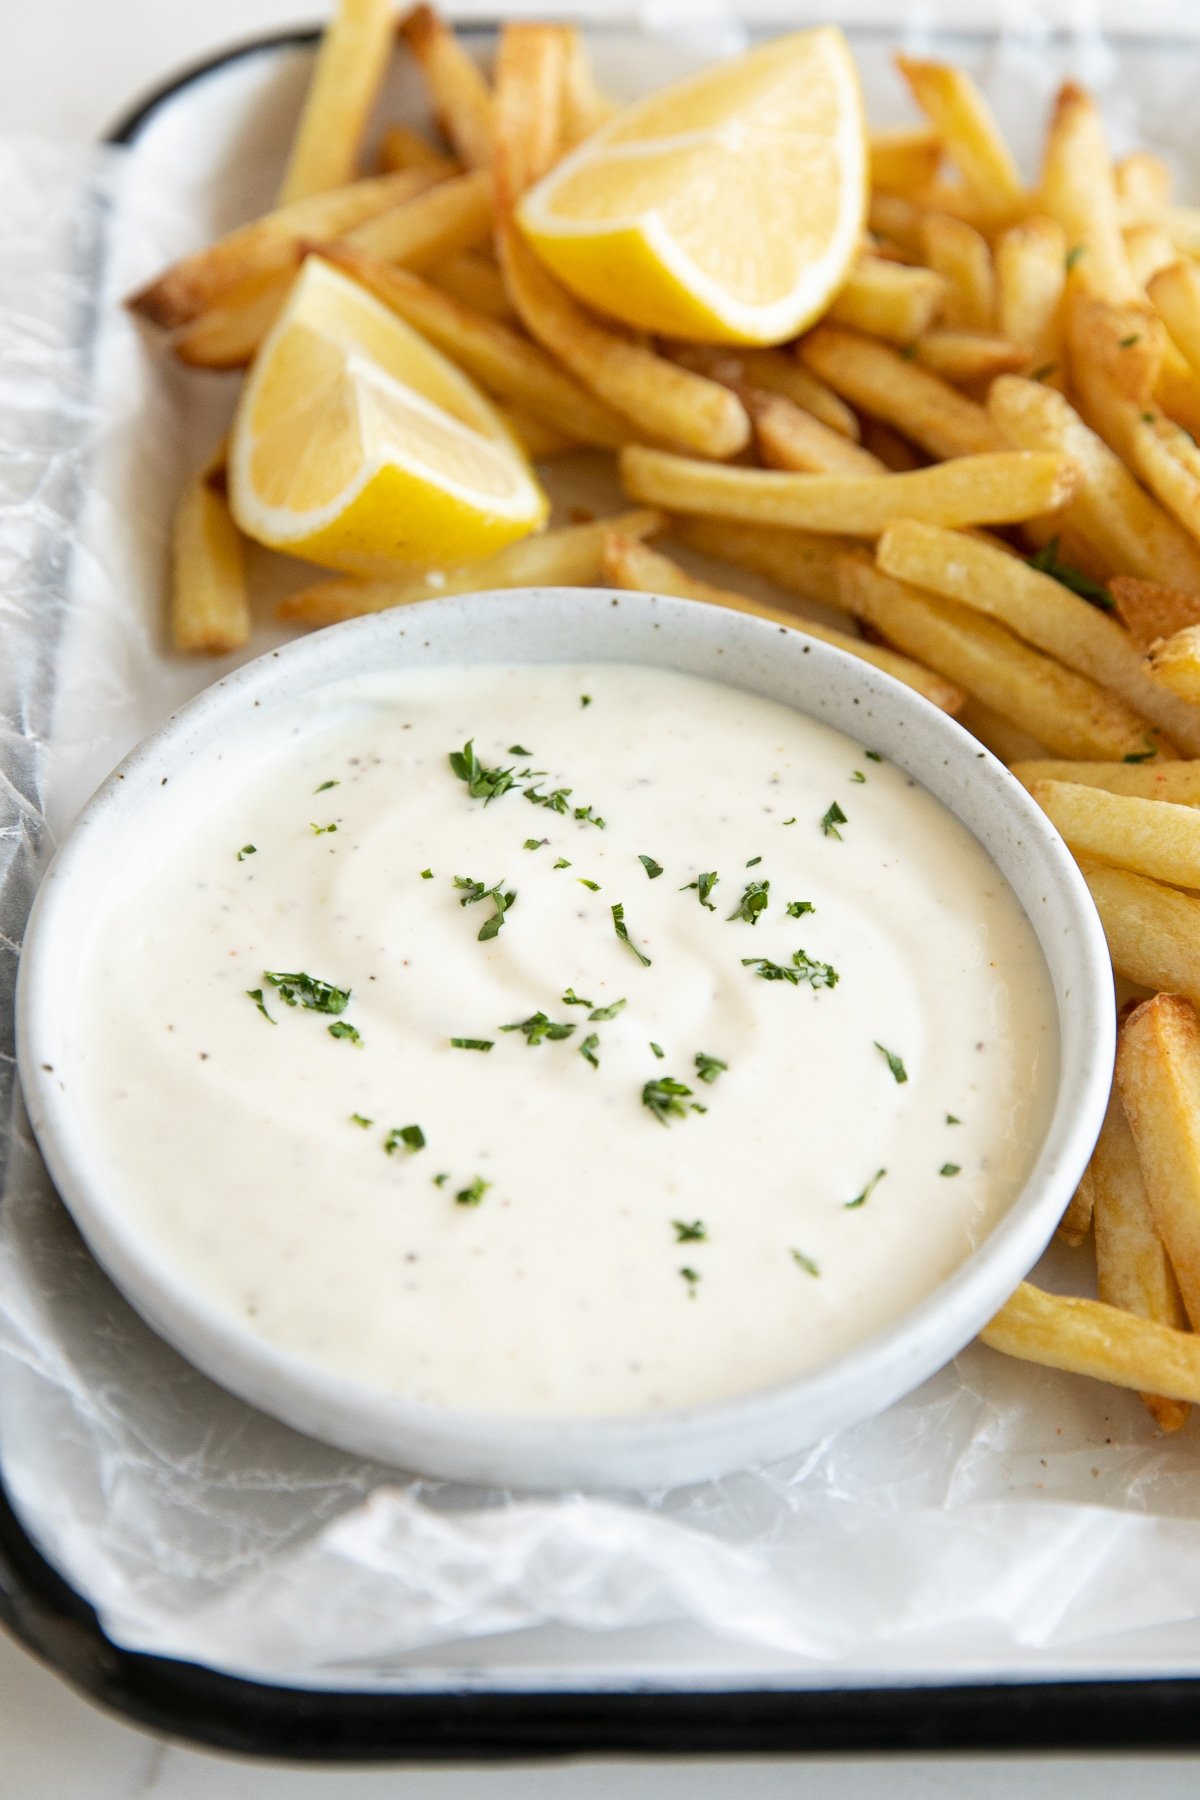
Garlic Aioli is a super flavorful sauce or dip that goes perfectly with all your favorite recipes like sandwiches, burgers, fries, fish, and so much more! Here I will show you how to make this super easy garlic aioli recipe using just a handful of super simple delicious ingredients.
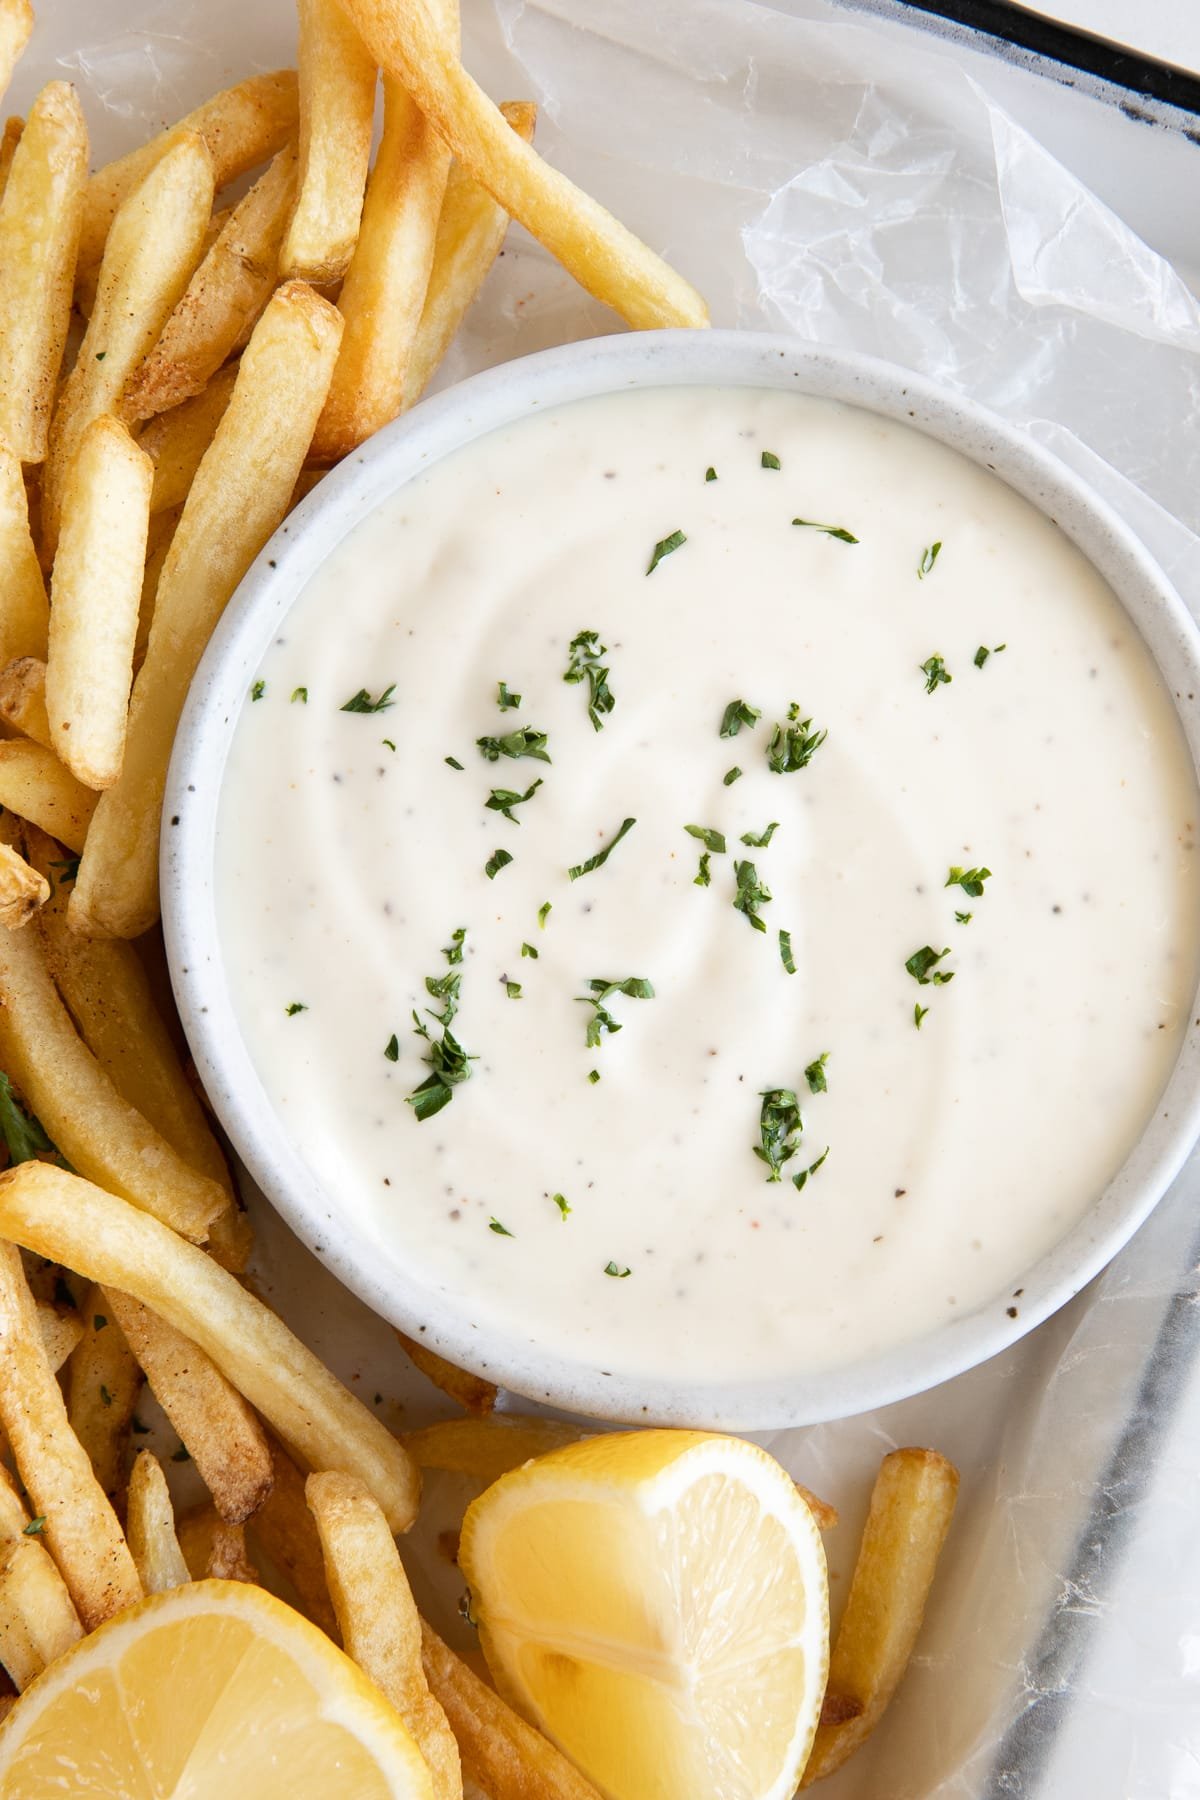
Table of Contents
Easy Recipe
I call this my cheater garlic aioli recipe since we’re making it with store-bought mayonnaise. Truthfully, I’m totally ok with that. Life is all about picking your battles and whipping and whisking together my own emulsified mayonnaise is a battle I do not wish to fight.
Anyway, you may use whatever mayonnaise you’d like: regular, low-fat, olive oil mayo, avocado oil mayonnaise, vegan mayo. I don’t know, what am I missing?
Making the actual aioli is super easy and shouldn’t take more than 10 minutes. In the end, you’ll have a sauce perfect for dipping all of your favorite side dishes, main dishes, and appetizers!
What is Aioli?
We all know that aiolis are creamy and delicious and a lot like mayonnaise, but are they the same thing?
Well, no. Not exactly.
They are, however, both emulsions, or substances that don’t want to mix but are forced to anyway. In the case of mayonnaise, it is made when oil is emulsified into a mixture of lemon juice or vinegar, mustard, egg yolk, and salt. Traditional “true” aioli, on the other hand, is a sauce that originated in the Mediterranean. It is made from olive oil that is emulsified with mashed garlic – just garlic. And usually lots of it.
These days you’ll find all kinds of aioli recipes. Some are completely homemade while others save time and are made with pre-made, store-bought mayonnaise.
Is Garlic Aioli Keto?
Yes. Garlic aioli is keto-approved, just make sure that the mayonnaise that you are using does not contain any added sugars or carbohydrates.
What is Garlic Aioli?
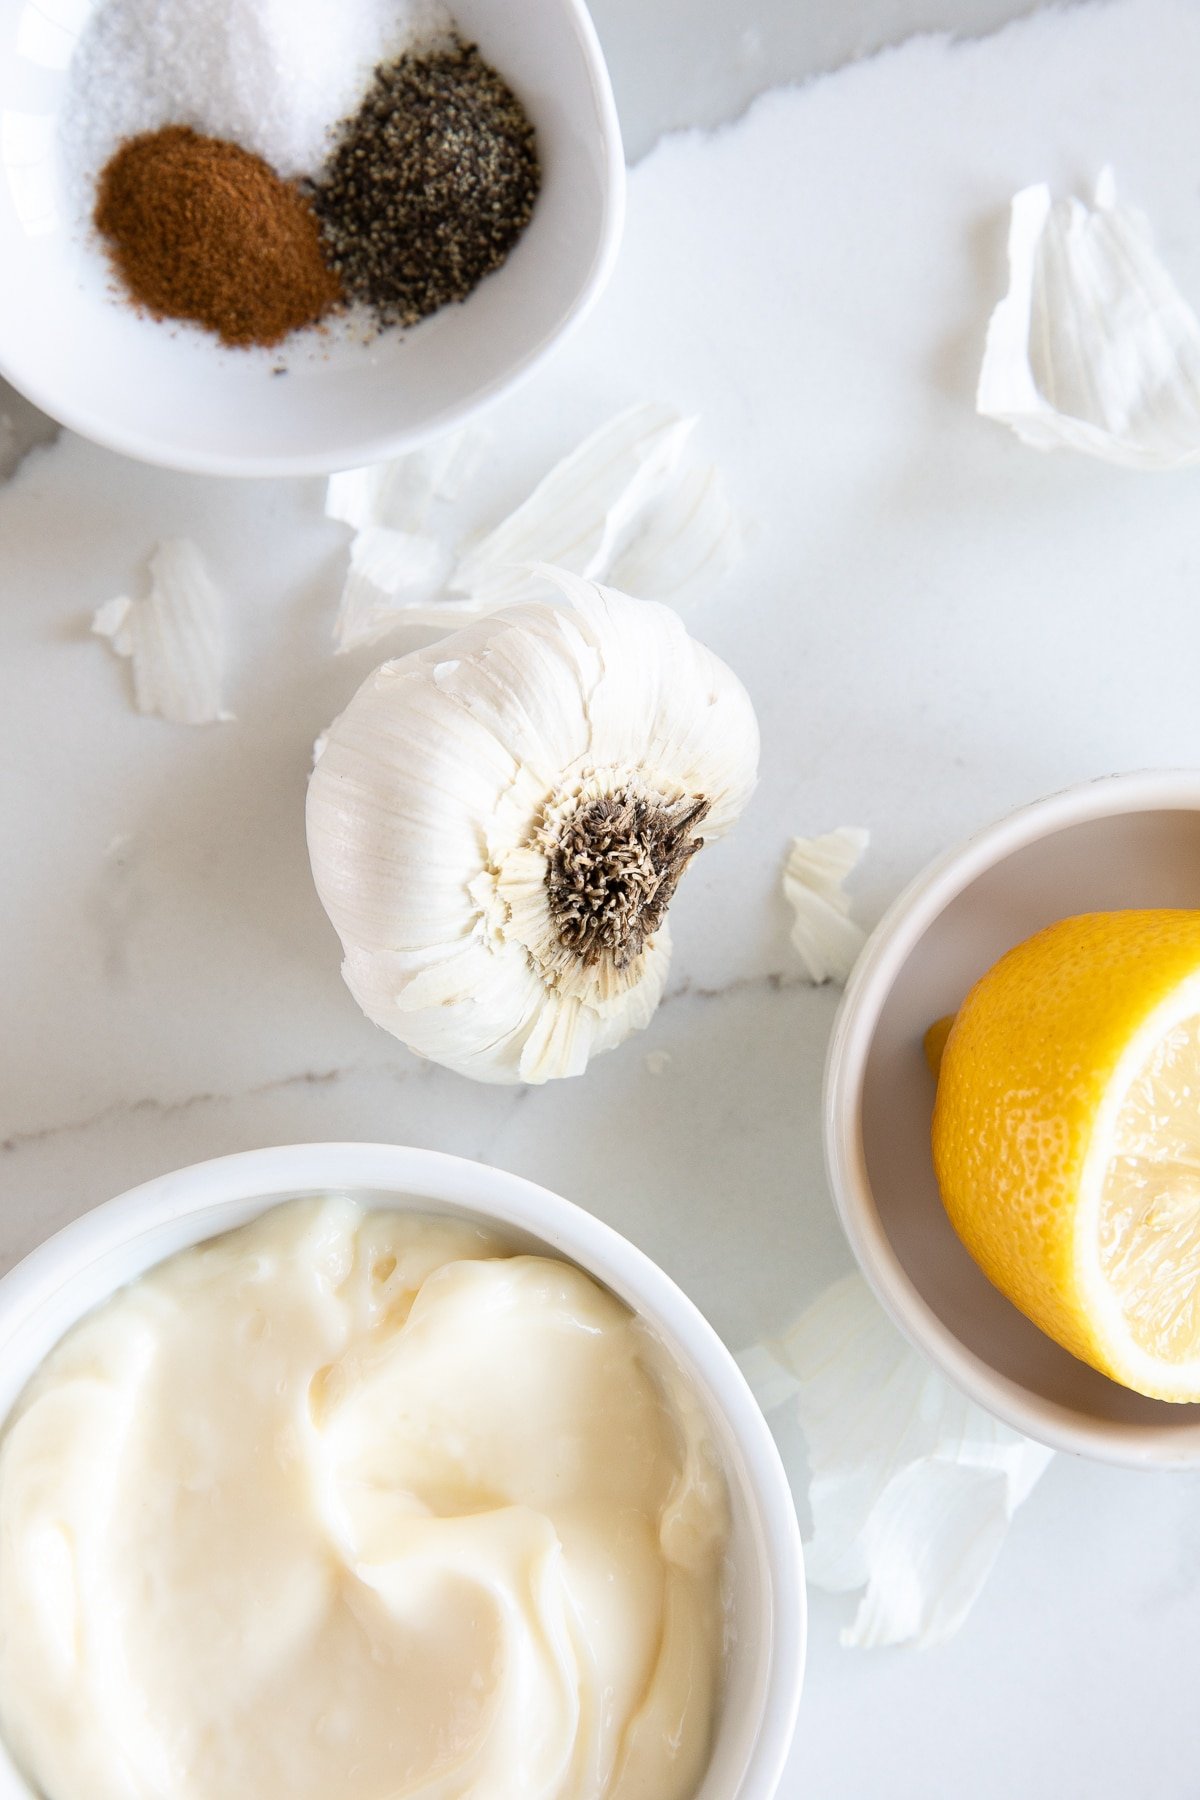
Traditionally, garlic aioli is made by emulsifying olive oil with smashed garlic. Delicious, but time-consuming, this easy (and much faster) garlic aioli recipe is made by combining mayonnaise with fresh lemon juice, fresh garlic, salt, black pepper, and cayenne pepper.
What is It Made Of?
- Mayonnaise
- Fresh lemon juice
- Garlic
- Salt & Black pepper
- Cayenne pepper
How to Make
Start by mincing the garlic cloves. I like to use my garlic press. If you don’t have a garlic press, it’s easy to mince by hand. Next, continue to mince and mash with the side of your knife until your garlic resembles a thick paste (use a mortar and pestle if you own one).
Transfer the garlic to a small bowl. Combine with the mayonnaise, lemon juice, salt, black pepper, and cayenne pepper, if using. Season to taste.
Cover the bowl with plastic wrap and transfer to the refrigerator for at least 30 minutes or so before serving. This allows the flavors to marinate and settle.
How to Store
Always keep leftover aioli (homemade, store-bought, or aioli made with mayo) stored in an airtight container and in the refrigerator. Use within 2-3 days.
What to Serve it With?
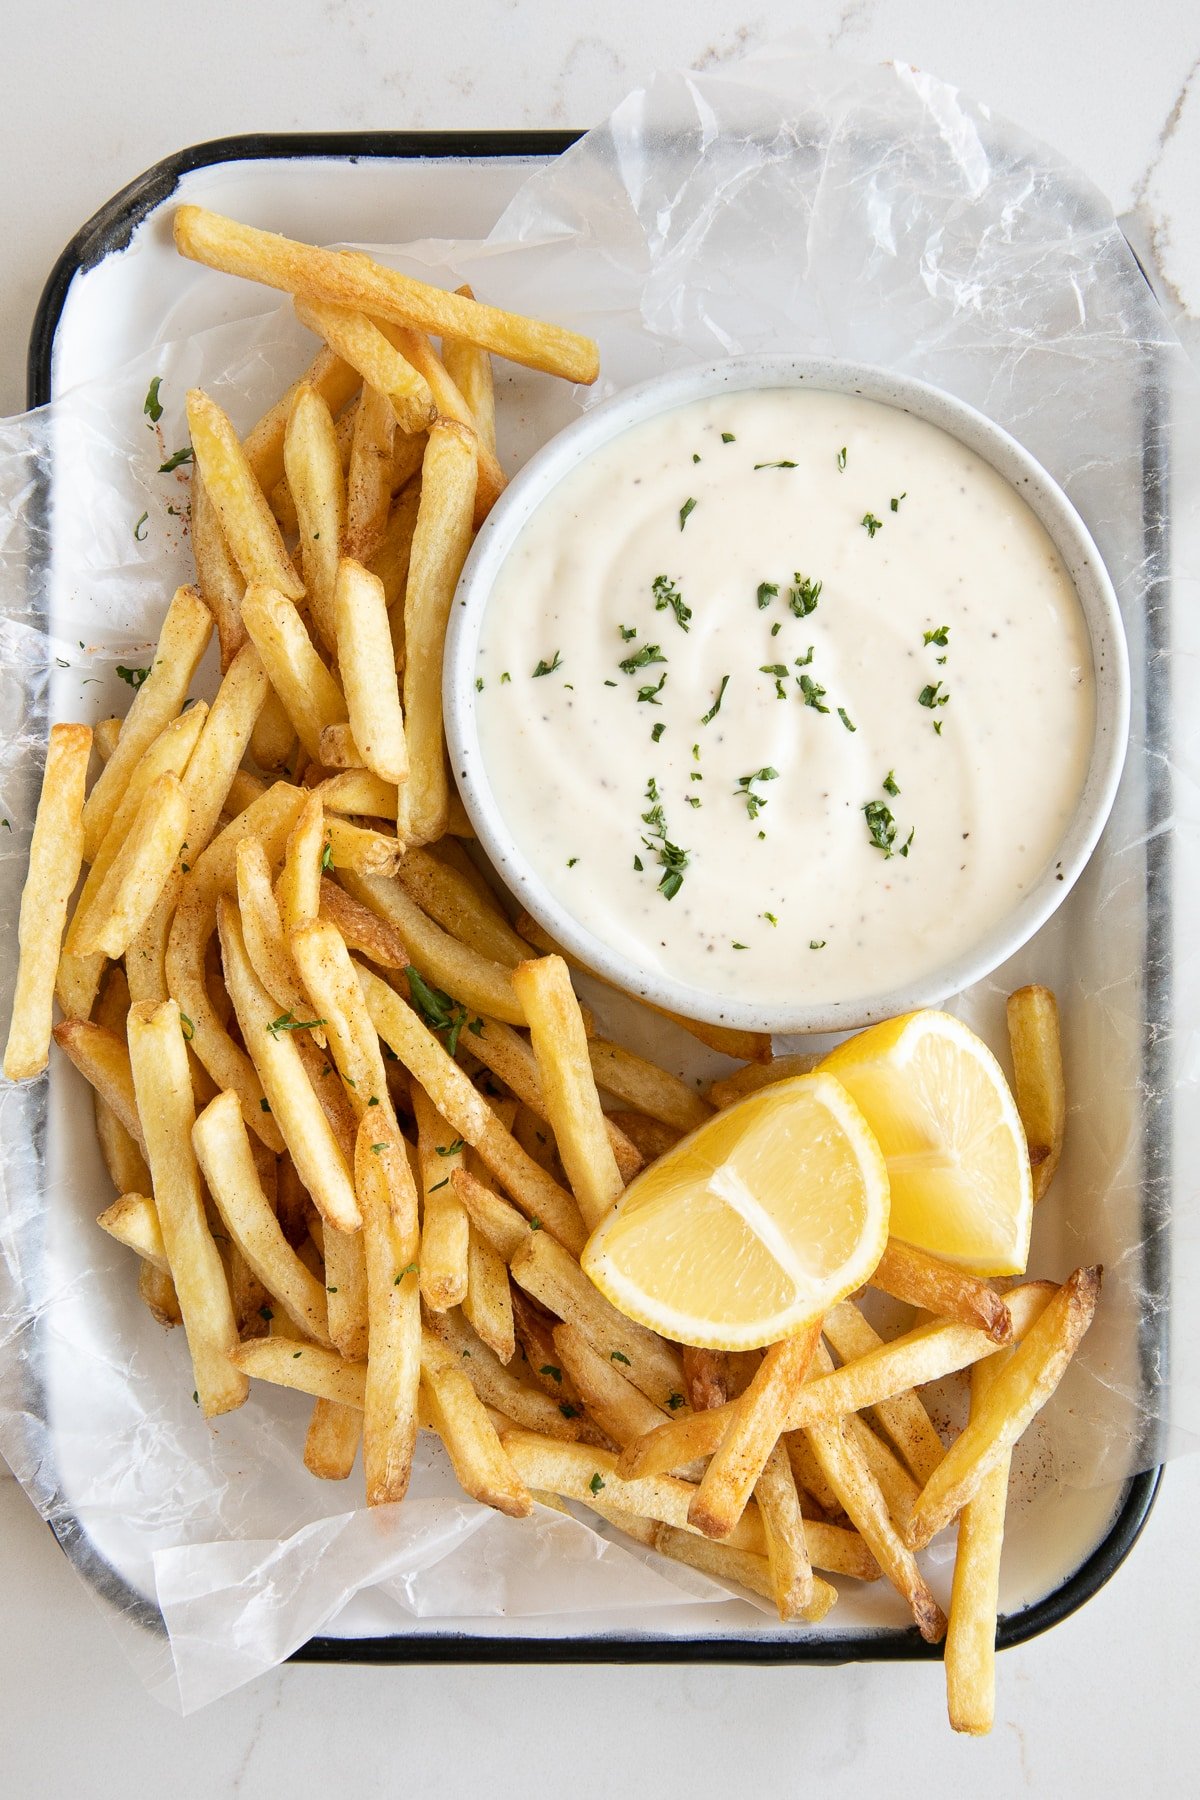
Aioli is a creamy and delicious condiment that can be served alongside or in place of other dips or sauces like ketchup or barbecue sauce. I love to serve it as a dip for air fryer buffalo wings, regular French fries, or air fryer sweet potato fries. I smear it on sandwiches, grilled cheese, and burgers or serve it with roasted vegetables like asparagus, air fryer Brussels sprouts, and broccoli.
Try These Other Delicious Garlic Recipes,
Have you tried making this Easy Garlic Aioli Recipe?
Tell me about it in the comments below! I always love to hear your thoughts. And tag me #theforkedspoon on Instagram if you’ve made any of my recipes, I always love to see what you’re cooking in the kitchen.

Garlic Aioli Recipe
Ingredients
- 1 cup mayonnaise
- 2 tablespoons fresh lemon juice, plus more to taste
- 3 cloves garlic, minced
- ¼ teaspoon salt, plus more to taste
- ⅛ teaspoon black pepper, plus more to taste
- cayenne pepper, optional, to taste
Instructions
- Combine all ingredients in a small bowl and mix well to combine. Season with additional salt, black pepper, or cayenne pepper, to taste.
- Cover with a tight-fitting lid or plastic wrap and place in the refrigerator for at least 30 minutes before serving.
Notes
Nutrition
Nutrition information is automatically calculated, so should only be used as an approximation.
