This post may contain affiliate links. See my disclosure policy.
Delightfully sour and crunchy, Homemade Sauerkraut is easy to make and so much better than the stuff you’ll get at the grocery store. Learn how to make sauerkraut at home with this easy recipe and enjoy it with your favorite beer-braised brats and mashed potatoes.
Homemade Sauerkraut Recipe
So many delicious uses for cabbage, but the absolute best is definitely homemade sauerkraut. Better than the mass-produced store-bought stuff, making your own allows you to decide exactly how long your cabbage will ferment, guaranteeing your very own perfectly sour homemade kraut.
Making your own sauerkraut is shockingly simple to do. And this small-batch mason jar recipe is the perfect amount for anyone new to fermentation.

What is Sauerkraut?
Sauerkraut is a type of fermented cabbage. It’s popular in many countries, including Germany, where its name originates (“sauer” means “sour” and “kraut” means “cabbage”). It’s known for its tangy flavor, which comes from the lactic acid that forms during fermentation.
To make sauerkraut, cabbage is finely shredded, sprinkled with salt, and then packed into a fermentation vessel, such as a glass jar or a ceramic crock. The salt draws out water from the cabbage, creating a brine. The cabbage is submerged in this brine, creating an anaerobic (oxygen-free) environment in which beneficial bacteria (lactic acid bacteria) can thrive. These bacteria convert the sugars in the cabbage into lactic acid, a natural preservative that inhibits the growth of harmful bacteria.
Fermentation also gives sauerkraut its awesome sour flavor and increases the bioavailability of nutrients, making it even more nutritious than the original cabbage. Sauerkraut is rich in dietary fiber, vitamin C, vitamin K, and beneficial probiotics.


How to Make Homemade Sauerkraut
1. Prepare the Cabbage: Remove the outer cabbage leaves from one large fresh cabbage. Use a large, sturdy knife to cut the cabbage into quarters before cutting out the core from each quarter. Use your favorite method to slice the cabbage into thin strips.
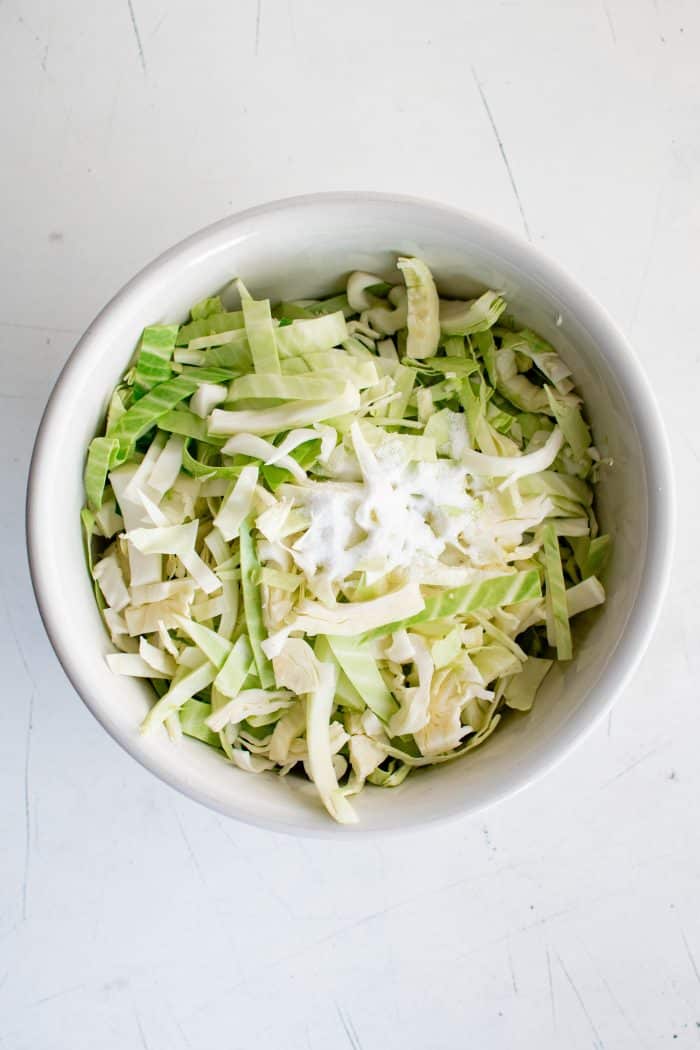

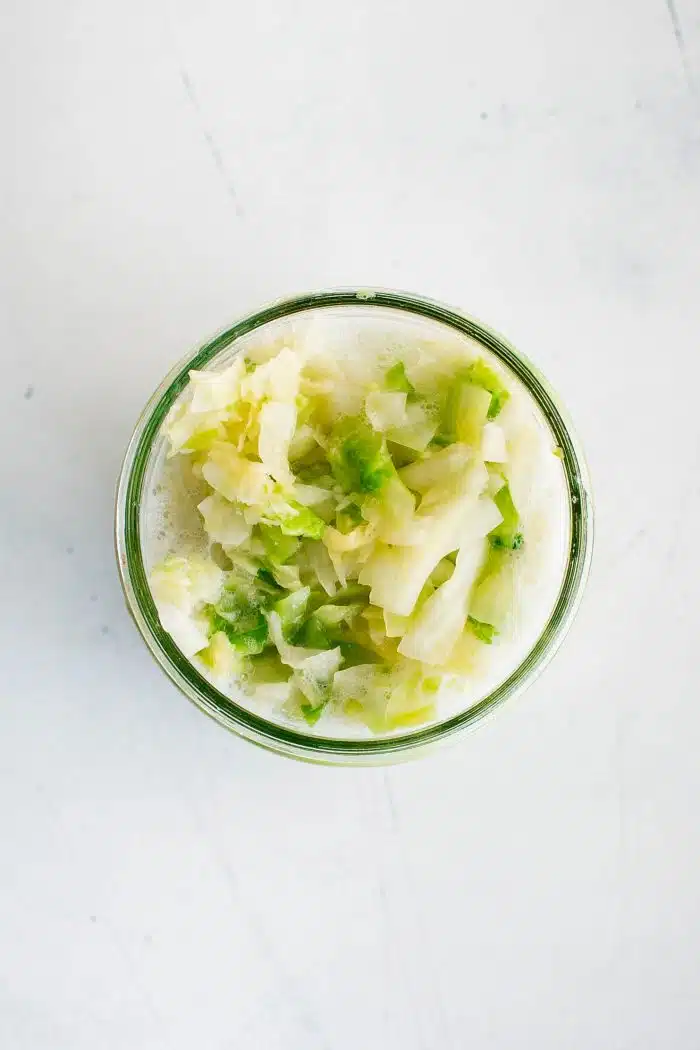
2. Massage the Cabbage: Transfer the cabbage to a large bowl and sprinkle with one tablespoon of sea salt or pickling salt. Massage the cabbage for 10-15 minutes or until it starts to release its own brining liquid and reduces by nearly 2/3.
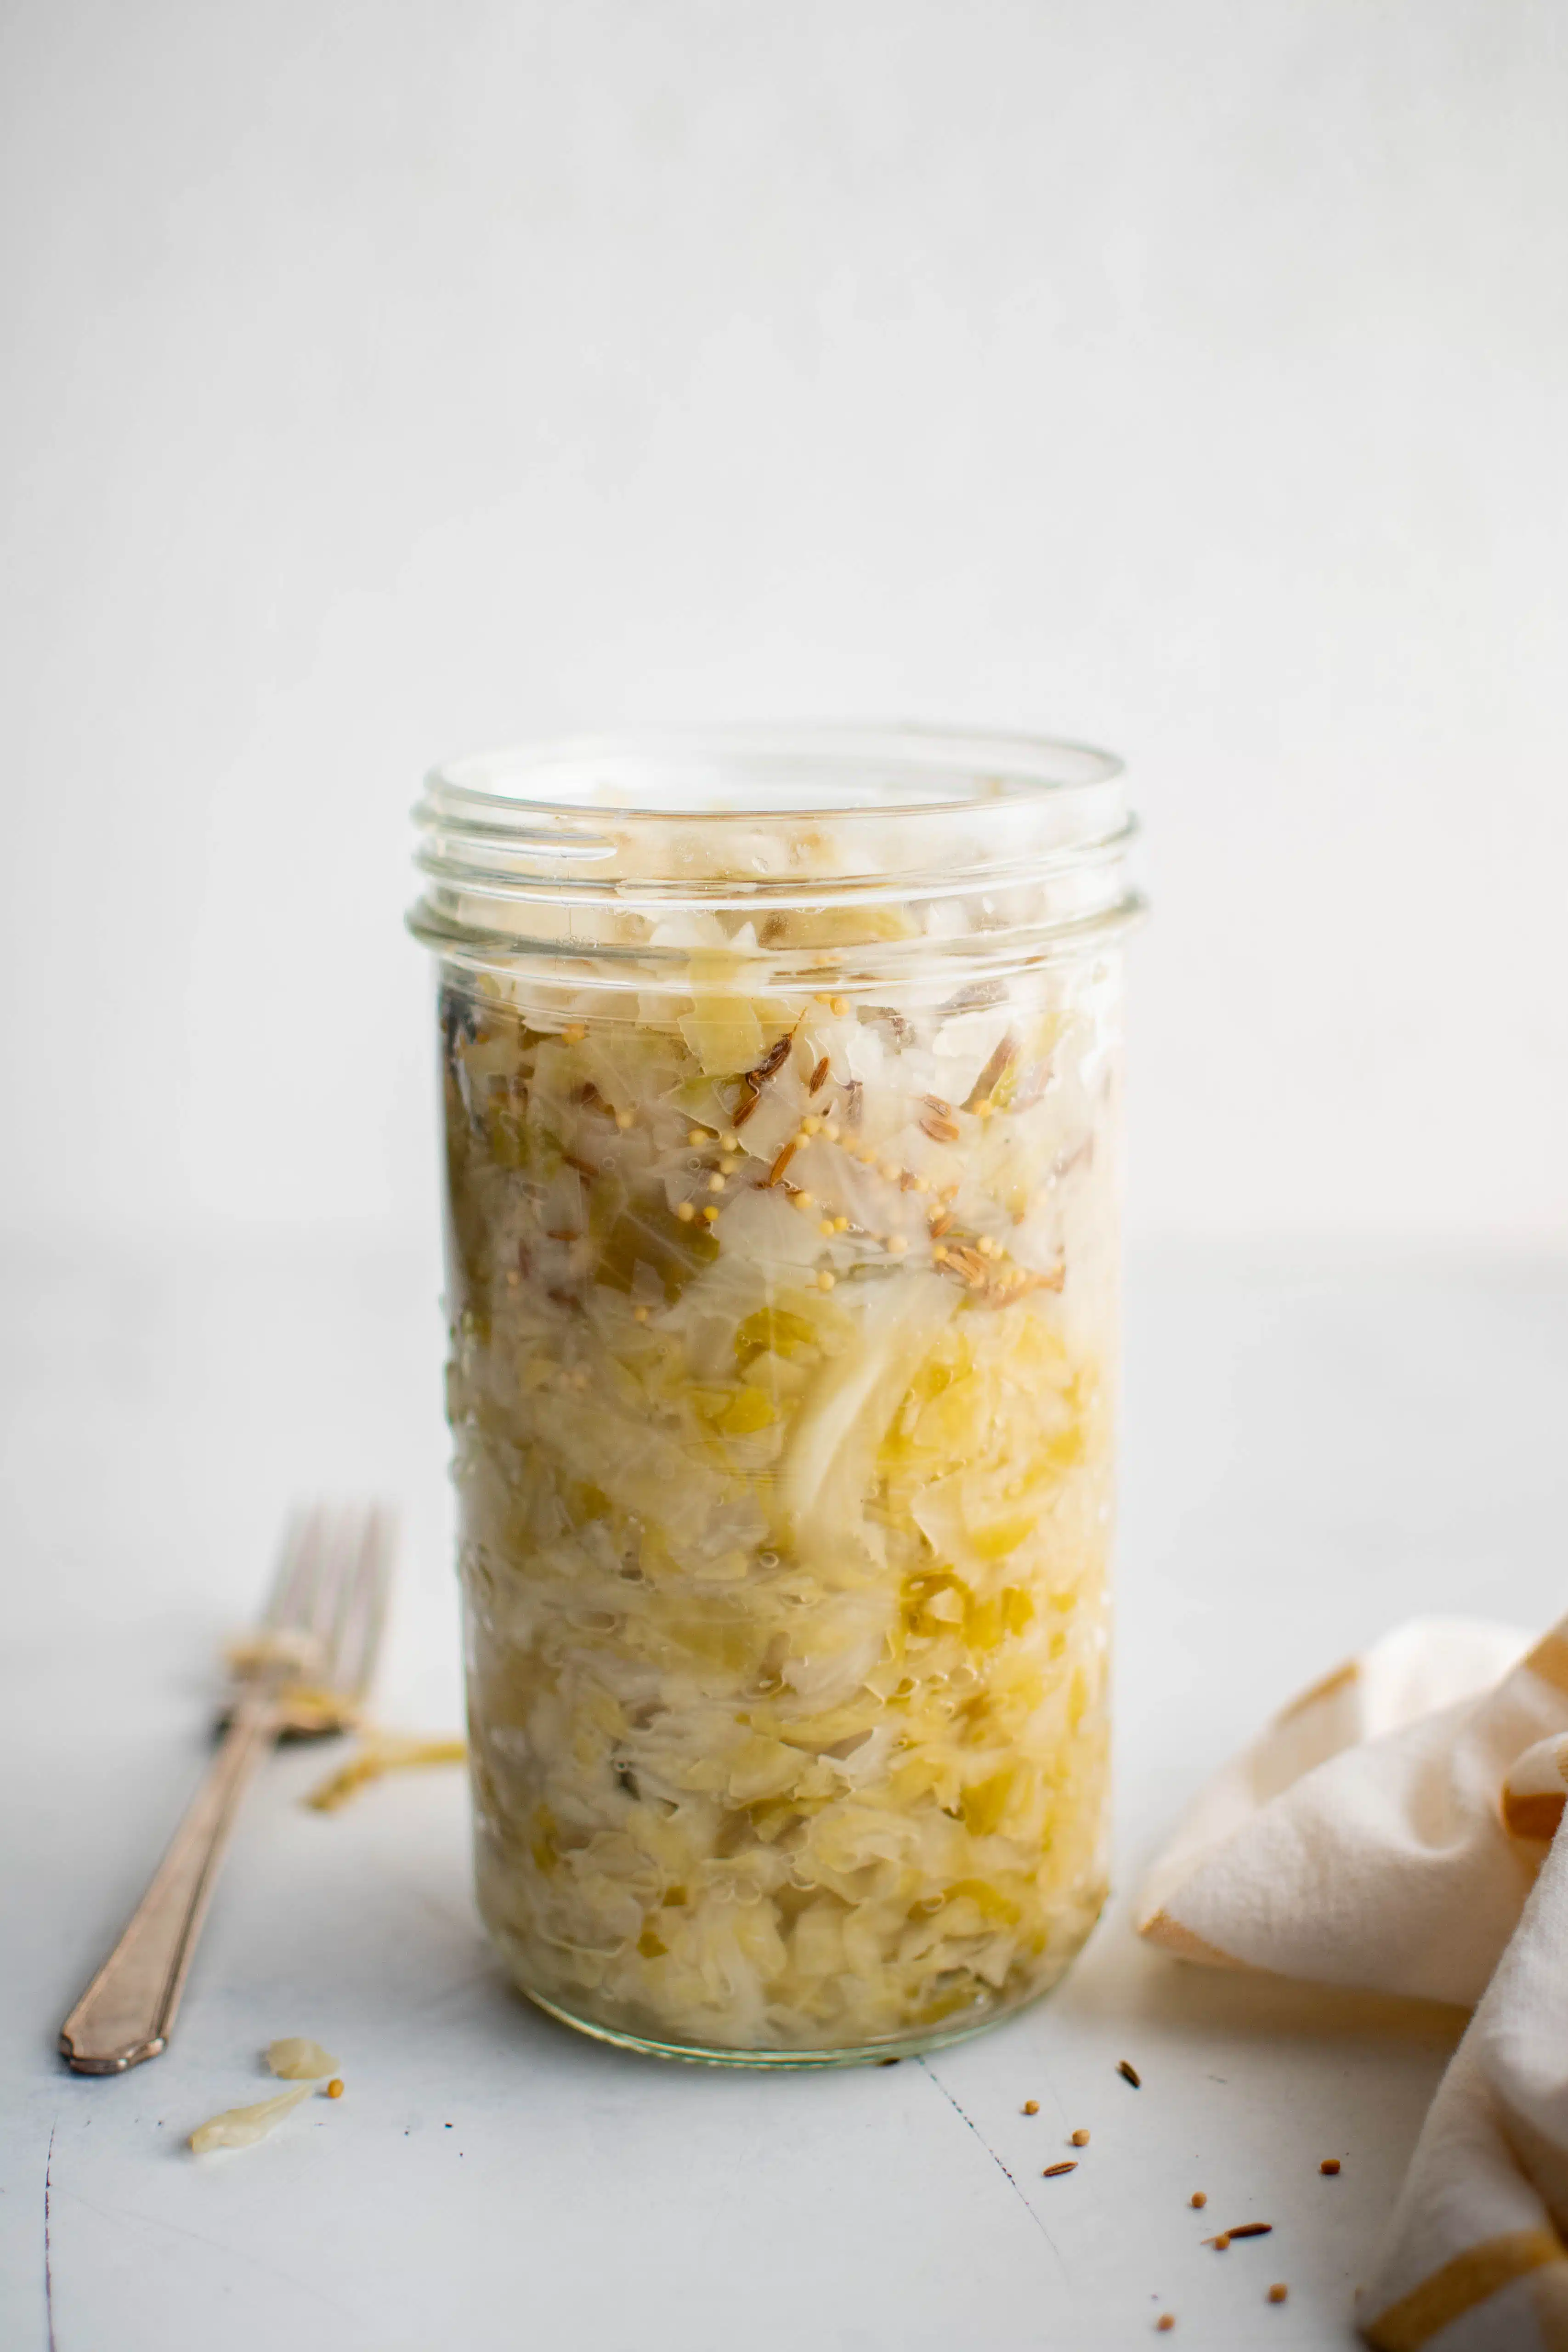
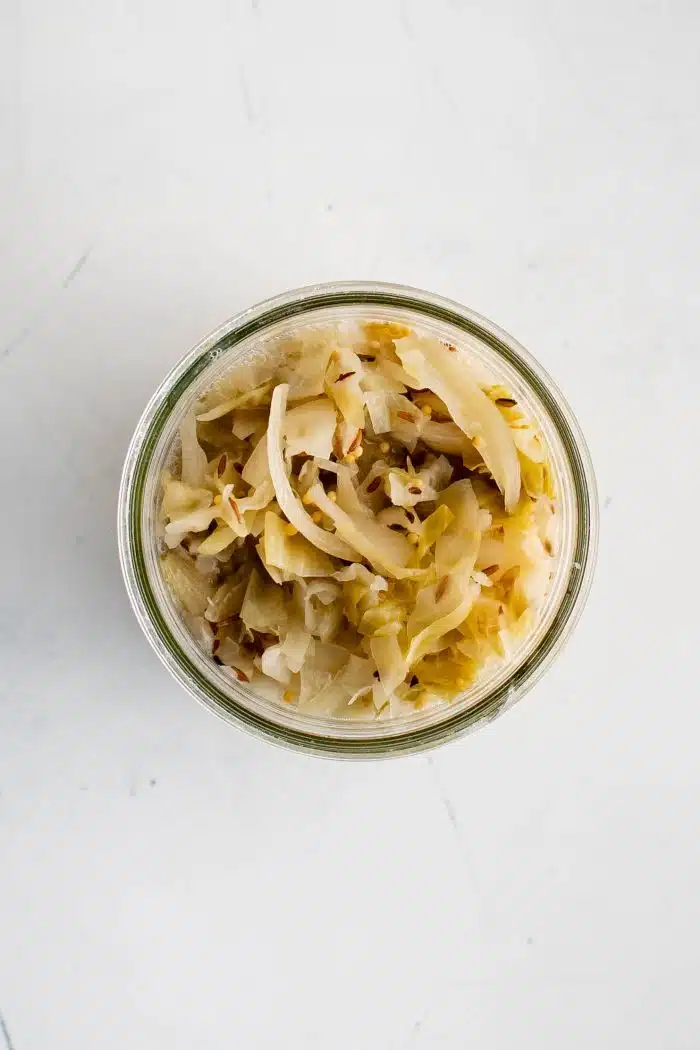
3. Pack the Cabbage: Add the caraway and mustard seeds to the cabbage mixture and mix well. Pack the cabbage mixture into a glass jar, pressing down firmly to ensure the liquid covers the cabbage mixture.
- Optional (If you have the materials): Place a smaller jelly jar on top of the packed cabbage inside the larger mason jar. Place the clean stones, marbles, or glass weights inside the smaller jelly jar. This will help to keep the cabbage weighed down and submerged in liquid.


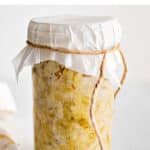
4. Ferment the Cabbage: Cover the jar with a sheet of parchment paper secured with a rubber band or twine. Allow the sauerkraut to ferment at room temperature for 14 days. During this time, check the sauerkraut daily to ensure it is still submerged in the liquid, pressing it down if needed.
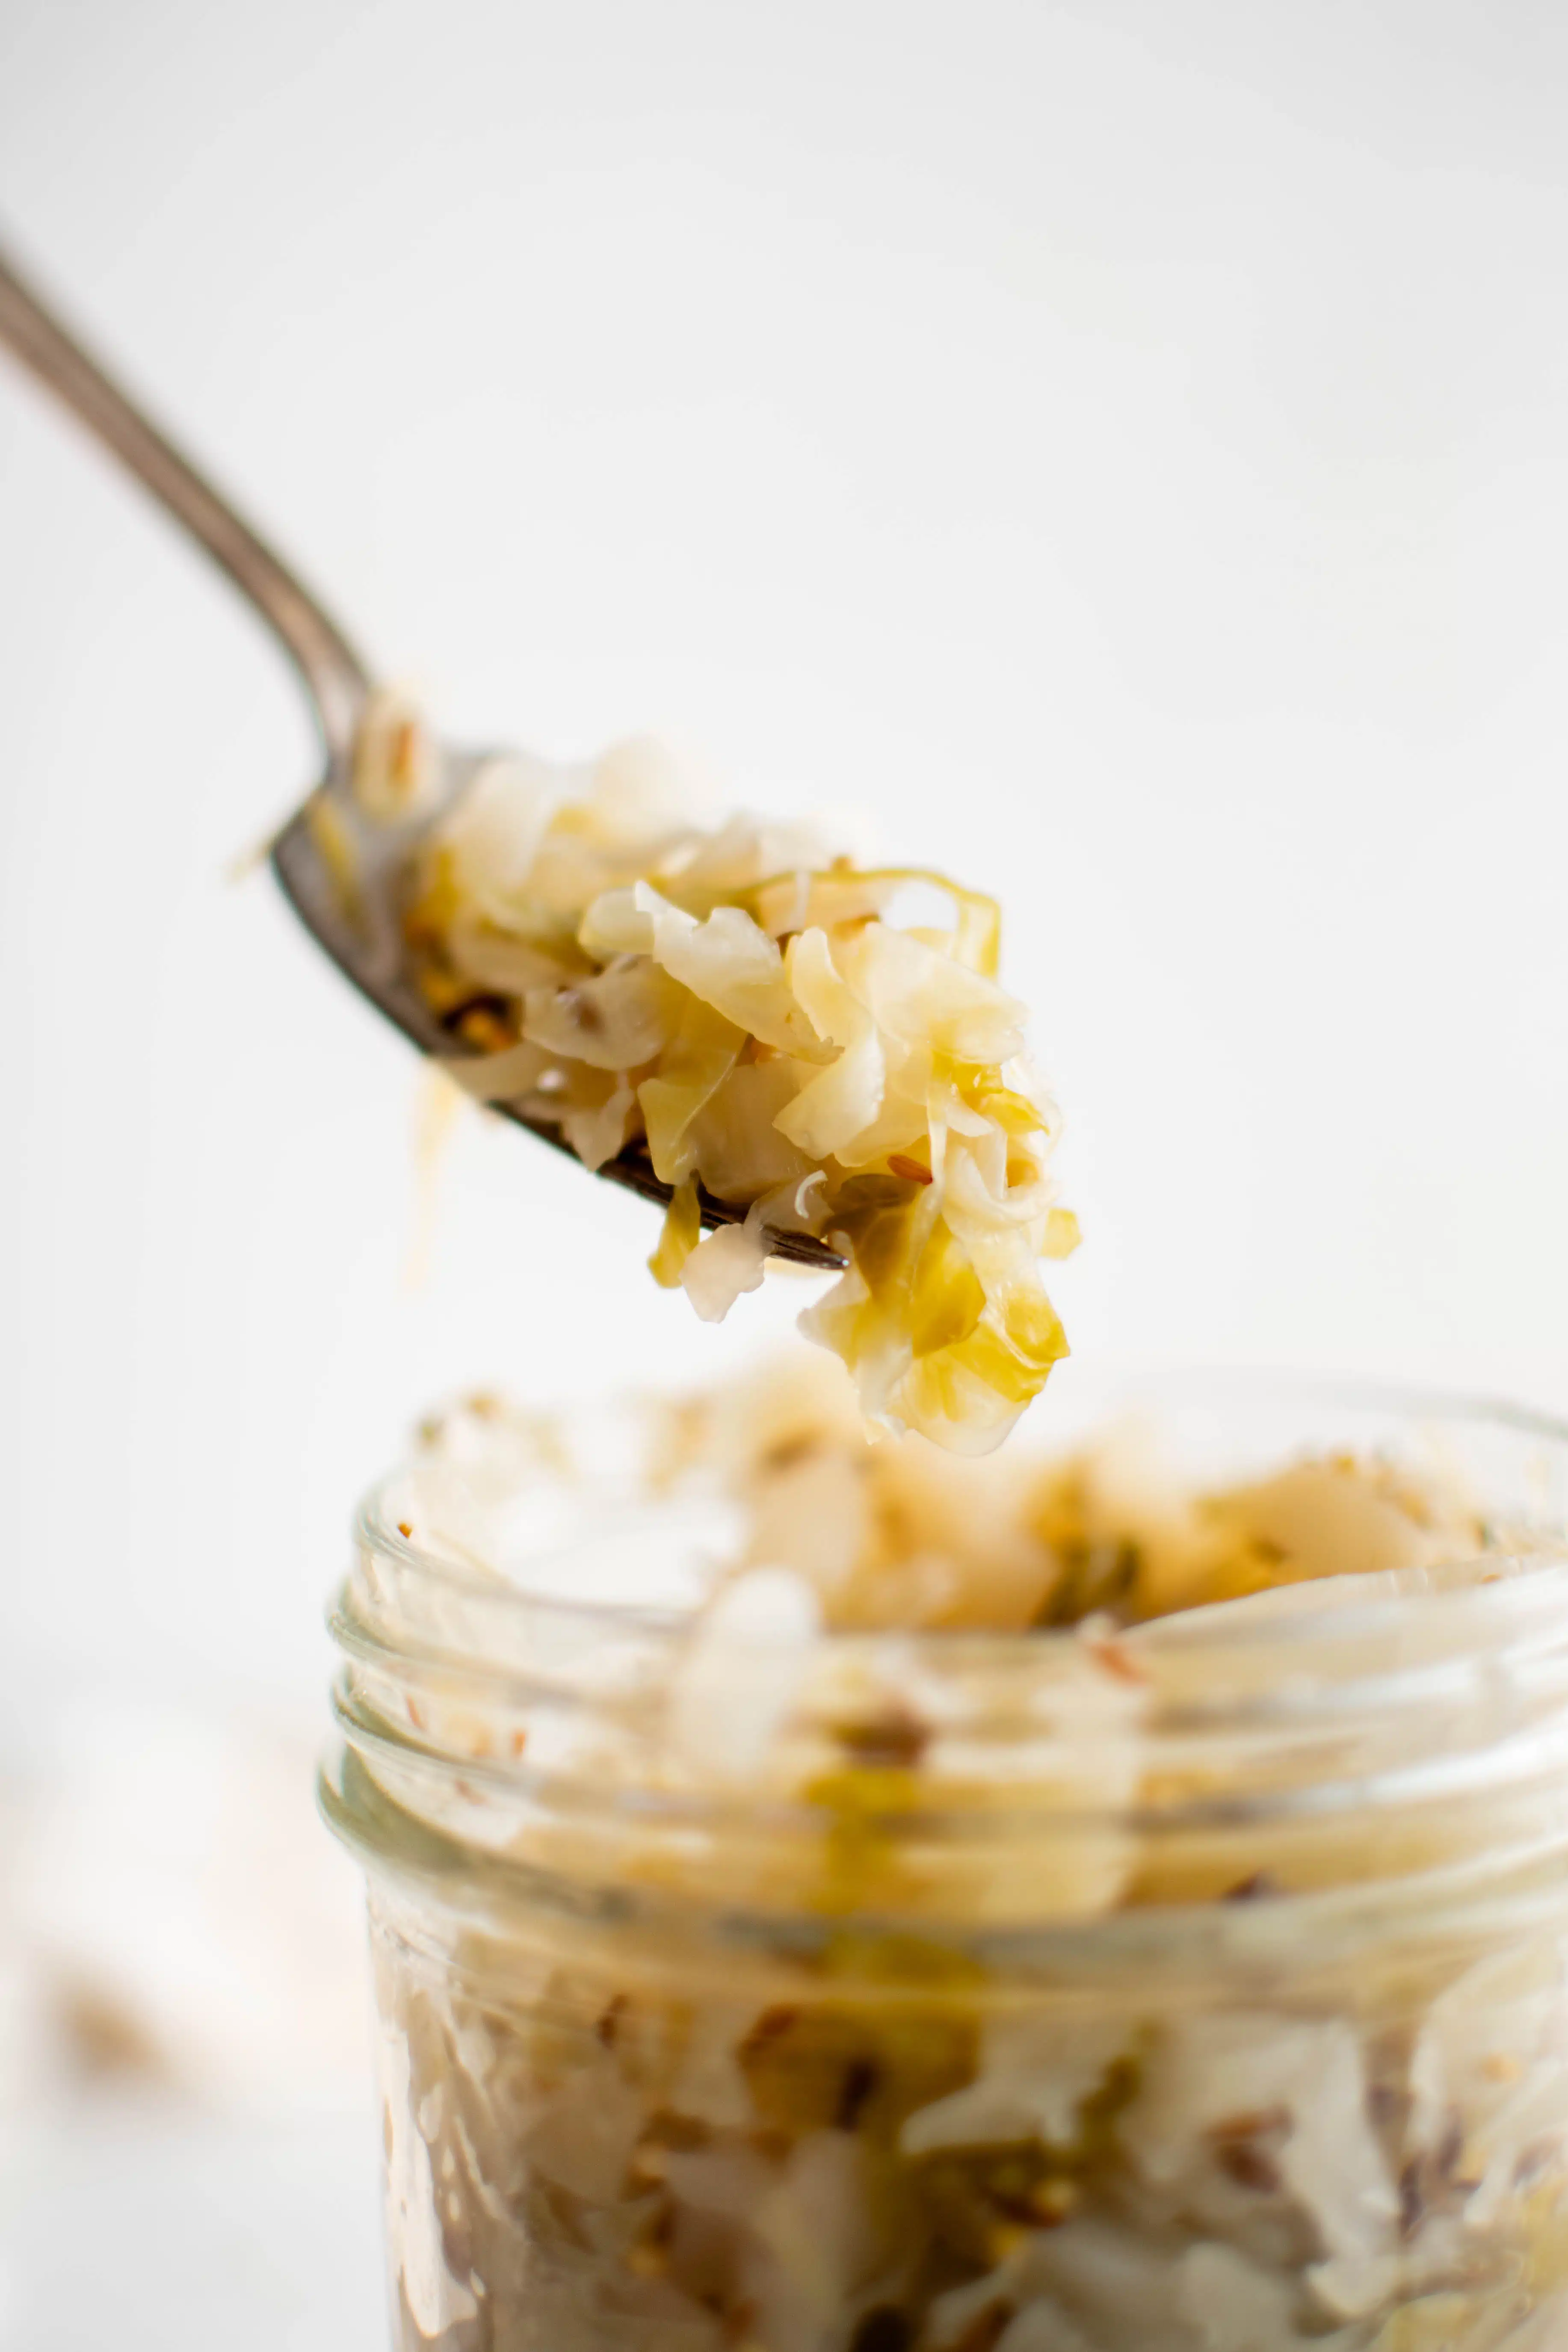
5. Store the Sauerkraut: Taste the sauerkraut. If it has reached the desired level of sourness, seal the lid tightly on the jar and store it in the refrigerator. If you prefer it to be more fermented, leave it out at room temperature for up to another week before transferring it to the fridge.

Recipe Tips – Homemade Sauerkraut
Here are some tips for making the best homemade sauerkraut so that you’ll never want to buy store-bought again.
- Pick the Right Cabbage: You can use green or red cabbage, but avoid using wilted or old heads of cabbage. Fresh, organic cabbage is best.
- Salt Matters: Use non-iodized salt, as iodine can inhibit fermentation. Sea salt or pickling salt are good choices.
- Shred the Cabbage Thinly: The cabbage should be sliced as thinly as possible. This helps it to release its water content more effectively, which creates the brine that the cabbage will ferment in. Some people recommend using a food processor, but a large sturdy knife or mandolin slicer will work just as well.
- Give it a Massage: The cabbage, that is. After adding salt to your shredded cabbage, massage it thoroughly using your hands. This helps break down the cellular structure of the cabbage, releasing its water to create the brine. The cabbage should be completely submerged in its brining liquid.
- Pack Tightly: Pack the cabbage tightly into your mason jar to eliminate air pockets. Oxygen exposure can lead to spoilage, so you want to create an anaerobic (oxygen-free) environment. If necessary, place a fermentation weight (glass weights) on top of the cabbage.
- Add Extra Liquid: But only if necessary. After the first 24 hours of fermentation, the cabbage should be completely covered in liquid. If it’s not, dissolve one teaspoon of sea salt or pickling salt in one cup of water. Add just enough water to submerge the cabbage.
- What’s the Temperature? Fermentation happens at a relatively cool room temperature, between 60-70°F (15-21°C) for about 2-4 weeks. If it’s too warm, the sauerkraut may ferment too quickly and become mushy; if it’s too cold, fermentation may not happen at all.
- Check often and Taste Test: During fermentation, check on your sauerkraut often to ensure the cabbage remains submerged and to watch for any signs of spoilage. Also, after about a week, start taste-testing your kraut. Once it has reached the flavor and texture you like, it’s ready to be refrigerated.

What is a Fermentation Crock? And Should You Use One?
A fermentation crock is a stoneware pot designed to hold cabbage or other vegetables as they ferment. Typically made of ceramic or stoneware, their primary benefits include:
- Weight: Or rather, they come with weights that are used to submerge the fermenting cabbage under the brine, which is necessary to create the anaerobic conditions required for lactic acid fermentation.
- Wide Opening: They come with a wide opening making it easier to pack the cabbage or other vegetables and remove them after the fermentation process is complete.
- Dark and Cool: Fermentation crocks usually have pretty thick walls as they are made from ceramic or stoneware resulting in a temperature-stable environment for the cabbage to ferment. This is ideal as fermentation can be sensitive to heat.
- Water Seal or Airlock: Some crocks come with a lid that prevents air from entering while allowing carbon dioxide, a byproduct of fermentation, to escape. This helps prevent unwanted mold or yeast from spoiling the fermenting vegetable.
But should you use one?
If this is your first time making homemade sauerkraut, then no, a fermentation crock is absolutely unnecessary – a mason jar will work just fine. If, however, you find yourself making fermented foods (sauerkraut, kimchi, pickles, etc.) regularly, then it may be a great tool to have in the kitchen.
How to Serve
There are so many ways to enjoy sauerkraut. Here are some ideas to get you started.
- Hot Dogs and Sandwiches: Sauerkraut is a classic topping for hot dogs and sandwiches, particularly Reuben.
- In Salads: Perhaps less common here in the States, but wildly popular in European countries like Germany and Austria.
- Alongside Sausage or Pork: Sauerkraut and pork go very well together. You can serve it as a side with sausages, pork chops, or a roast. This is a classic pairing in many German dishes.
- In grain bowls, as a topping for pizza, or in soup or stew for a nice tangy flavor.
How to Store Homemade Sauerkraut
Homemade sauerkraut should be stored in a cool, dark place with a relatively stable temperature such as the refrigerator. When properly stored, homemade sauerkraut can last for several months in the refrigerator, sometimes up to a year or more (although always check for signs of spoilage before use).
- After fermentation, ensure the sauerkraut is packed into the jar, pressing down so that the liquid (the brine) covers the cabbage. The cabbage must remain submerged in the brine to protect it from mold and bacteria.
- Seal the jars and place them in the refrigerator. The cooler temperature significantly slows down the fermentation process and helps the sauerkraut stay good for longer.
- When using, always use clean utensils to remove sauerkraut from the jar.
Note: The flavor and texture of the sauerkraut will continue to change over time, even in the refrigerator. It will become tangier and softer as it continues to slowly ferment.
More Amazing Vegetable Recipes,
- Air Fryer Shishito Peppers
- How to Cook Beets (3 Methods)
- What is Mirepoix? How to Make and Use Mirepoix
- Sauteed Zucchini
- Sauteed Mushrooms (How to Cook Mushrooms)
If you try making this Sauerkraut Recipe, please leave me a comment and let me know! I always love to hear your thoughts.


Sauerkraut Recipe (How to Make Sauerkraut)
Equipment
- 2-quart wide-mouth canning jar (or two 1-quart mason jars)
- Smaller jelly jar (one that fits inside the larger jar)
- Clean stones, marbles, or glass weights for weighing the jelly jar down
- Cloth or parchemnt paper for covering the jar, such as cheesecloth
- Rubber band or twine for securing the cloth
Ingredients
- 1 head green cabbage
- 1 tablespoon sea salt, or pickling salt
- 1 teaspoon caraway seeds
- 1 teaspoon mustard seeds
Instructions
- Remove the outer leaves of the cabbage and cut it into quarters. Carefully remove the core with a sturdy knife then slice the quarters into strips.
- Place the thinly sliced cabbage into a large mixing bowl and sprinkle the cabbage with the salt. Begin massaging the cabbage with your hands for 10-15 minutes until it starts to release liquid and reduces by nearly 2/3.
- Add the caraway and mustard seeds to the cabbage mixture and mix well.
- Pack the cabbage mixture into a glass jar, pressing down firmly to ensure the cabbage mixture is covered by the liquid.
- Optional (If you have the materials): Place a smaller jelly jar on top of the packed cabbage inside the larger mason jar. Place the clean stones, marbles, or glass weights inside the smaller jelly jar. This will help to keep the cabbage weighed down and submerged in liquid.
- Place a sheet of parchment paper over the mouth of the jar, then secure it with a rubber band or twine, or simply cover the jar with a lid not fully tightened.
- Allow the sauerkraut to ferment at room temperature for 14 days. During this time, check the sauerkraut daily to ensure it is still submerged in the liquid, pressing it down if needed.
- Taste the sauerkraut. If it has reached the desired level of sourness, seal the lid tightly on the jar and store it in the fridge. If you prefer it to be more fermented, leave it out at room temperature for up to another week before transferring it to the fridge.
Notes
- This sauerkraut can be stored in an airtight container in the fridge for up to 3-4 months, but if there is a funky smell (other than the fermentation), toss it out.
- Note: After the first 24 hours of fermentation, the cabbage should be completely covered in liquid. If it’s not, dissolve one teaspoon of sea salt or pickling salt in one cup of water. Add just enough water to submerge the cabbage.
Nutrition
Nutrition information is automatically calculated, so should only be used as an approximation.