This post may contain affiliate links. See my disclosure policy.
This Nashville Hot Sauce is the perfect thing to slather, dip, or brush over crispy fried chicken, chicken wings, or juicy baked chicken. It’s an irresistible blend of spicy, sweet, and tangy flavors that takes just 5 minutes to make!
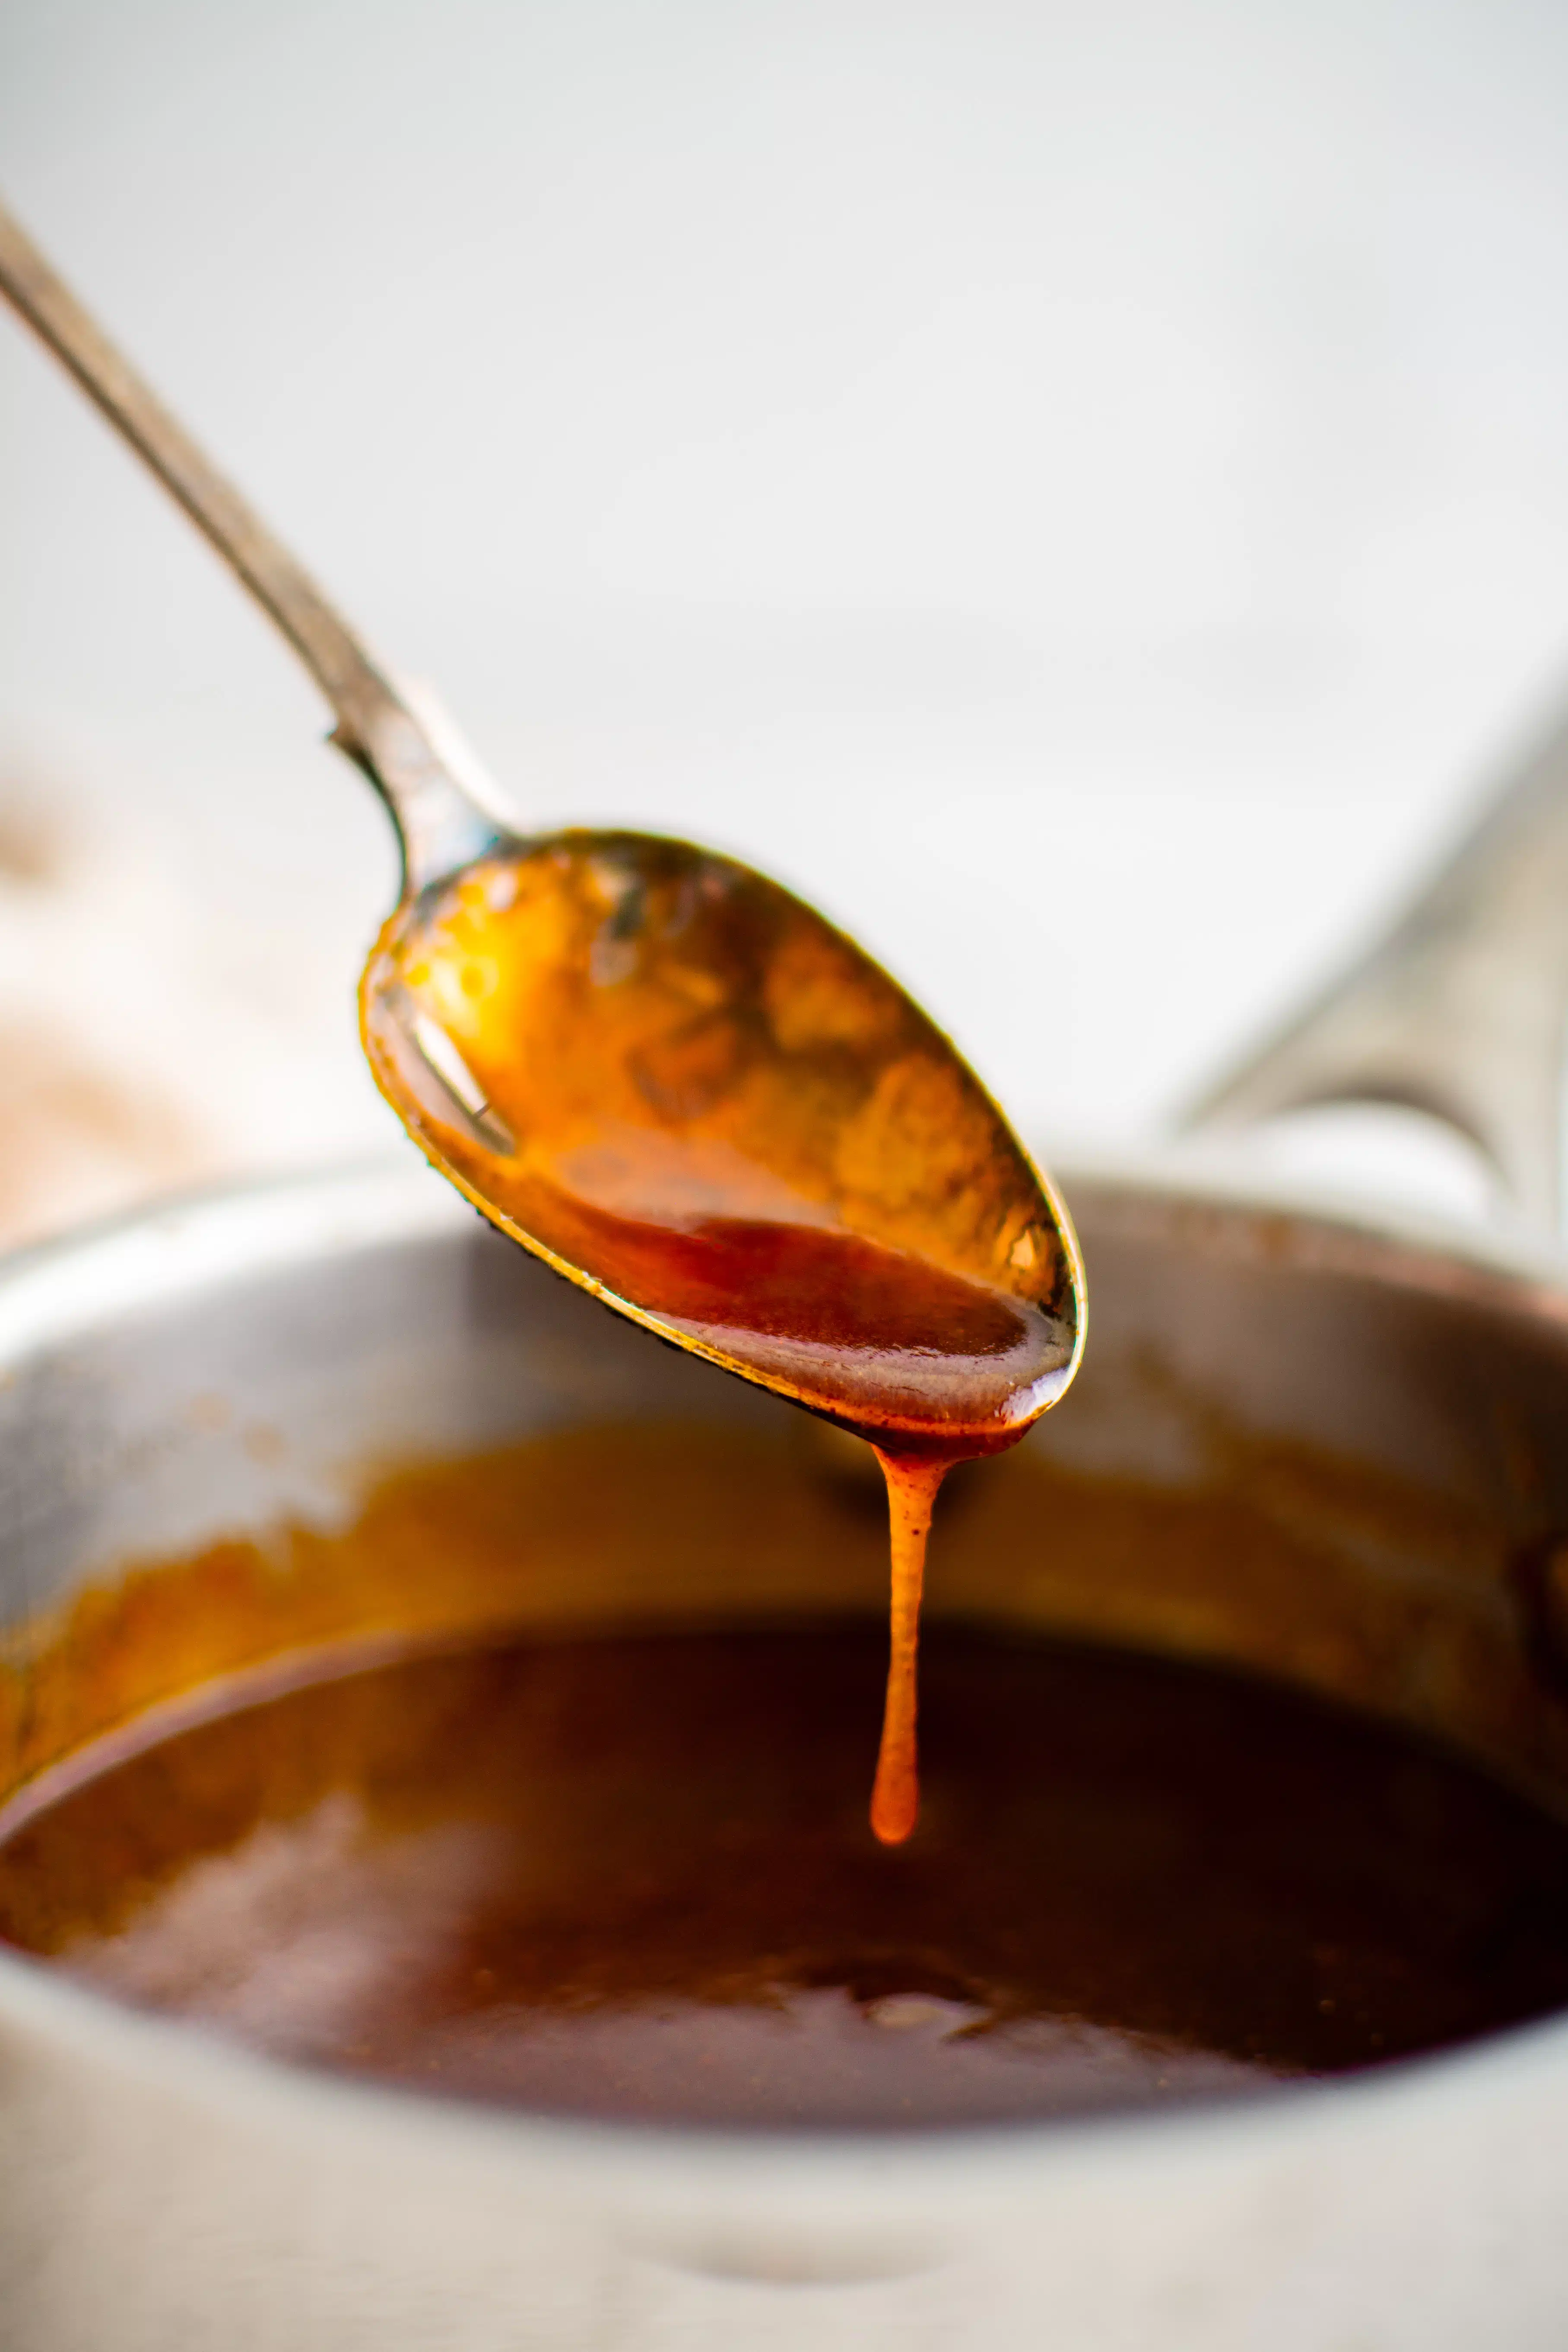
All the flavors of Nashville hot chicken, but without the fried chicken.
From watery eyes to uncontrollable saliva, I am a big fan of burning my mouth with hot sauce and spicy chili peppers, and now we can enjoy all the flavors of Nashville hot chicken anytime and with all our favorites like crispy chicken sandwiches, air fryer frozen French fries, roasted veggies, and grilled shrimp.
If you prefer your hot sauce more on the mild side, less “burn your face off”, simply add less cayenne pepper (more on that later).
Table of Contents
What is Nashville Hot Sauce?
Nashville hot sauce is a condiment originating in Nashville, Tennesse, and is most famously used to prepare Nashville hot chicken, a local specialty made by coating fried chicken in, yep, you guessed it, Nashville hot sauce.
Traditionally, the sauce is made using the hot frying oil used to cook the chicken (rather than butter). The seasoning and spices infuse with the oil, creating a deeply flavored sauce that is both spicy and subtly sweet. When mixed with the frying oil from the chicken, the sauce takes on a more oily texture. On the other hand, butter adds richness and results in a slightly thicker sauce.
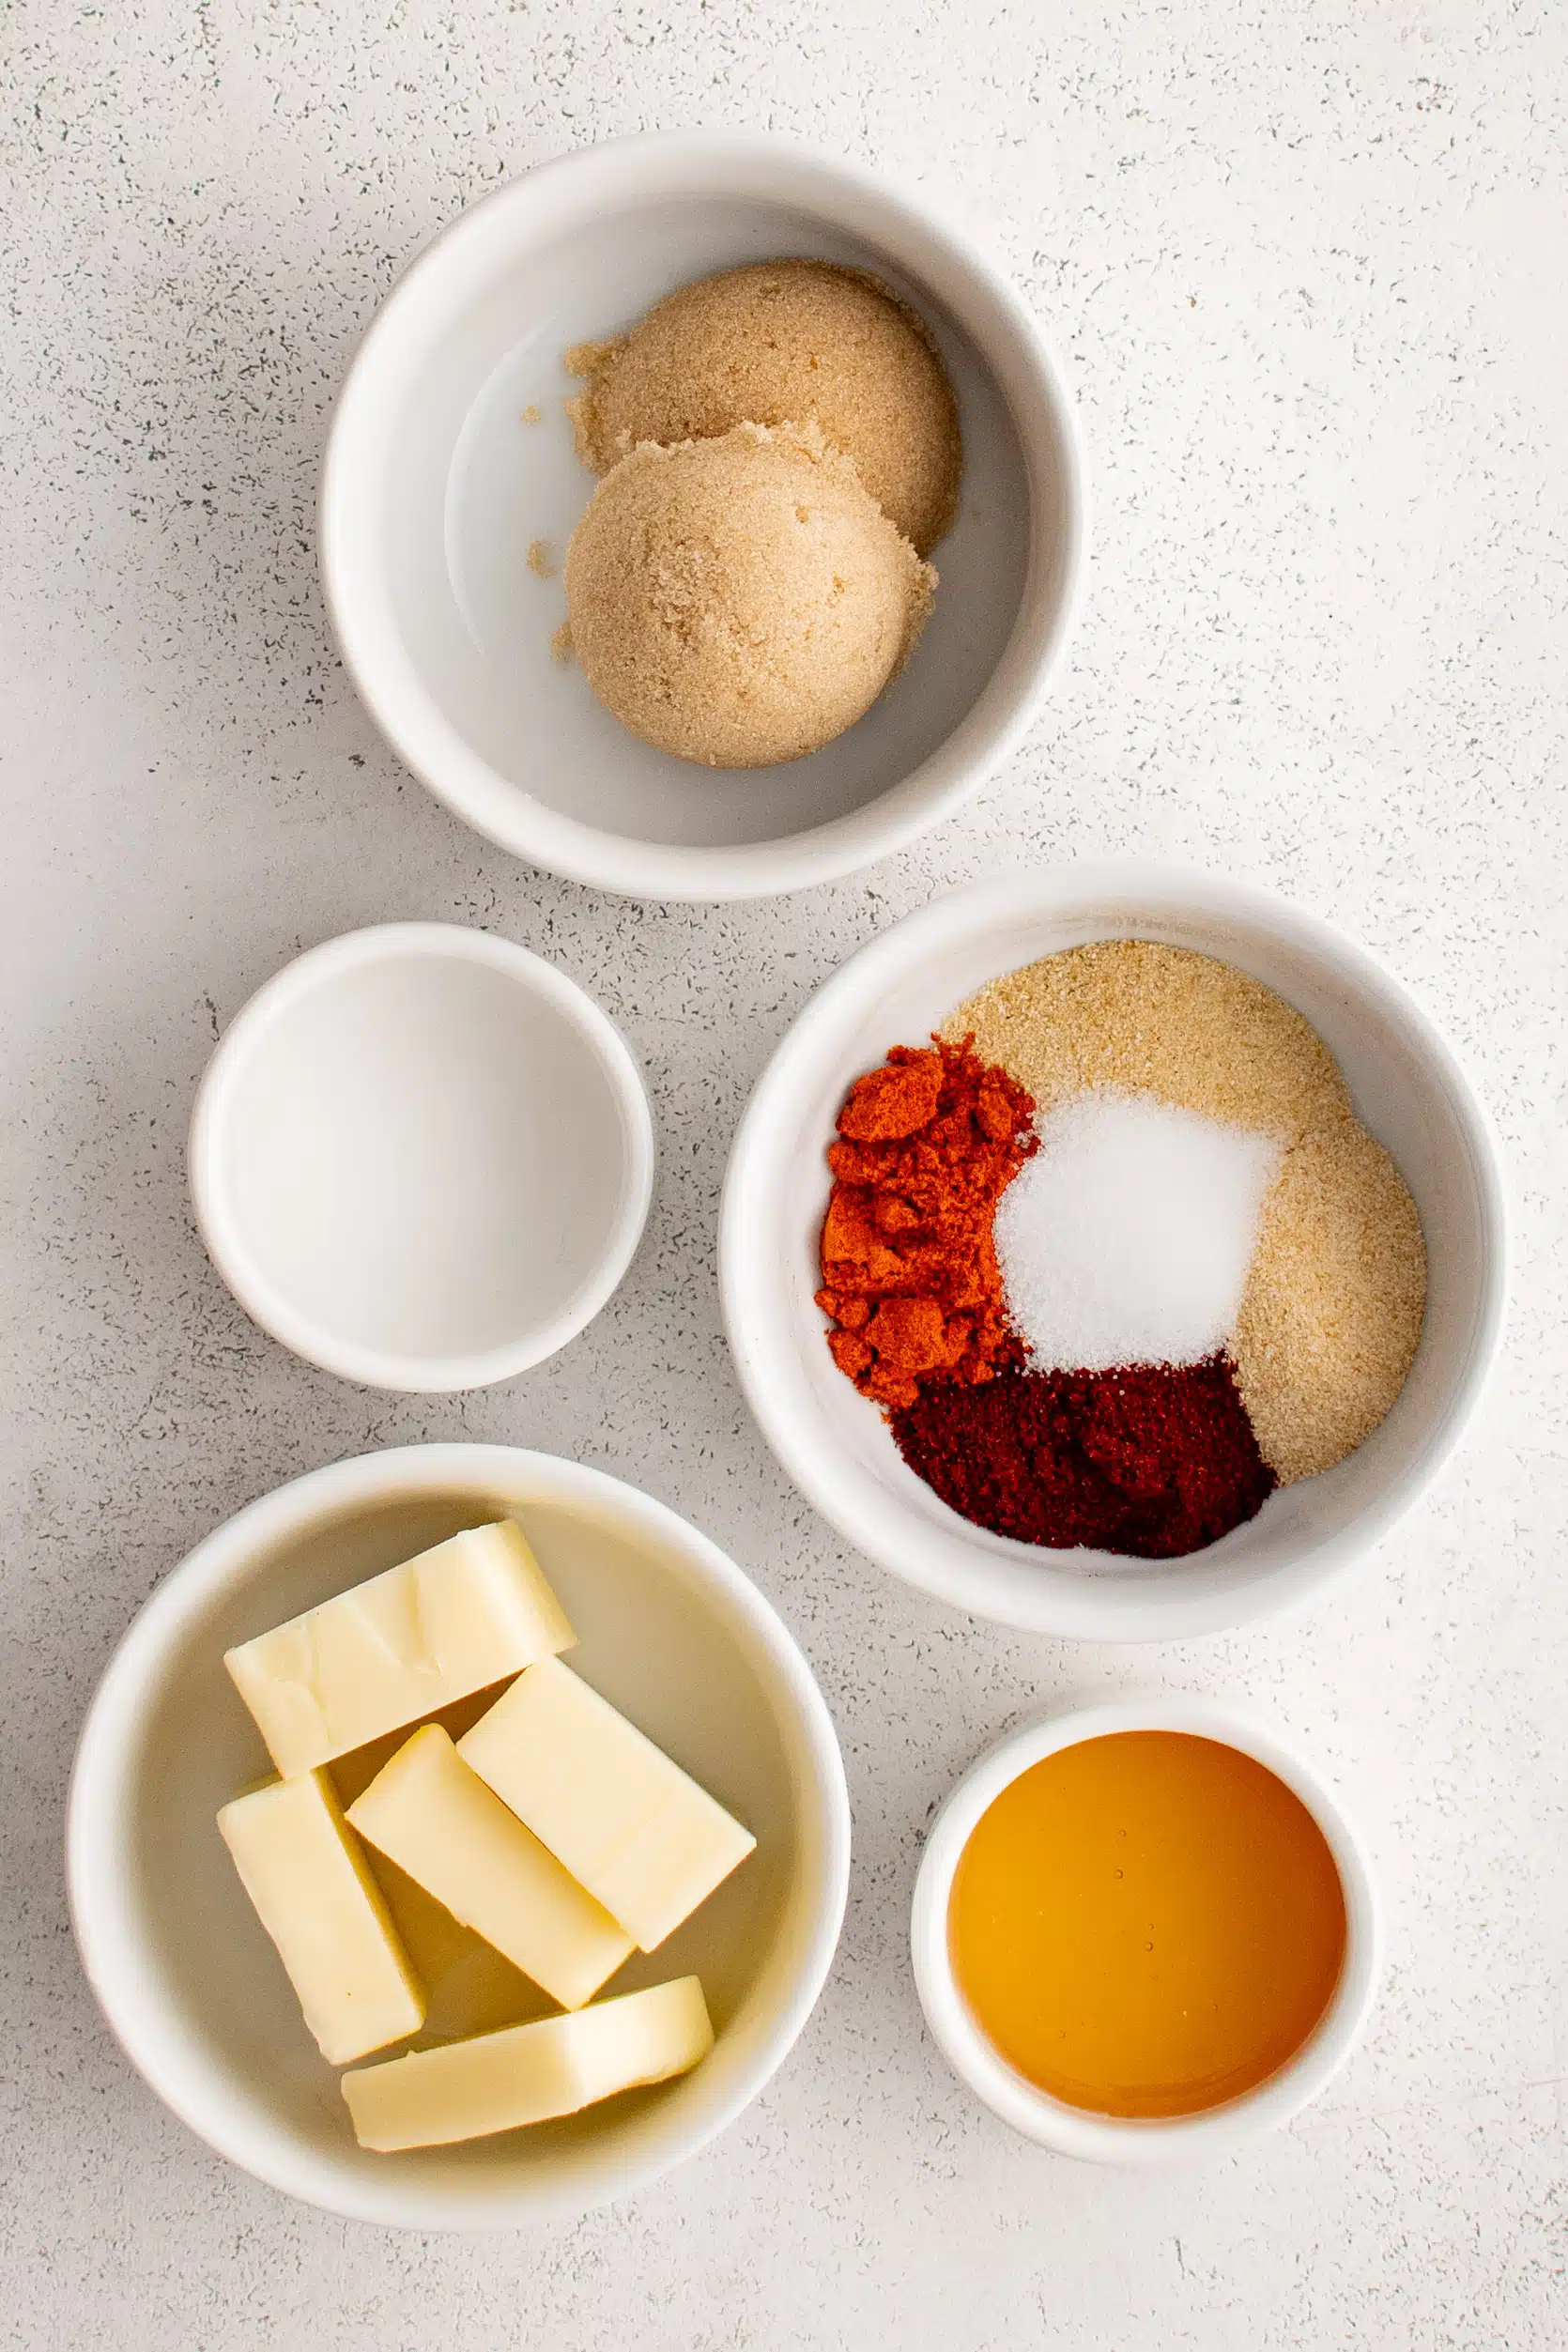
Key Ingredients
Find the printable recipe with measurements in the recipe card below.
- Butter (or vegetable oil, ghee, or lard): Traditionally, Nashville hot sauce is made with the oil that is used to fry chicken. It is made in the same way as this recipe. The oil is mixed with the seasonings and spices and then drizzled or brushed over the fried chicken. Butter eliminates the need for frying oil, meaning it can be made anytime. Butter also adds delicious flavor and texture to the sauce and is convenient, but feel free to use vegetable oil if that’s what you prefer. Alternatives to butter and oil include ghee (clarified butter) and lard.
- Garlic Powder and Onion Powder: For a little savory flavor.
- Smoked Paprika: Used for both flavor and color.
- Cayenne Powder: The primary source of heat and spice! Add more or less depending on how spicy you like your sauce. If you want a super spicy sauce, add a little ghost pepper powder.
- Brown Sugar and Honey: The sweetness from the brown sugar and honey helps balance the heat from the cayenne pepper. The honey is optional.
- White Vinegar: Just a small amount to balance the sweetness and spiciness.

How to Make Nashville Hot Sauce
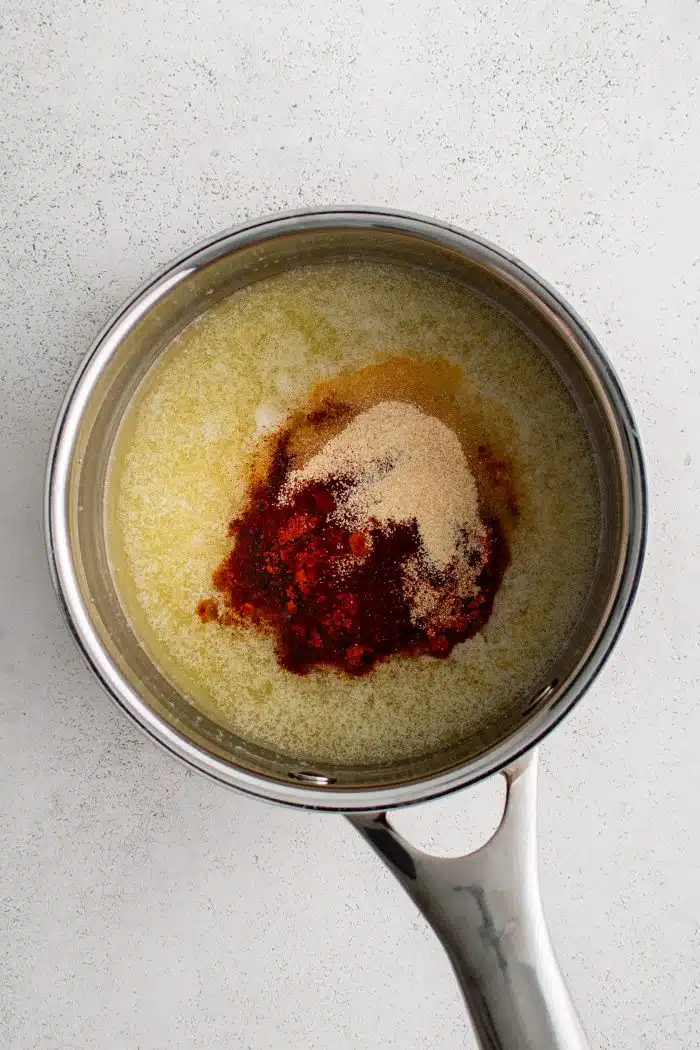
1. Melt the butter in a small sauce pot or pan set over medium heat (if you prefer to use vegetable oil, simply warm it).
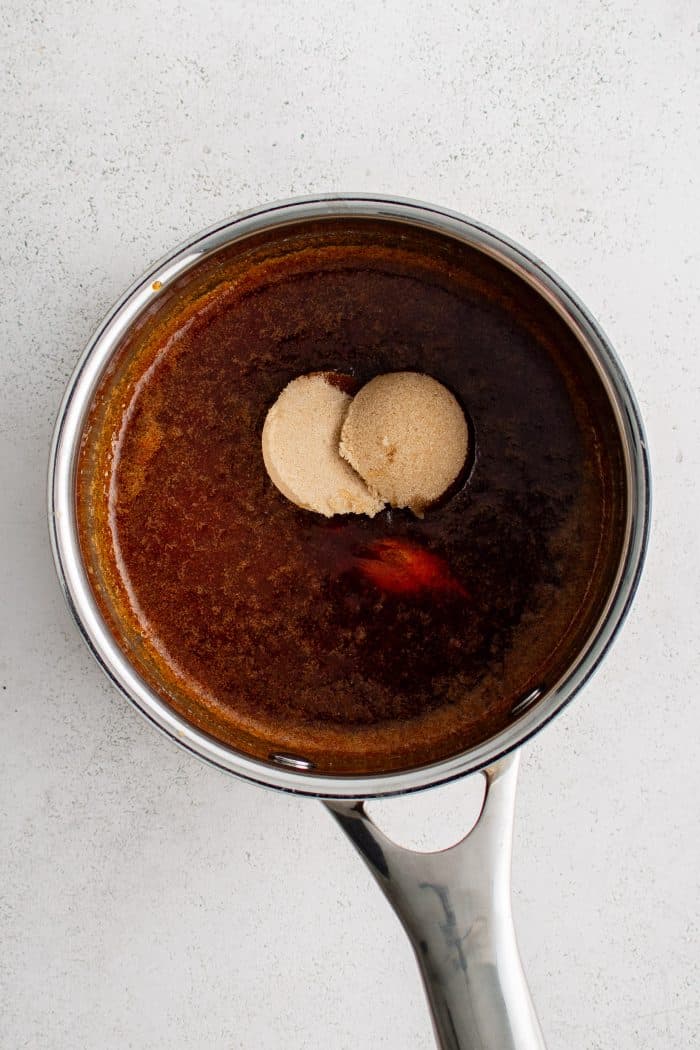
2. Whisk the garlic powder, onion powder, smoked paprika, cayenne powder, and salt into the melted butter until combined. Once incorporated, whisk the brown sugar, honey (if using), and white vinegar into the sauce.
3. Gently heat the sauce over medium heat for 1-2 minutes, whisking continuously to prevent the butter from burning. Remove from heat and continue to whisk for an additional 2-3 minutes, or until well incorporated.
4. Use as desired or save for later.

Nashville Hot Sauce vs. Buffalo Sauce
There are several key differences between Nashville hot sauce and Buffalo Sauce.
Nashville Hot Sauce, originating in Nashville, Tennessee, is most often used to make Nashville hot chicken. Known for its intense heat, its primary ingredient, cayenne pepper, imparts a significant spiciness, balanced by the sweetness of brown sugar and the rich, earthy notes of garlic and paprika. This sauce has a thicker, paste-like texture due to the spices and the use of cooking oil (often the same oil used for frying chicken), which adds a rich, almost creamy consistency.
Buffalo Sauce, originating from Buffalo, New York, is most often used to make baked Buffalo Wings. It’s made with a base of hot sauce (such as Frank’s RedHot), vinegar, and melted butter or margarine, creating a tangy, spicy, and slightly buttery sauce. Thinner and more liquid than Nashville Hot Sauce, it gives a smooth, glossy coating that easily adheres to chicken wings.
How to Use Nashville Hot Sauce
The most popular use for Nashville hot sauce is on Nashville hot chicken, where, after frying, the sauce is brushed (or dipped) onto the chicken for a spicy coating. But it’s perfect with any other chicken recipe including fried chicken wings, air fryer chicken wings, grilled or baked chicken, crispy baked chicken legs, and chicken sandwiches.
Other than chicken, enjoy it with baked mac n cheese, drizzled over pizza, or slathered over sandwiches and hamburgers. Mix it with a little mayo and enjoy as a dipping sauce for air fryer frozen French fries, fish sticks, or air fryer chicken tenders.
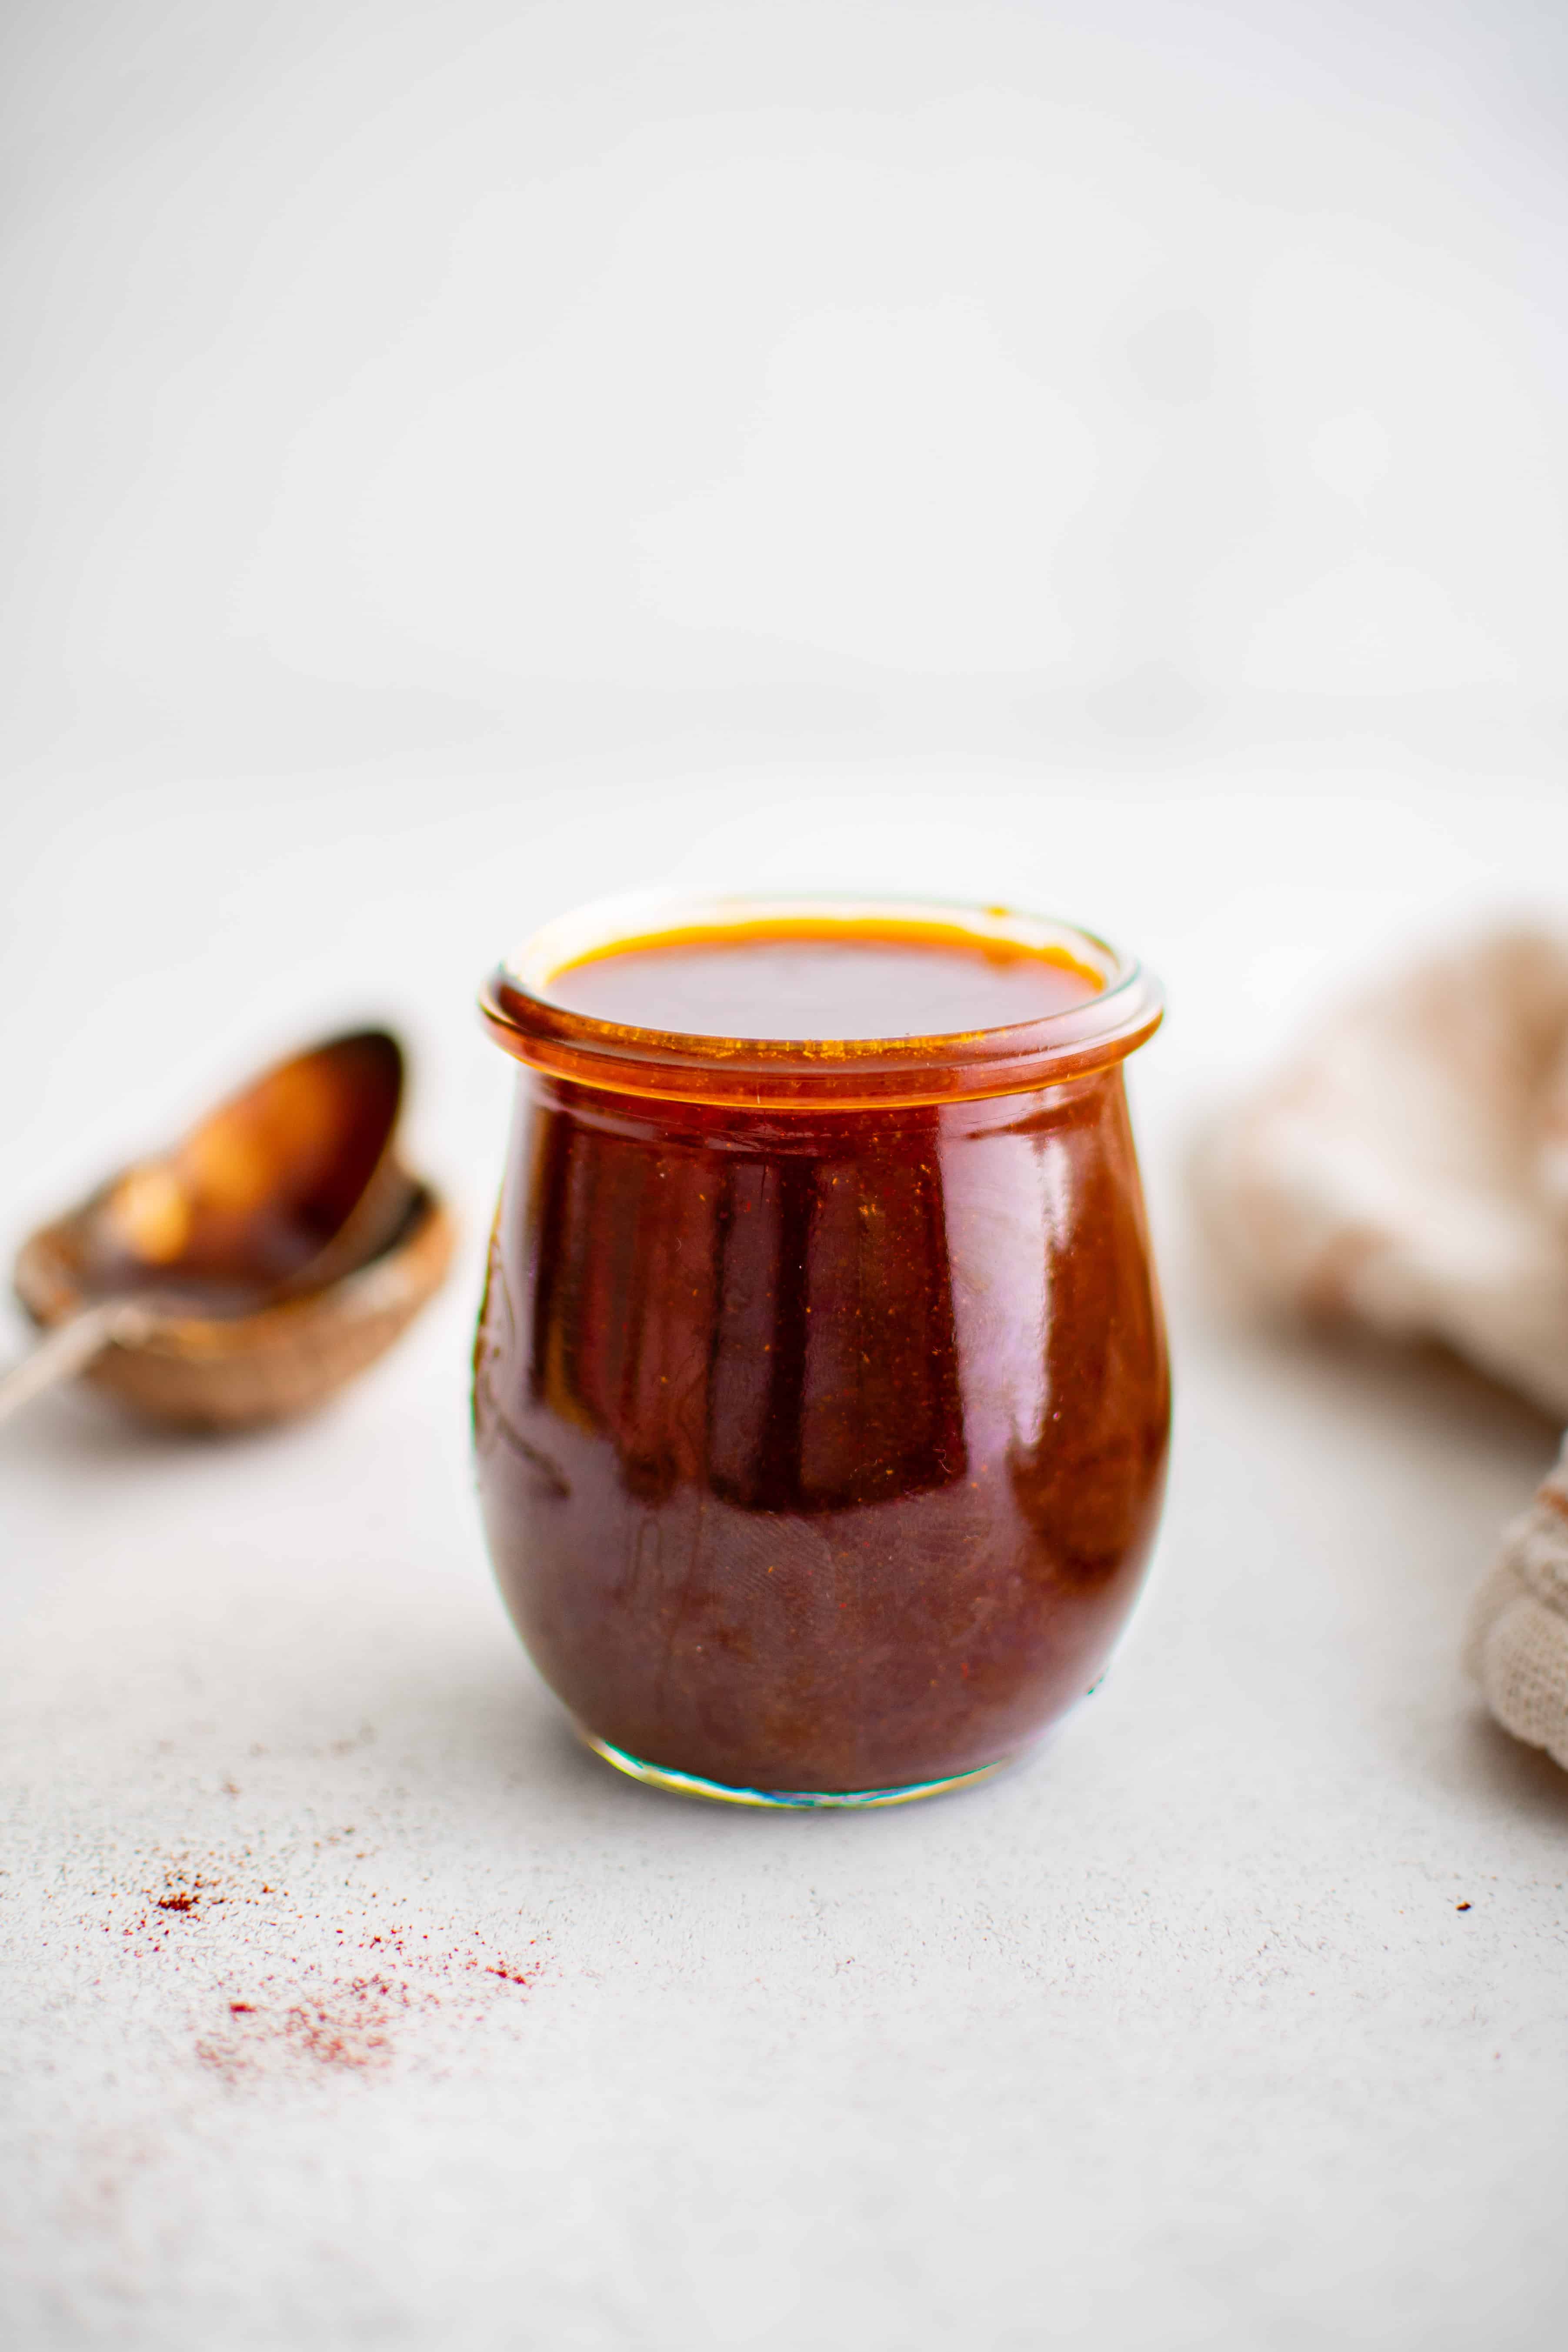
Storage
Allow the sauce to cool before transferring to a sealed airtight container and storing in the refrigerator for up to 7 days. Gently reheat in a small pot over medium heat or in a microwave-safe dish in the microwave. You can also freeze it for up to 6 months in a sealed freezer-safe container.

More Sauce Recipes
- The BEST Buffalo Sauce Recipe
- Chimichurri Recipe
- Gyoza Dipping Sauce
- Garlic Butter Sauce
- Tartar Sauce Recipe
- Tzatziki Sauce Recipe
If you try making this Nashville Hot Sauce Recipe, please leave me a comment and let me know! I always love to hear your thoughts.
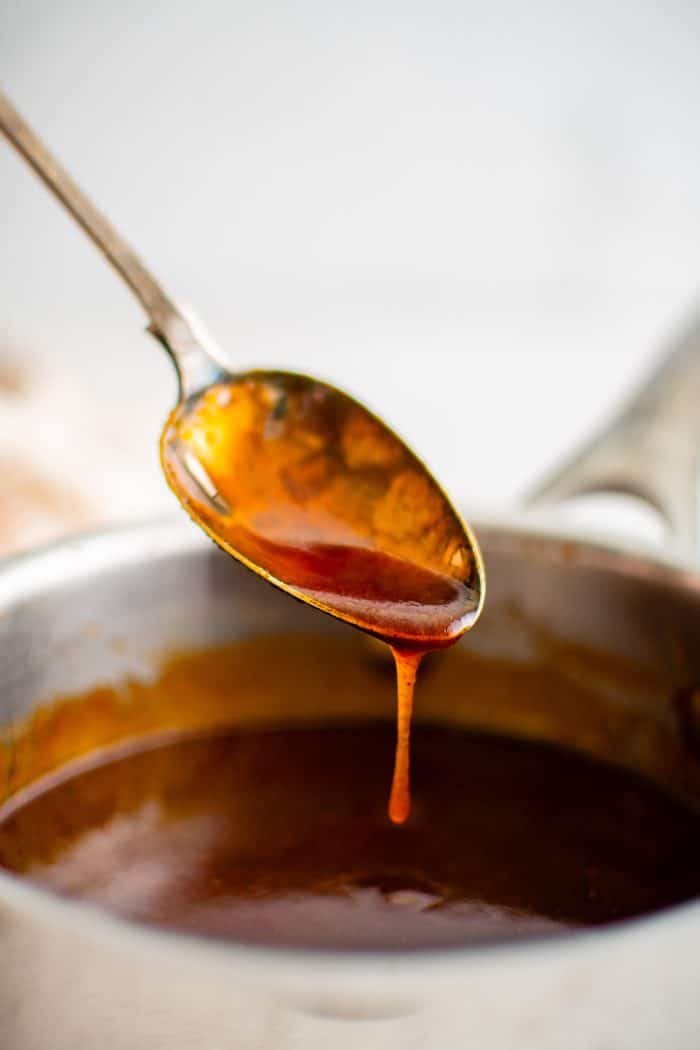
Nashville Hot Sauce Recipe
Ingredients
- 4 tablespoons butter, salted or unsalted, (½ stick)
- 1 teaspoon onion powder
- 1 teaspoon garlic powder
- 1 teaspoon smoked paprika
- ½ teaspoon cayenne powder
- ½ teaspoon salt
- 2 tablespoon brown sugar, packed
- 1 tablespoon honey
- ½ teaspoon white vinegar
Instructions
- Melt the butter in a small pot set over medium heat. Once melted, whisk in the garlic powder, onion powder, paprika, cayenne powder, and salt and cook until fragrant, 30-60 seconds.
- Whisk in the brown sugar, honey, and white vinegar, let it come to a gentle simmer, then remove from heat immediately. Continue to whisk for 5 minutes, off heat, ensuring that everything is well incorporated.
- Use immediately. To save for later use, allow it to cool completely before storing it in the fridge for up to 1 week.
Notes
- Reheating: The sauce will thicken after refrigeration. To reheat, spoon out as much as you need into a microwave-safe bowl, then microwave for 15-20 seconds or until the sauce is liquid again.
- Adjust the heat of the sauce by adding more or less cayenne pepper. If you want a super spicy sauce, add a little ghost pepper powder.
- For a thinner sauce, use 8 tablespoons (1 stick) of butter. As written, the sauce will be thicker and more sludge-like.
Nutrition
Nutrition information is automatically calculated, so should only be used as an approximation.




We are a vegan family, I used Earth Balance in place of butter. I worked great! Made Nashville vegan chicken sandwiches on pretzel buns with coleslaw. Everyone loved it!
I dipped air fried chicken patties in this and made sandwiches, the family loved them! Quick question though, I found the sauce got very thick and separated if I didn’t use it immediately. I’m not sure how I could save it for later. Any tips?
I love hearing that your family enjoyed them!
To keep your Nashville hot sauce from thickening and separating, make sure it’s well-emulsified when you first make it—blending the ingredients thoroughly can help. Store it in an airtight container in the fridge. If it separates, gently reheat it on low heat while stirring, which can help the ingredients blend together again. Adding a small amount of mustard or honey can also stabilize the sauce, as both act as natural emulsifiers. These tips should help maintain the sauce’s consistency for later use. 🙂
Can this recipe be ‘canned’ as to give for Christmas gift baskets, etc.?
Thank you in advance. I am excited to try your recipe. It looks delicious. !
Canning a Nashville hot sauce that includes butter can be a bit more complex due to the presence of dairy, which adds another layer of safety considerations. Here’s how you can approach this to ensure safety and quality:
Acidity and Dairy Considerations: The acidity level (pH) of the sauce still needs to be below 4.6 to safely can using a water bath method, which is essential for preventing bacterial growth. Dairy products, such as butter, can affect the stability and safety of canned goods, as they can spoil more easily and are not typically recommended for traditional home canning.
Use of Pressure Canner: Because the sauce contains butter, a pressure canner may be necessary instead of a water bath canner to reach temperatures high enough to kill all bacteria, including botulism spores. This method is more effective for low-acid and dairy-containing recipes.
Sterilization: Sterilize all canning jars and lids properly by boiling them for at least 10 minutes, or use a dishwasher with a “sanitize” cycle to ensure they are free from bacteria.
Filling Jars: Fill the jars while the sauce is hot, leaving about 1/2 inch of headspace at the top. Clean the jar rims thoroughly with a clean cloth to ensure no residue is left that could prevent sealing.
Processing Time: Consult a reliable source or a canning guide that provides specific times for pressure canning recipes similar in density and ingredients to ensure complete sterilization.
Cooling and Checking Seals: Allow the jars to cool undisturbed for 12 to 24 hours after processing. Check the seals; the lids should not flex when pressed. If any jar hasn’t sealed properly, refrigerate it and use it within a week.
Storage: Properly sealed jars should be stored in a cool, dark place. Because the sauce contains butter, you should advise gift recipients to consume it within a shorter timeframe compared to other canned goods.
Labeling and Instructions: Clearly label each jar with the canning date and ingredients. Include a note about keeping the jar refrigerated after opening and consuming it within a reasonable period.
Safety First: Given the complexities of canning recipes containing dairy, you may want to consider alternative preservation methods like refrigeration or freezing, or consult with a food safety expert or extension service to ensure the process is handled safely.
If you decide to give the sauce as a gift, you might opt to keep it refrigerated or frozen and instruct the recipients to do the same, which can simplify the process and ensure safety.
I love how this turned out!
Thanks for the feedback and rating, Misty 😀