This post may contain affiliate links. See my disclosure policy.

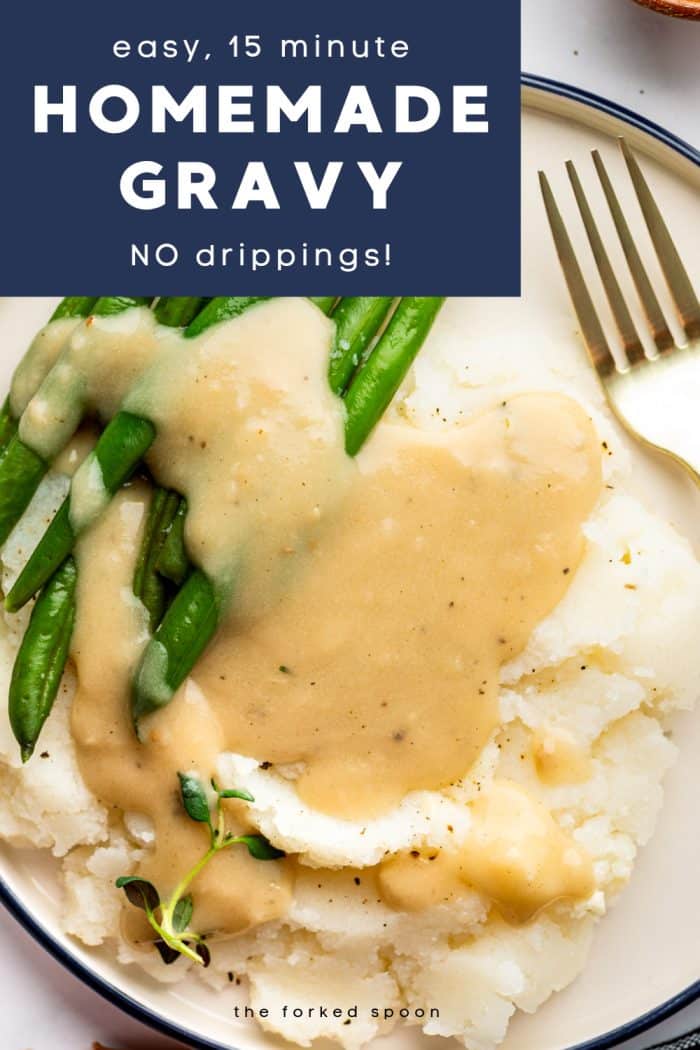
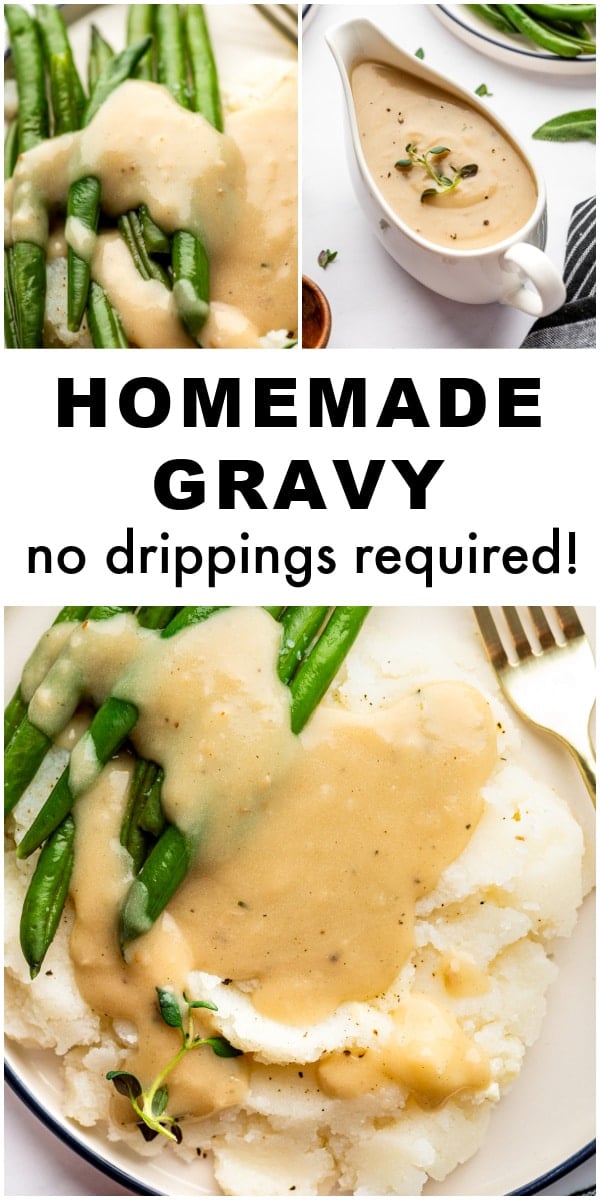
Need gravy fast, but don’t have drippings? This homemade gravy recipe comes together quick with just butter, flour, and broth. Perfectly smooth every time, it’s ideal for busy cooks and absolutely delicious over favorites like mashed potatoes and roast turkey.

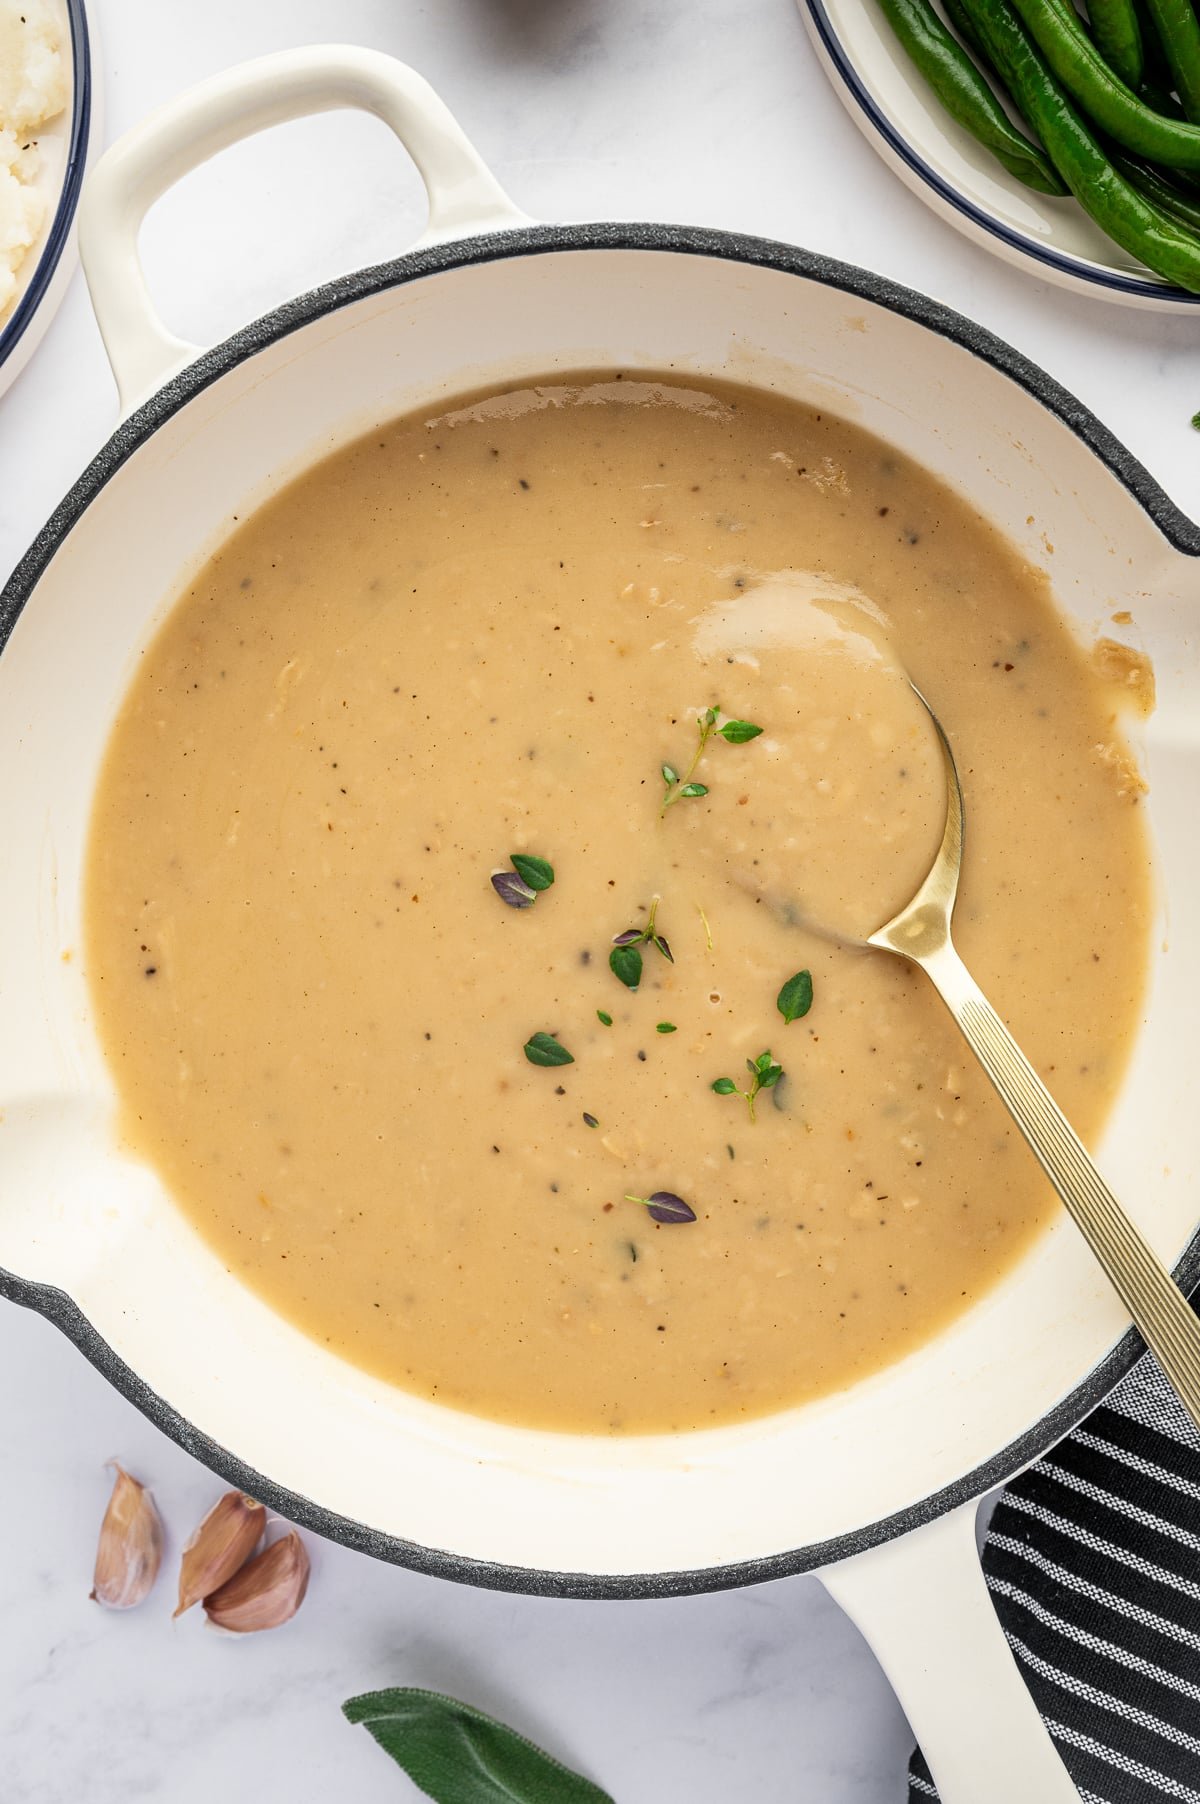
This homemade gravy is ready in just 15 minutes and requires zero pan drippings. It starts with a quick roux and your favorite chicken, veggie, or turkey stock. Beyond that, simple seasonings and a good whisk is all you need. The result is silky, smooth (lump-free!) delicious gravy. How you enjoy it is up to you. I’m a big fan of the classics like mashed potatoes, roast turkey breast, and old-fashioned Thanksgiving dressing, but it’s just as delicious poured over crunchy buttermilk fried chicken tenders or savory Crock Pot pork chops.
This recipe makes about two cups of gravy, but you can easily double or triple it; keep the butter, flour, and stock ratios the same (1:1:8) for perfectly smooth results.
Table of Contents
What You’ll Need for Homemade Gravy
Everything you need to make delicious, lump-free gravy from scratch:
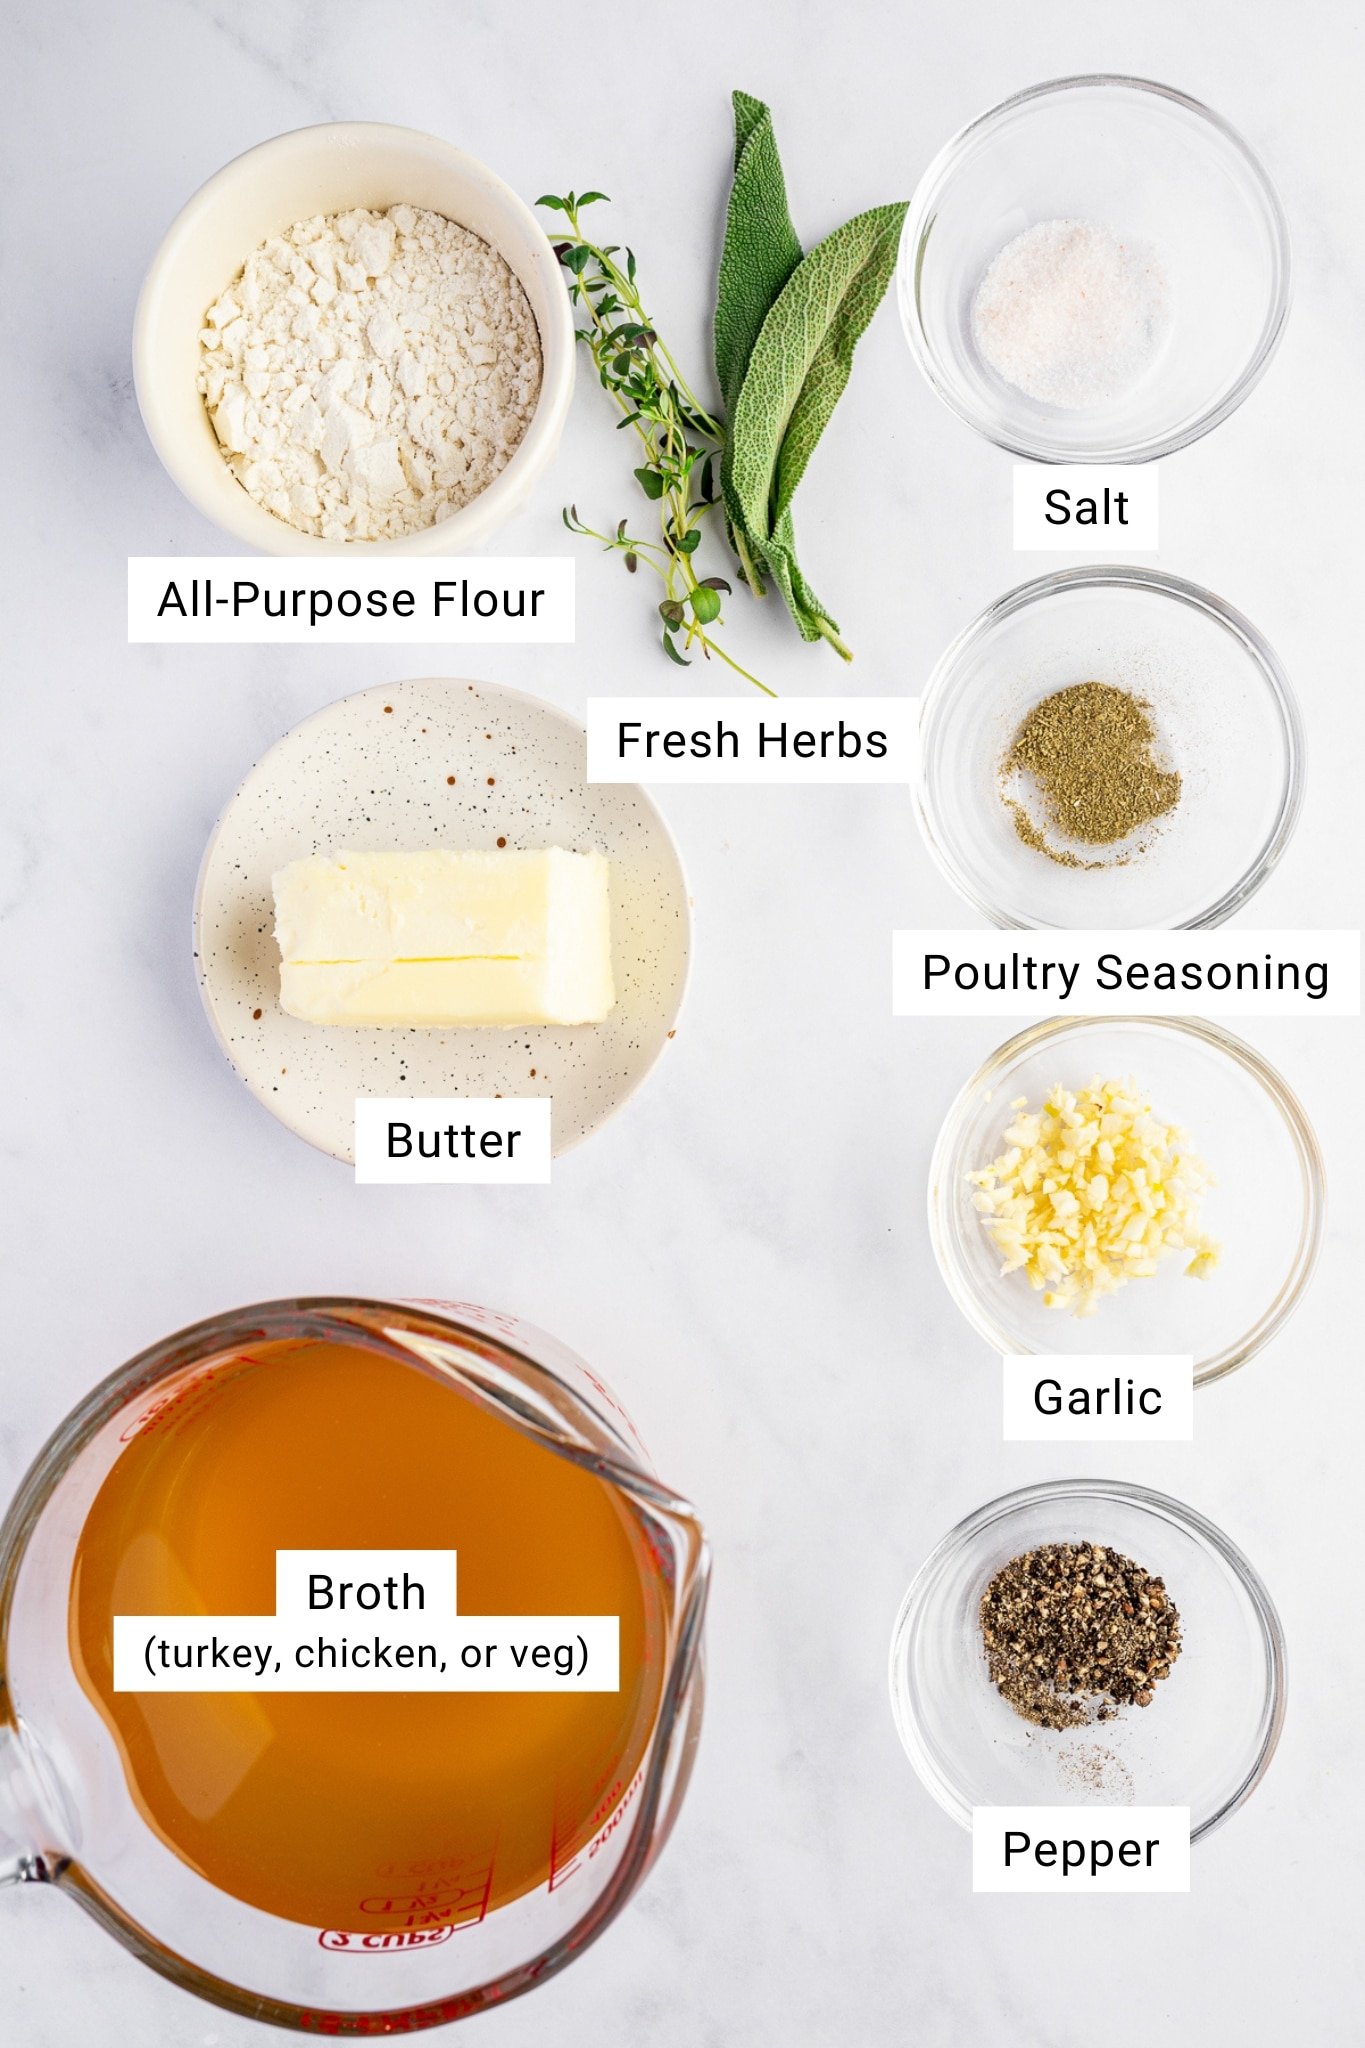
- Unsalted butter: Roux needs fat, and in this recipe we’re using butter. It coats the flour preventing lumps, and creates a rich foundation for smooth gravy.
- Fresh garlic: It infuses butter with savory flavor before forming the roux. A quick sauté deepens flavor without overpowering the sauce.
- All-purpose flour: The thickening agent. When whisked into the melted butter it forms a roux, giving the gravy body and velvety texture.
- Stock (or broth): The liquid that transforms the roux into gravy. Warm broth is absorbed by the flour and butter mixture, creating a silky sauce with full flavor.
- Kosher salt + black pepper: Building blocks of seasoning. Remember to add them toward the end of cooking, so you can adjust after the gravy has thickened and the flavors concentrate.
- Poultry seasoning: Enhances the savory flavor, especially when serving with turkey or chicken.
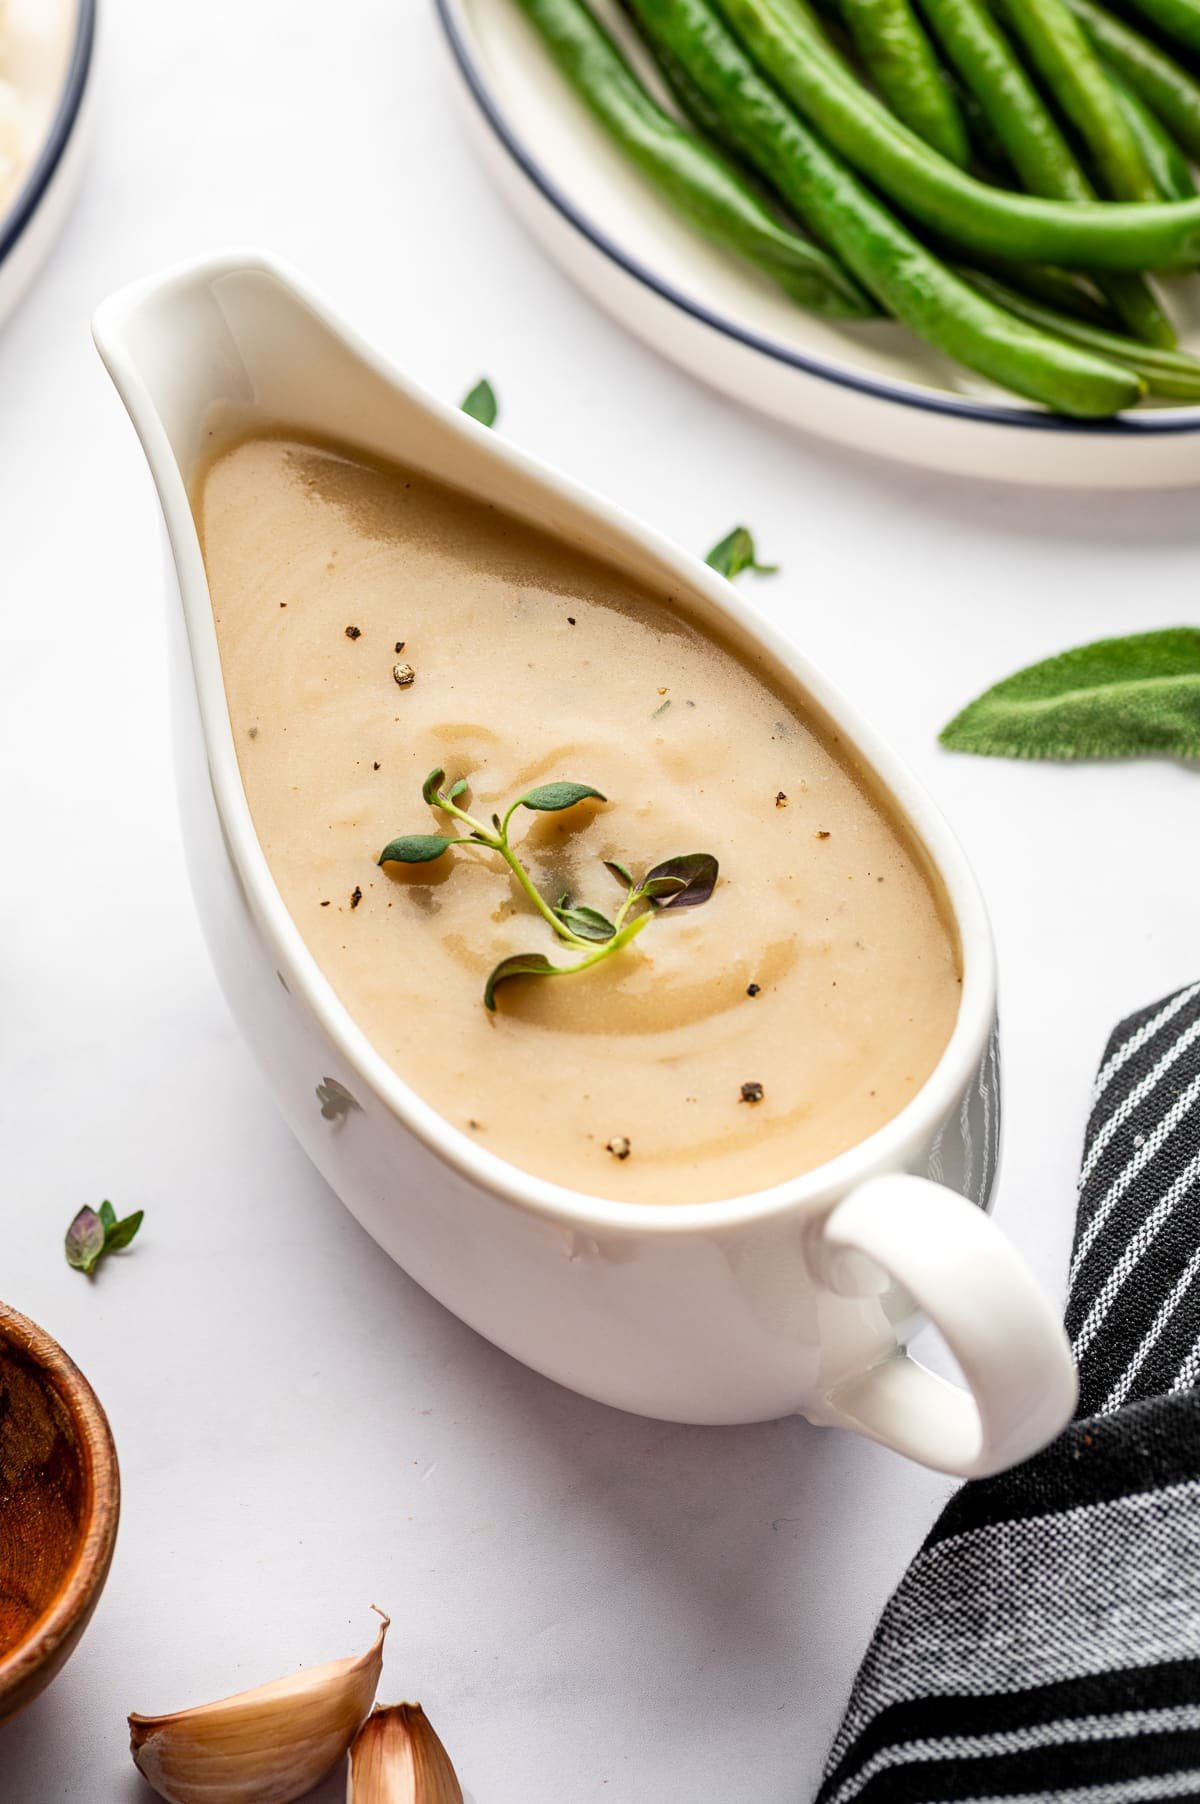
- Fresh herbs (thyme or sage): Stir in a teaspoon of freshly minced herbs just before serving to brighten the flavor.
How to Make Gravy From Scratch
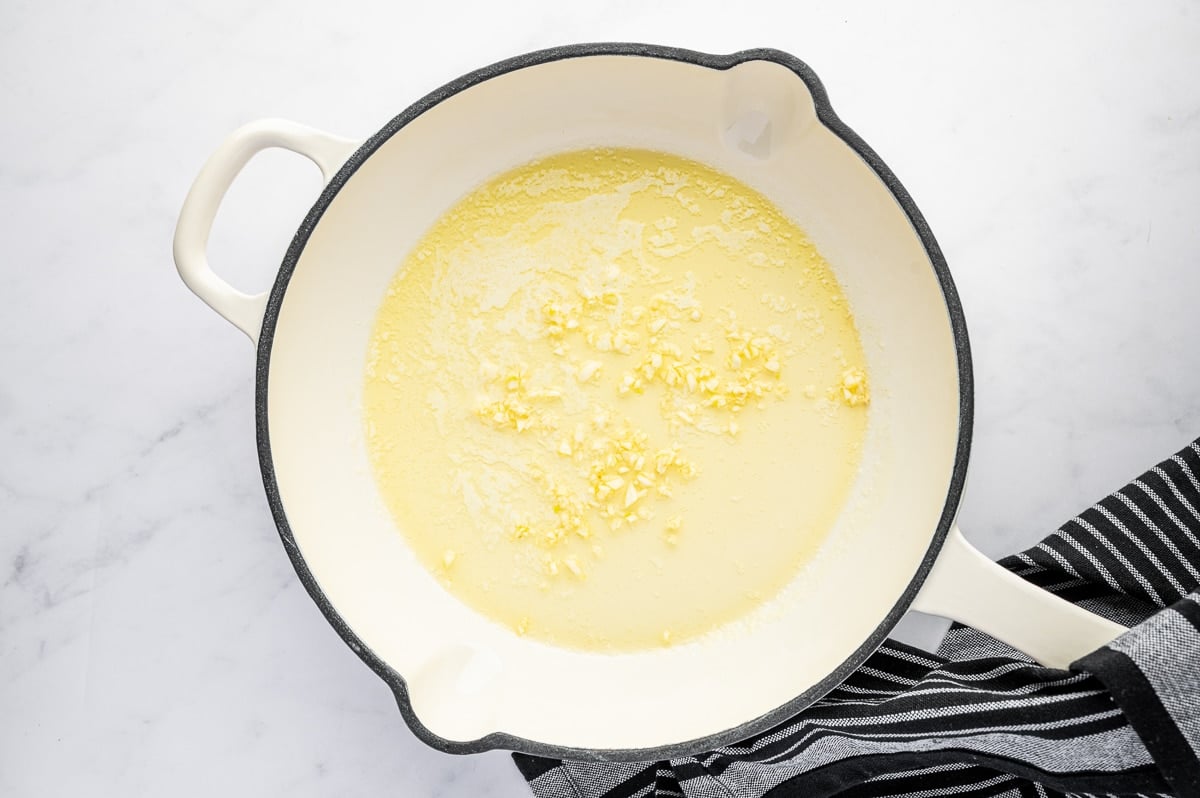
- Melt the butter: Heat a skillet or saucepan over medium heat and melt the butter until it’s smooth and just starting to bubble.
- Infuse with garlic: Add the minced garlic and cook for just 30 seconds to draw out that savory aroma without burning.
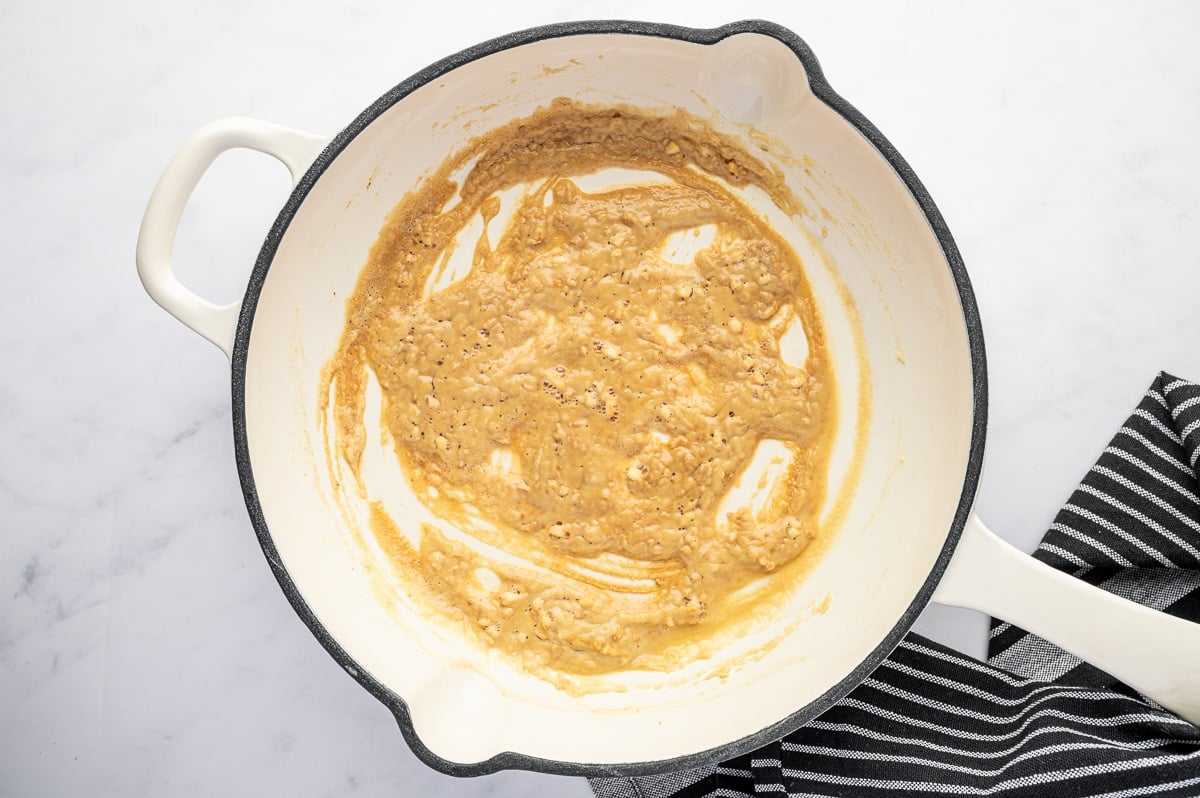
- Whisk in the flour: Sprinkle the flour over the butter and whisk constantly for 2 to 3 minutes. This creates the roux.
- Slowly add the stock: Pour in the warm broth a little at a time while whisking continuously. This keeps the gravy lump-free and glossy.
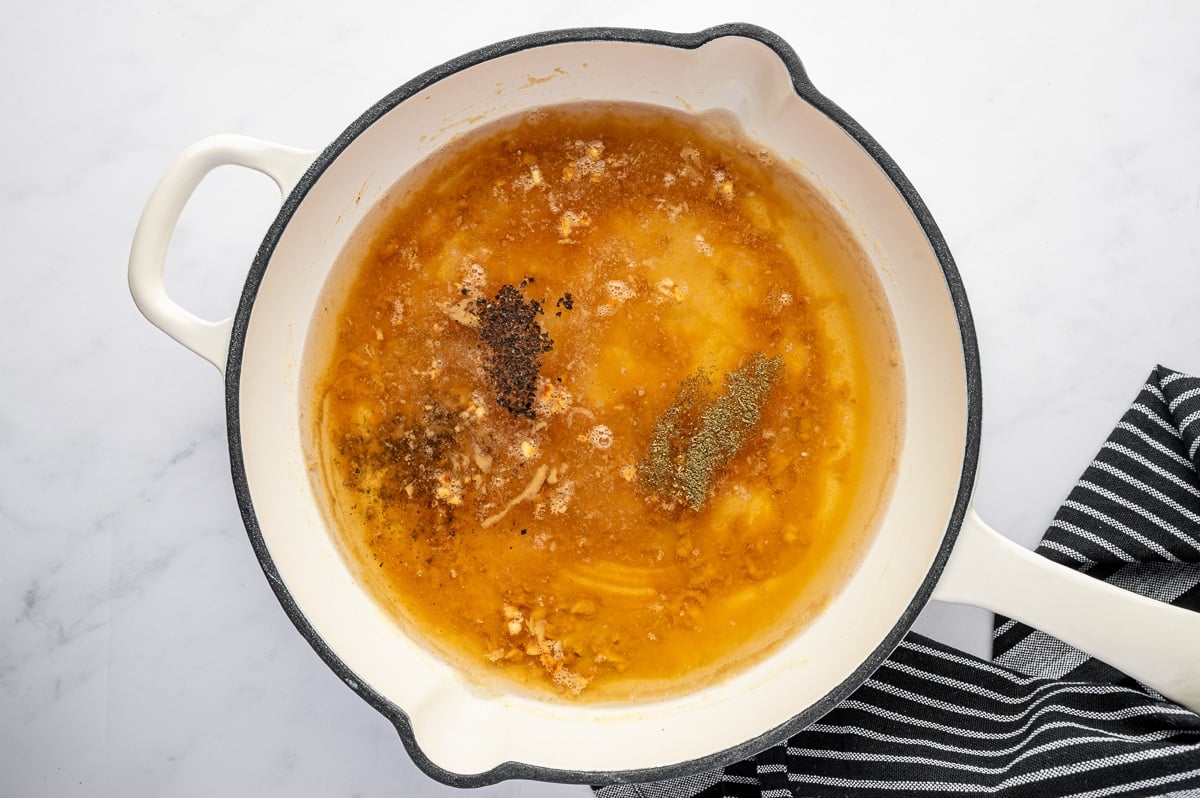
- Simmer and season: Bring to a gentle simmer for 5 to 7 minutes, stirring often until thickened. Season with salt, pepper, and poultry seasoning to taste.
- Finish with fresh herbs: Stir in thyme or sage off the heat for brightness, then serve warm.
How to Adjust the Consistency of Homemade Gravy
The trickiest part about making gravy is getting its consistency just right. If you’re not loving how thick (or thin!) your gravy turned out, here’s how to fix it:
If your gravy is too thick : Whisk in a little warm stock or water a couple tablespoons at a time until it loosens to your liking. If it thickens again as it cools (very normal!), repeat as needed.
If your gravy is too thin: Let it simmer over low heat for longer to reduce and thicken naturally. Alternatively, you can add a cornstarch slurry by whisking together ½ teaspoon cornstarch + 1 teaspoon cold water. Simmer for 1-2 minutes after each addition. Gravy will continue to thicken as it cooks.
If your gravy is lumpy: Don’t toss it! Whisk vigorously or simply strain through a fine-mesh sieve for a velvety finish.
Flavor Variations
Here are a few easy and delicious ways to customize this gravy recipe:
- For turkey or chicken: Add an extra teaspoon of poultry seasoning and a pinch of rubbed sage for classic holiday flavor.
- For beef: Stir in 1-2 teaspoons Worcestershire sauce or soy sauce. This will give your gravy deeper umami flavor and a darker color.
- For pork: Add a pinch of onion powder and dried rosemary in addition to the garlic, salt, and black pepper.
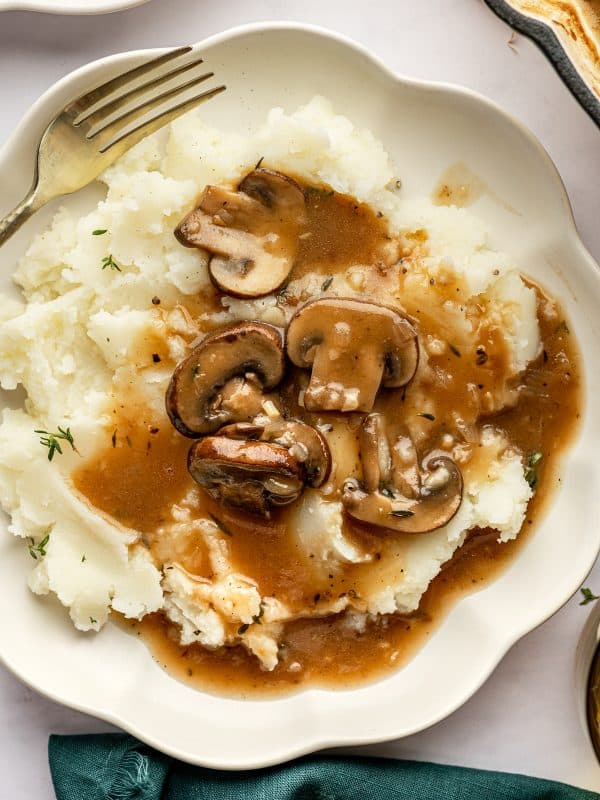
- Vegetarian / Vegan-friendly: Use vegetable stock and swap the butter for a dairy-free alternative. A dash of mushroom powder adds savory richness.
- White wine or dry sherry gravy: Add 2-4 tablespoons of dry white wine or dry sherry after cooking the roux and let it bubble for 1 to 2 minutes to cook off the alcohol. Then gradually whisk in the stock. This adds a subtle acidity and elegant depth that pairs beautifully with turkey, pork tenderloin, and roasted vegetables.
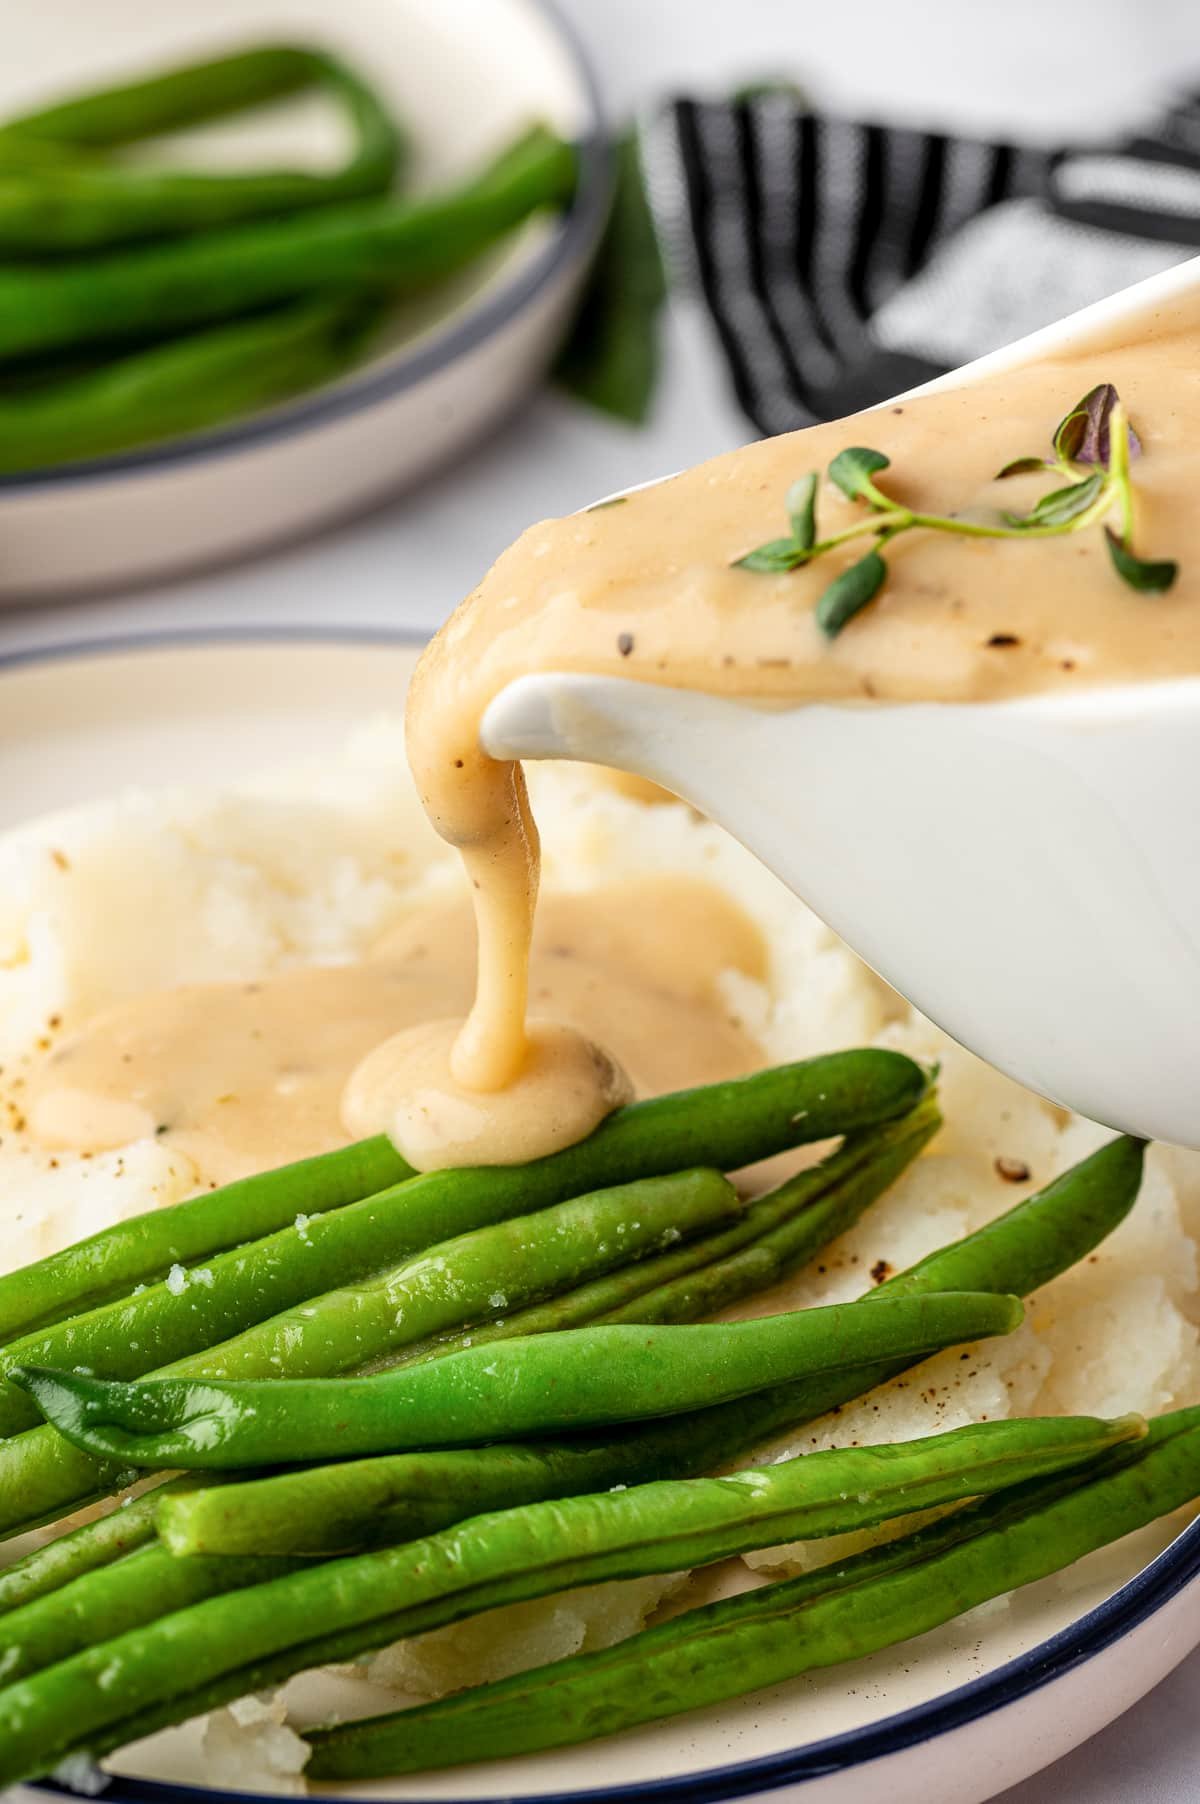
Dishes that Pair Well With Homemade Gravy
This gravy goes with almost everything from comforting classics to holiday dinners. Some of our favorites include:
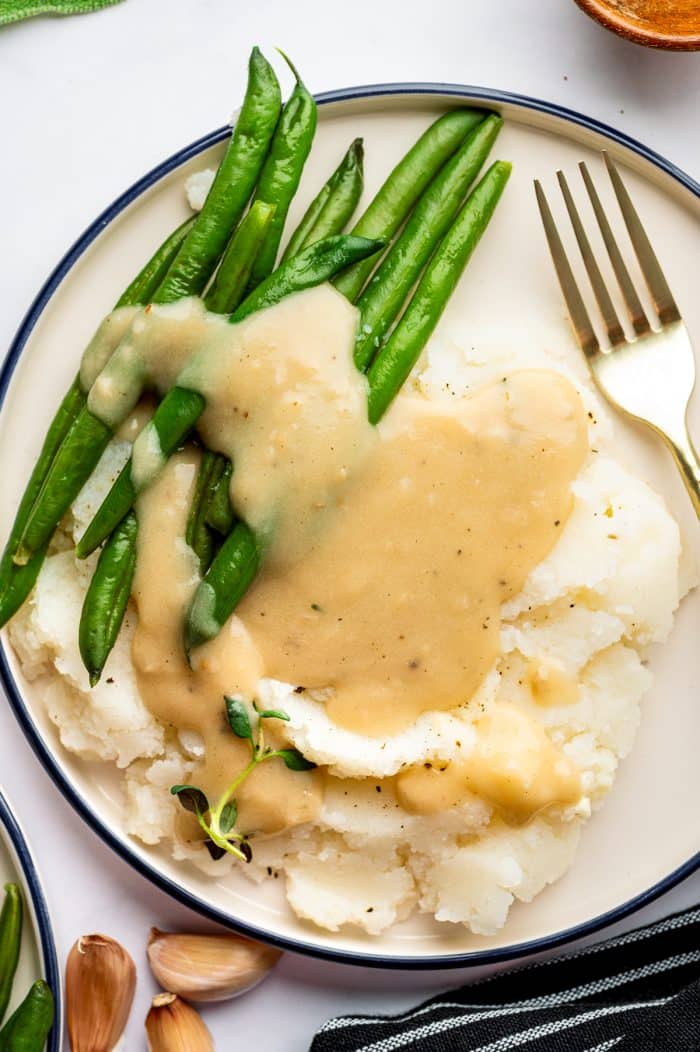
- Classic creamy mashed potatoes and garlic mashed potatoes
- Thanksgiving turkey (obviously)
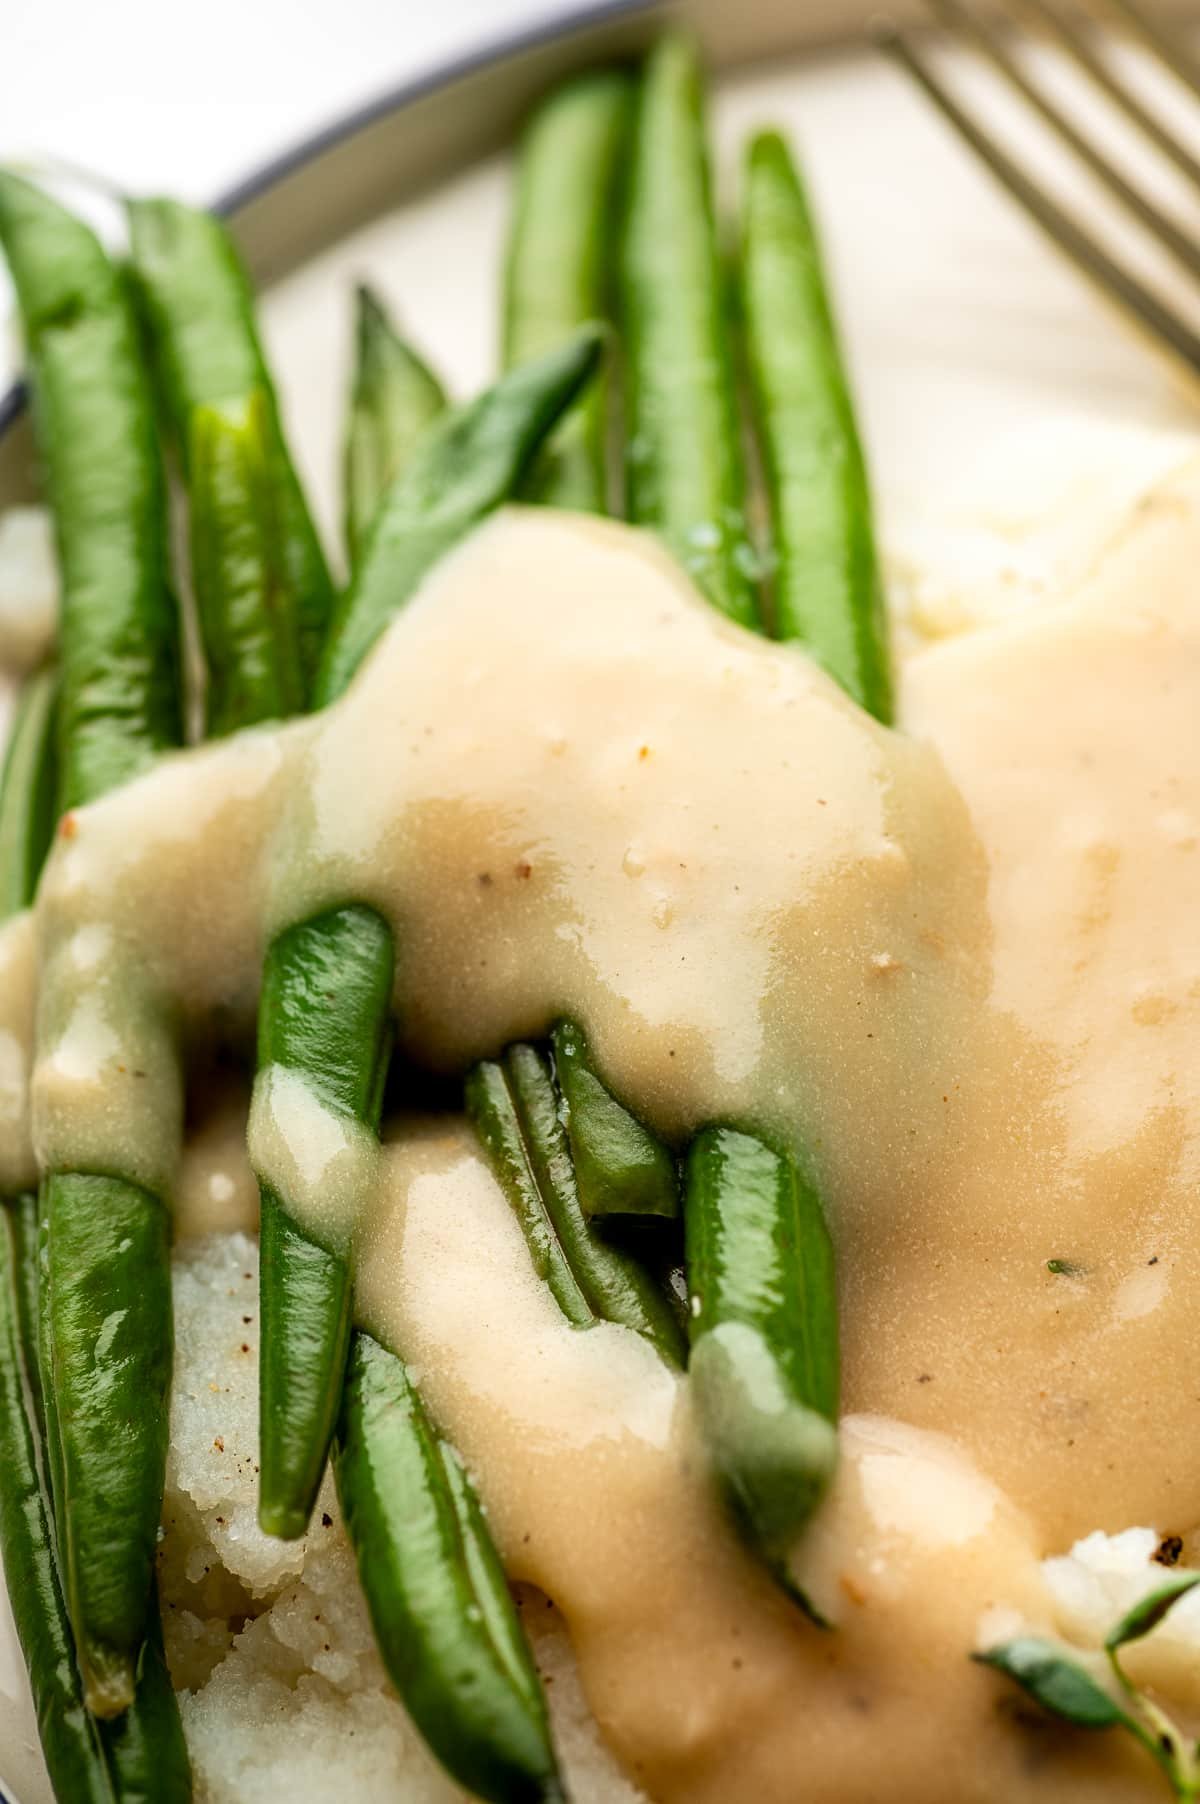
- Roasted green beans
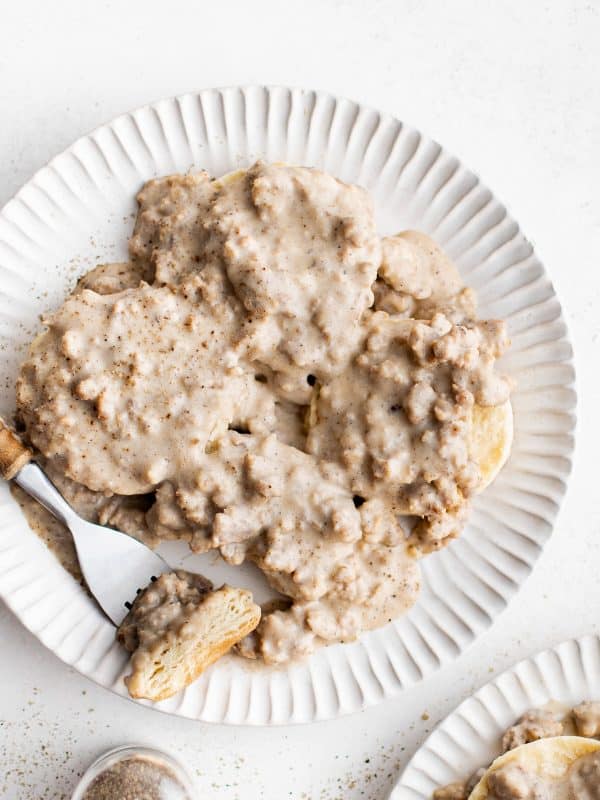
- Buttermilk biscuits and soft dinner rolls
- Classic Italian-style meatballs, air fryer meatballs, and even lamb meatballs
- Dutch oven pot roast with potatoes and carrots
Storage and Reheating
Homemade gravy like this one can be refrigerated for up to 4 days, making it a great make-ahead option for holiday meals like Thanksgiving. Be sure to cool completely before transferring it to an airtight container in the refrigerator.
When you’re ready to serve, simply reheat it on the stovetop over low heat, whisking often. If it thickens in the fridge (which it will and it’s totally normal), just add a splash of warm stock to loosen it back up.
Yes, You Can Freeze It
This flour-based gravy also freezes well up to 3 months. Thaw overnight in the refrigerator and reheat gently on the stove, whisking well to bring back its silky texture.
Frequently Asked Questions
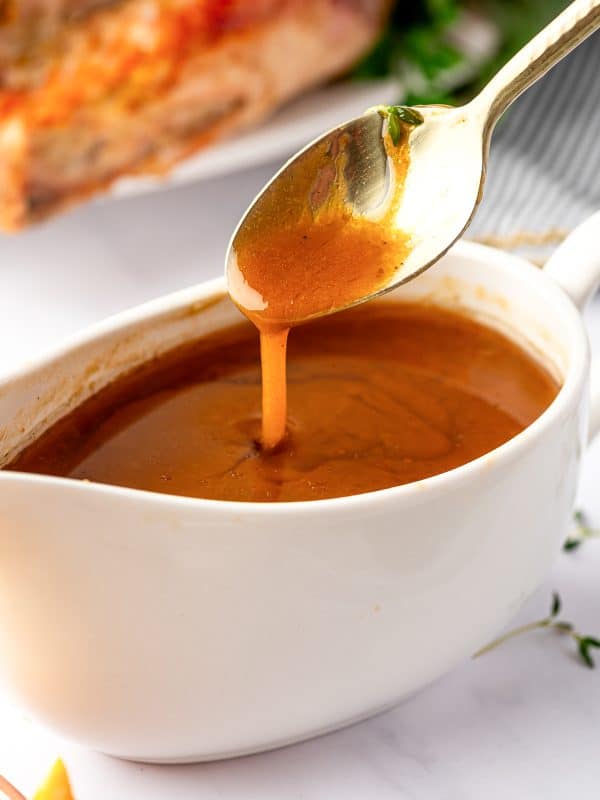
Yes, you can absolutely make this gravy with drippings from a roasted turkey or chicken. For step-by-step guidance specifically geared toward drippings-based gravy, see my full Turkey Gravy Recipe which walks you through that exact method from start to finish.
Your gravy’s final color depends on several factors, including how long you’ve cooked the roux, the type of stock you use, and the seasonings you add. A darker roux will naturally produce a richer brown color. Beef or turkey stock create a deeper brown gravy, while chicken or vegetable stock tend to stay lighter.
Love Gravy? Try These Next


If you make this gravy recipe, I’d love to hear what you think! Please leave a comment and a star rating below, your feedback helps other readers discover (and enjoy) this recipe too. Thank you so much! 💛
Homemade Gravy Recipe (No Drippings)
Ingredients
- ¼ cup unsalted butter
- 2 garlic cloves, minced
- ¼ cup all-purpose flour
- 2 cups low-sodium stock, turkey, chicken, or vegetable
- ½ teaspoon salt, or to taste
- ½ teaspoon ground black pepper
- ½ teaspoon poultry seasoning
- Fresh herbs, for garnish
Instructions
- Melt ¼ cup (4 tablespoons) butter in a medium skillet over medium heat.
- Add the minced garlic and sauté for 30 seconds.
- Whisk in ¼ cup (4 tablespoons) of flour and cook, whisking constantly, for 2 to 3 minutes until smooth and lightly golden.
- Slowly add 2 cups of stock, whisking continuously to prevent lumps. Bring to a gentle simmer.
- Simmer for 5 to 7 minutes, stirring often, until thickened.
- Season with ½ teaspoon salt, pepper, and poultry seasoning.
- Garnish with fresh herbs and serve warm.
Notes
- Yield: This recipe makes approximately 2 cups of gravy total, or 8 servings (¼ cups each)
- If the gravy is too thin, continue simmering until it thickens. If it becomes too thick, whisk in warm stock until you reach the desired consistency.
- Gravy thickens as it cools. Reheat gently and whisk in a little extra stock if needed.
- Optional: Add 1-2 teaspoons Worcestershire sauce or soy sauce for deeper savory flavor.
- Gluten free: Replace the all-purpose flour with an equal amount of a 1:1 gluten-free flour blend.
- Make-Ahead: You can make this up to 2 days in advance. Cool completely, transfer to an airtight container, and refrigerate. Reheat gently and whisk in extra stock if needed.
- Storage: Refrigerate for up to 3-4 days or freeze for up to 3 months. Thaw overnight in the refrigerator before reheating.
Nutrition
Nutrition information is automatically calculated, so should only be used as an approximation.