This post may contain affiliate links. See my disclosure policy.

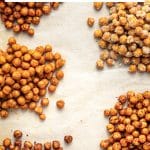
These oven-roasted chickpeas are crunchy, flavorful, and incredibly easy to make with just a can of chickpeas, olive oil, and salt. Enjoy the classic recipe or choose from five delicious flavor variations, including curry, chili lime, ranch, Mediterranean, and cinnamon sugar.
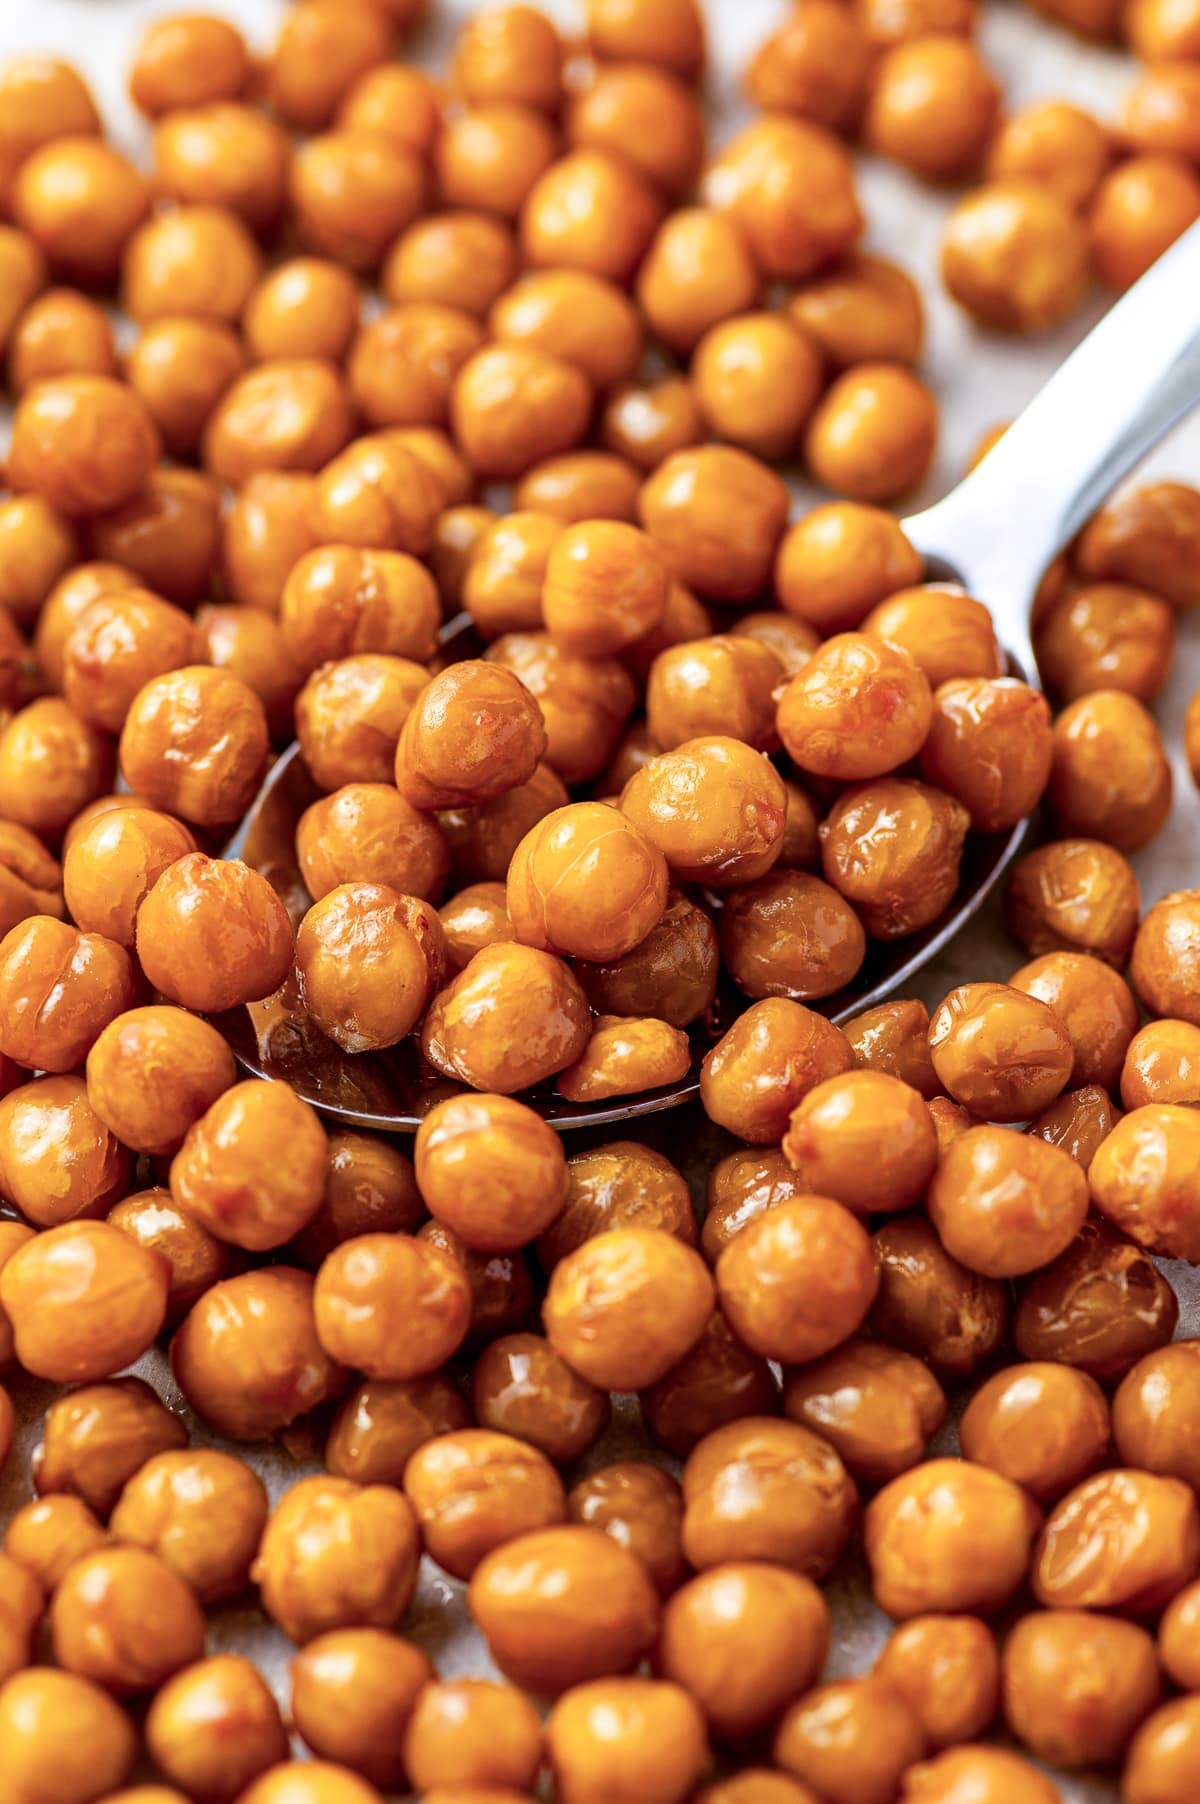
Table of Contents
Crispy, Crunchy, and Customizable Oven-Roasted Chickpeas
One of my favorite things to do while working at my computer is snack. So, the other afternoon, as I sat at my desk mindlessly shoveling the same salty, delicious, nutritionally void crackers into my mouth, I thought: girl, it is time to change things up.
The change-up? Roasted chickpeas.
Holy smokes, you guys, why hadn’t I thought of this sooner? I mean, I’m not new to roasting chickpeas (aka garbanzo beans). I’ve roasted them for salads countless times in the past—my best effort at adding more plant-based protein to family dinners—but never with much thought beyond jazzing up an otherwise lonely bowl of fresh-ish (but triple-washed!) greens.
Boy, have I been missing out. I mean, I will never quit crackers, at least not entirely, but roasted chickpeas are a serious snack-time win. Here’s why I love them, and why I think you will too:
- Easy to make. All you need is three simple ingredients – a can of chickpeas, olive oil, and salt – and a hot oven.
- Completely customizable. Keep them classic with salt, or try one of my other seasoning variations: curry, chili lime, ranch, Mediterranean, or cinnamon sugar.
- A seriously satisfying snack. Chickpeas provide plant-based protein and fiber, making them a healthier and more substantial choice than my usual handfuls of crackers.
- Good for more than snacking. Sprinkle them over salads, soups, grain bowls, and wraps whenever you need a little extra flavor, texture, protein, and fiber.
In this post, you’ll find my simple method for making crunchy roasted chickpeas, plus five of my favorite ways to season them. Try one, or make them all to find your favorite flavor. Now, let’s roast some chickpeas!
How to Roast Chickpeas in the Oven
You only need three ingredients to make classic roasted chickpeas: canned chickpeas (also known as garbanzo beans), olive oil, and salt. Let’s start here, and then later in the post I’ll share five additional flavor combinations, including how and when to add them.
Prefer to cook chickpeas from scratch? Use my easy Instant Pot chickpeas recipe, then measure 1 1/2 cups cooked and drained chickpeas for this recipe.
1. Drain, rinse, and dry the chickpeas
Drain and rinse the chickpeas, then spread them onto a clean kitchen towel or several layers of paper towels. Pat them as dry as possible, gently rolling them around beneath the towel to remove any moisture clinging to the surface.
Some of the thin outer skins will loosen as you dry the chickpeas. Pick off the ones that come away easily, but don’t worry about peeling every single chickpea.
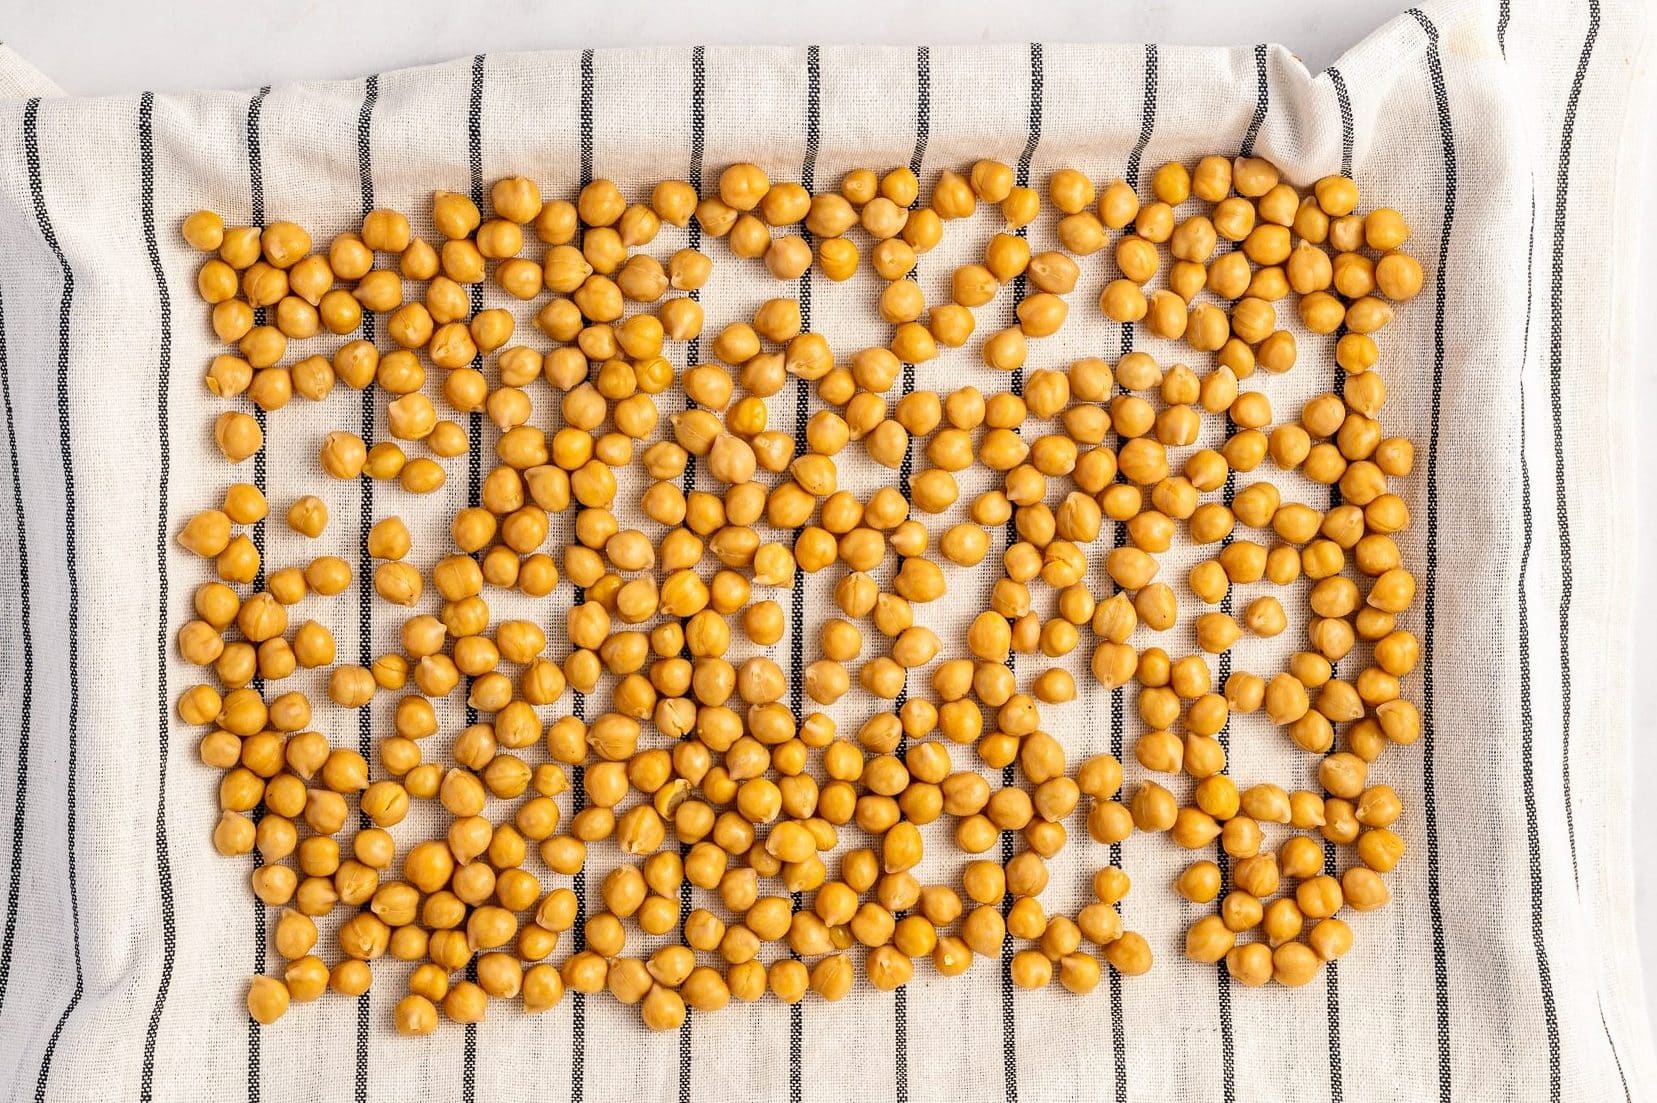
The most important tip: Moisture is the enemy of crispy roasted chickpeas. The drier the chickpeas are before they go into the oven, the better they will roast.
2. Add the olive oil and salt
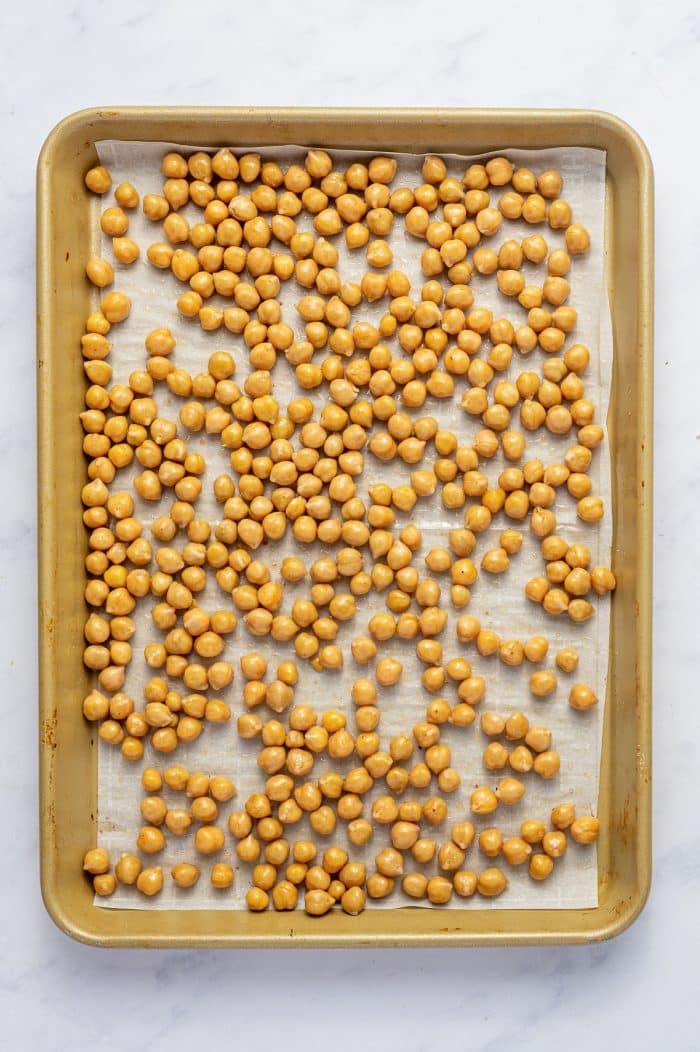
Transfer the dried chickpeas to a parchment-lined baking sheet. Drizzle them with olive oil, sprinkle with salt, and toss until evenly coated. Spread the chickpeas into a single layer, leaving a little space between them whenever possible. If they are crowded together, they are more likely to steam than roast.
Do not overdo the oil: You want just enough to lightly coat the chickpeas. Too much oil can leave them greasy rather than crisp.
3. Roast until golden and crunchy
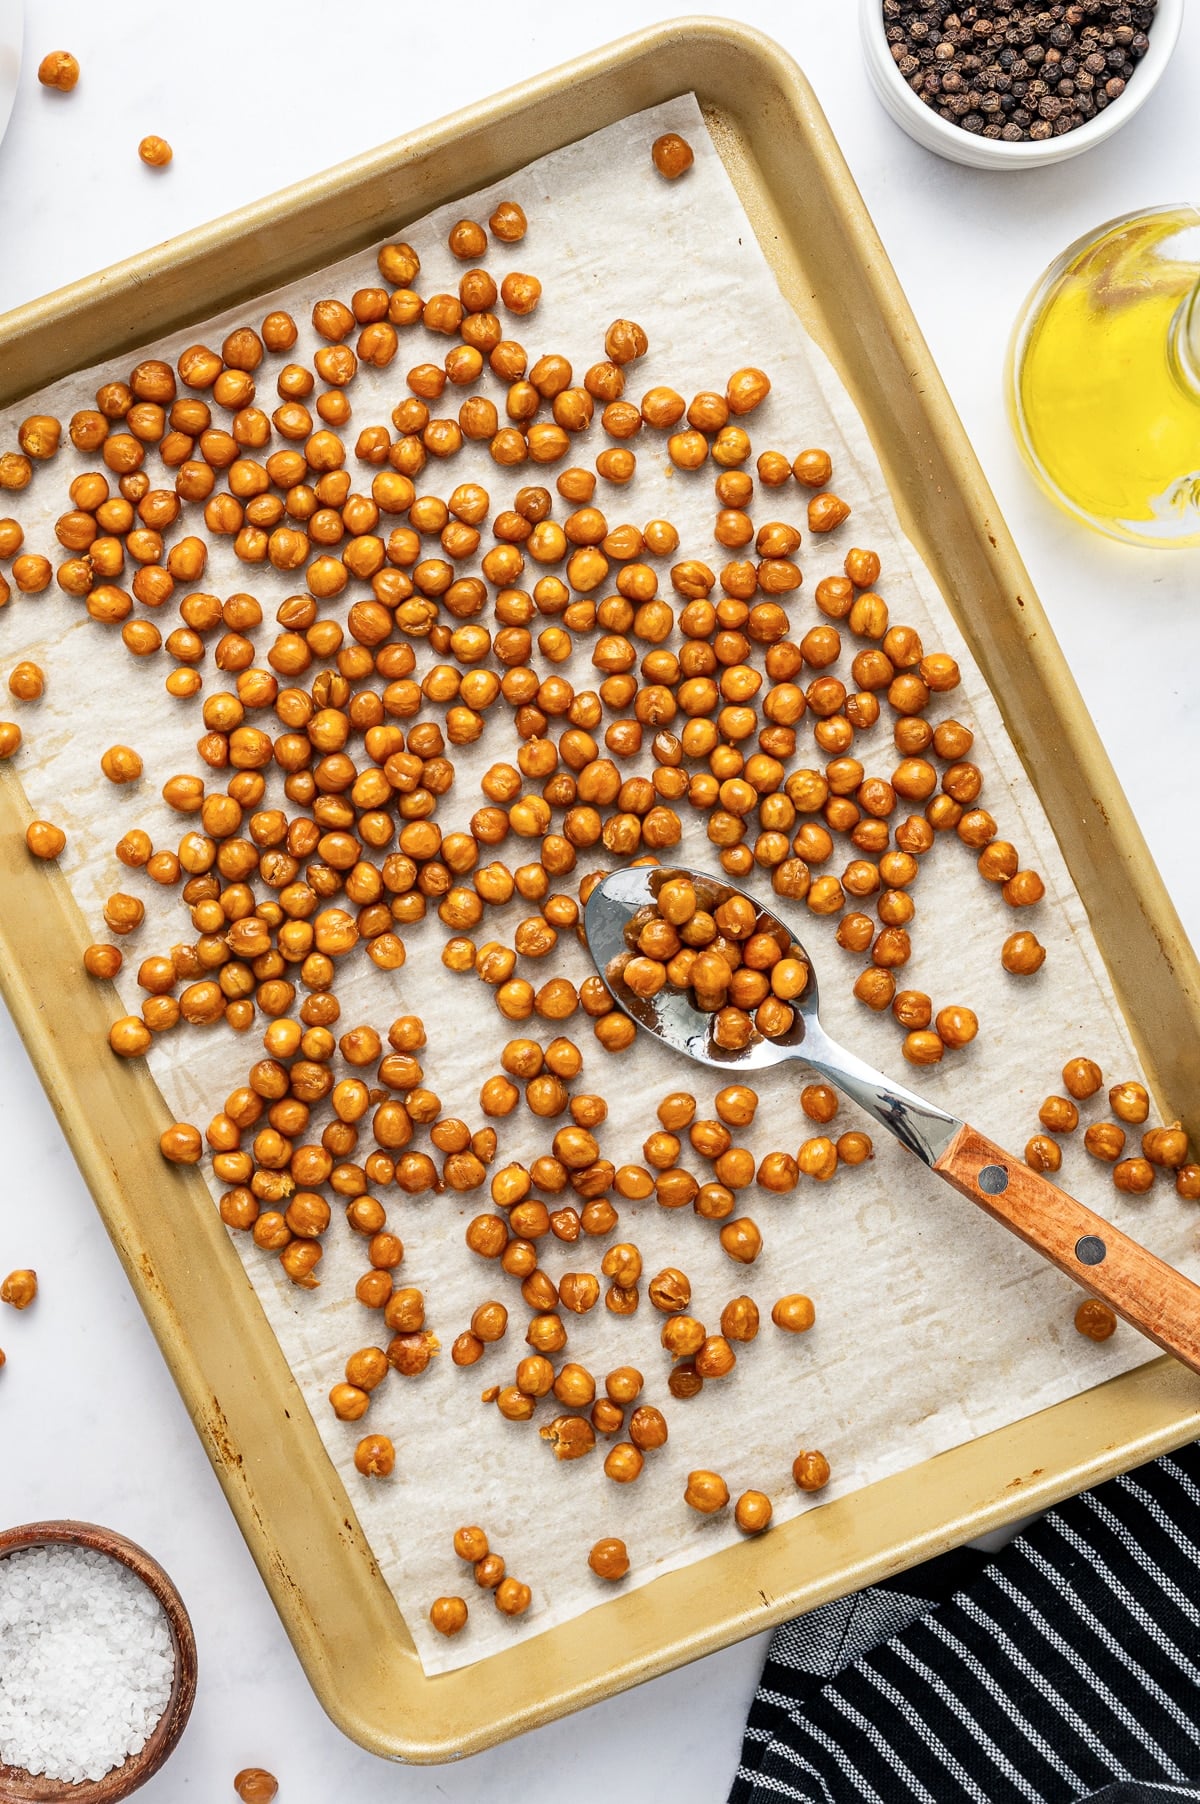
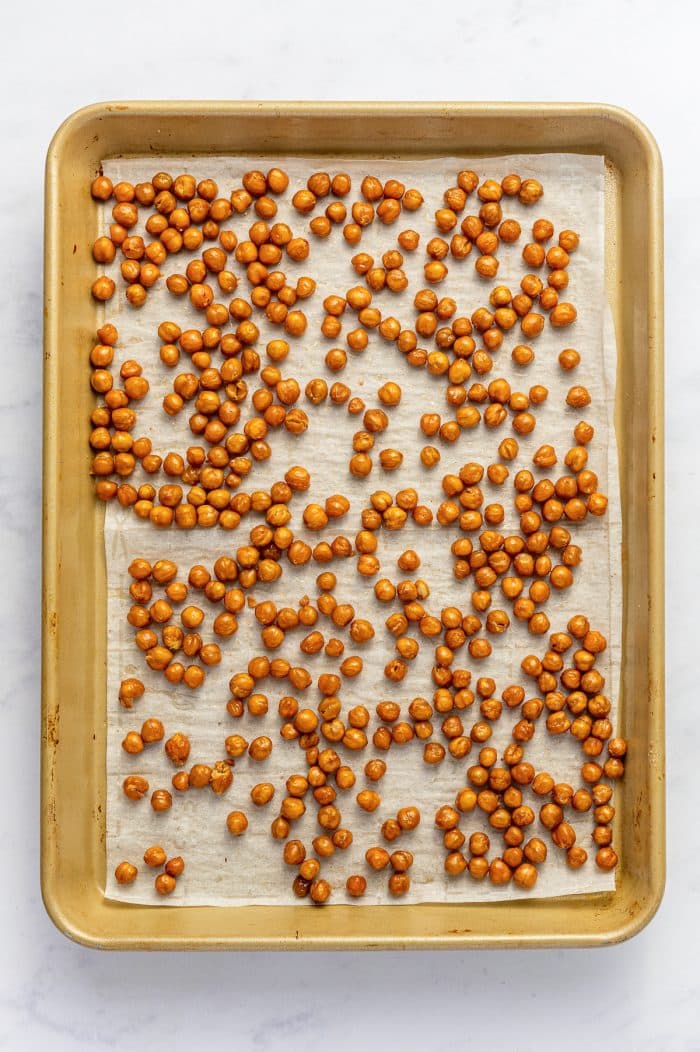
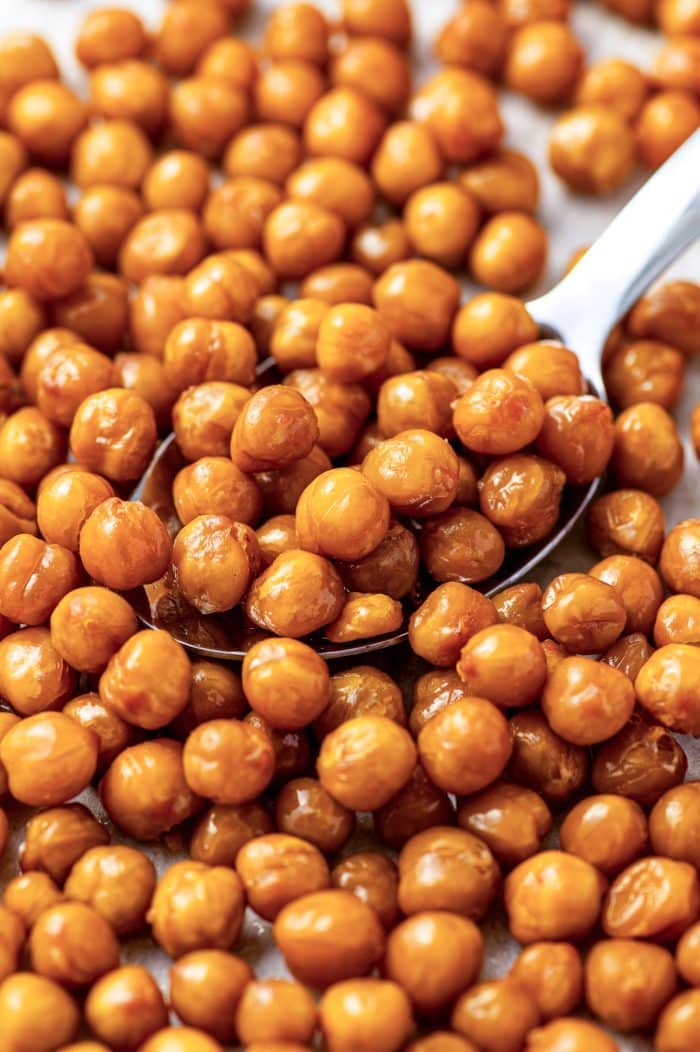
Roast the chickpeas at 400 degrees F for 30-40 minutes, shaking the pan about every 10 minutes. Moving them around helps expose different sides to the heat so they brown and crisp more evenly. The exact cooking time will vary depending on your oven and the size of the chickpeas. They are ready when they look golden brown, feel dry on the outside, and have a crisp, toasty bite.
Check them early: Chickpeas can go from golden to overly browned fairly quickly, so keep a close eye on them during the final 5-10 minutes.
4. Give them extra time to crisp
For even crispier roasted chickpeas, turn off the oven and leave the baking sheet inside for another 10 minutes. The lingering dry heat helps remove additional moisture without continuing to brown them as aggressively. Also, keep in mind that roasted chickpeas become a little crisper as they cool, so don’t worry if they are not at their crunchiest the moment they come out of the oven.
5. Add your seasonings
Enjoy the chickpeas with just salt, or toss them with your preferred seasoning blend while they are still warm. The remaining olive oil helps dry seasonings cling to the surface.
6. Cool slightly and serve
Let the roasted chickpeas cool for a few minutes, then enjoy them as a snack or sprinkle them over salads, soups, grain bowls, and wraps. They are at their crispiest shortly after roasting, so this is one recipe best enjoyed fresh.
Why aren’t my roasted chickpeas crispy?
The most common causes are chickpeas that were not dried thoroughly, too much oil, overcrowding on the baking sheet, or removing them from the oven too soon. Oven temperatures and chickpea moisture levels vary, so continue roasting until they are visibly golden, dry on the outside, and crisp when tasted.
Chickpea Flavor Variations
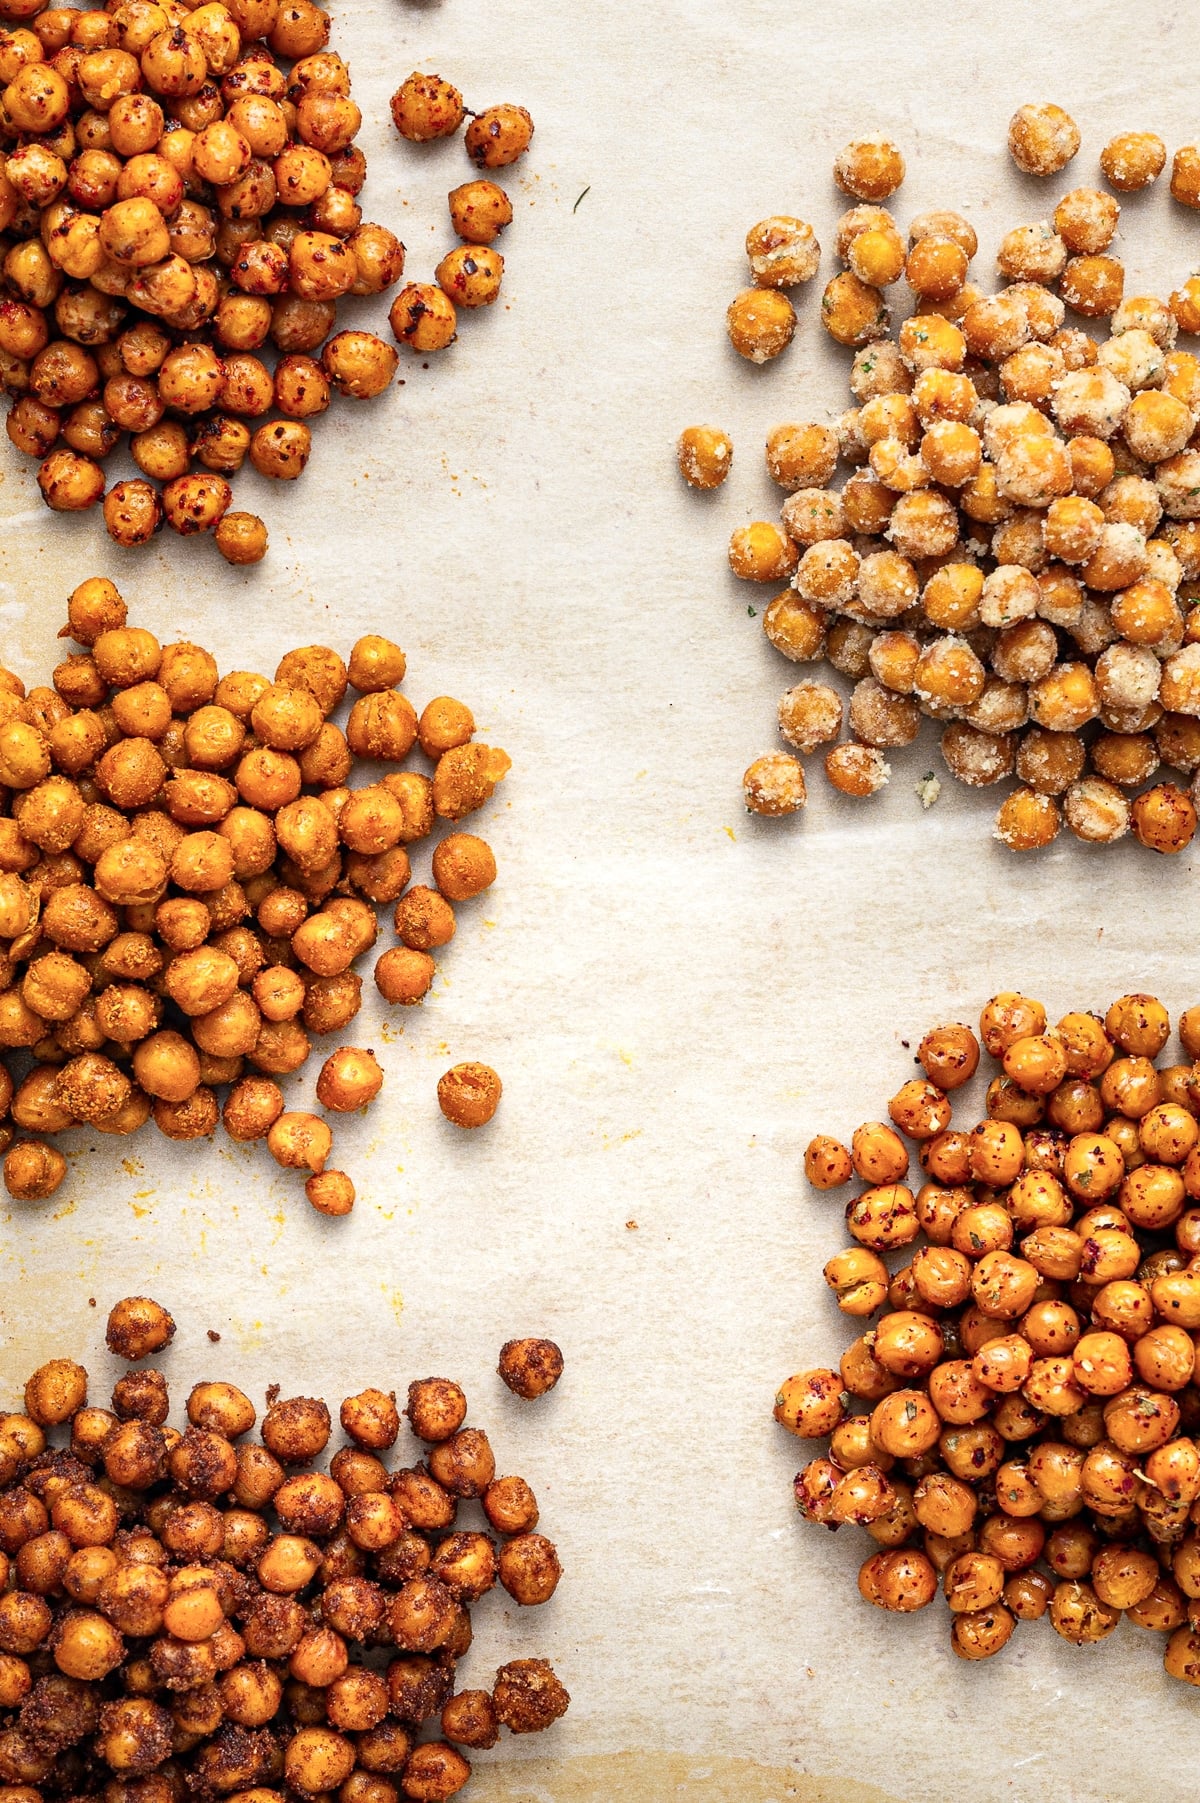
Classic roasted chickpeas are delicious with just olive oil and salt, but they are so easy to customize. Choose one seasoning blend for each batch and toss it with the roasted chickpeas while they are still warm.
Important: For any flavor variation, first roast the chickpeas according to the classic recipe with olive oil and salt. Once they are golden and crisp, toss them with your chosen seasoning blend while they are still warm so the seasonings stick. If the seasoning blend already contains salt, reduce or omit the salt before roasting, then season to taste afterward.
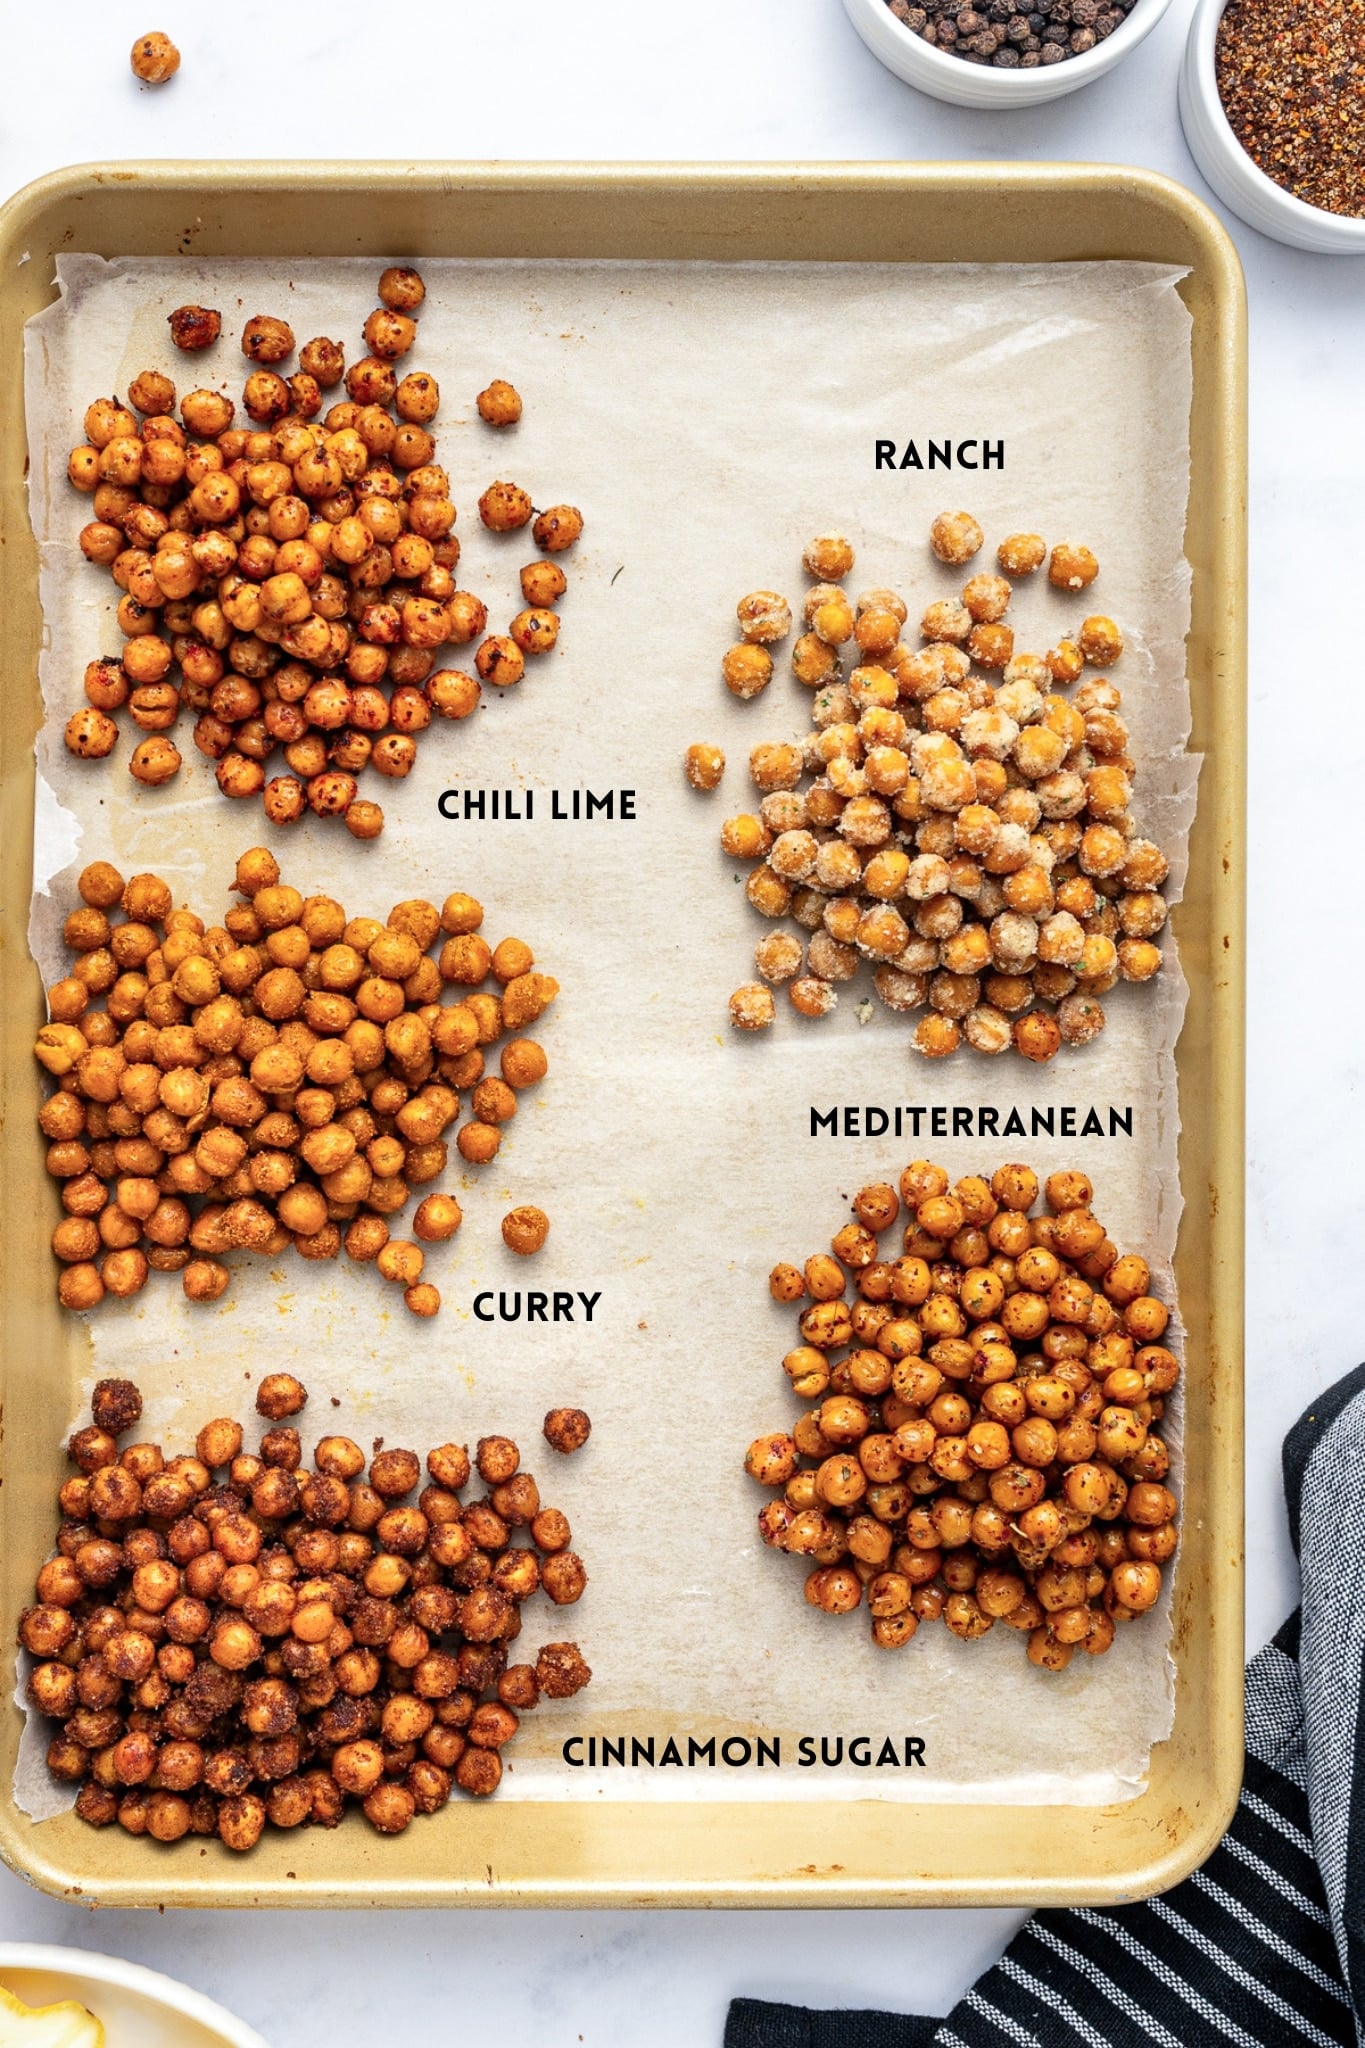
- Curry: Warm and earthy; made from a combination of curry powder and turmeric.
- Chili lime: Zesty, tangy, and a little spicy. Use Trader Joe’s Chile Lime Seasoning Blend, Tajín, or your favorite chili lime seasoning, then finish with a small squeeze of fresh lime juice just before serving.
- Ranch: Savory, tangy, and packed with familiar ranch flavor. Use a store-bought packet or my homemade ranch seasoning.
- Mediterranean: Bright and herbaceous with dried oregano, sumac, garlic powder, and a small squeeze of fresh lemon juice.
- Cinnamon sugar: Sweet, warmly spiced, and perfect when you are craving something a little different.
Tip: To keep them crunchy, add fresh lemon or lime juice immediately before serving. The added moisture can soften the chickpeas if it sits on them for too long.
These are just a few ideas, so have fun experimenting with the seasonings you already have at home. My homemade Cajun seasoning adds bold, smoky heat, while my homemade taco seasoning gives them a savory blend of chili powder, cumin, paprika, and oregano.
How Long Do Roasted Chickpeas Stay Crispy?
Roasted chickpeas are at their crunchiest within the first few hours after roasting, but they should retain a good amount of crunch through the first day. They will gradually soften as they sit – sad, I know – so I recommend enjoying them within the first day or two, before they lose too much of their crunch.
Can You Make Roasted Chickpeas Crispy Again?
Yes. If your roasted chickpeas soften, spread them on a baking sheet and reheat them in a 350°F oven for 5-10 minutes. You can also warm them in the air fryer at 350°F for 3-5 minutes, shaking the basket halfway through.
How to Store Roasted Chickpeas
First, let the chickpeas cool completely. Storing them while they are still warm traps steam, and even a small amount of moisture can quickly turn that beautiful crunch into a softer, chewier texture.
Once cool, transfer them to a bowl or jar and cover them loosely with a clean kitchen towel or paper towel. Keep them at room temperature rather than sealing them in an airtight container or placing them in the refrigerator, where trapped moisture and humidity can make them soften more quickly.
Favorite Ways to Use Roasted Chickpeas
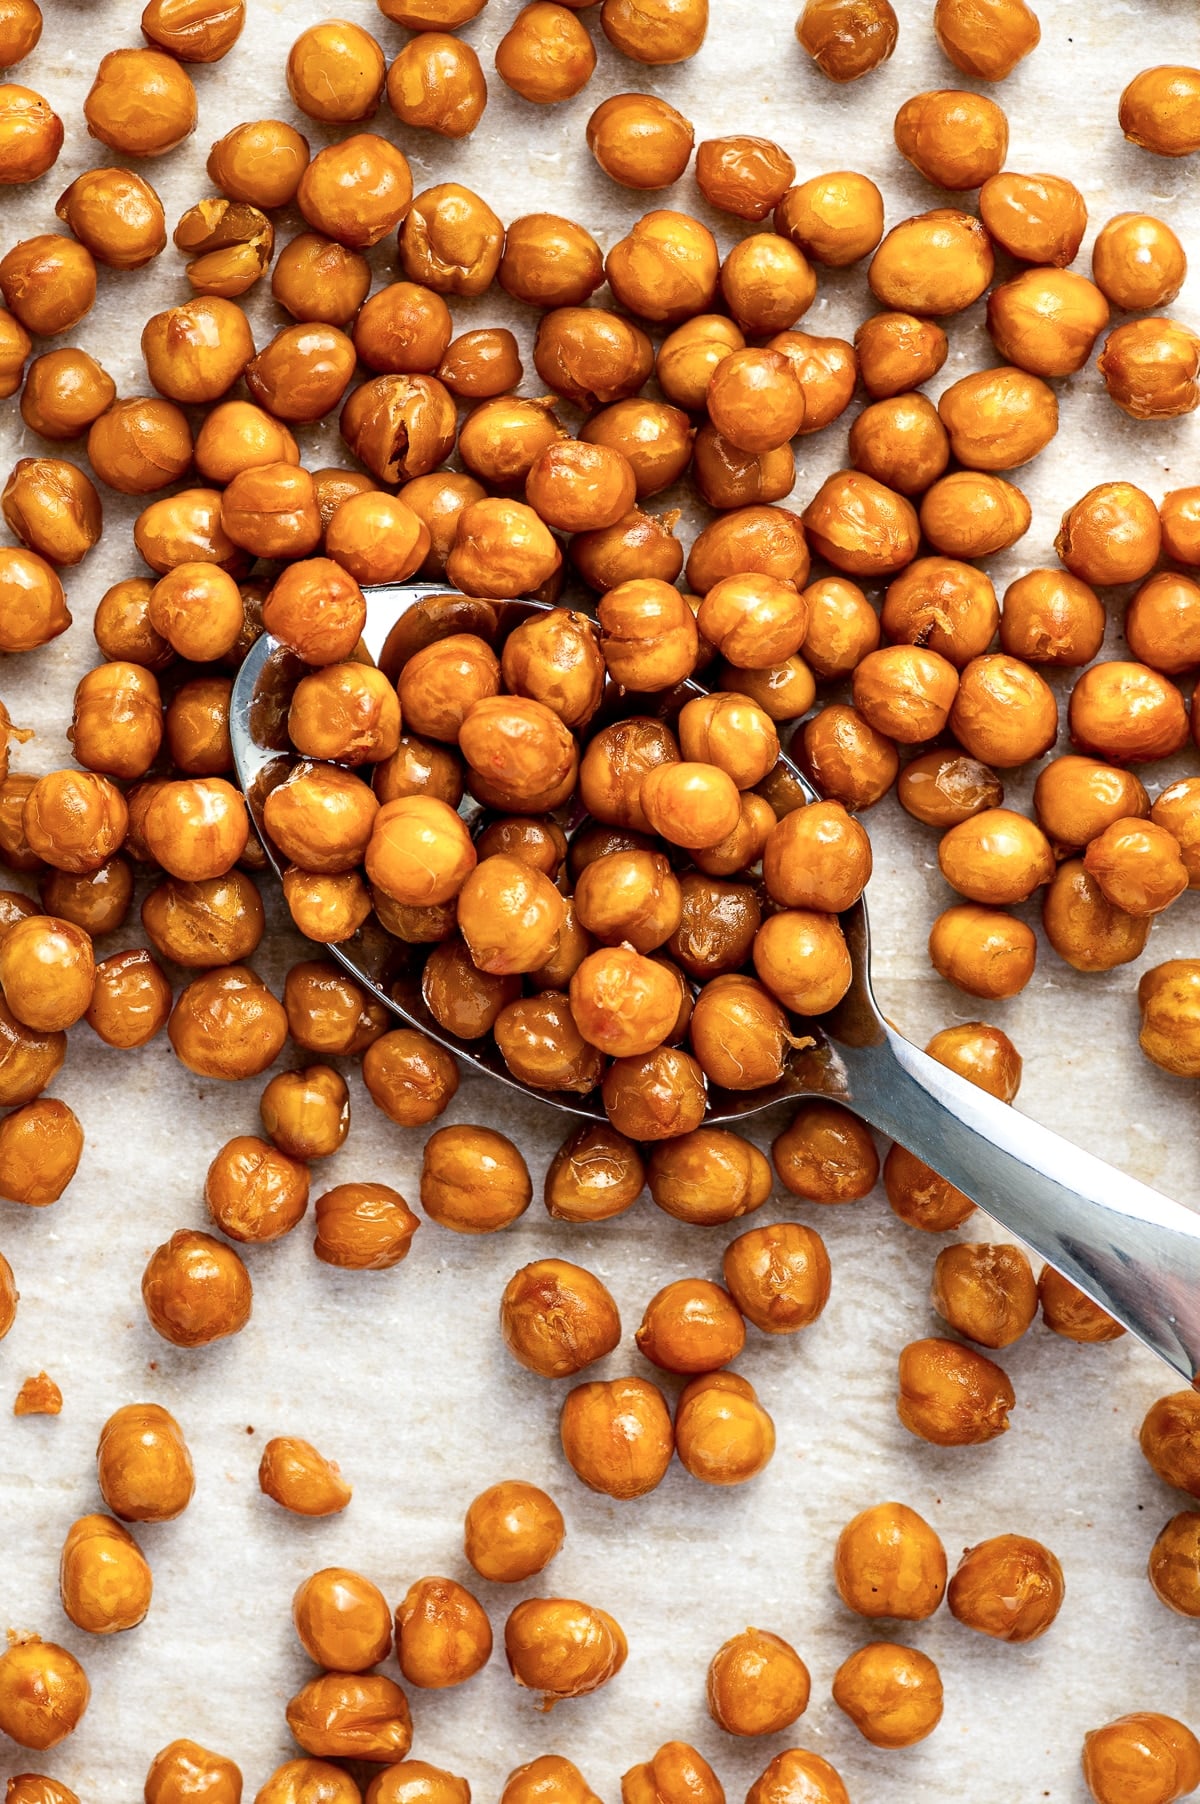
So, you’ve roasted your chickpeas – now what’s the best way to enjoy them (besides by the handful)? Easy: sprinkle them over salads, soups, and grain bowls, or add them to any of the following recipes:
- Chicken Shawarma Bowl
- Caesar Salad
- Broccoli Cauliflower Soup
- Masoor Dal (Red Lentil Dal)
- Greek Chicken Bowl
- Kale Salad with Apples
However you choose to use them, roasted chickpeas are one of the easiest ways to make an everyday salad, soup, or grain bowl feel a little more interesting and satisfying.
And if you try making this easy roasted chickpea recipe, I would love to hear what you think! Please leave a comment and a star rating below. Your feedback helps other readers discover and enjoy this recipe too. Thank you so much! 💛
Oven-Roasted Chickpeas

Ingredients
Classic Roasted Chickpeas
Curry Variation (Optional)
- 2 teaspoons curry powder
- ½ teaspoon ground turmeric
Chili Lime Variation (Optional)
- 2 teaspoons chili lime seasoning, such as Trader Joe’s Chile Lime Seasoning Blend or Tajin
- Small squeeze of fresh lime juice, added just before serving
Ranch Variation (Optional)
- 2 teaspoons ranch seasoning
Mediterranean Variation (Optional)
- 1 teaspoon sumac
- ½ teaspoon dried oregano
- ½ teaspoon garlic powder
- Small squeeze of fresh lemon juice, added just before serving
Cinnamon Sugar Variation (Optional)
- 2 tablespoons brown sugar
- 1 teaspoon ground cinnamon
Instructions
Classic Roasted Chickpeas
- Preheat the oven. Preheat the oven to 400°F. Line a rimmed baking sheet with parchment paper.
- Prepare the chickpeas. Drain and rinse the chickpeas thoroughly. Spread them over a clean kitchen towel or several layers of paper towels. Pat and gently roll the chickpeas until their surfaces are as dry as possible. Remove any loose skins that separate easily.
- Season the classic batch. Transfer the dried chickpeas to the prepared baking sheet. Drizzle with olive oil and sprinkle with salt. Toss until evenly coated, then arrange the chickpeas in a single layer.
- Roast. Bake for 30-40 minutes, shaking the baking sheet every 10 minutes to promote even browning. Continue roasting until the chickpeas are golden brown, dry on the outside, and crisp when tasted.
- For extra-crispy chickpeas, turn off the oven and leave the baking sheet inside for an extra 10 minutes.
- Finish and serve. Allow the chickpeas to cool for several minutes, then enjoy immediately for the best texture.
Optional Flavor Variations
- Choose one flavor variation per batch. Toss the seasoning blend with the roasted chickpeas while they are still warm so it adheres to the surface.If the selected seasoning blend contains salt, reduce or omit the salt added before roasting. Add lemon or lime juice only immediately before serving, since moisture will gradually soften the chickpeas.
Notes
- Nutritional information: The nutritional information is calculated for the classic roasted chickpeas made with chickpeas, olive oil, and salt. Optional seasoning variations are not included.
- Classic roasted chickpeas are vegan, vegetarian, gluten-free, dairy-free, egg-free, nut-free, and soy-free. Adding a seasoning blend may change the dietary suitability, so check the product label when needed.
- Using cooked chickpeas: Substitute approximately 1½ cups cooked and drained chickpeas for one 15-ounce can. Dry them thoroughly before adding the olive oil and salt.
- Storage: Cool completely, then store loosely covered at room temperature for up to 2 days. Do not refrigerate or seal warm chickpeas in an airtight container.
- To re-crisp: Reheat in a 350°F oven for 5-10 minutes or in an air fryer at 350°F for 3-5 minutes. Lightly spray with oil before reheating for additional crunch.
Explore More with AI
Nutrition
Nutrition information is automatically calculated, so should only be used as an approximation.