
This post may contain affiliate links. See my disclosure policy.

Perfect Air Fryer Chicken Breasts that are tender, juicy, and delicious every time. Make this easy, foolproof recipe for a fast and simple weeknight dinner, or use it in your favorite meal prep recipes.
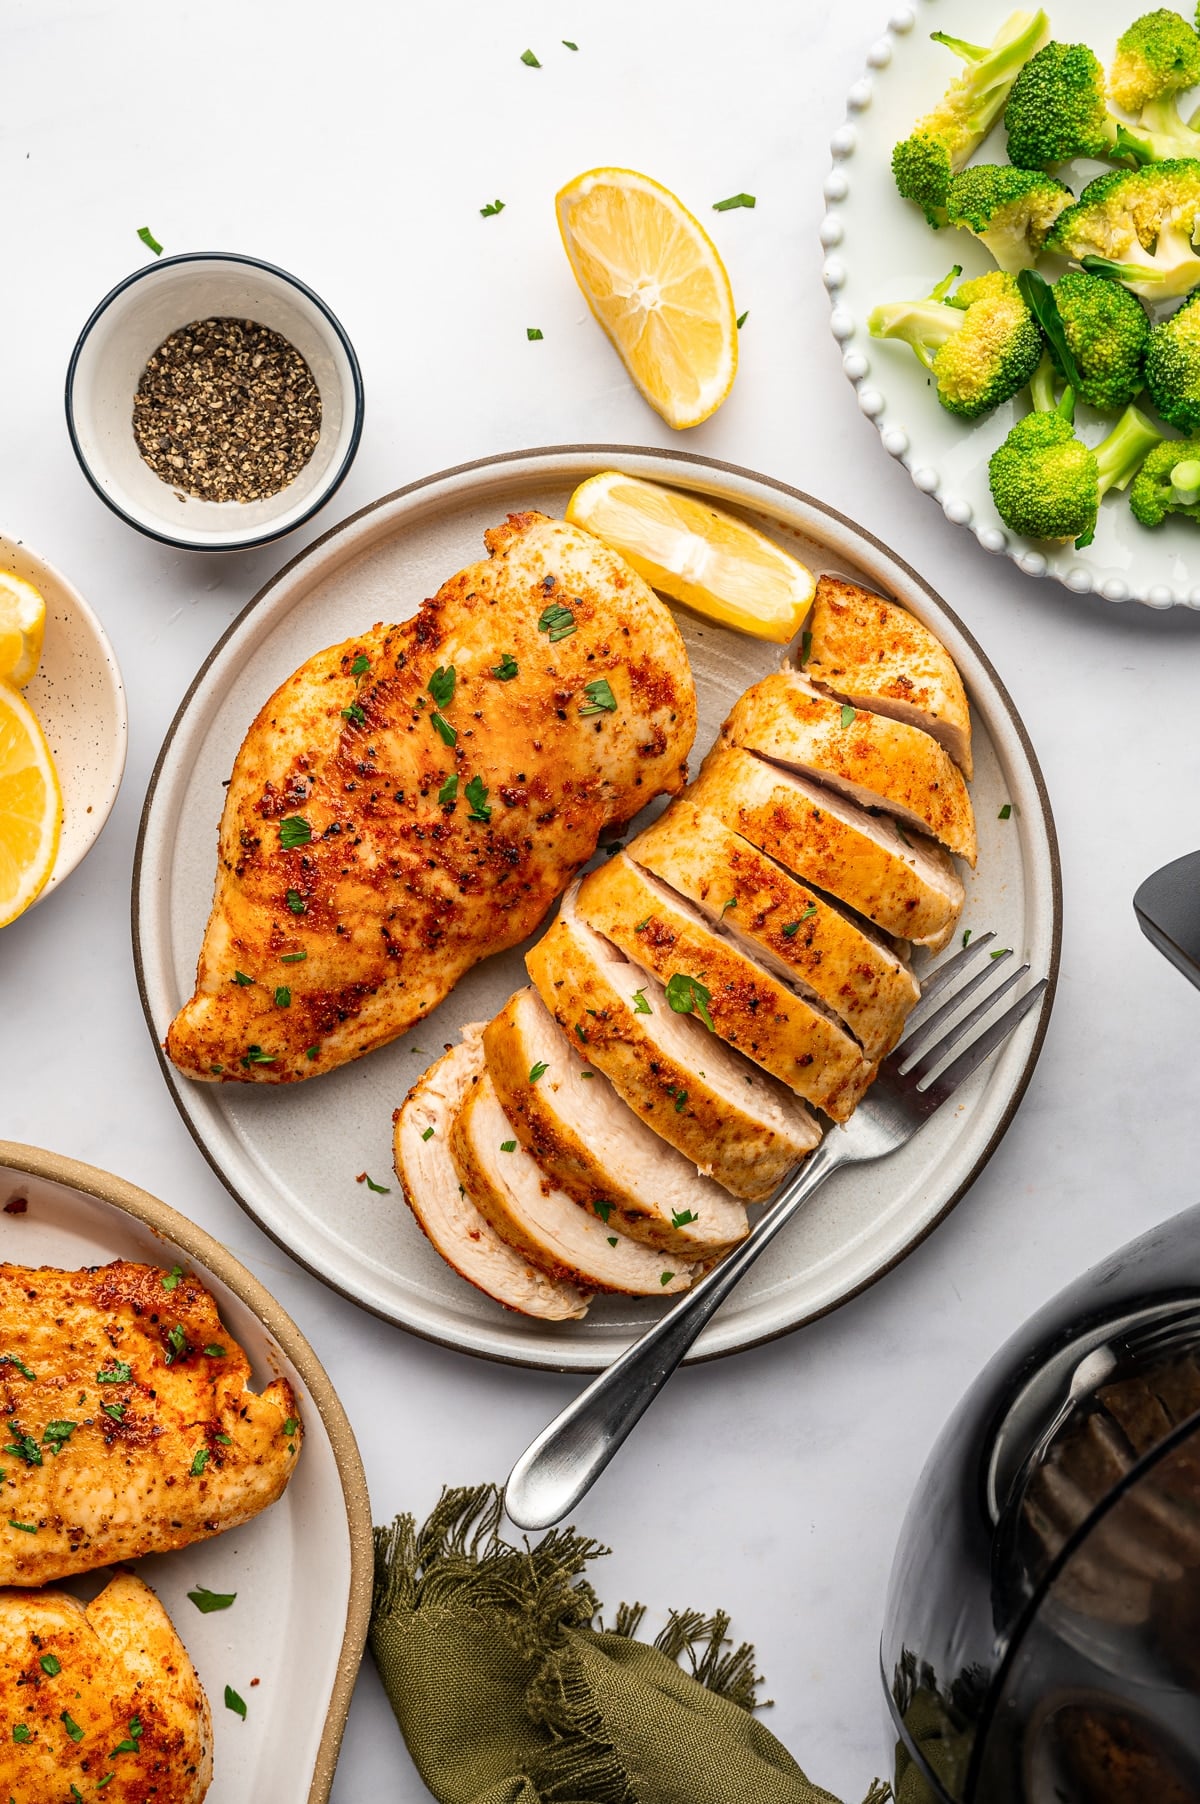
In my 40 years on this earth, I have learned that when something sounds too good to be true, it usually is. But every once in a while, I am proven wrong. Today’s recipe is proof of just that. Say hello to juicy, perfectly seasoned chicken breasts that cook in about 12-15 minutes per batch, with no breading required.
Too good to be true, right? Wrong! But I couldn’t do it without my air fryer.
You may have seen my previous post for air fryer Brussels sprouts and how they turned out perfectly tender on the inside and crispy on the outside. Well, given the success of this challenging vegetable, I thought, why not try boneless skinless chicken breasts?
Oh my gosh, you guys/gals. They turned out so juicy. Much juicier than any Instant Pot chicken breast recipe, and they cook so much faster – like, lightning speed fast. I could hardly believe it myself.
Air fryers are similar to convection ovens, using circulating hot air to cook your food. But, unlike regular convection ovens, air fryers are much smaller and result in instant, focused heating.
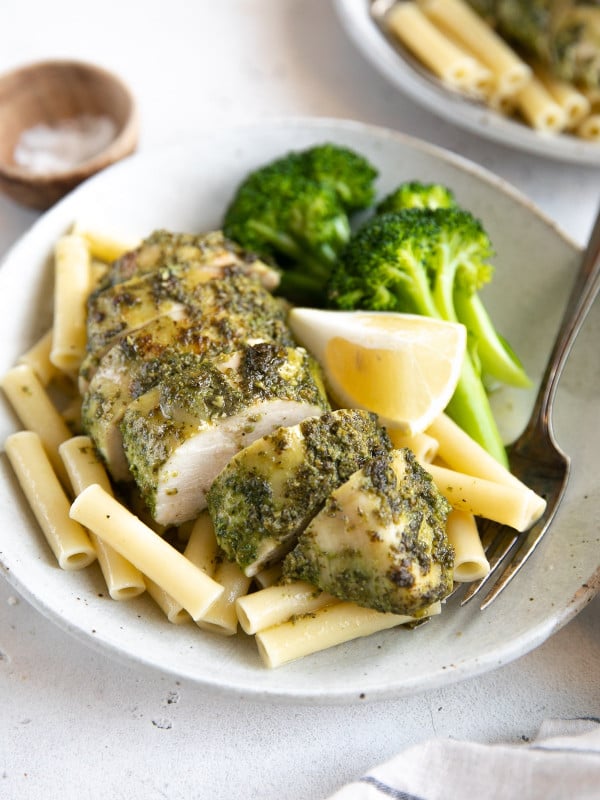
Enjoy these versatile air fryer chicken breasts just as you would my oven-baked chicken breasts: in salads, sandwiches, wraps, and pasta, or simply served with rice and veggies. When I’m craving chicken with crispy skin instead, I make my air fryer chicken legs or air fryer chicken thighs. Both are easy to make, with juicy dark meat and deliciously crispy skin.
Table of Contents
Featured Reader Comments
“Absolutely delicious! I was excited to try this but had no idea it would turn out this good!…” – Pat
“This is our go-to recipe now. We made a big batch of the seasoning and keep it in our spice rack!” – Bruce
Ingredients for Air Fryer Chicken Breasts
You only need boneless, skinless chicken breasts, a little olive oil, and a handful of pantry spices for this recipe. I use paprika, garlic powder, onion powder, salt, and black pepper, with a pinch of cayenne for optional heat. I also recommend a quick saltwater brine before cooking to help keep the chicken juicy, but feel free to skip this step if you’re short on time.
With no flour or breading, these air fryer chicken breasts are naturally low-carb, gluten-free, and keto-friendly. If you’re craving something with a crispy coating instead, try my air fryer chicken tenders.
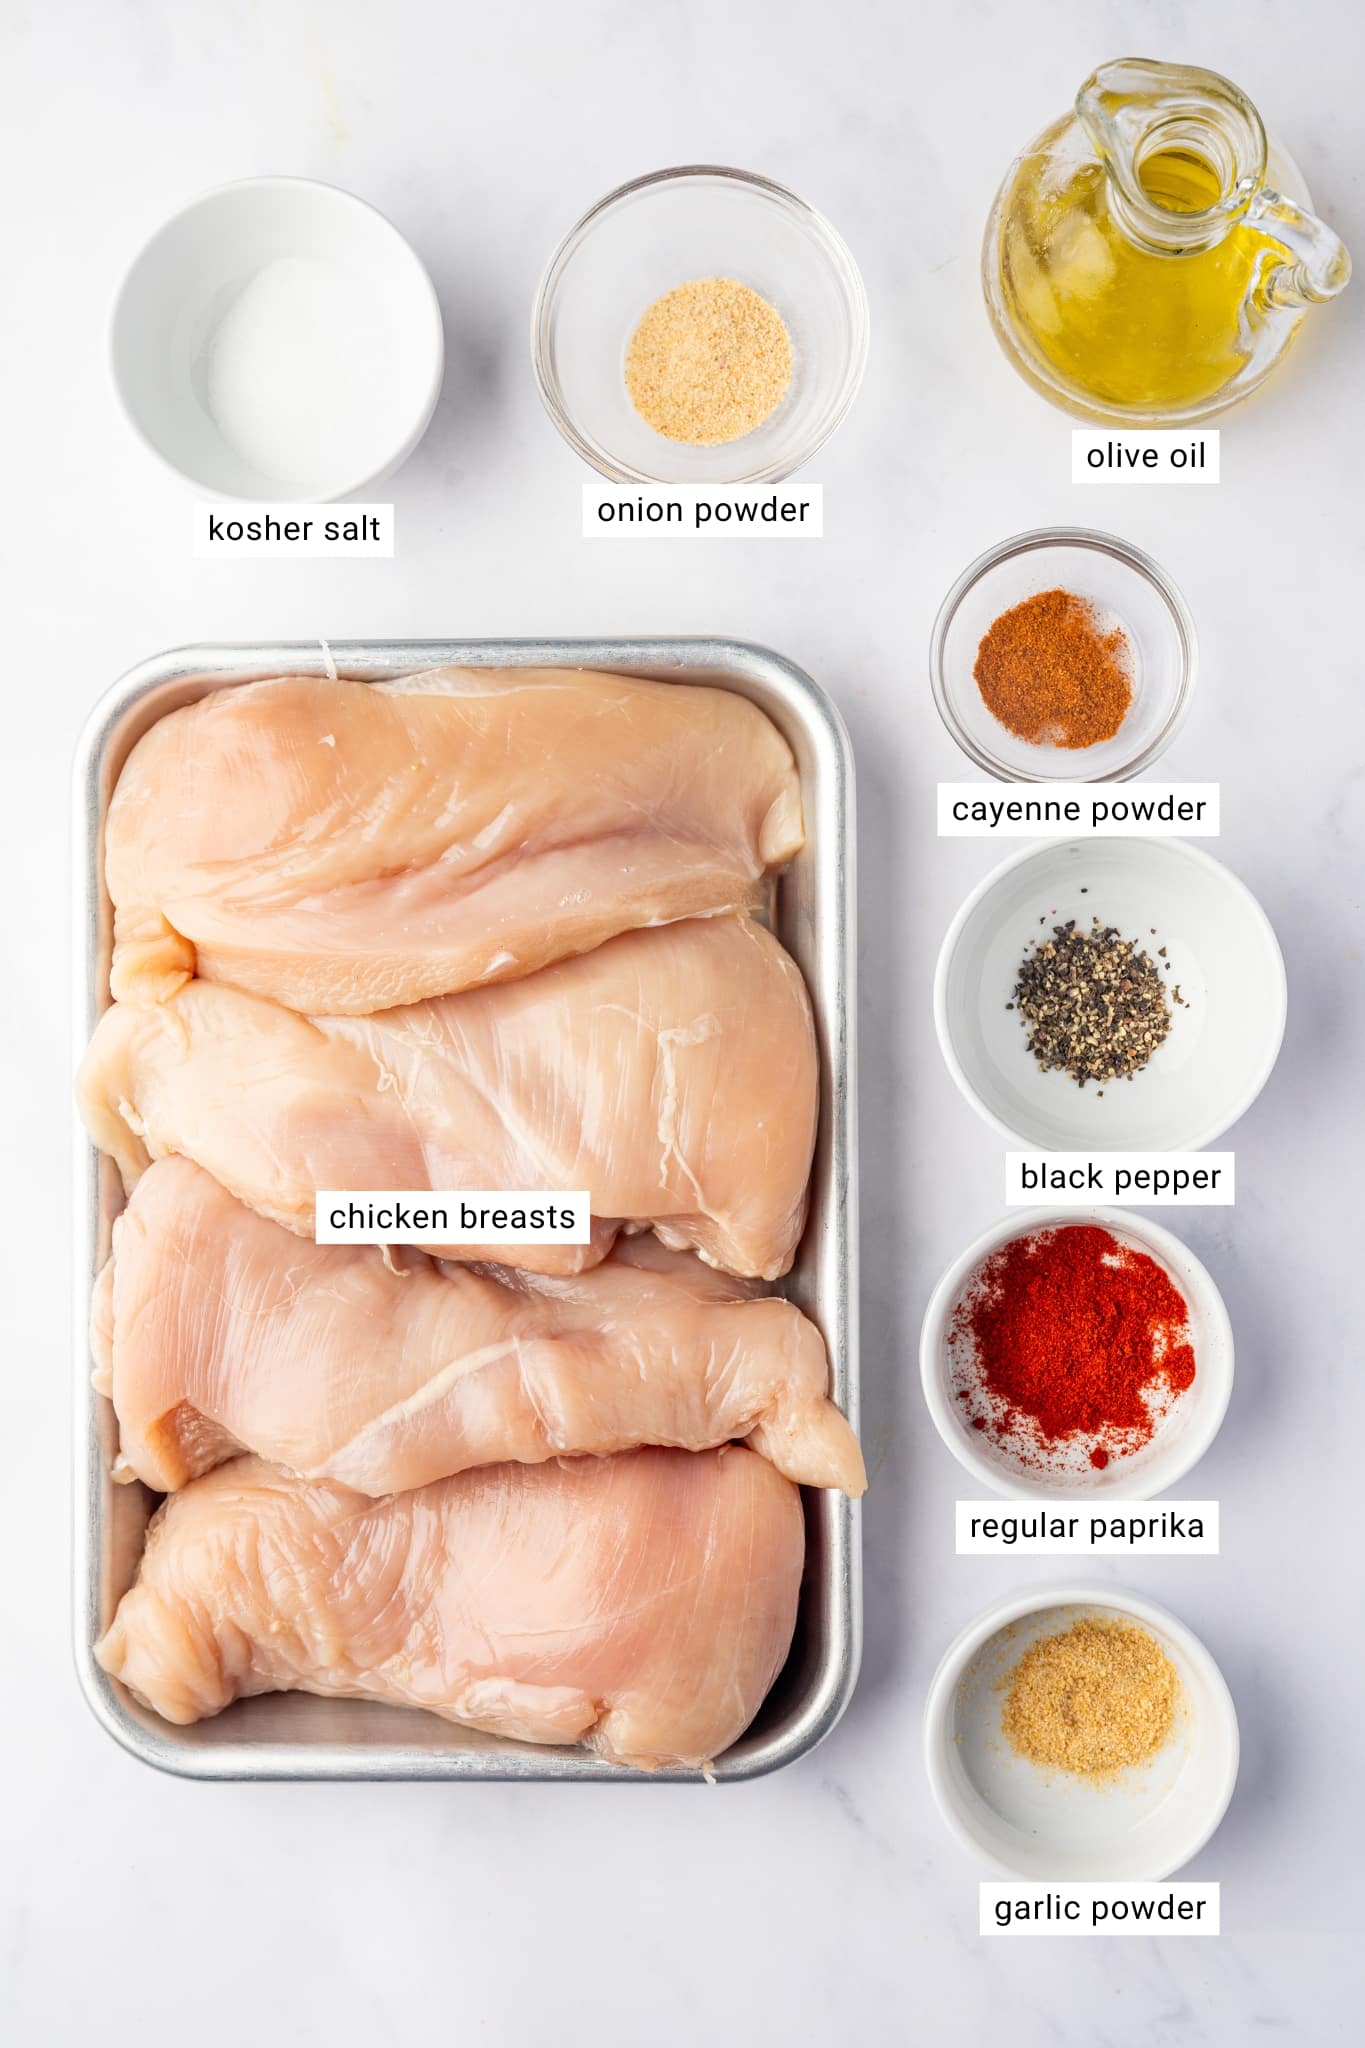
How to Cook Chicken Breasts in the Air Fryer
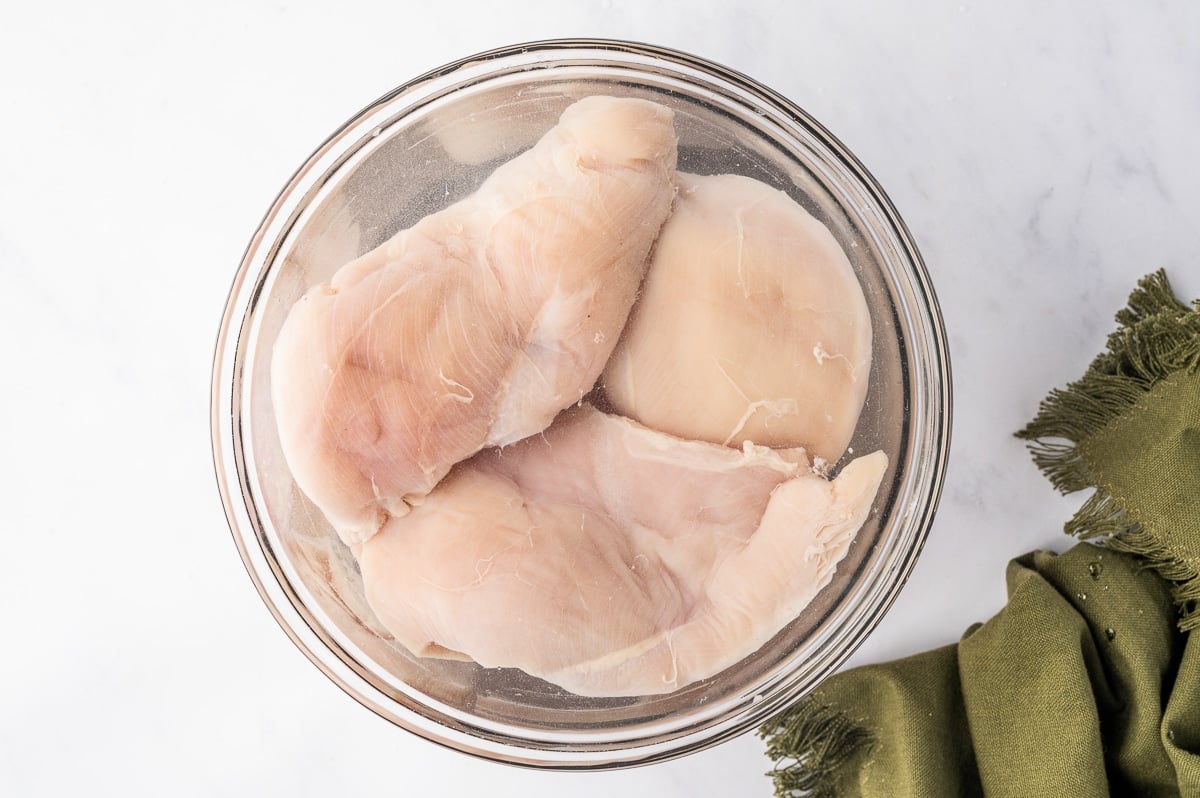
- Brine the chicken (optional). In a large bowl, stir together 6 cups of cool water and 3 tablespoons of kosher salt until the salt dissolves. Add the chicken breasts, making sure they’re fully submerged, then cover and refrigerate for 20 minutes. I find this extra step helps keep the chicken juicy, but it’s completely optional.
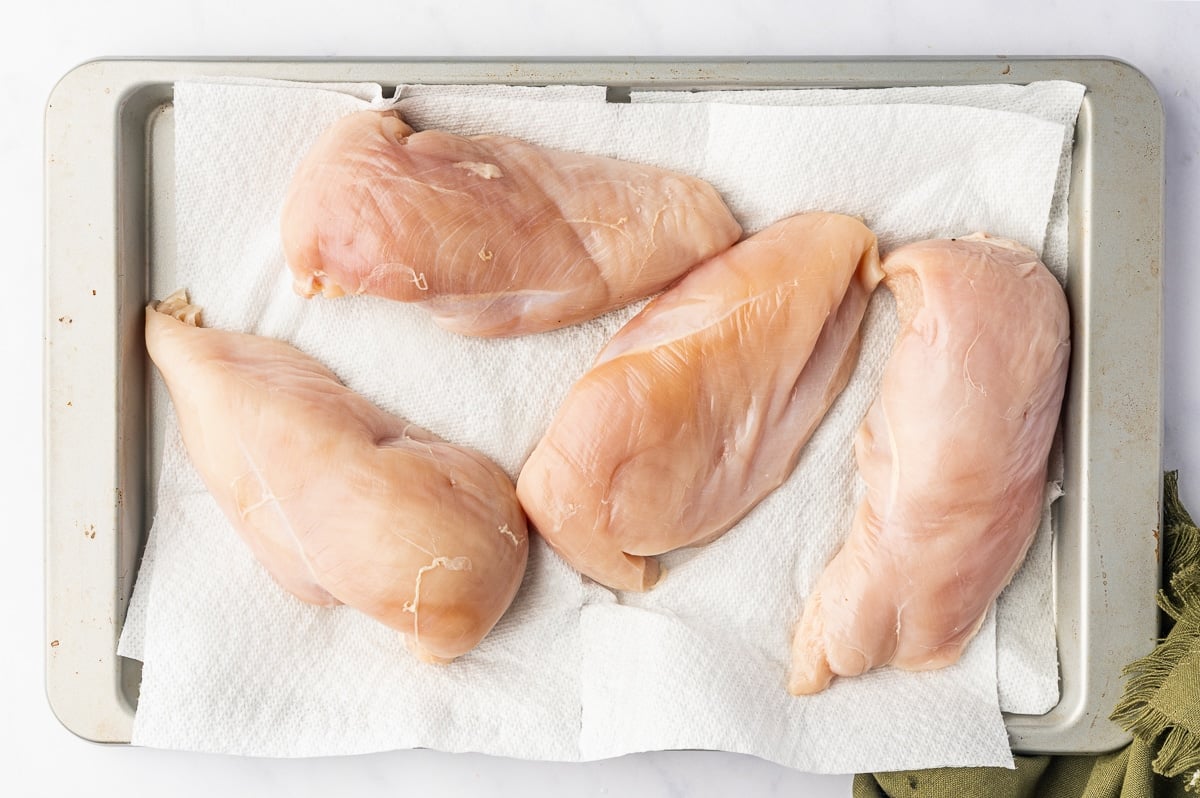
- Pat the chicken dry. Remove the chicken breasts from the brine, discard the saltwater, and pat them dry with paper towels. Don’t skip this part! Removing excess moisture helps the oil and seasonings coat the chicken more evenly. If you’re skipping the brine, simply pat the raw chicken dry before moving on.
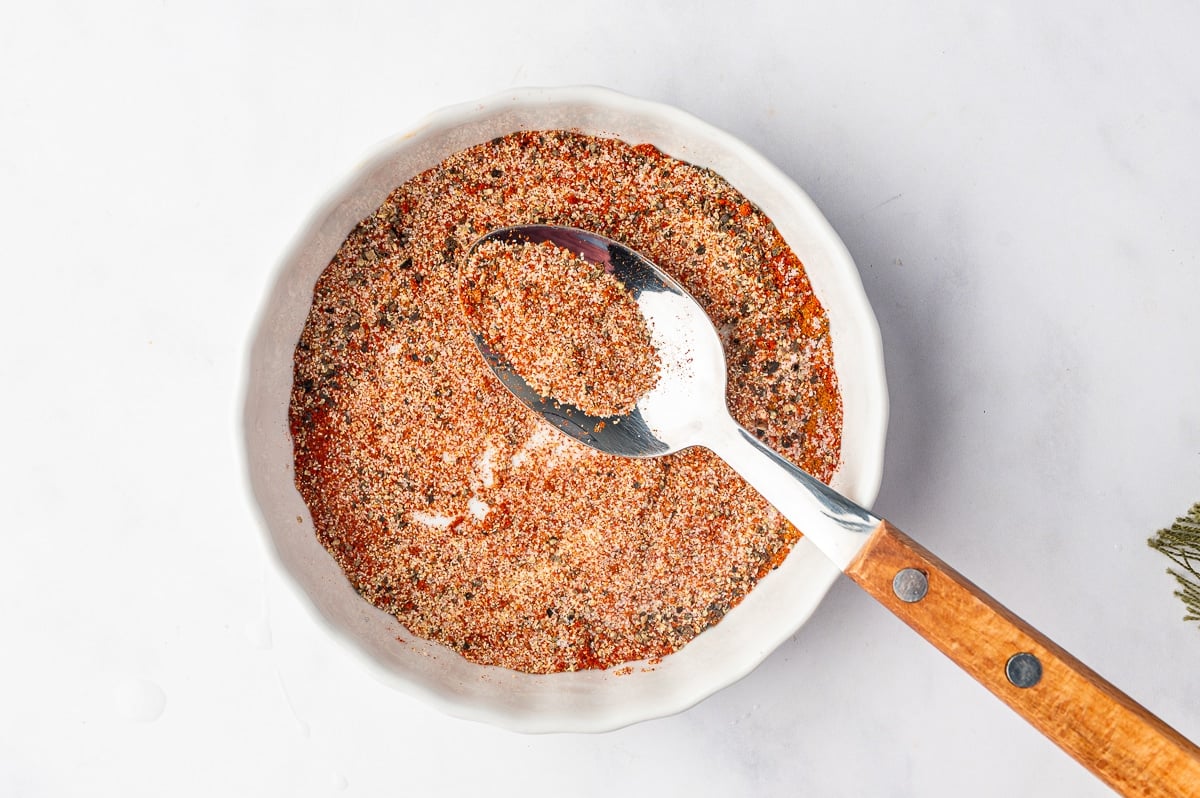
- Mix the seasonings. In a small bowl, combine the paprika, salt, black pepper, garlic powder, onion powder, and cayenne pepper (if using). Give everything a quick stir so the spices are evenly mixed.
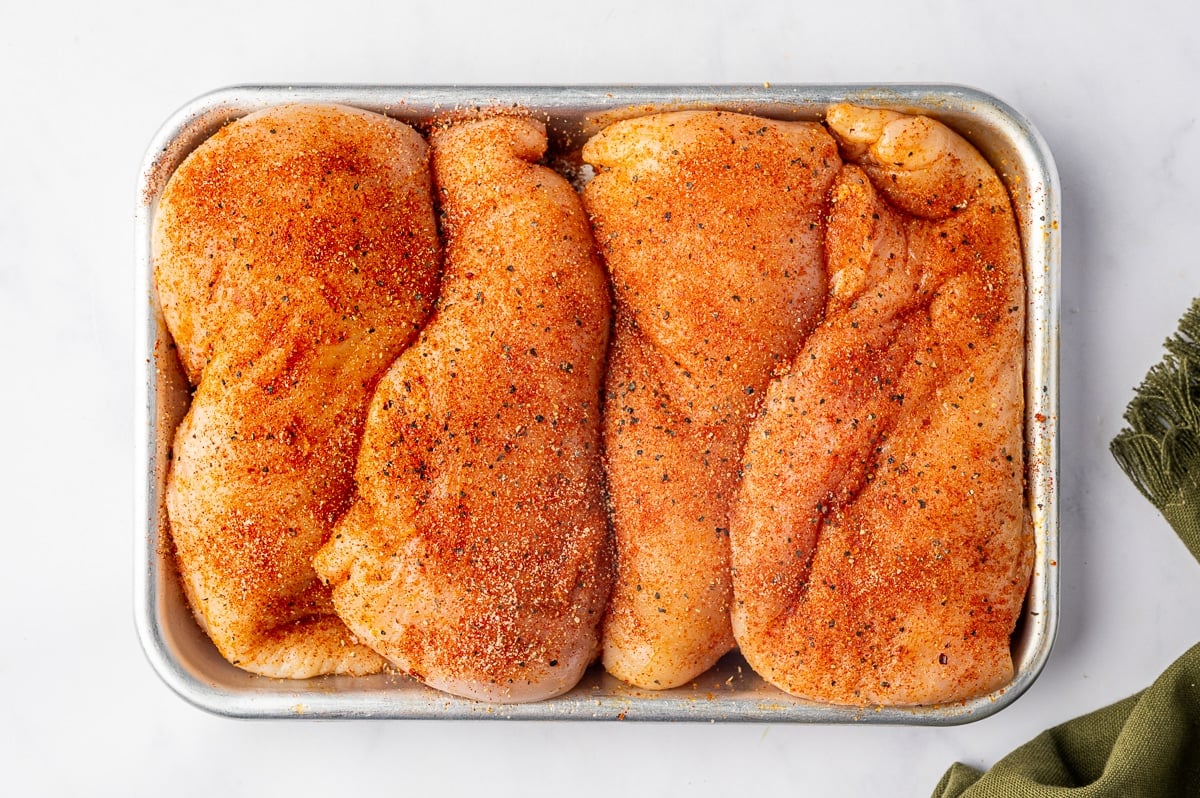
- Oil and season the chicken. Lightly brush or spray both sides of each chicken breast with olive oil, then sprinkle the seasoning mixture evenly over the top and bottom. I like to gently rub the spices into the chicken to make sure every piece is well coated.
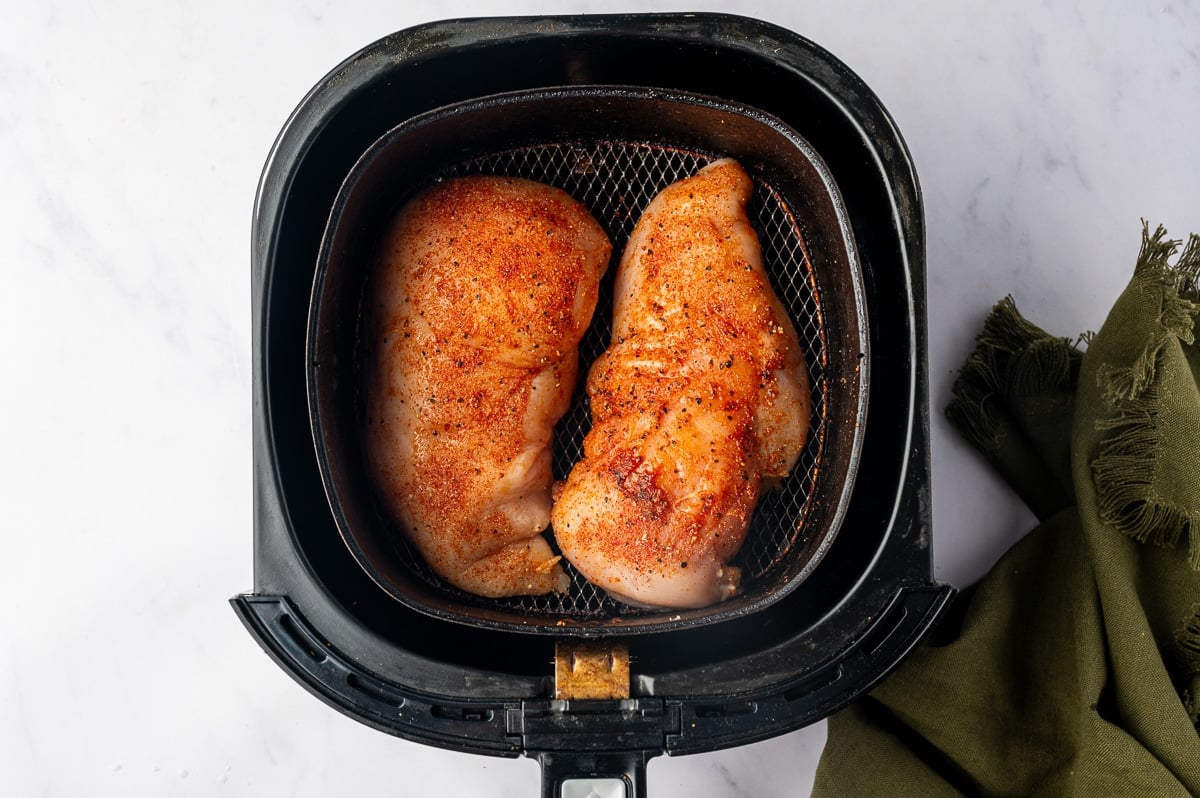
- Arrange the chicken in the air fryer. Preheat your air fryer to 380°F. Place two chicken breasts in the basket in a single layer, leaving a little space between them. Avoid overcrowding the basket, as the hot air needs room to circulate around the chicken. Depending on the size of your air fryer, you may need to cook in batches.
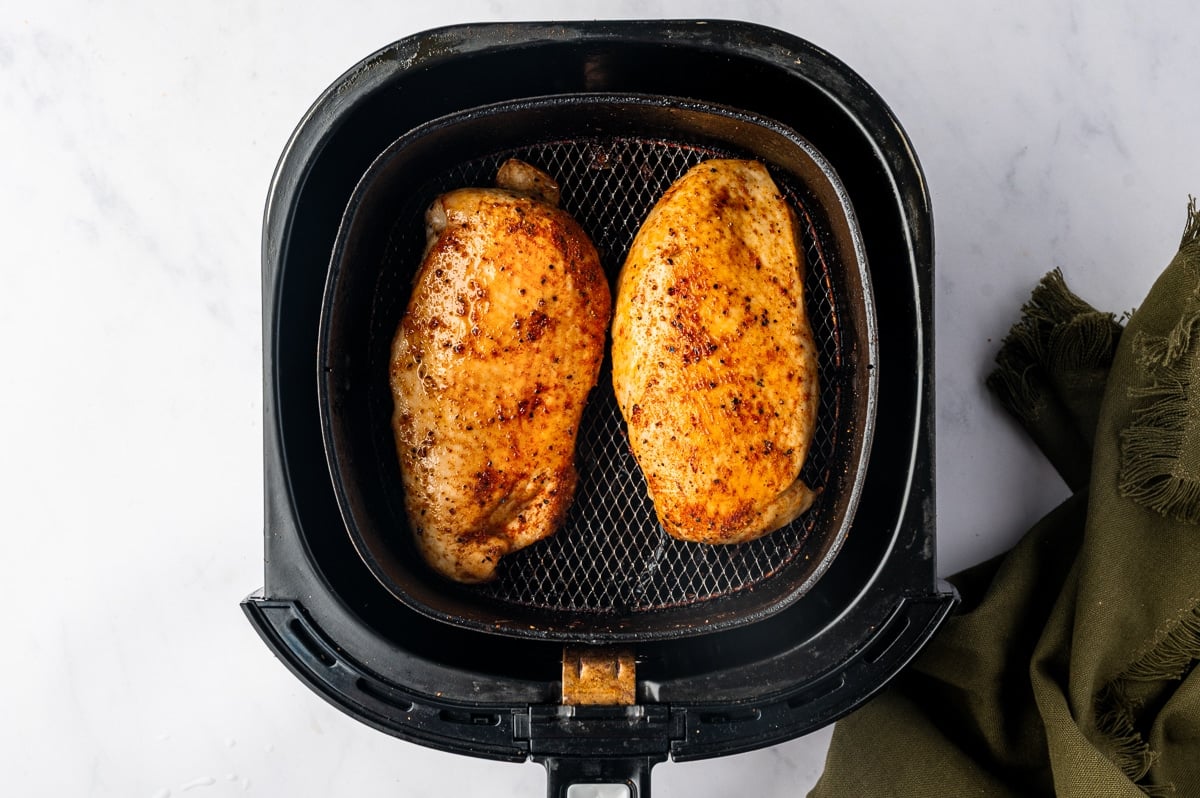
- Air fry until cooked through. Cook the chicken at 380°F for approximately 10-14 minutes, flipping halfway through. For chicken breasts weighing around 8-9 ounces each, I recommend checking the internal temperature after about 10-12 minutes. Continue cooking as needed until an instant-read thermometer inserted into the thickest part reads 165°F. Keep in mind that thicker breasts and different air fryer models may require a little extra time.
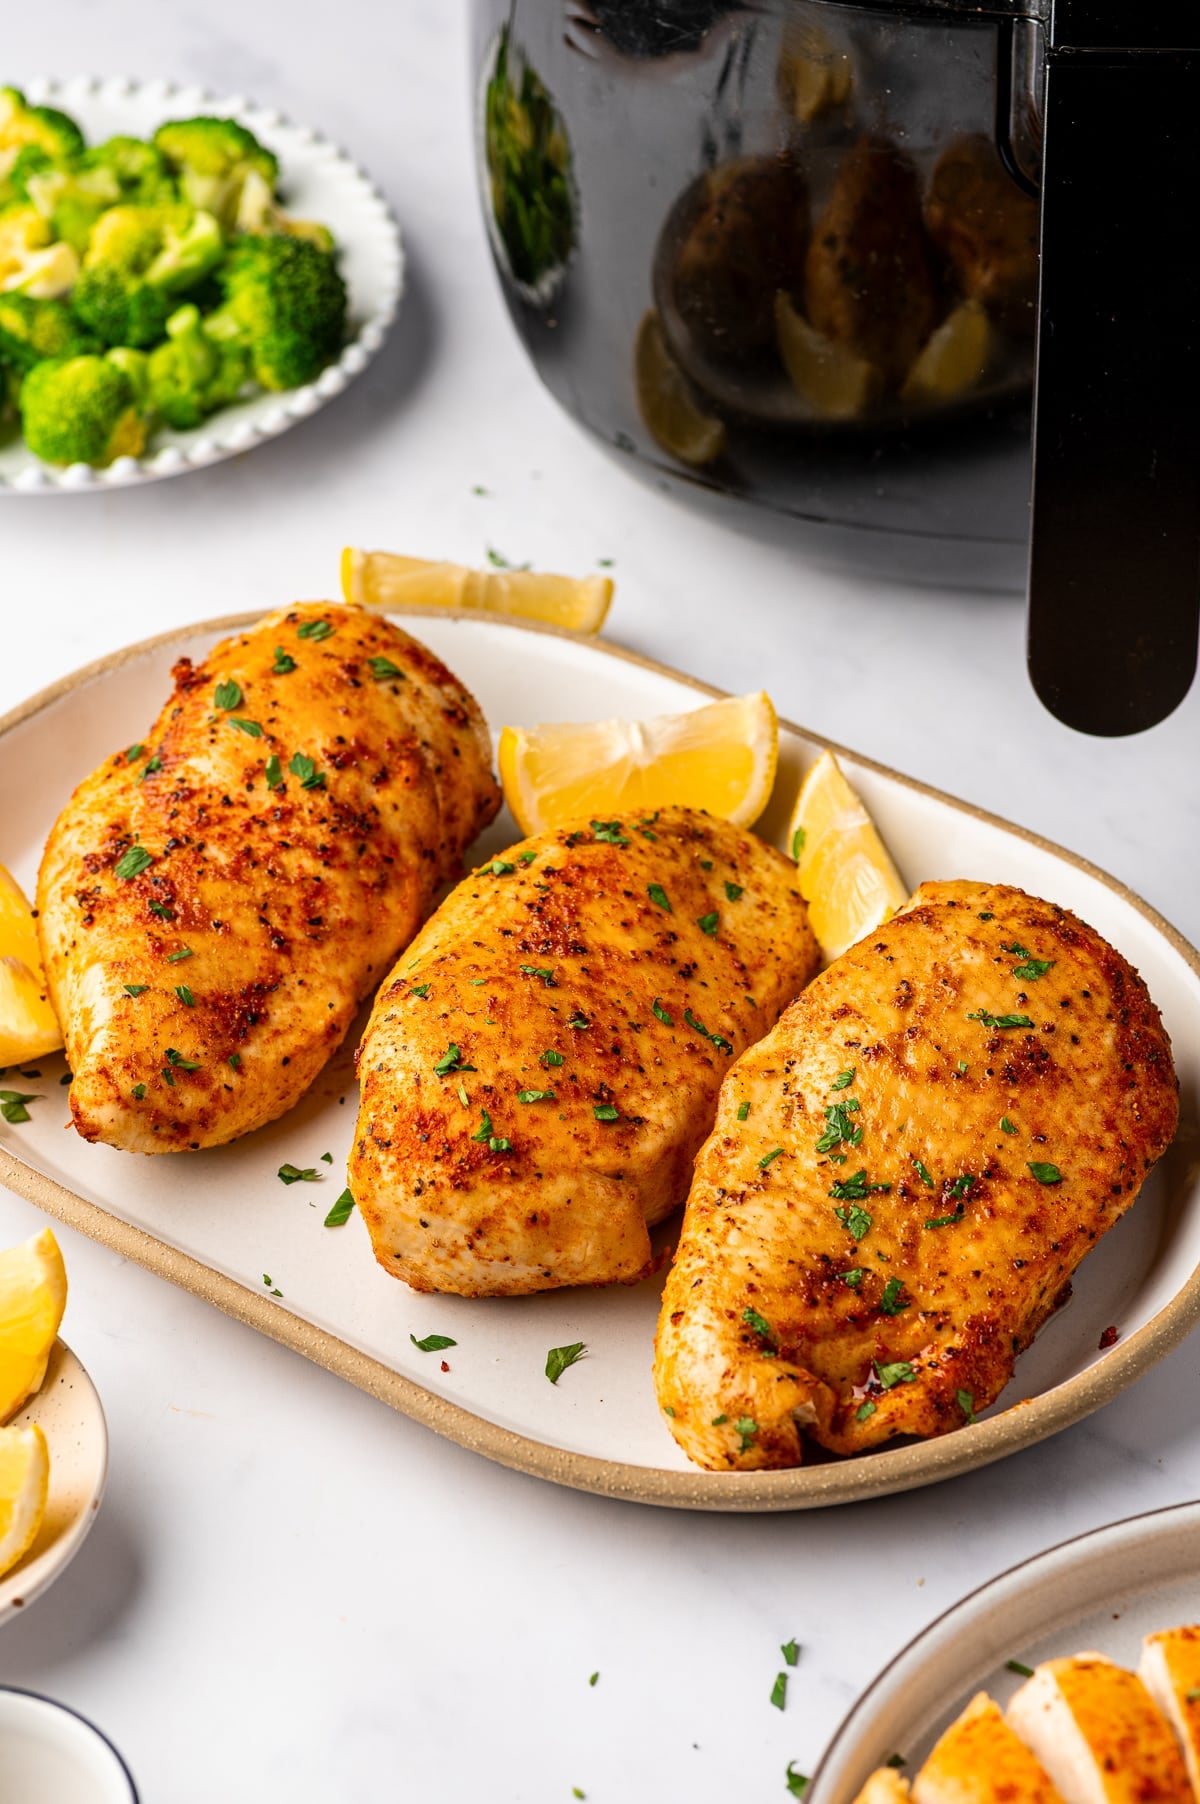
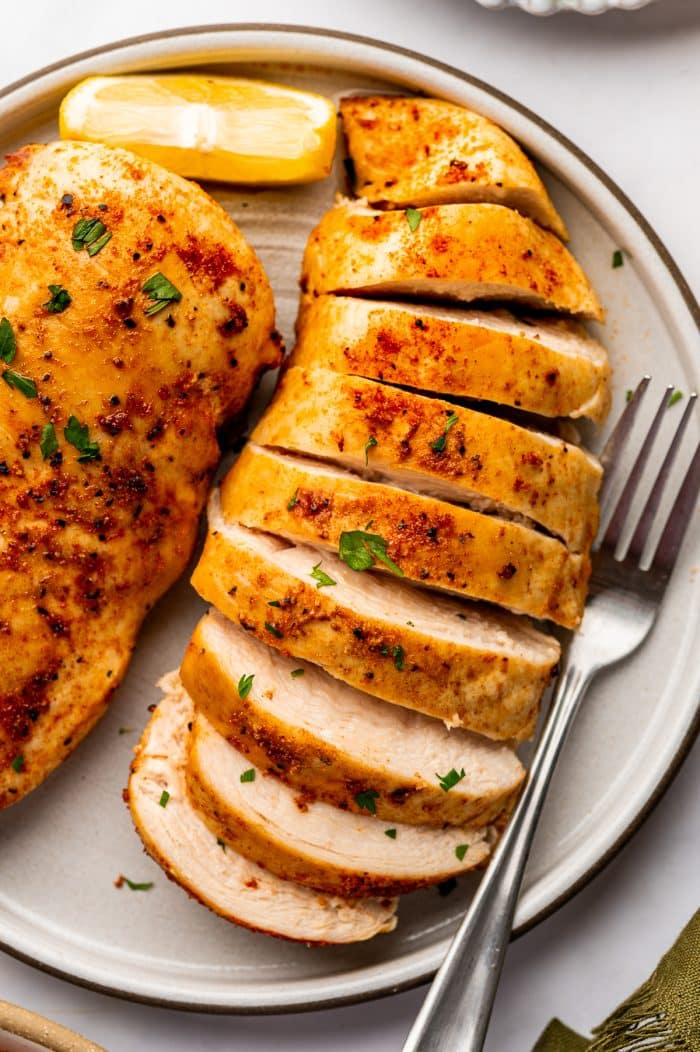
- Rest before slicing. Transfer the cooked chicken breasts to a clean plate and repeat with the remaining chicken. Let each batch rest for at least 5 minutes before slicing. Giving the chicken a few minutes to rest helps keep those delicious juices where they belong, inside the meat!
How This Recipe Was Tested
I’ve made this recipe dozens of times now in my Cosori air fryer and, more recently, in my Philips HD9220/29 Airfryer. For the Philips test, we used four boneless, skinless chicken breasts weighing approximately 2¼ pounds total, or about 9 ounces each. The chicken was cooked in two batches at 380°F, and reached an internal temperature of 163°F after 12 minutes.
Since every air fryer is a little different, and the size and thickness of your chicken breasts can affect how quickly they cook, I always recommend using an instant-read thermometer rather than relying on cooking time alone. In general, however, for breasts that are around 9 ounces, start checking at approximately 10 minutes and continue cooking until the thickest part reaches 165°F. Smaller breasts may be ready sooner.
Storage and Reheating
- Refrigerator: Let the chicken cool slightly, then transfer it to an airtight container and refrigerate for up to 3-4 days. I recommend keeping the breasts whole until you’re ready to use them, as sliced chicken tends to dry out faster.
- Freezer: Once cooled, wrap each chicken breast individually or place them in a freezer-safe container or bag. Freeze for up to 3 months. Thaw overnight in the refrigerator before reheating.
- Reheating: The trick is to warm the chicken without drying it out. Place it in the air fryer at 325°F for approximately 5-8 minutes, depending on its thickness, or until heated through to 165°F. You can also microwave sliced chicken with a splash of water or chicken broth, loosely covered, in 30-second intervals until heated through.
More Easy Chicken Recipes



If you give these air fryer chicken breasts a try, I’d love to hear how they turn out! Let me know which air fryer you used and how long your chicken took to cook. Every air fryer is a little different, so your experience can be really helpful to other readers. And if you enjoyed the recipe, please leave a comment and a star rating below. I always appreciate hearing from you!
Perfect Air Fryer Chicken Breasts Recipe

Ingredients
Optional Saltwater Brine
- 6 cups cool water
- 3 tablespoons kosher salt
Chicken Breasts
- 4 boneless skinless chicken breasts, (approximately 2¼ pounds total)
- 1 teaspoon paprika
- 1 teaspoon salt
- ½ teaspoon freshly ground black pepper
- ½ teaspoon garlic powder
- ½ teaspoon onion powder
- ¼ teaspoon cayenne pepper, (optional)
- 2 teaspoons olive oil, or olive oil cooking spray, for coating
Instructions
- Pour 6 cups of cool water into a large bowl and stir in 3 tablespoons of kosher salt until dissolved. Submerge the chicken breasts in the saltwater, cover the bowl, and refrigerate for 20 minutes. If you prefer not to brine the chicken, skip this step and proceed with the recipe.
- Lift the chicken breasts out of the brine and discard the saltwater. Use paper towels to thoroughly dry all sides of the chicken. If you skipped the brine, pat the chicken breasts dry before continuing.
- Add the paprika, salt, black pepper, garlic powder, onion powder, and optional cayenne pepper to a small bowl. Mix until the spices are evenly combined.
- Brush or spray the chicken breasts lightly with olive oil on both sides. Distribute the seasoning mixture evenly over the chicken, gently rubbing it into the surface to coat each piece.
- Preheat the air fryer to 380°F if required by your model. Place two chicken breasts in the basket in a single layer, allowing space between them. Air fry for approximately 10-14 minutes, turning the chicken halfway through cooking. Begin checking for doneness around 10 minutes with an instant-read thermometer inserted into the thickest part of each breast. Continue cooking as needed until both reach an internal temperature of 165°F.
- Transfer the cooked chicken breasts to a clean plate and repeat with the remaining two breasts. Allow each batch to rest for at least 5 minutes before slicing or serving. Serve immediately with your favorite sides, or slice and use in salads, sandwiches, wraps, and other recipes.
Notes
- Chicken breast size: This recipe was tested with four chicken breasts weighing approximately 2¼ pounds total, or about 9 ounces each. For even cooking, choose breasts of similar size and thickness. Smaller breasts may cook more quickly, while thicker breasts may need additional time.
- Air fryer testing: This recipe has been made using Cosori and Philips air fryers. During testing with a Philips HD9220/29 Airfryer, two chicken breasts reached 163°F after 12 minutes at 380°F. Always continue cooking until the thickest part reaches 165°F.
- Brining and salt: Brining is optional but helps keep the chicken juicy and flavorful. Always refrigerate the chicken while brining. The tested seasoning uses 1 teaspoon of salt, but you can reduce this to ½ teaspoon if you prefer a less salty result.
- Making ahead: If preparing the chicken a day in advance, remove it from the brine after 20 minutes, pat dry, and keep covered in the refrigerator until ready to cook. Do not leave the chicken soaking in the concentrated brine overnight.
- Storage and reheating: Store leftover chicken in an airtight container in the refrigerator for up to 4 days, or freeze for up to 3 months for best quality. Reheat in the air fryer at 325°F for approximately 5-8 minutes, or until the center reaches 165°F. Reheating time will vary with thickness.
Explore More with AI
Nutrition
Nutrition information is automatically calculated, so should only be used as an approximation.








How could I make this with boneless skinless chicken thighs? The breast came out wonderful
Hi Jilla! I am so glad the chicken breasts turned out wonderfully! For boneless skinless chicken thighs, cook them at 380°F for about 16 minutes, flipping halfway through, until they reach 165°F internally. You can use the same seasoning from this recipe, and there is no need to brine the thighs. I also have a separate Air Fryer Chicken Thighs recipe on the site! 🙂
Absolutely delicious! I was excited to try this but had no idea it would turn out this good! It only took five (5) minutes in the air fryer. This is definitely on regular rotation and I have shared it with other family members; I’m so glad I found it. Thank you so much.
Thank you so much, Pat, I am so glad the chicken turned out so well and that it is going into your regular rotation. It makes me so happy to hear you shared it with family too! 🙂
is kosher salt any different from other salt? Far as I know it’s just cooking salt or rock salt. Can use it to clean and prove skillets, woks n that.
Hi Triss! Yes, kosher salt is a little different from table salt mainly because of the size and shape of the crystals. It has larger, coarser flakes, which makes it easier to pinch and sprinkle evenly over food. Table salt is much finer, so it measures differently and can make food taste saltier if swapped 1:1. For this recipe, you can use another salt, but I would start with a little less if using fine table salt and adjust to taste. 🙂
This was so easy to follow and came out great! Will def make again!
Thank you so much, Sage! I am so glad it was easy to follow and turned out great. Thanks for making it, and I am happy you will be making it again! 🙂
Thank You! I’ll give it a whirl =)
Let me know how it turns out! 🙂
Made this recipe today. Outstanding! Crispy and juicy. When the breasts were done I cut them down the middle added mozzarella while still hot and it is delicious. Great recipe.
This was so easy and tasty
Thanks for the kind feedback Jai 🙂
This is our go-to recipe now. We made a big batch of the seasoning and keep it in our spice rack!
I love hearing that Bruce, thanks for the great feedback 🙂