This post may contain affiliate links. See my disclosure policy.

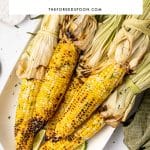
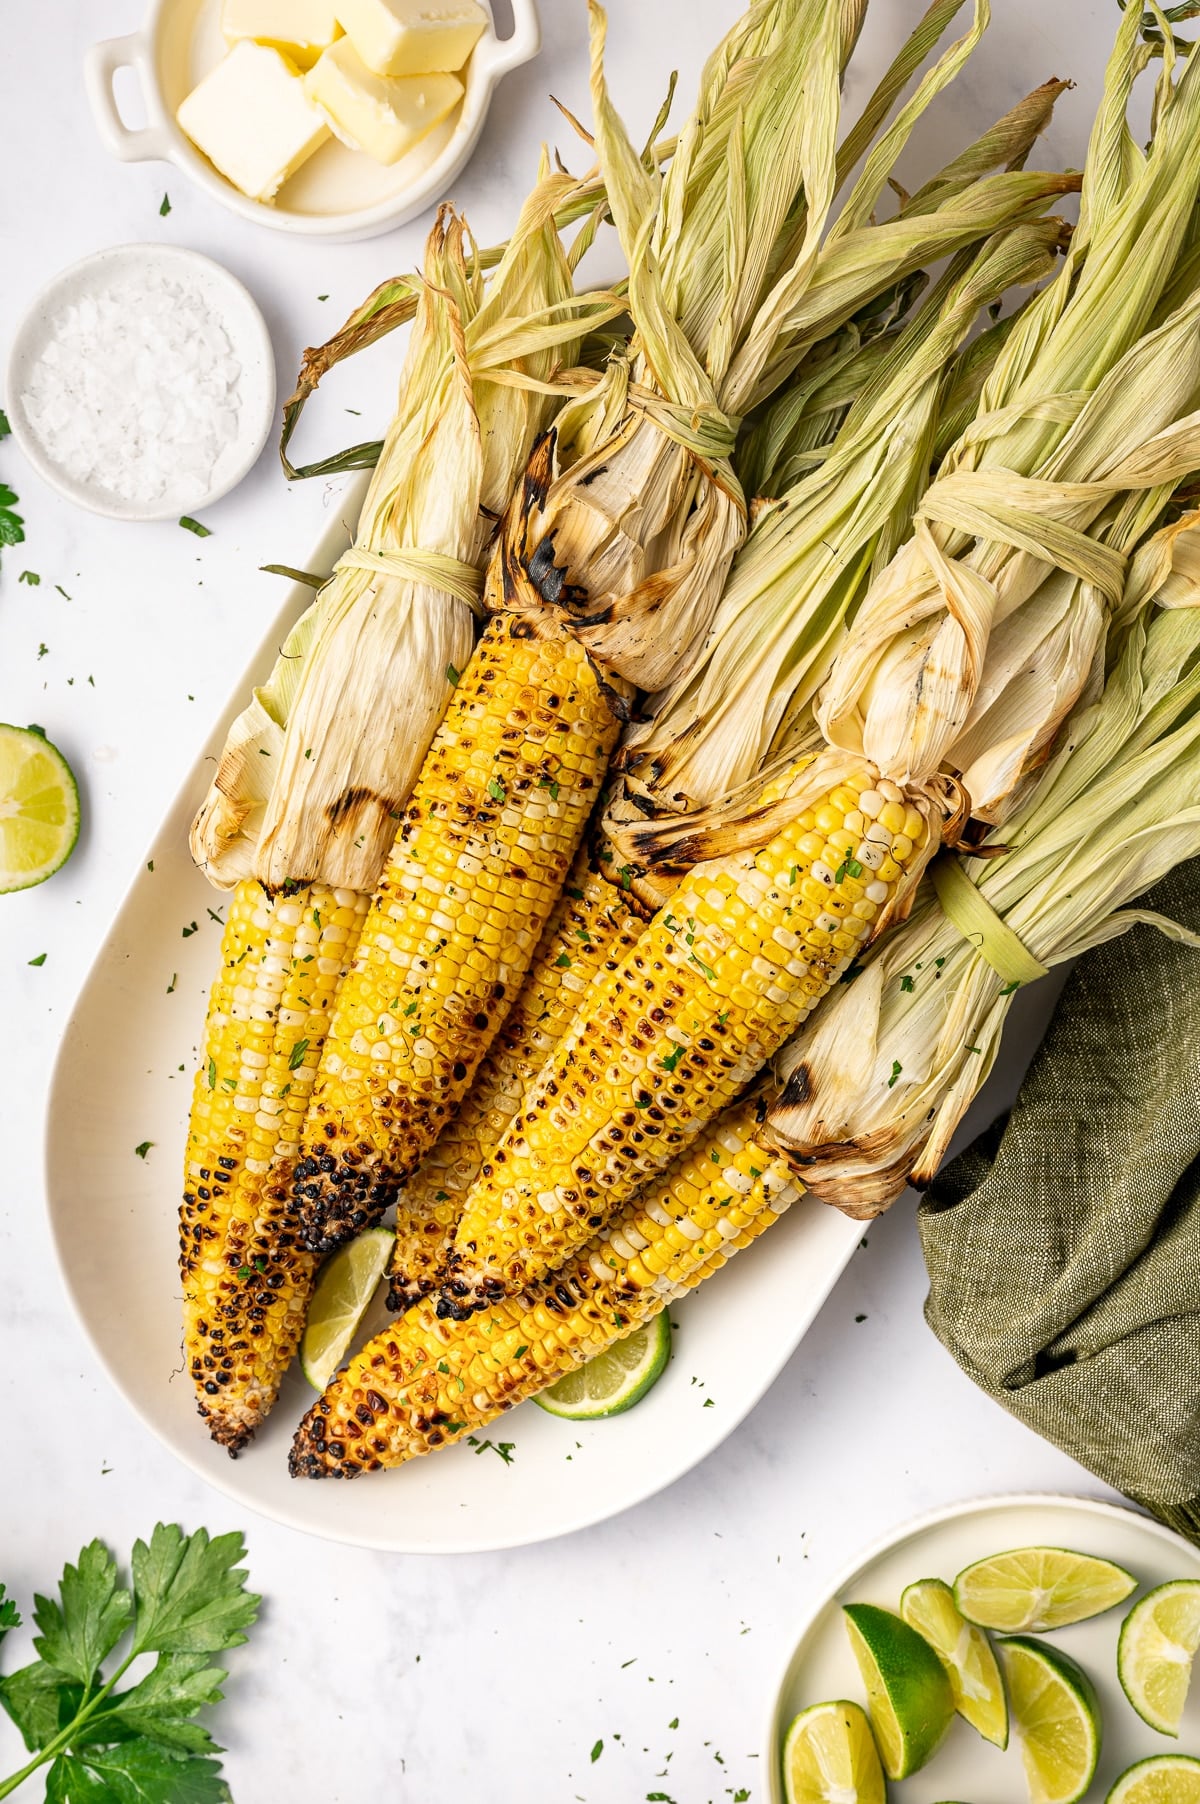
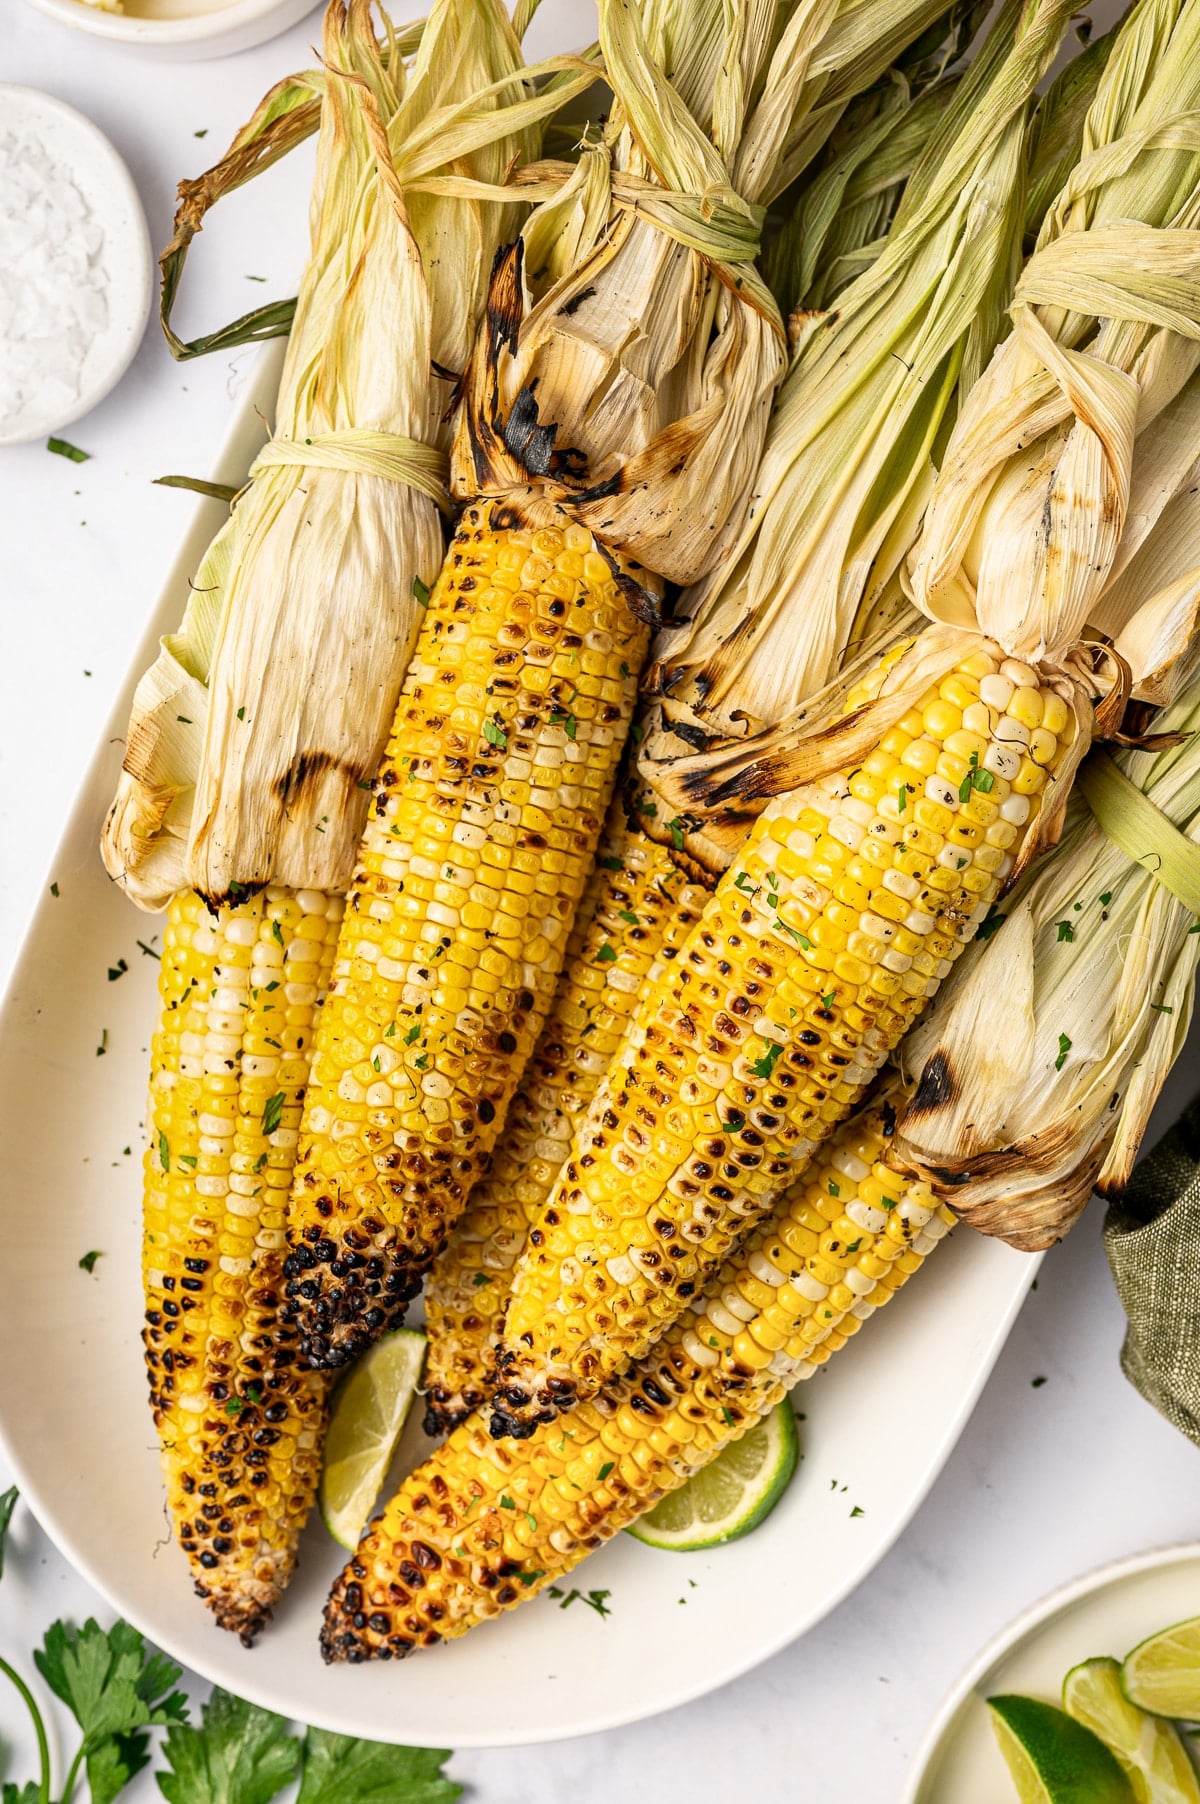
Grilled corn on the cob is sweet, juicy, smoky, and one of the best summer side dishes for BBQs, cookouts, and weeknight dinners. Learn how to grill corn with the husks on, with the husks off, or wrapped in foil, plus the best toppings and tips for perfectly tender corn every time.
My grandpa was a farmer. Actually, he was many things, but first and foremost, he was a farmer and a man of God. He was also the son of immigrants. This grandpa of mine accumulated thousands of acres of farmland in Iowa, where he grew all kinds of crops, especially corn. My mom grew up eating a lot of corn, so naturally, I did too. Our meals were built around a few very important food groups: corn, potatoes, butter, and meat. My dad also made a solid spaghetti sauce, but that is beside the point.
All of this brings us to today’s recipe: grilled corn on the cob. Simple, sweet, smoky, and one of the very best ways to enjoy fresh summer corn. Below, I am sharing three ways to grill corn: without the husks for smoky, lightly charred kernels, in the husks for juicy, tender corn, and wrapped in foil for the easiest cleanup.
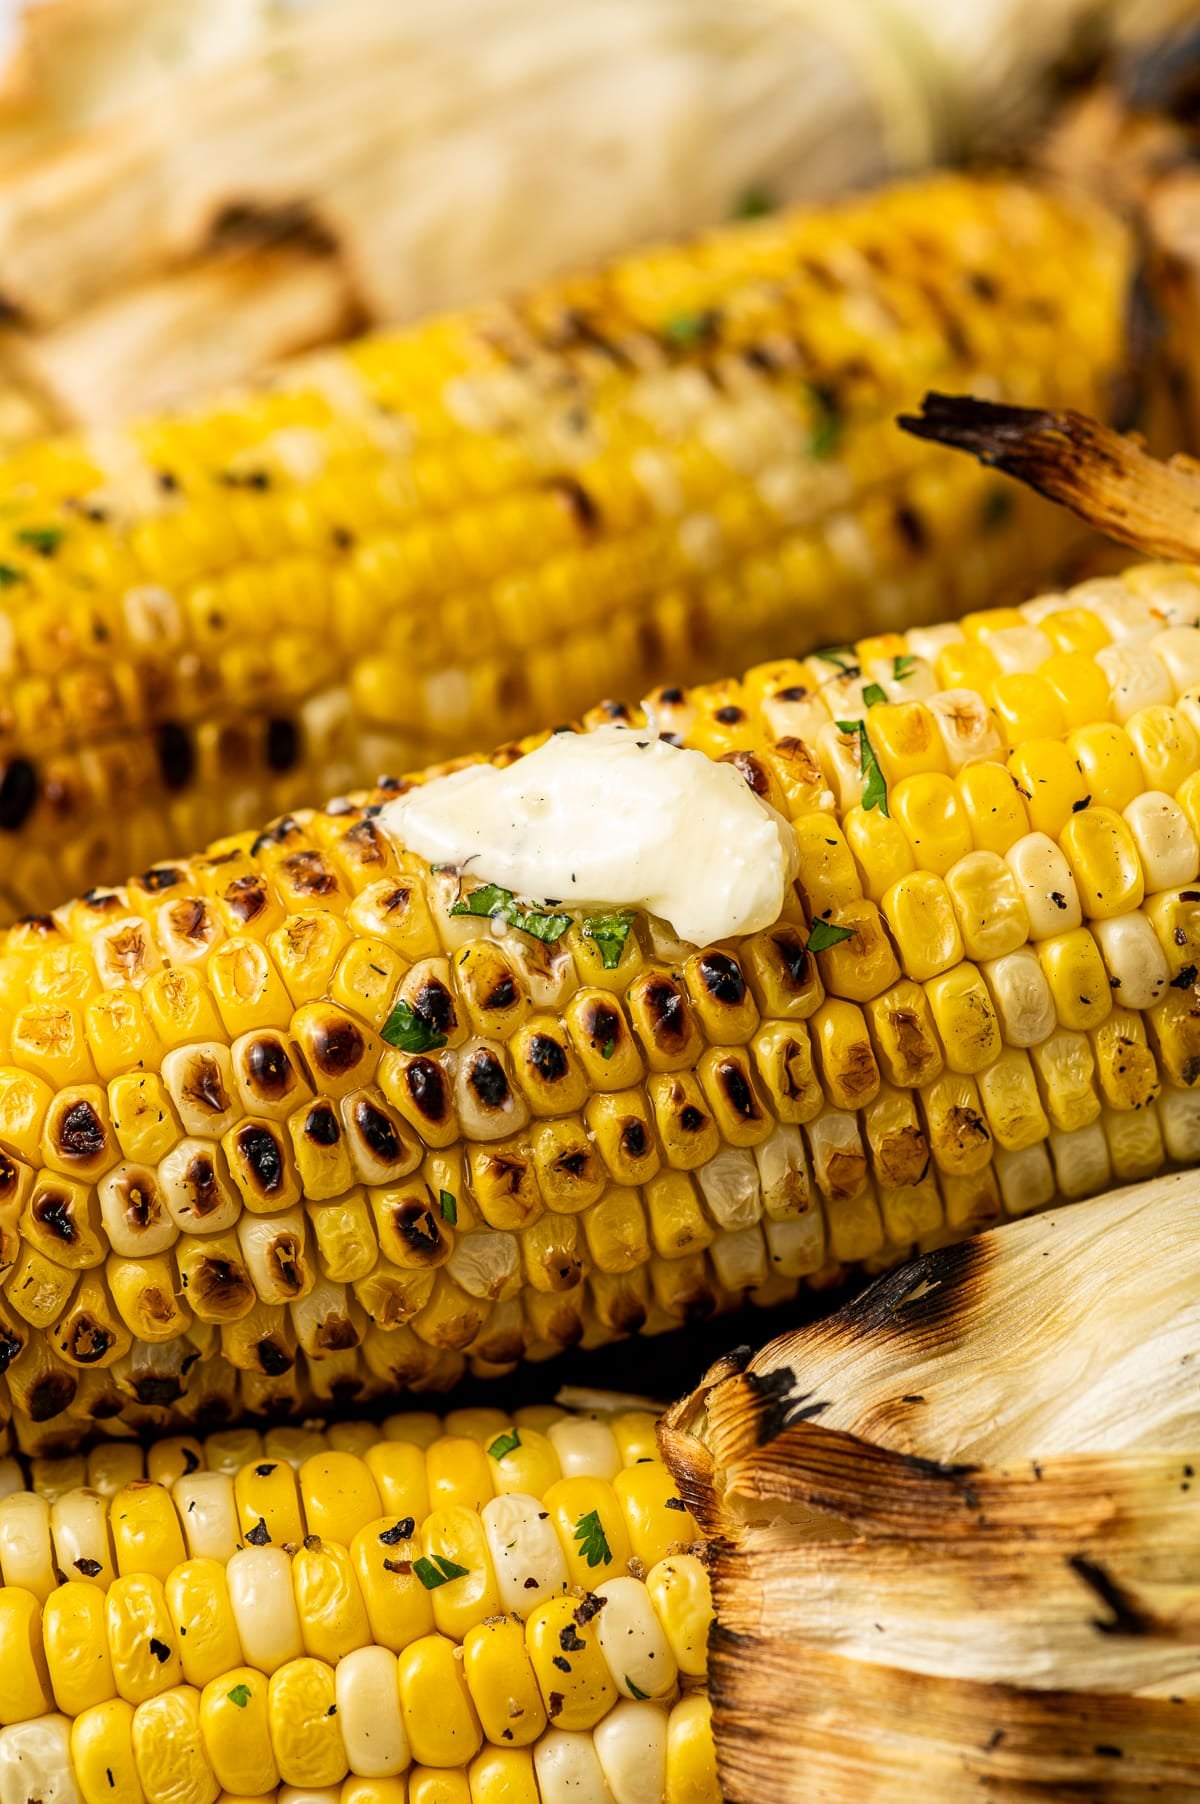
Table of Contents
How to Grill Corn on the Cob (3 Ways!)
You can grill corn on the cob three different ways: in the husks, without the husks, or wrapped in foil. I’m sharing all three methods below. The one you choose depends on how you like your corn and whether you want juicy steamed kernels, smoky charred flavor, or an easy make-ahead option.
Without Husks
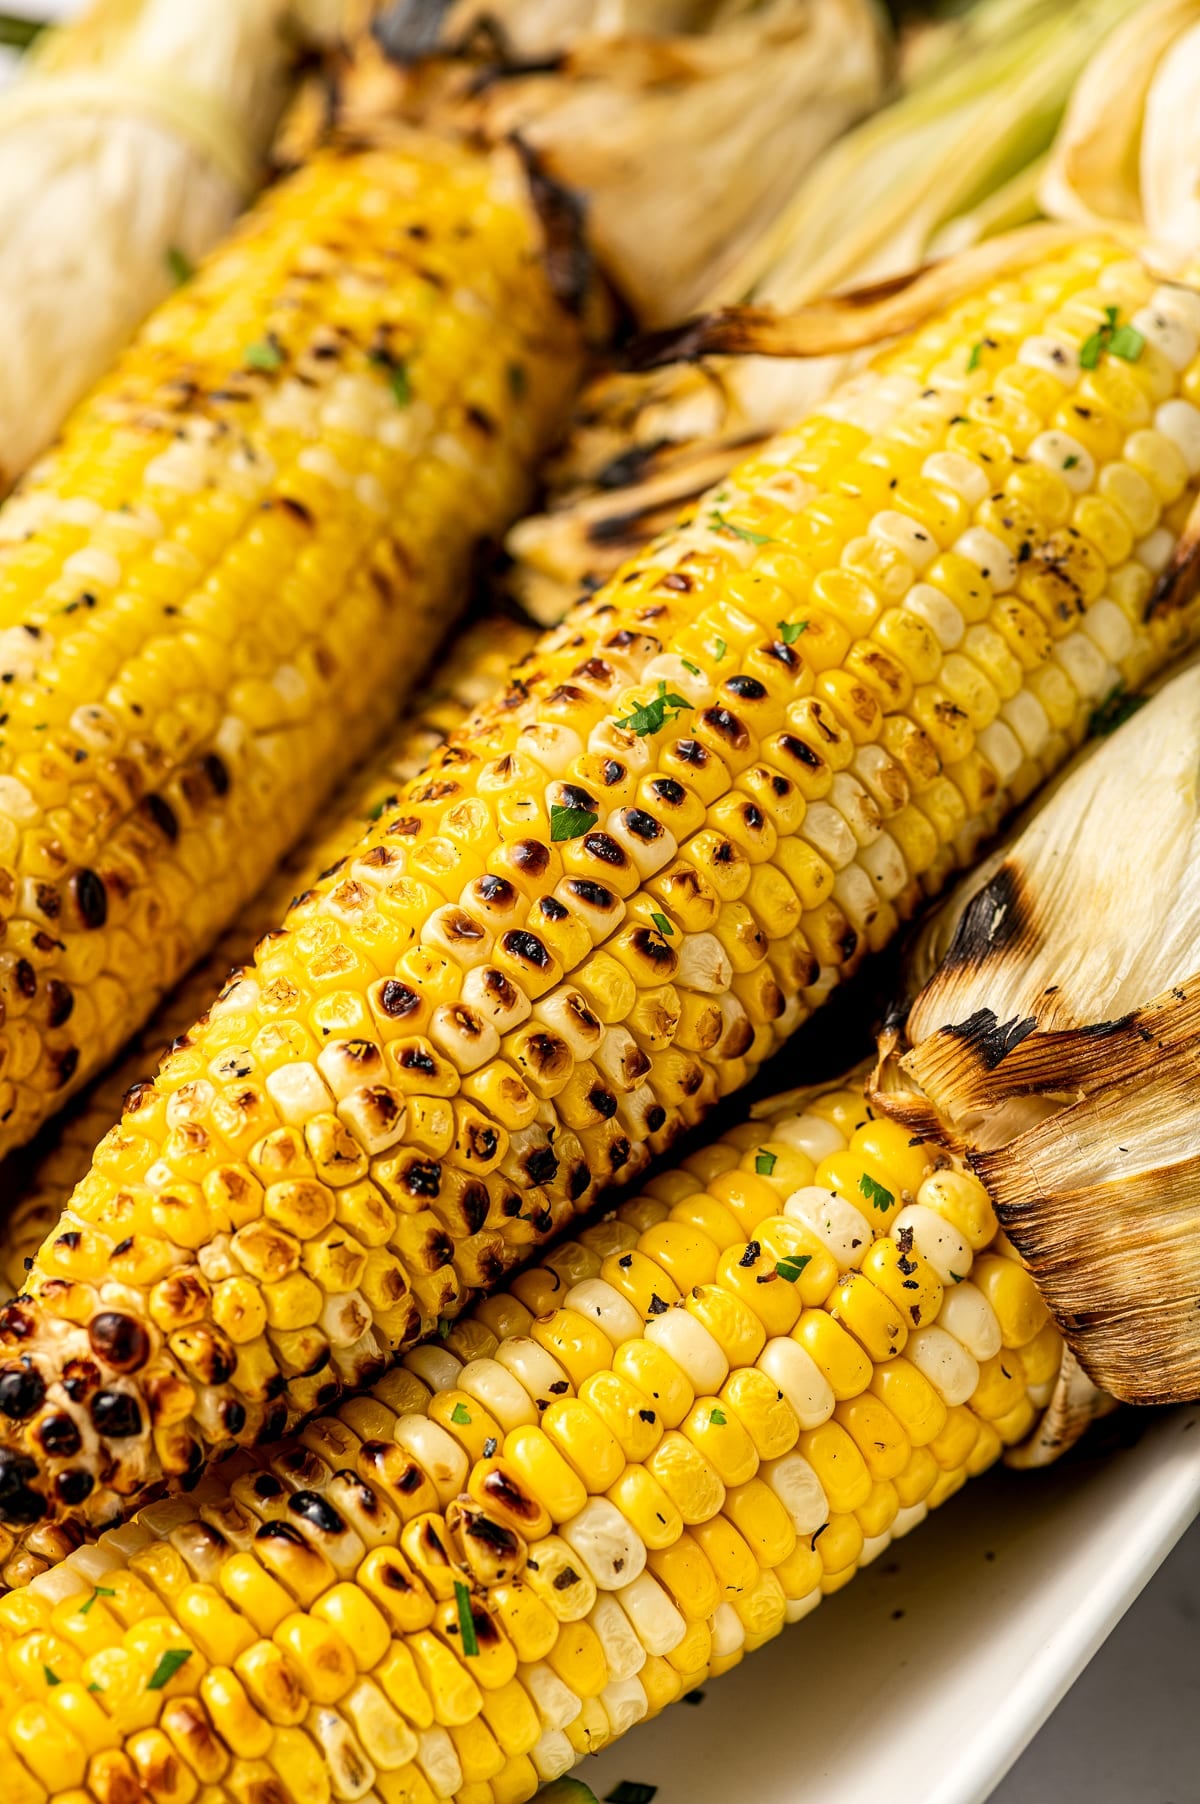
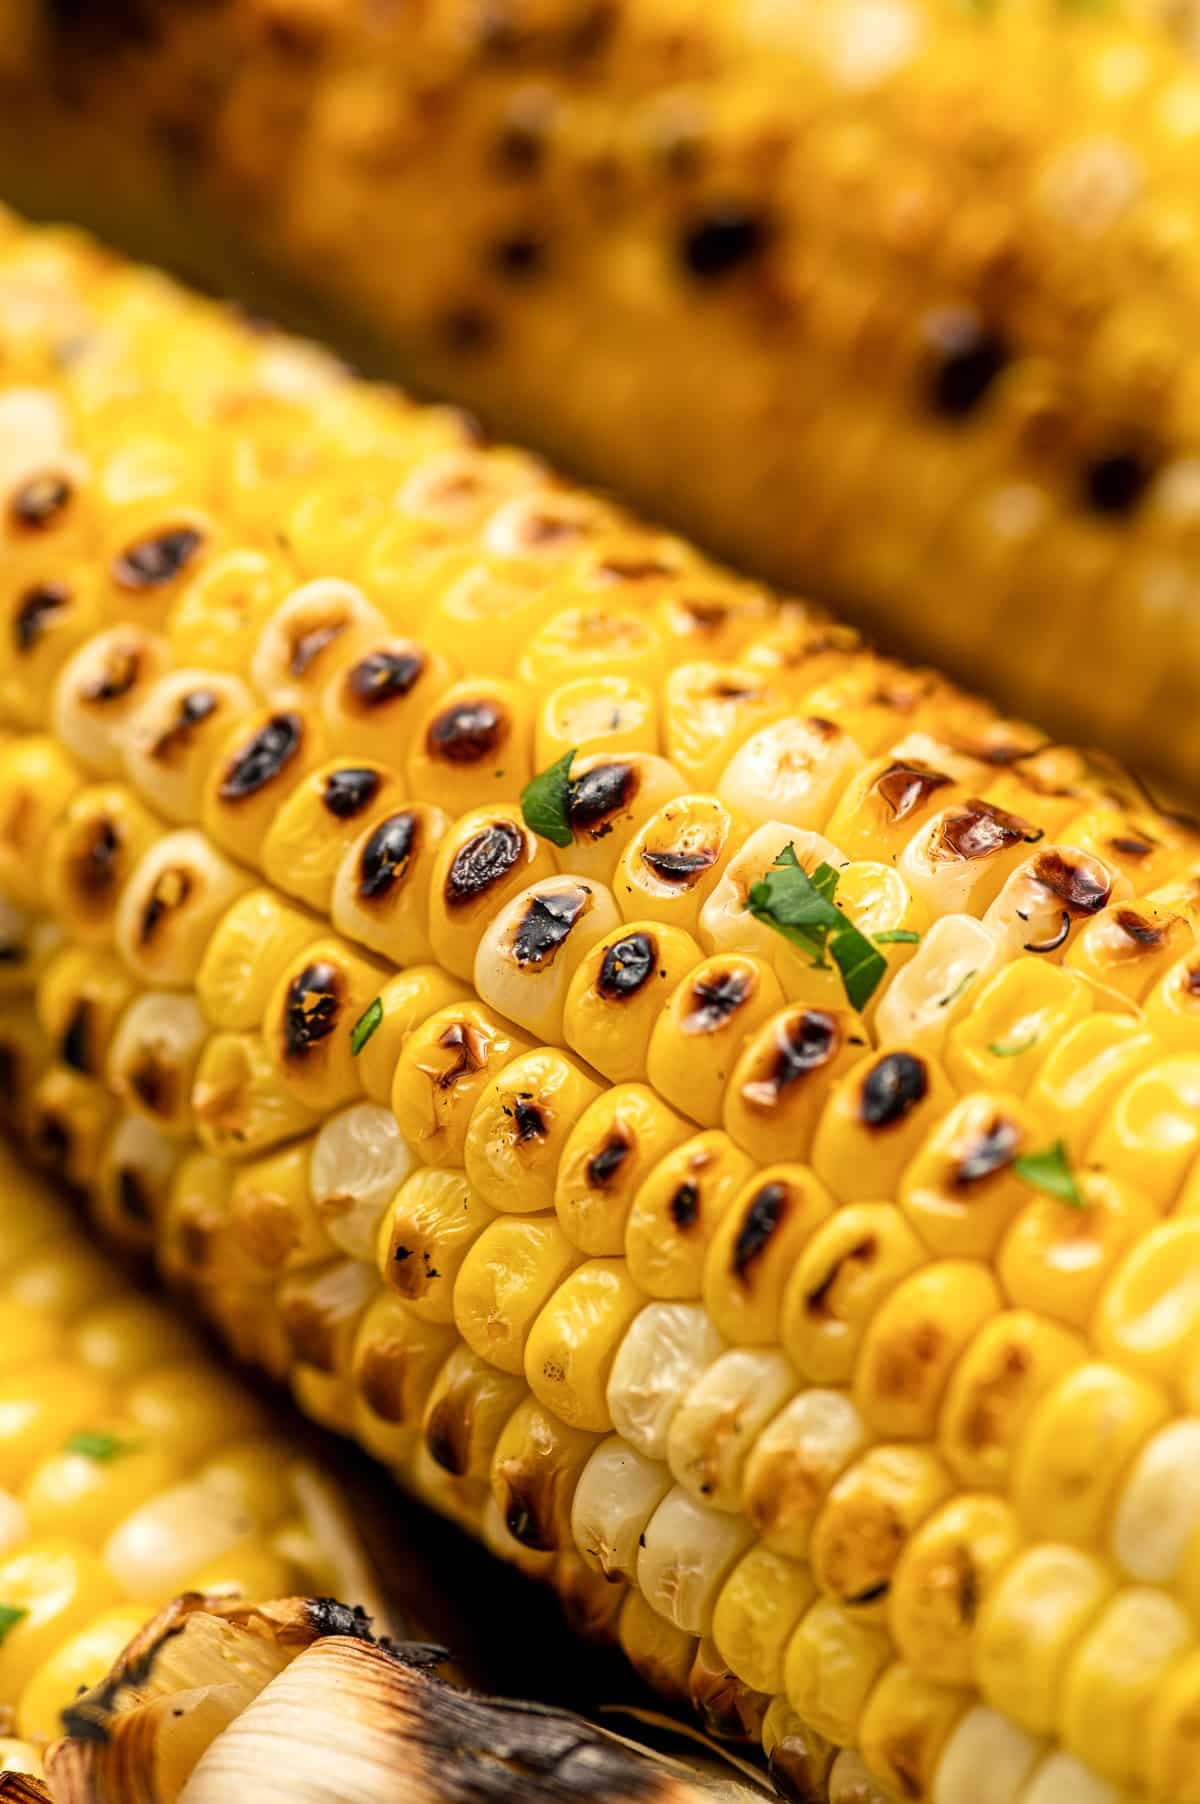
Grilling corn without the husks gives you the most classic grilled corn flavor. The kernels cook directly over the heat, becoming sweet, smoky, lightly charred, and slightly caramelized. Here’s how to do it:
- Shuck the corn. Remove the husks and as much silk as possible.
- Season the corn. Brush each ear lightly with olive oil and season with salt and black pepper.
- Grill the corn. Preheat the grill to medium-high heat. Place the corn directly on the grill grates and cook for 8-12 minutes, turning every 2-3 minutes, until lightly charred and tender. Serve with your favorite toppings.
A quick note: A little char adds great flavor, but too much can make the corn dry and chewy. Grill just until the kernels are tender and lightly charred in spots – you do not need deep grill marks on every kernel. For the best flavor, brush the corn with olive oil before grilling and add melted butter after it comes off the grill to prevent burning and flare-ups.
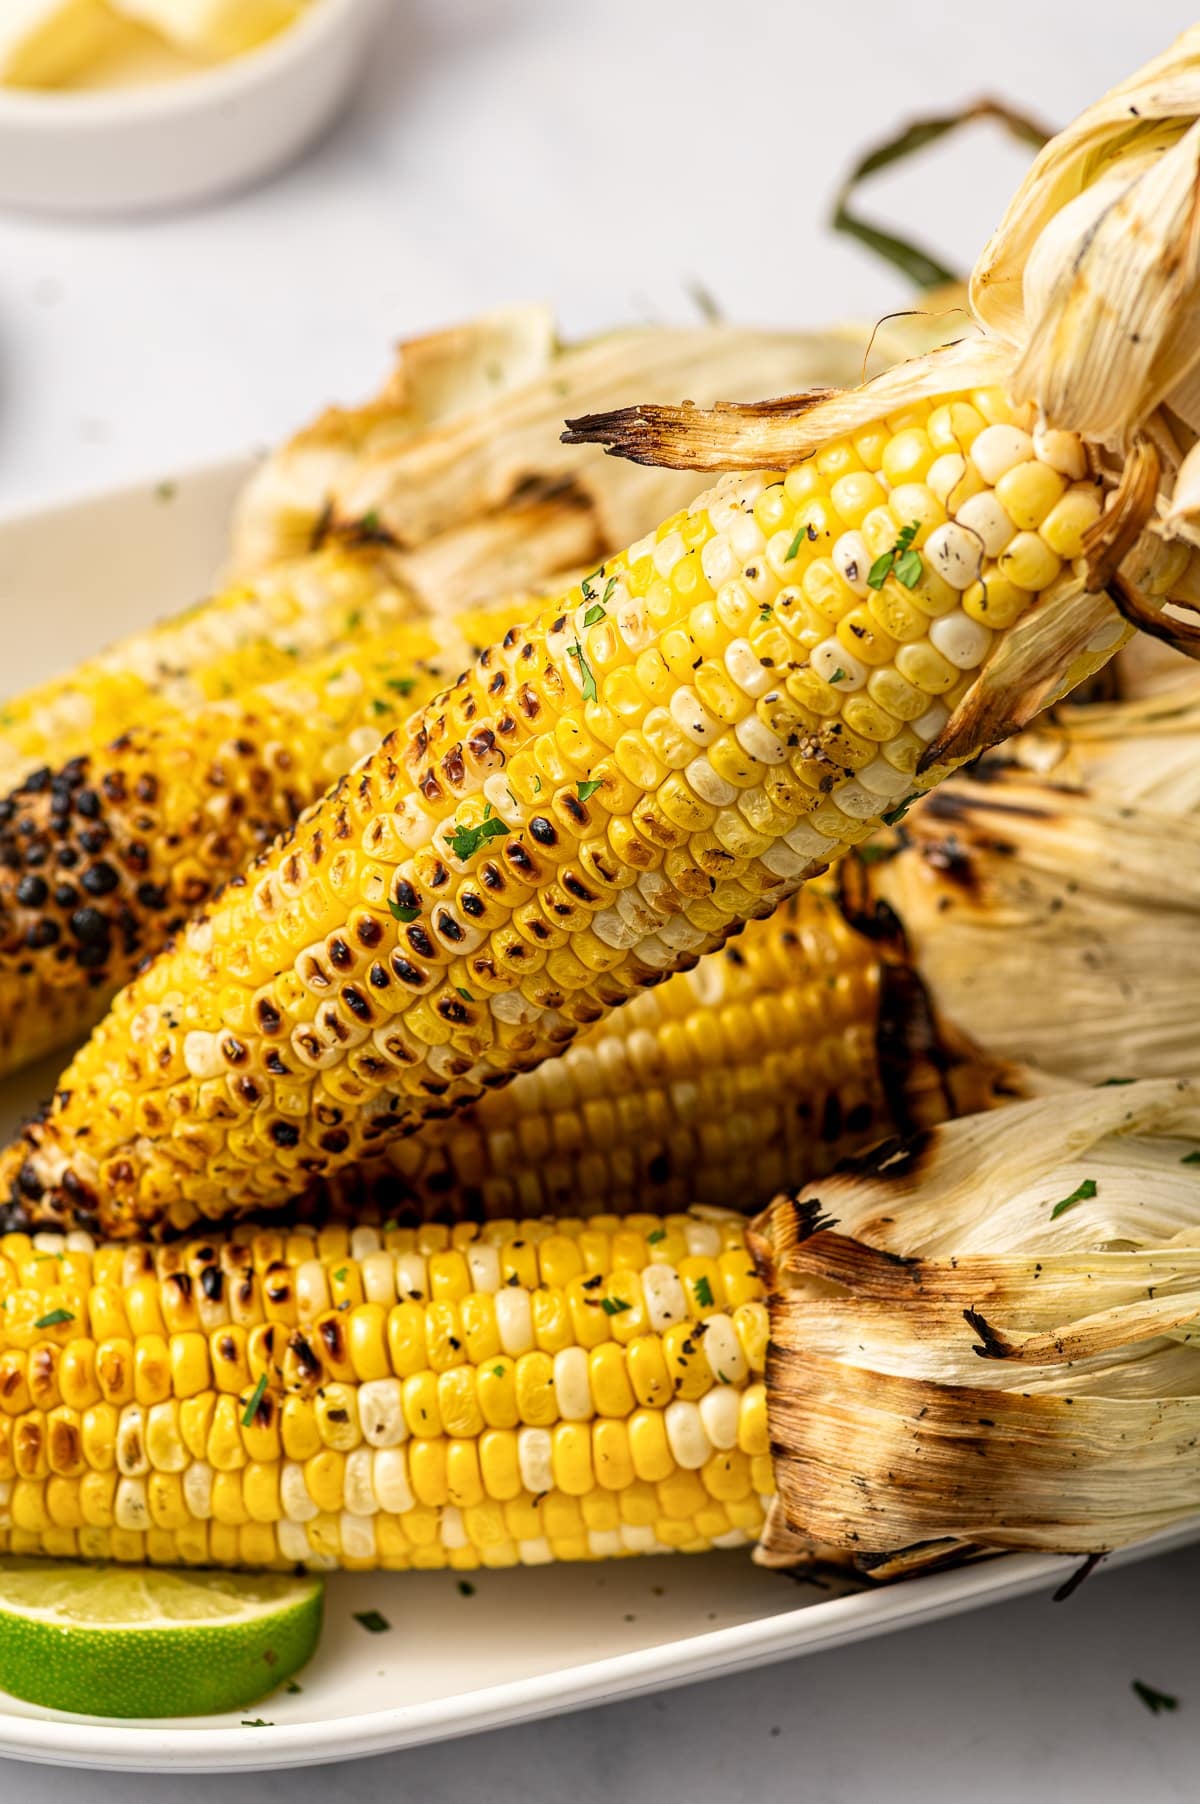
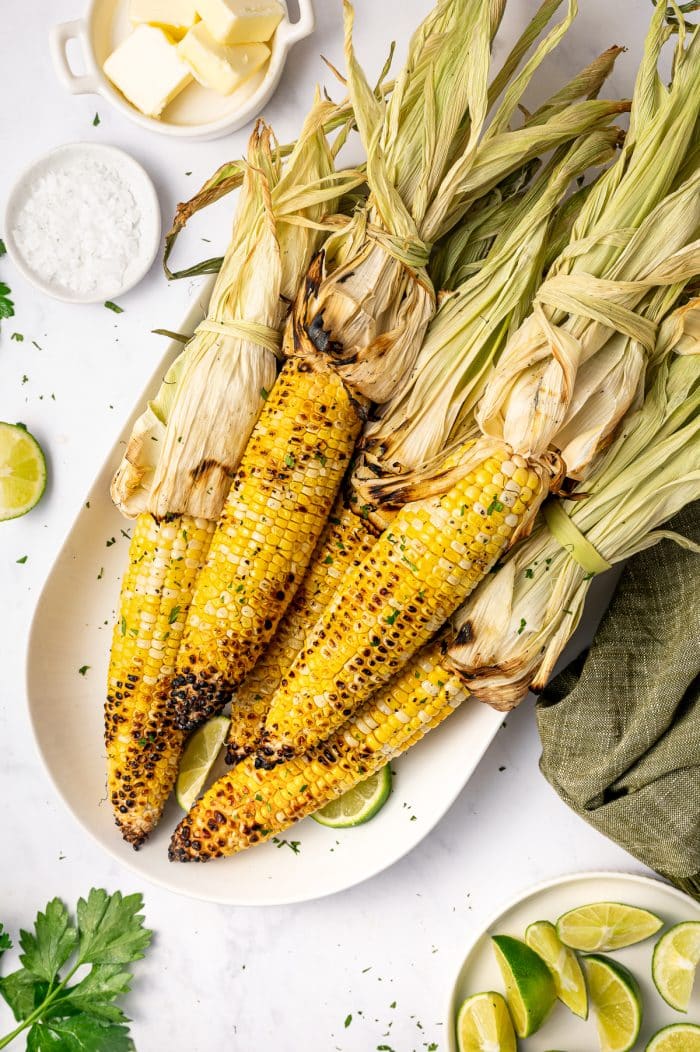
And for a pretty presentation…peel the husks back without removing them, then tie them together and use them as a handle after grilling. If you try this method, soak the tied-back husks in cold water for 10-15 minutes before cooking. This helps keep the husks from burning too quickly.
With Husks
When you grill corn in the husks, they trap moisture around the ears and lightly steam the kernels as they cook. This method makes the corn extra juicy and sweet, with less direct char. Here’s how to do it:
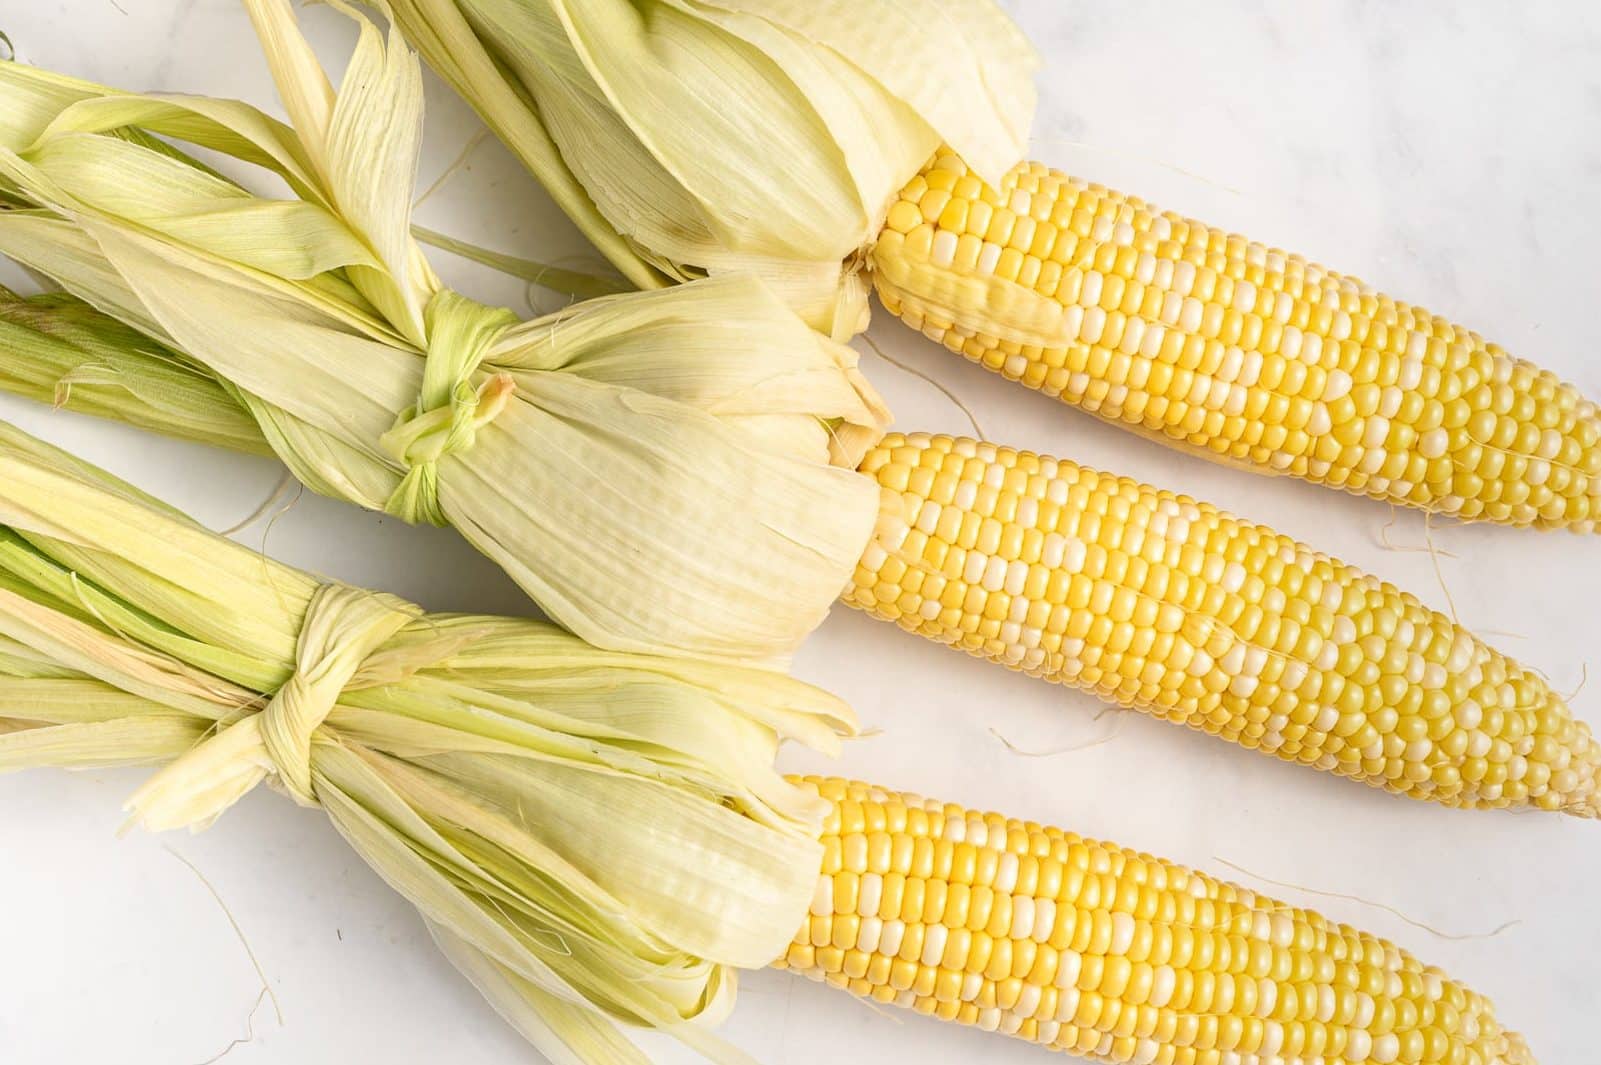
- Remove the silk. Peel back the husks on each ear of corn, leaving them attached at the base. Remove as much of the silk as possible.
- Soak the corn. Pull the husks back over the corn and soak the ears in cold water for 15-30 minutes. This helps prevent the husks from burning too much on the grill. Drain and pat dry.
- Grill the corn. Preheat the grill to medium-high heat. Place the corn directly on the grill grates and cook for 15-20 minutes, turning every 3-5 minutes, until the kernels are tender. Let the corn cool slightly before peeling back the husks and serving.
In Foil
Grilling for a large group? Foil-wrapped corn is your best bet. It’s easy to clean up and it keeps the corn warm before serving. Plus, it’s the best way to add butter, garlic, herbs, or seasonings before grilling.
- Prepare the corn. Shuck the corn and remove the silk.
- Season and wrap. Spread each ear with butter or brush with olive oil, then season with salt, pepper, and any additional seasonings. Wrap each ear tightly in aluminum foil.
- Grill the corn. Preheat the grill to medium-high heat. Place the foil-wrapped corn on the grill and cook for 15-20 minutes, turning occasionally, until tender. Carefully unwrap and serve warm.
What Is the Best Way to Grill Corn?
If a friend asked me, “Hey, Jess, what’s the best way to grill corn on the cob?” this would be my answer: it depends on how you plan to serve it and how much smoky, charred flavor you want.
- If you are grilling corn for the first time, grill it in foil. It is the most forgiving method, the easiest to clean up, and the corn stays tender and juicy. It is also great if you want to add butter, garlic, herbs, or seasonings before grilling.
- If you want smoky, lightly charred corn, grill it without the husks. This is my favorite method for classic grilled corn on the cob because the kernels cook directly over the heat and develop those sweet, caramelized, charred spots.
- If you are planning to cut the kernels off the cob for salads, pasta salads, grain bowls, salsas, or tacos, grill the corn without the husks. The direct heat adds the best flavor and gives the kernels a little color before you slice them off the cob.
- If you want the juiciest corn with the least char, grill it in the husk. The husks trap moisture and gently steam the corn as it cooks, making this a great option for sweet summer corn that is already flavorful on its own.
Tips for the Best Grilled Corn
Fresh, peak-season sweet corn will always make the best grilled corn. Truly. It has the sweetest flavor, juiciest texture, and best natural crunch. When choosing corn, look for ears with bright green husks, slightly sticky silk, and plump kernels.
You do not need to boil corn before grilling. Fresh summer corn is already sweet and tender, so there is no need to boil, blanch, or pre-cook it first. The grill will cook the corn while adding smoky flavor and a little color.
Soaking is optional. It is most helpful when grilling corn in the husk because it adds moisture and helps keep the husks from burning too quickly. You do not need to soak corn if the husks have been removed or if you are wrapping the corn in foil.
Finally, keep a close eye on the corn once it is on the grill. Corn grilled without the husk can be ready in as little as 8 minutes, while corn grilled in the husk or wrapped in foil usually takes 15-20 minutes. Turn the corn every few minutes to help it cook evenly and prevent any one side from burning.
You will know the corn is done when the kernels are bright yellow, tender, and juicy. If you are grilling shucked corn directly on the grill grates, look for light char in spots, not deep grill marks on every kernel.
Grilled Corn Toppings and Flavored Butter Ideas
Grilled sweet corn is incredible with just butter, salt, and black pepper, but it is also easy to dress up with flavored butter, fresh herbs, cheese, citrus, or spices.
To make flavored butter, start with 4 tablespoons (1/4 cup) of softened unsalted butter and add one of the combinations listed below. You can use it right away, or roll it into a log, wrap it in parchment paper, and refrigerate until ready to serve.
- Garlic herb butter: Mix the butter with 1 small minced garlic clove, 1 tablespoon chopped parsley, and 1 teaspoon chopped chives or cilantro. You can also brush the corn with my garlic butter sauce after grilling.
- Honey butter: Mix the butter with 1 tablespoon of honey and a pinch of salt for a sweet and salty finish.
- Chili lime butter: Mix the butter with 1/2 teaspoon lime zest, 1 teaspoon lime juice, 1/2 teaspoon chili powder, and a pinch of salt.
- Parmesan butter: Mix the butter with 2 tablespoons grated Parmesan cheese, 1 tablespoon chopped parsley, and a few grinds of black pepper.
- Cajun butter: Mix the butter with 1 teaspoon Cajun seasoning, 1/2 teaspoon smoked paprika, 1 small minced garlic clove, and 1 teaspoon lemon juice. Finish with chopped parsley.
For the best flavor, add butter and toppings after the corn comes off the grill, especially if you are grilling corn without the husks. Butter can burn over direct heat, so I prefer brushing the corn with olive oil before grilling and finishing it with butter afterward.
How to Serve Grilled Corn on the Cob
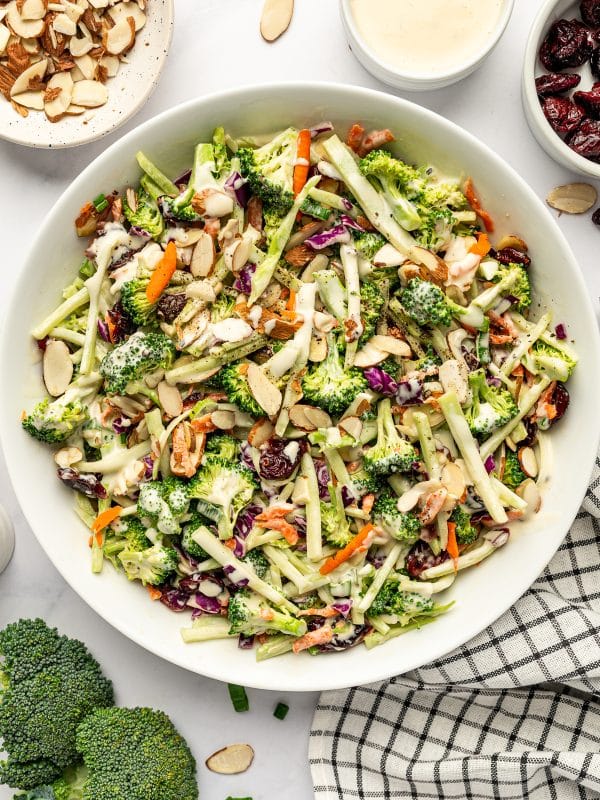
Grilled corn on the cob is an essential summer side dish and BBQ favorite. I like to slather my corn with plenty of butter, salt, and fresh black pepper, and serve it alongside grilled chicken, grilled veggie skewers, and hamburgers. It’s also great with classic summer side dishes like creamy potato salad, broccoli slaw, and easy fruit salad.
For something a little more flavorful than classic buttered corn, turn your grilled corn on the cob into Mexican street corn. Brush it with a creamy mayo-lime sauce, then finish with chili powder, cotija cheese, fresh cilantro, and a squeeze of fresh lime juice.
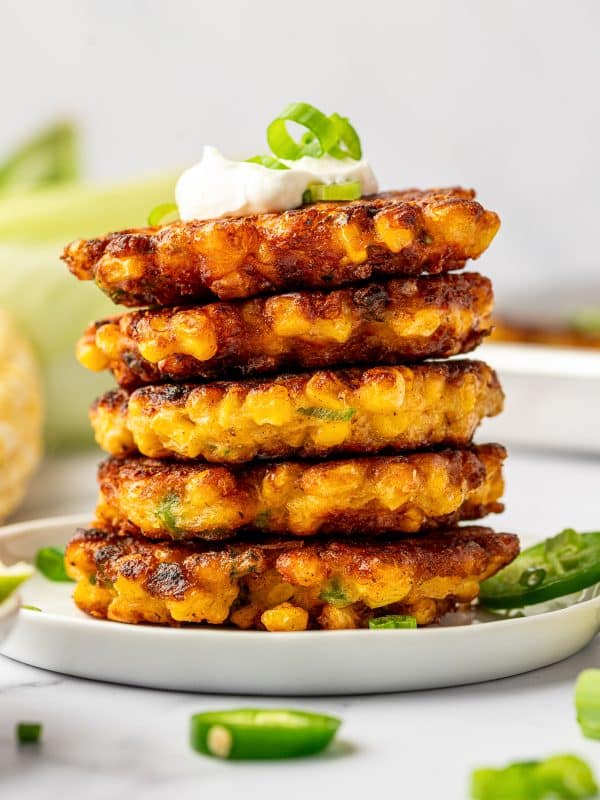
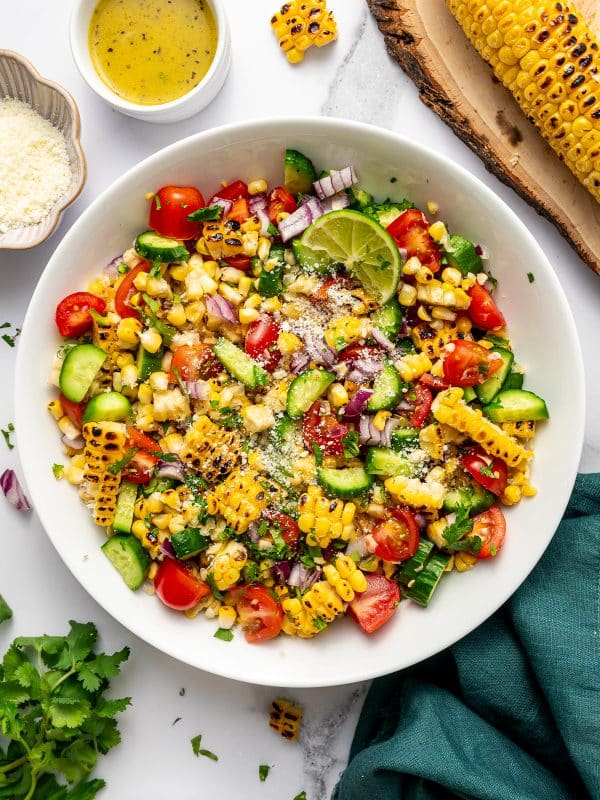
You can also slice the kernels off the cob and use them to make summer corn salads like this creamy Mexican street corn salad and hearty black bean and corn salad. And if you find yourself with leftover grilled corn, try adding it to this corn and zucchini chowder or folding it into crispy corn fritters.
Storage Tips
Store leftover grilled corn in an airtight container or wrapped tightly in foil in the refrigerator for up to 3-4 days.
Reheat on the grill, in a 350°F oven, or in the microwave until warmed through. You can also cut the kernels off the cob and add them to salads, tacos, grain bowls, soups, chowders, or fritters.
For longer storage, freeze the kernels in a freezer-safe bag or container for up to 3 months.
More Easy Corn Recipes From The Forked Spoon


If you try making this grilled corn on the cob recipe, I’d love to hear what you think! Please leave a comment and a star rating below. Your feedback helps other readers discover (and enjoy) this recipe too. Thank you so much! 💛
Grilled Corn on the Cob
Ingredients
- 6 ears fresh corn on the cob
- 1-2 tablespoons olive oil, for grilling corn without the husks
- 3 tablespoons unsalted butter, melted, plus more for serving
- ½ teaspoon salt, plus more to taste
- ¼ teaspoon black pepper, plus more to taste
- 2 tablespoons chopped fresh cilantro or parsley, for serving, optional
- Lime wedges, for serving, optional
Instructions
To Grill Corn Without the Husks
- Remove the husks and silk from each ear of corn.
- Brush the corn lightly with olive oil and season with salt and black pepper. (I do not recommend brushing shucked corn with melted butter before grilling, as the butter can burn over direct heat and cause flare-ups.)
- Preheat the grill to medium-high heat, about 375-400°F.
- Place the corn directly on the grill grates. Grill for 8-12 minutes, turning every 2-3 minutes, until the kernels are bright yellow, tender, and lightly charred in spots.
- Remove from the grill and brush with melted butter. Sprinkle with fresh herbs and serve with lime wedges, if desired.
To Grill Corn in the Husks
- Peel back the husks from each ear of corn without removing them completely. Remove as much silk as possible, then pull the husks back up around the corn.
- Soak the corn in cold water for 15-30 minutes. Drain well before grilling.
- Preheat the grill to medium-high heat, about 375-400°F.
- Place the corn directly on the grill grates. Grill for 15-20 minutes, turning every 4-5 minutes, until the husks are charred in spots and the kernels are tender.
- Carefully remove the corn from the grill and let it cool for a few minutes. Pull back the husks, brush the corn with melted butter, and season with salt and black pepper.
- Garnish with chopped cilantro or parsley and serve with lime wedges.
To Grill Corn in Foil
- Remove the husks and silk from each ear of corn.
- Brush each ear with melted butter and season with salt and black pepper. Add any extra seasonings you like, such as garlic powder, chili powder, smoked paprika, or chopped herbs.
- Wrap each ear tightly in aluminum foil.
- Preheat the grill to medium-high heat, about 375-400°F.
- Place the foil-wrapped corn on the grill. Cook for 15-20 minutes, turning occasionally, until the corn is tender and heated through.
- Carefully open the foil. Serve warm with extra butter, herbs, and lime wedges.
Notes
- Soaking is optional. Soaking is most helpful when grilling corn in the husks. You do not need to soak corn if the husks have been removed or if the corn is wrapped in foil.
- Do not boil the corn first. Fresh summer corn does not need to be boiled, blanched, or pre-cooked before grilling.
- For the best char, grill without the husks. This method gives the corn the most smoky flavor and lightly caramelized kernels.
- For the juiciest corn, grill in the husks. The husks help trap moisture and gently steam the corn as it cooks.
- For the easiest cleanup, grill in foil. This method is great for adding butter and seasonings before grilling.
- Butter tip: Use olive oil before grilling shucked corn, then add melted butter after grilling for the best flavor without burning.
- Optional toppings: Try cotija cheese, Parmesan cheese, chili powder, smoked paprika, garlic butter, honey butter, fresh herbs, or lime juice.
- Storage: Store leftover grilled corn in an airtight container or wrapped tightly in foil in the refrigerator for up to 3-4 days. Reheat on the grill, in a 350°F oven, or in the microwave until warmed through.
- Freezing: For longer storage, cut the kernels off the cob and freeze them in a freezer-safe bag or container for up to 3 months.
Nutrition
Nutrition information is automatically calculated, so should only be used as an approximation.