This post may contain affiliate links. See my disclosure policy.

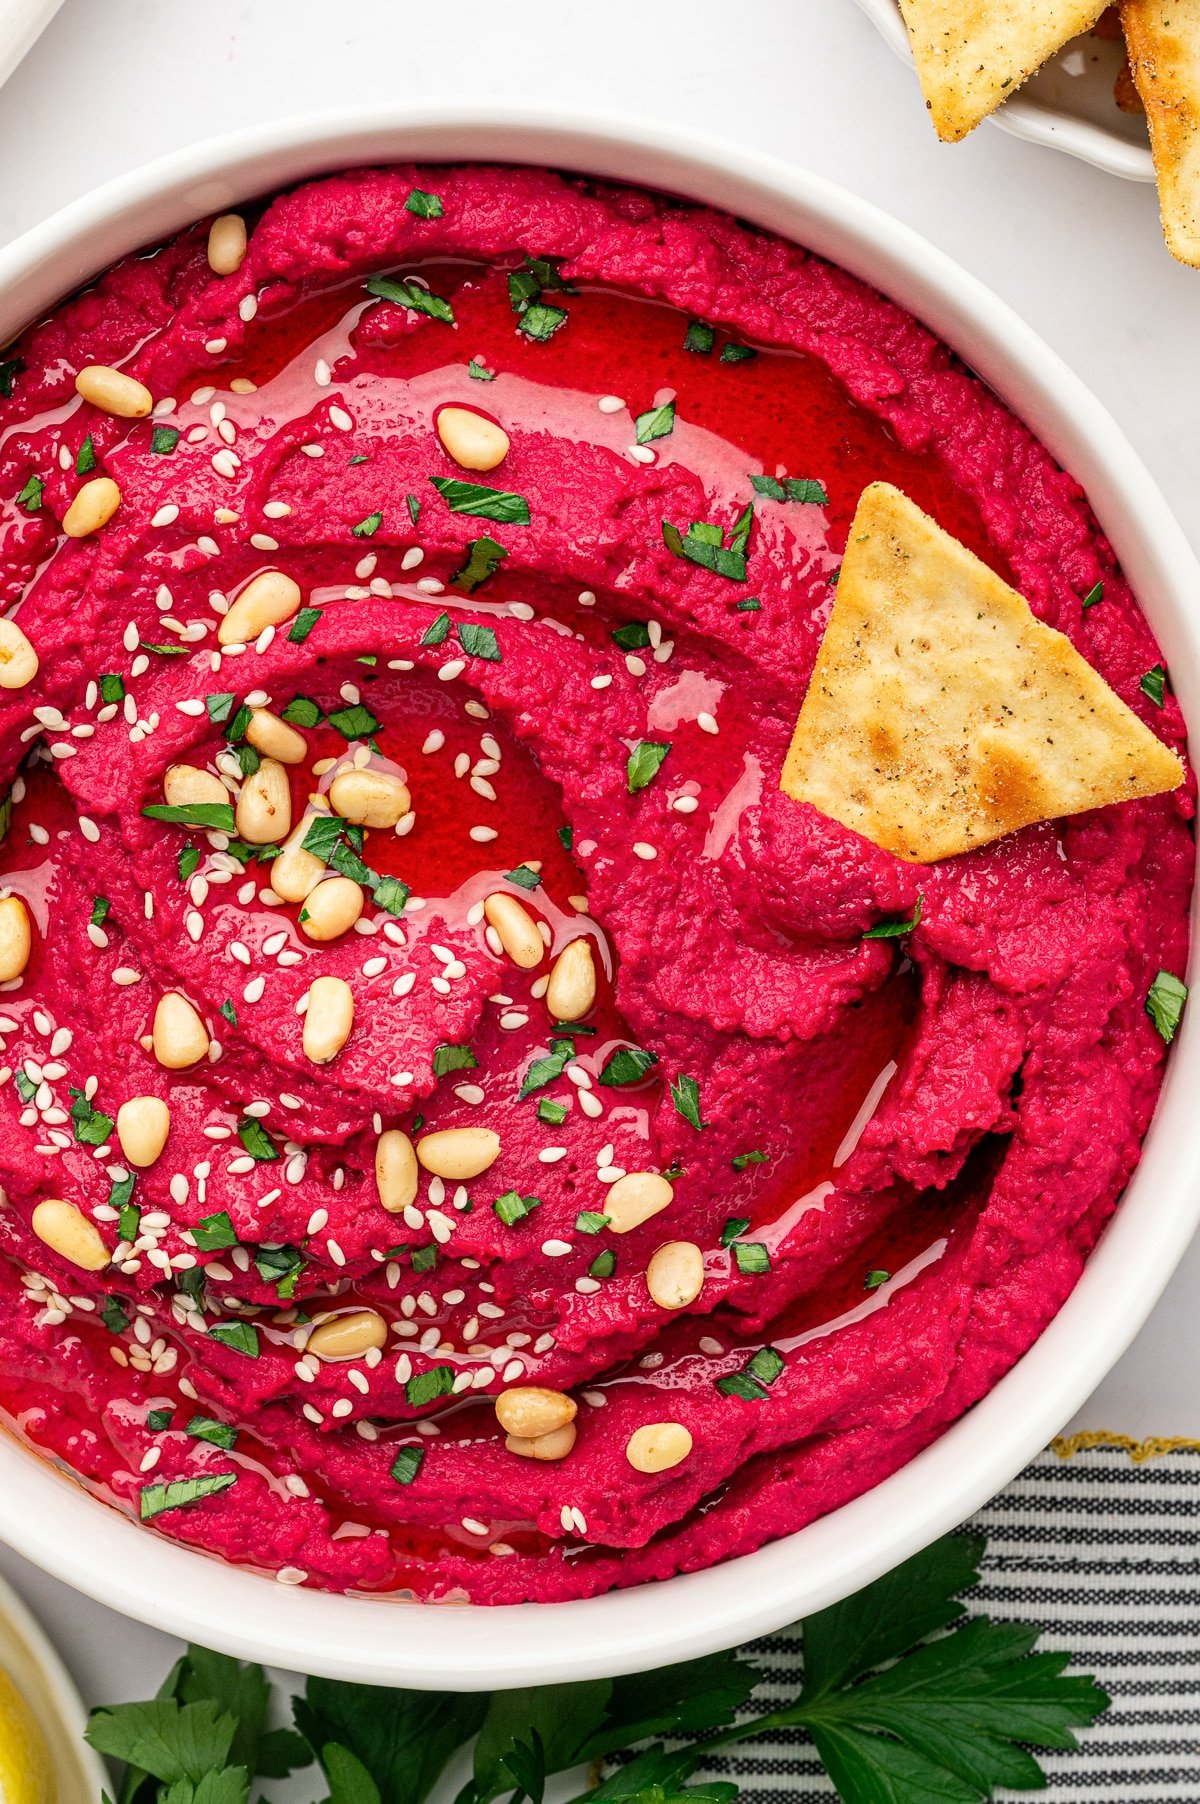
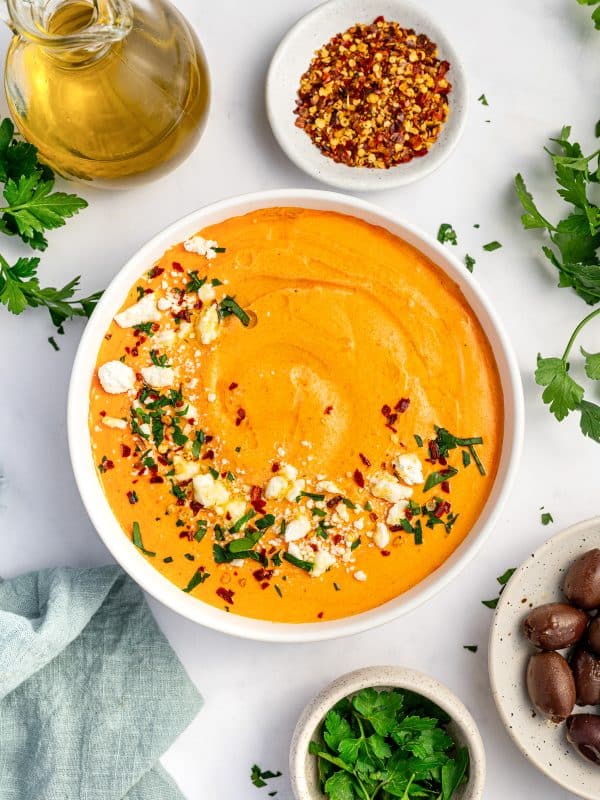
This vibrant pink and deliciously healthy Beet Hummus is smooth, creamy and slightly sweet. It takes just minutes to make by blending all of the ingredients in the bowl of a food processor and pairs perfectly with colorful veggies and warm pita.
Beet hummus is, quite possibly, the most beautiful recipe you will ever make. I love to make it year-round, but it has been an especially welcome break from the bleak grey fog that has covered much of California the past few weeks.
But beet hummus is so much more than just a pretty face. It’s a nutritional powerhouse! I mean, the beets alone come with huge health benefits, while chickpeas pack in healthy plant-based protein and fiber. And lucky for us, beet hummus is incredibly easy to make. You can use canned chickpeas or cook your own. These instant pot chickpeas are ready in less than an hour and require no soaking beforehand. And it’s the perfect excuse to cook beets, be it steamed, boiled, or roasted. You can even cook beets in the instant pot. Use any leftover beets in salads of all shapes and sizes or tossed into a refreshing beet smoothie for breakfast.
And if you’re wondering what beet hummus tastes like, first allow me to squash any concerns about it tasting too earthy. The beets do add a mild earthy sweetness, but it’s perfectly balanced by the richness of tahini and creamy chickpeas. Even beet-haters will love digging in to this delicious hummus recipe.
Table of Contents
Ingredients in Beet Hummus
This beet hummus recipe is made with simple, wholesome ingredients, each one adding flavor, balance, and creaminess to the finished dip.
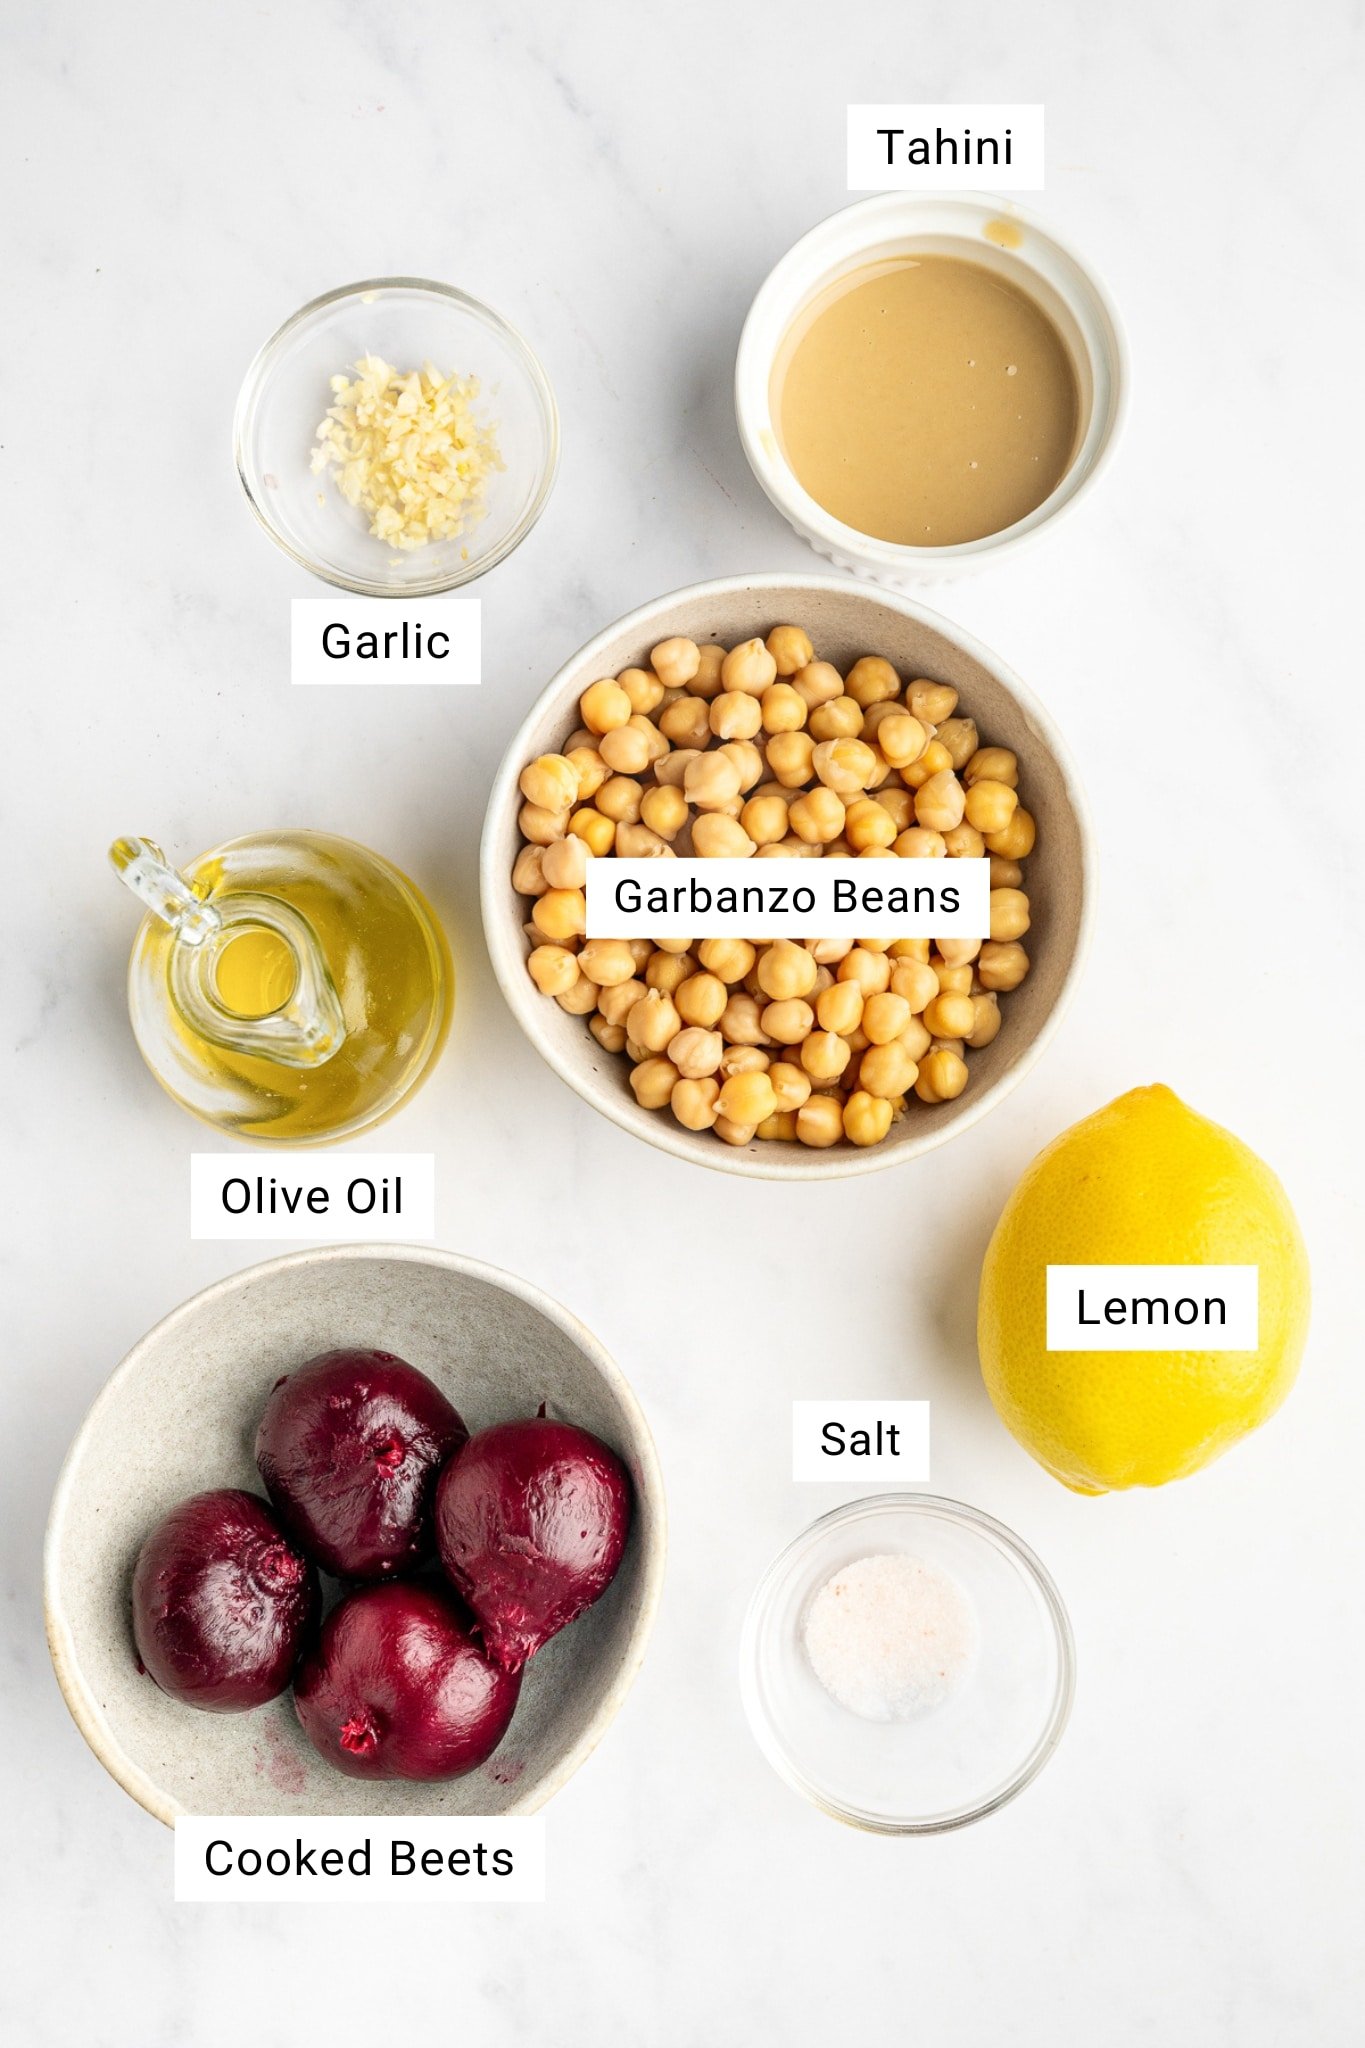
Beets: You can use store-bought cooked beets (found in the refrigerated section of the grocery store) or roast your own at 425F until fork tender. Roasted beets offer the deepest flavor, while store-bought cooked beets are the most convenient.
Chickpeas: Canned chickpeas work perfectly and keep this recipe quick and easy, but home-cooked chickpeas will give an even creamier texture if you have them on hand.
Tahini: A smooth and creamy paste made from ground sesame seeds. It adds richness and helps balance the sweetness of the beets. I do not recommend making hummus without it.
Tip: Be sure to choose a high-quality brand of tahini. I personally like Soom Tahini and Kevala Tahini (both available on Amazon). You can also make this 3-ingredient homemade tahini recipe ready in just 10 minutes.
Lemon: Fresh lemon juice and zest brighten the hummus and balance the earthiness of the beets. Concentrated or bottled lemon juice is not recommended.
Garlic: Fresh minced garlic provides clean, sharp flavor. Garlic powder will not deliver the same result.
Extra Virgin Olive Oil: Helps create a smooth, creamy texture. Choose an EVOO that you enjoy the taste of, especially if you plan to on drizzling a little extra over the top for serving.
How to Make Beet Hummus
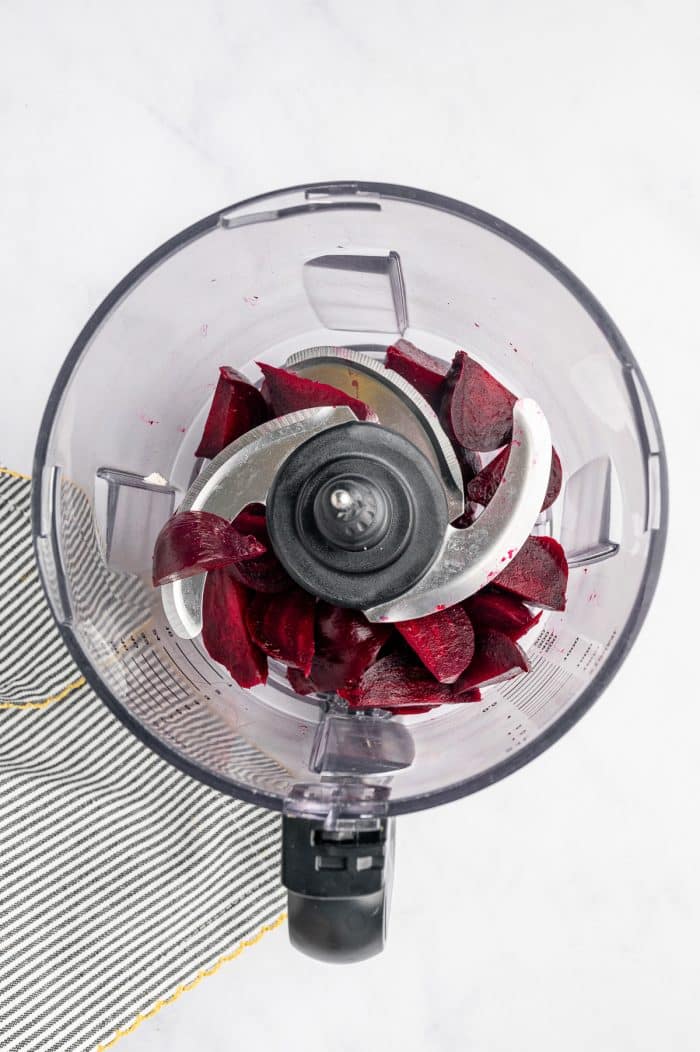
Add the peeled and cooked beets to a food processor (1) and pulse until finely chopped (2), then add the chickpeas, tahini, garlic, lemon zest and juice, salt, and olive oil (3). Process for 1 to 2 minutes, stopping to scrape down the sides as needed. Add a small splash of cold water if it’s too thick and adjust the lemon juice, salt, or tahini to taste (4).


For the creamiest beet hummus, use a food processor and blend until completely smooth, scraping down the sides as needed. A high-powered blender can also be used, but you may need to stop more often and add a small splash of olive oil or water to help everything blend evenly.
Tips for this Recipe
Color tip: The color of your beet hummus will vary depending on the type of beets used and how they are cooked. Roasted beets create a deeper, richer pink, while steamed or packaged cooked beets will produce a brighter, less intense color.
Roast or steam whole beets for best flavor: For the best taste and texture, roast or steam whole beets rather than using canned or pre-cooked store-bought beets. Check out how to cook beets (steam, boil, or roast).
Note: Small to medium-sized beets tend to be sweeter, more tender, and less earthy-tasting than large beets.
Wear gloves: Beets stain easily, so wearing gloves while peeling or handling them will help keep your hands from turning pink.
Cook dried chickpeas for the creamiest hummus: While canned chickpeas work well, cooking dried chickpeas from scratch results in a smoother, creamier beet hummus with a cleaner flavor.
Tip: If you’re short on time but you still want that “freshly” cooked chickpeas taste and texture, you can simmer your canned chickpeas for 20-30 minutes to soften them up.
What to Serve with Beet Hummus
You can enjoy this beet hummus just as you would classic homemade hummus.
- As part of a mezze platter – Serve alongside pita bread, olives, fresh vegetables, cheeses, and other dips like homemade tahini or baba ganoush for an easy appetizer spread.
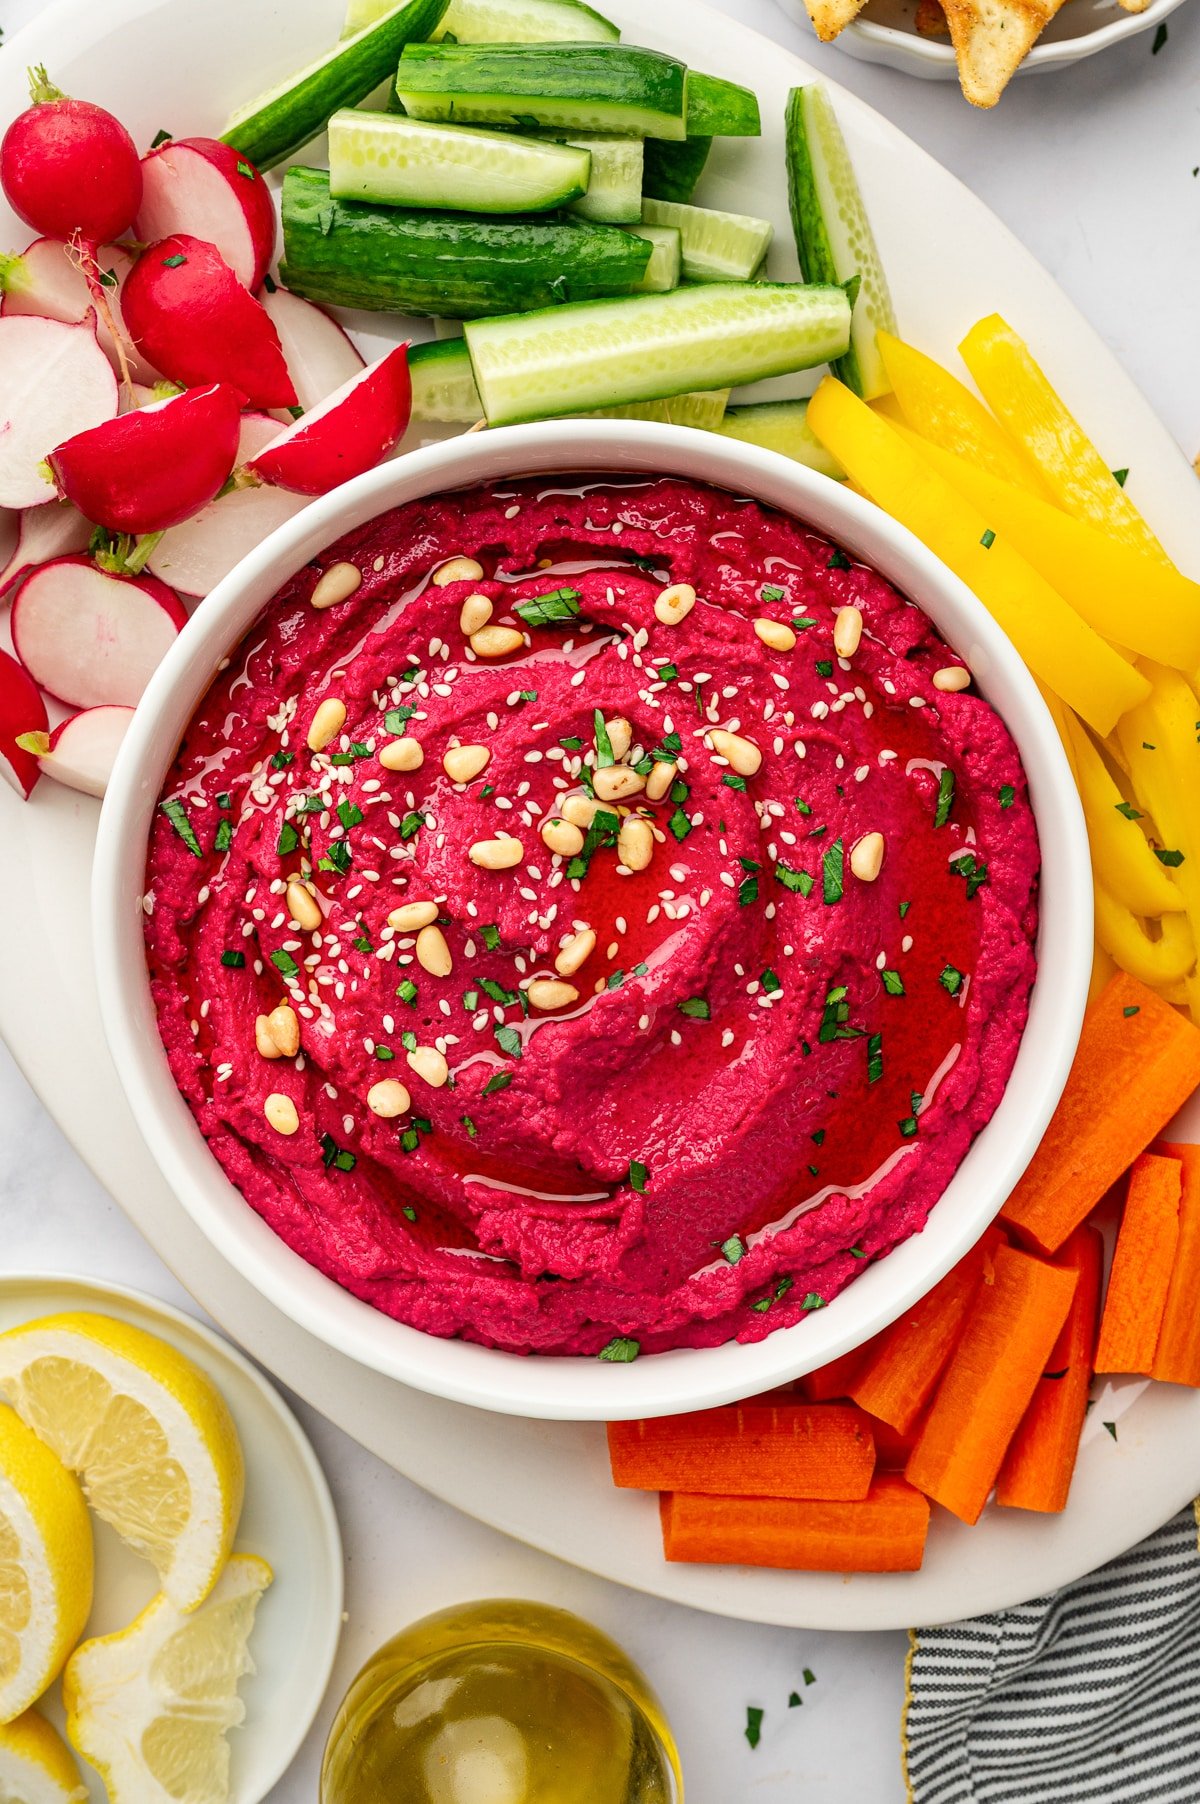
- With fresh vegetables – Pair with sliced cucumbers, carrots, bell peppers, radishes, or snap peas for a light, healthy snack.
- On sandwiches and wraps – Spread it on sandwiches, wraps, or flatbreads in place of mayo or other spreads for added flavor and color. I like to use it as a base for avocado toast with crumbled feta cheese and microgreens.
Tip: Drizzle a little extra virgin olive oil over the top and sprinkle with different toppings like za’atar seasoning, pine nuts, sesame seeds, or fresh herbs to add extra texture and flavor. If you prefer a sweeter tasting hummus, try drizzling with a little honey.

Frequently Adked Questions
This usually comes down to blending time and/or the type of chickpeas you use. First, you’ll probably need to blend longer than you think, especially if you’re using store-bought canned chickpeas. Also, remember to scrape down the bowl often, that way every little bit gets blended properly. And, if restaurant-quality creaminess is important to you, I highly recommend cooking dried chickpeas rather than using canned.
Absolutely. Beet hummus can be made up to 4-5 days in advance and stored in an airtight container in the refrigerator. Stir before serving.
Yes, beet hummus freezes well for up to 2 months. Thaw overnight in the refrigerator and stir or re-blend to restore its creamy texture. Learn more about freezing hummus here.
Beet hummus may deepen in color as it sits, especially after refrigeration. This is normal and does not affect the flavor or quality.
More Favorite Beet Recipes


If you try making this Beet Hummus Recipe, please leave me a comment and let me know! I always love to hear your thoughts.

Beet Hummus Recipe
Equipment
Ingredients
- 3 small cooked beets, approximately 1 cup chopped beets
- 1 (15 ounce) can chickpeas, drained (approx. 1.5 cups)
- ¼ cup tahini, plus more to taste
- 1 teaspoon lemon zest
- 2-4 tablespoon fresh lemon juice, more or less to taste
- 1 teaspoon salt, plus more to taste
- 1-2 small cloves garlic, minced
- 2-4 tablespoon extra virgin olive oil, for a richer taste
Instructions
- Add 2-3 small, peeled, and cooked beets to the bowl of a food processor and pulse several times until finely chopped.
- Add ¼ cup tahini, 1 (15-oz) can (or 1½ cups cooked chickpeas), 1 teaspoon lemon zest, 2 tablespoons fresh lemon juice (you can add more to taste), 1 teaspoon of salt, and 2-4 tablespoons of extra virgin olive oil.
- Process for 1 to 2 minutes, stopping to scrape down the sides and bottom of the bowl as needed, until smooth and creamy.
- If needed, add additional olive oil or a small splash of water to reach your desired consistency. Taste and adjust seasoning with more lemon juice, salt, or tahini if desired.
- Transfer to a serving bowl, drizzle with olive oil and add toppings if using.
Notes
Nutrition
Nutrition information is automatically calculated, so should only be used as an approximation.


If you like or actually are not crazy about regular hummus, you MUST try this. Best beet hummus recipe ever! Thanks to simplicity of recipe, it’s a snap to whip up anytime. It’ll have those at your table asking for more and the recipe!
Thank you so much, Jan! I am so glad you loved the beet hummus. I love hearing that it was easy to make and good enough to have everyone asking for more and for the recipe! 🙂
It’s as delicious as it is beautiful!
I preferred this recipe because it called for 3 small beets. they definitely are sweeter than the earthy larger ones.
Thank you to the creator of this easy recipe.
Thank you so much, Jan! I am so happy you loved it, and I agree, smaller beets can be especially sweet and beautiful in this recipe. I really appreciate your kind words! 🙂