This post may contain affiliate links. See my disclosure policy.
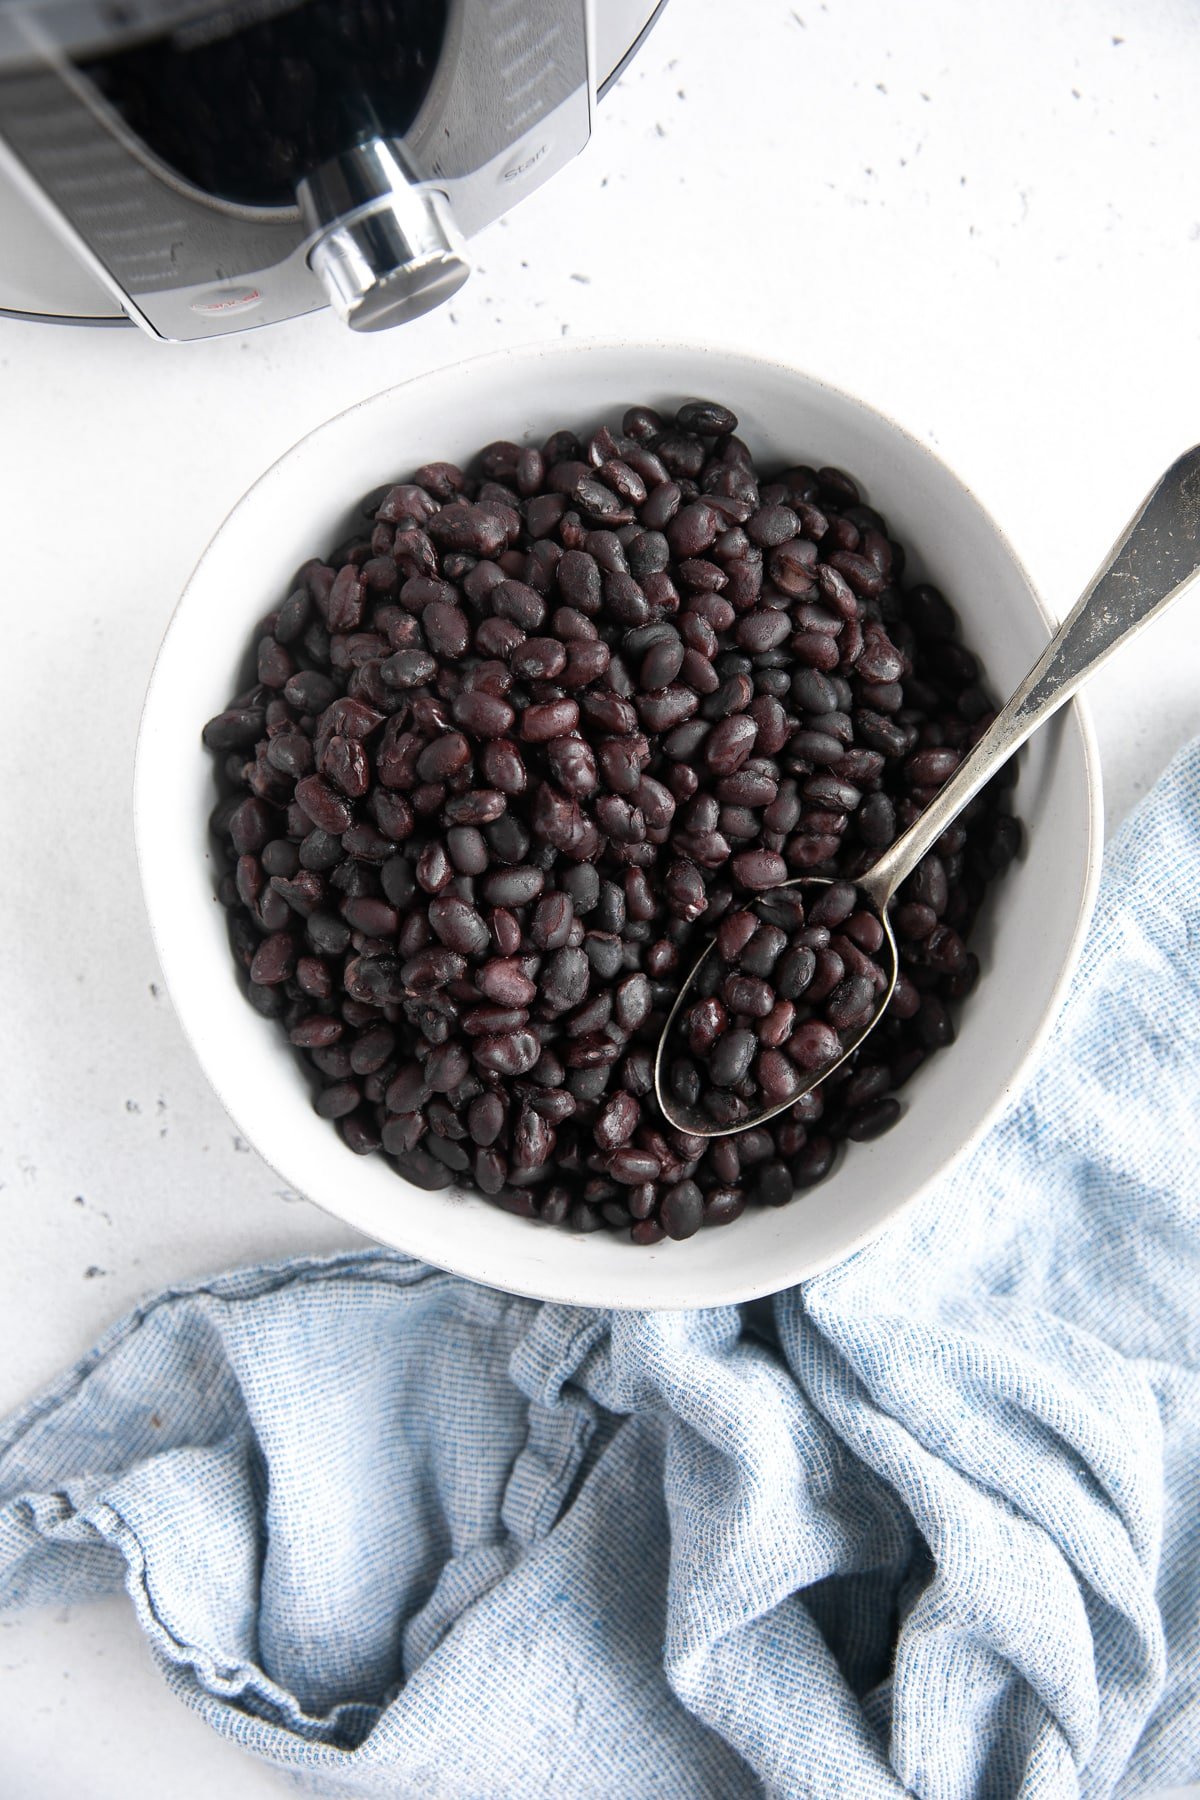
Save time and money with these perfectly tender Instant Pot Black Beans. Guaranteed perfect each and every time, these no-soak pressure cooker black beans are easy to make and taste delicious as a healthy snack or mixed in your favorite salads, soups, burritos, or tacos.
Black beans are delicious, budget-friendly, and tremendously versatile, not to mention highly nutritious. I love adding them to all kinds of recipes for an easy boost of plant-based protein, including this black bean and corn salad. And while I will forever stock my pantry with canned black beans, there’s no denying that homemade black beans simply taste better.
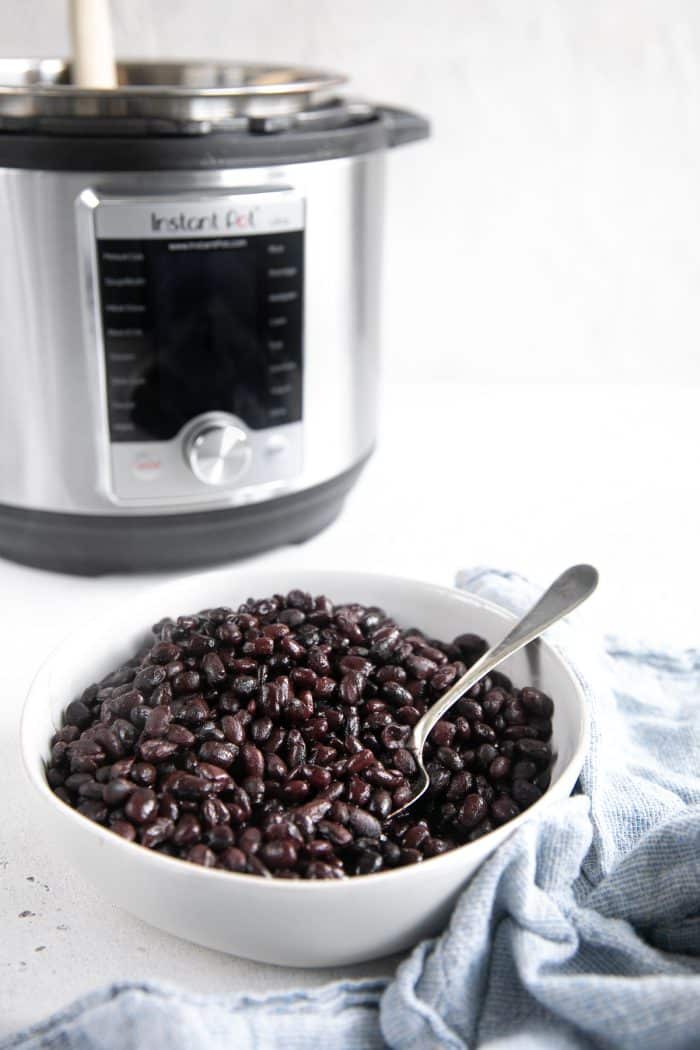
We can cook dried black beans a few different ways, but Instant Pot black beans are the easiest. They cook quickly, require no soaking, and turn out tender, flavorful, and ready to use in all your favorite recipes.
In this post, I’m sharing how to make Instant Pot black beans, plus tips for adding flavor, and how to use them!
Table of Contents
How to Make Instant Pot Black Beans
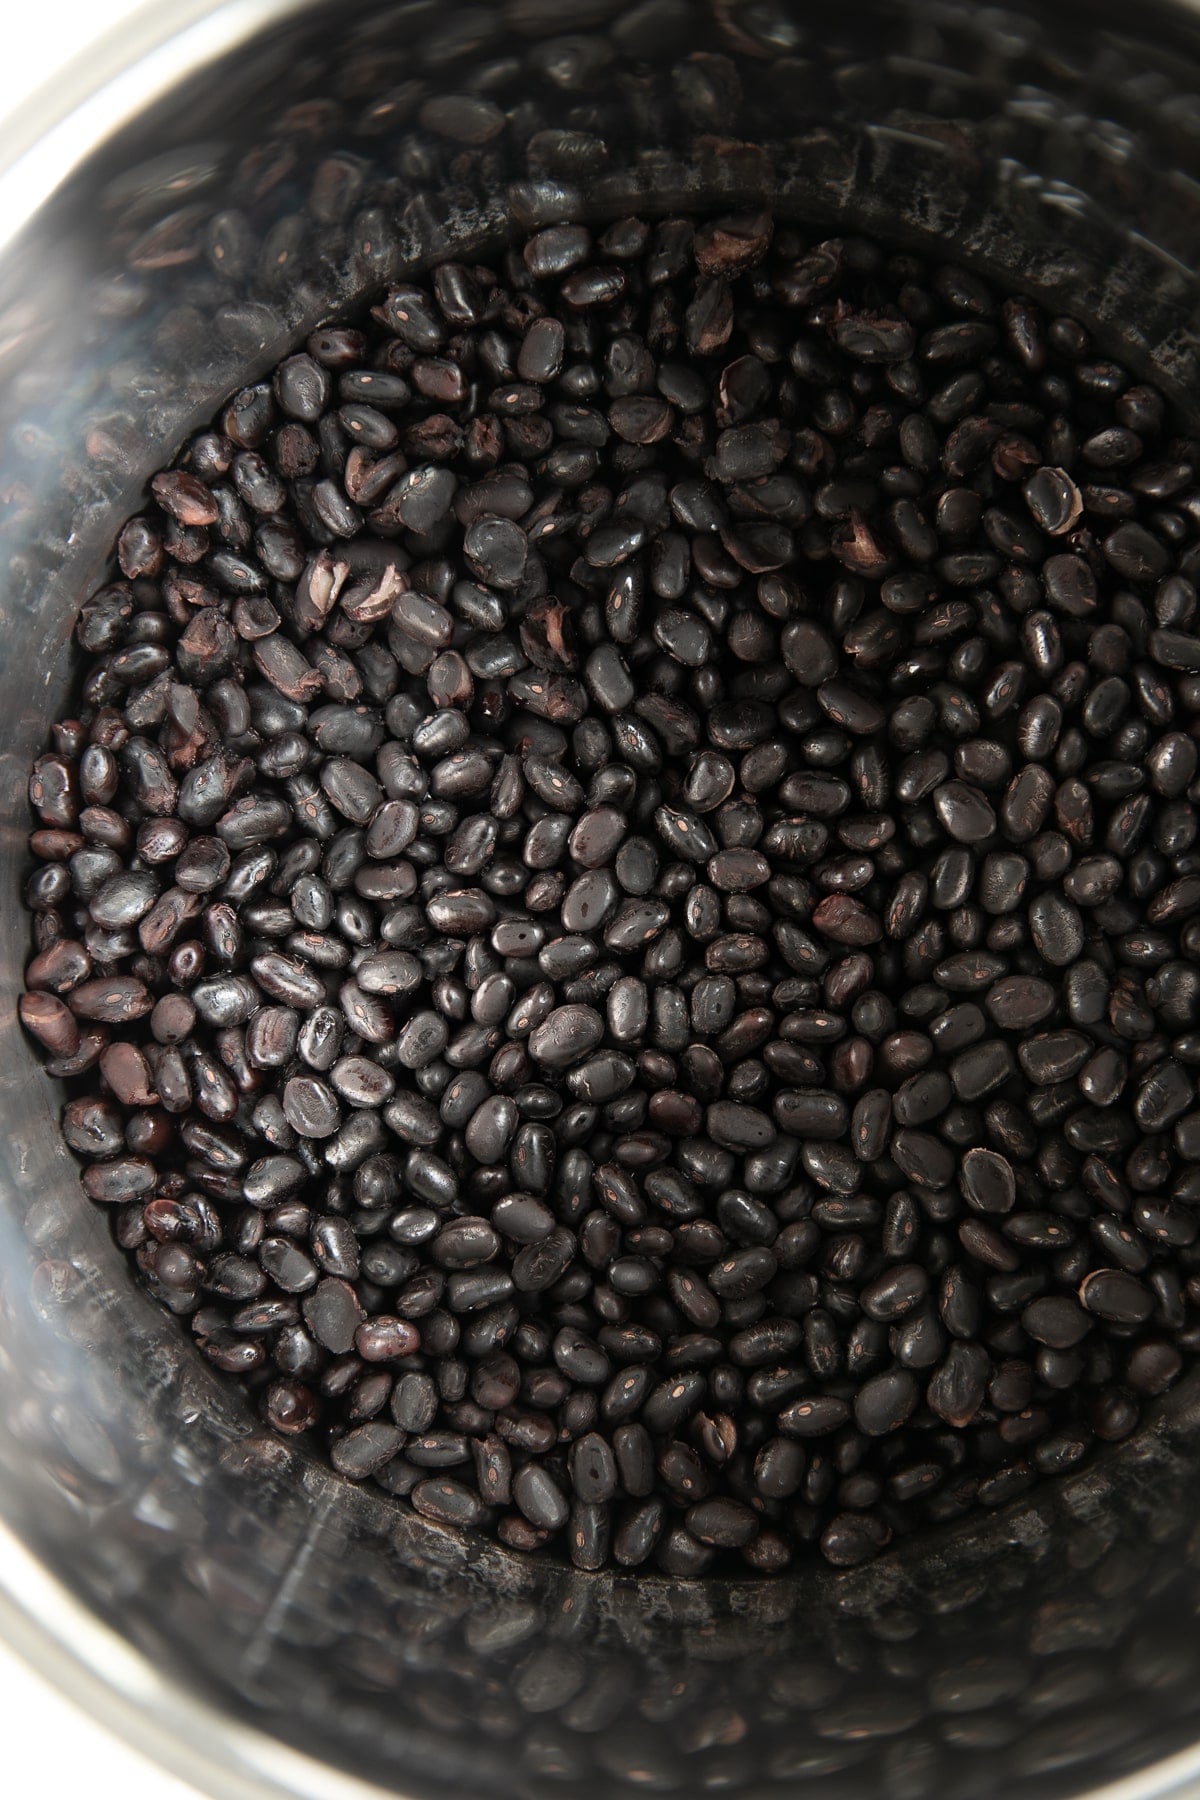
- Rinse and sort the beans. Rinse the dried black beans under cold water and remove any small stones, debris, or damaged beans.
- Add everything to the Instant Pot. Add the rinsed beans, 4 cups of broth, 2 cups of water, and salt to the inner pot of your Instant Pot. Stir to combine.
- Pressure cook. Secure the lid and turn the venting knob to the sealing position. Cook on manual high pressure for 50 minutes.
- Release the pressure. Once the cooking time is complete, allow the pressure to release naturally for 20 minutes, then carefully quick-release any remaining pressure.
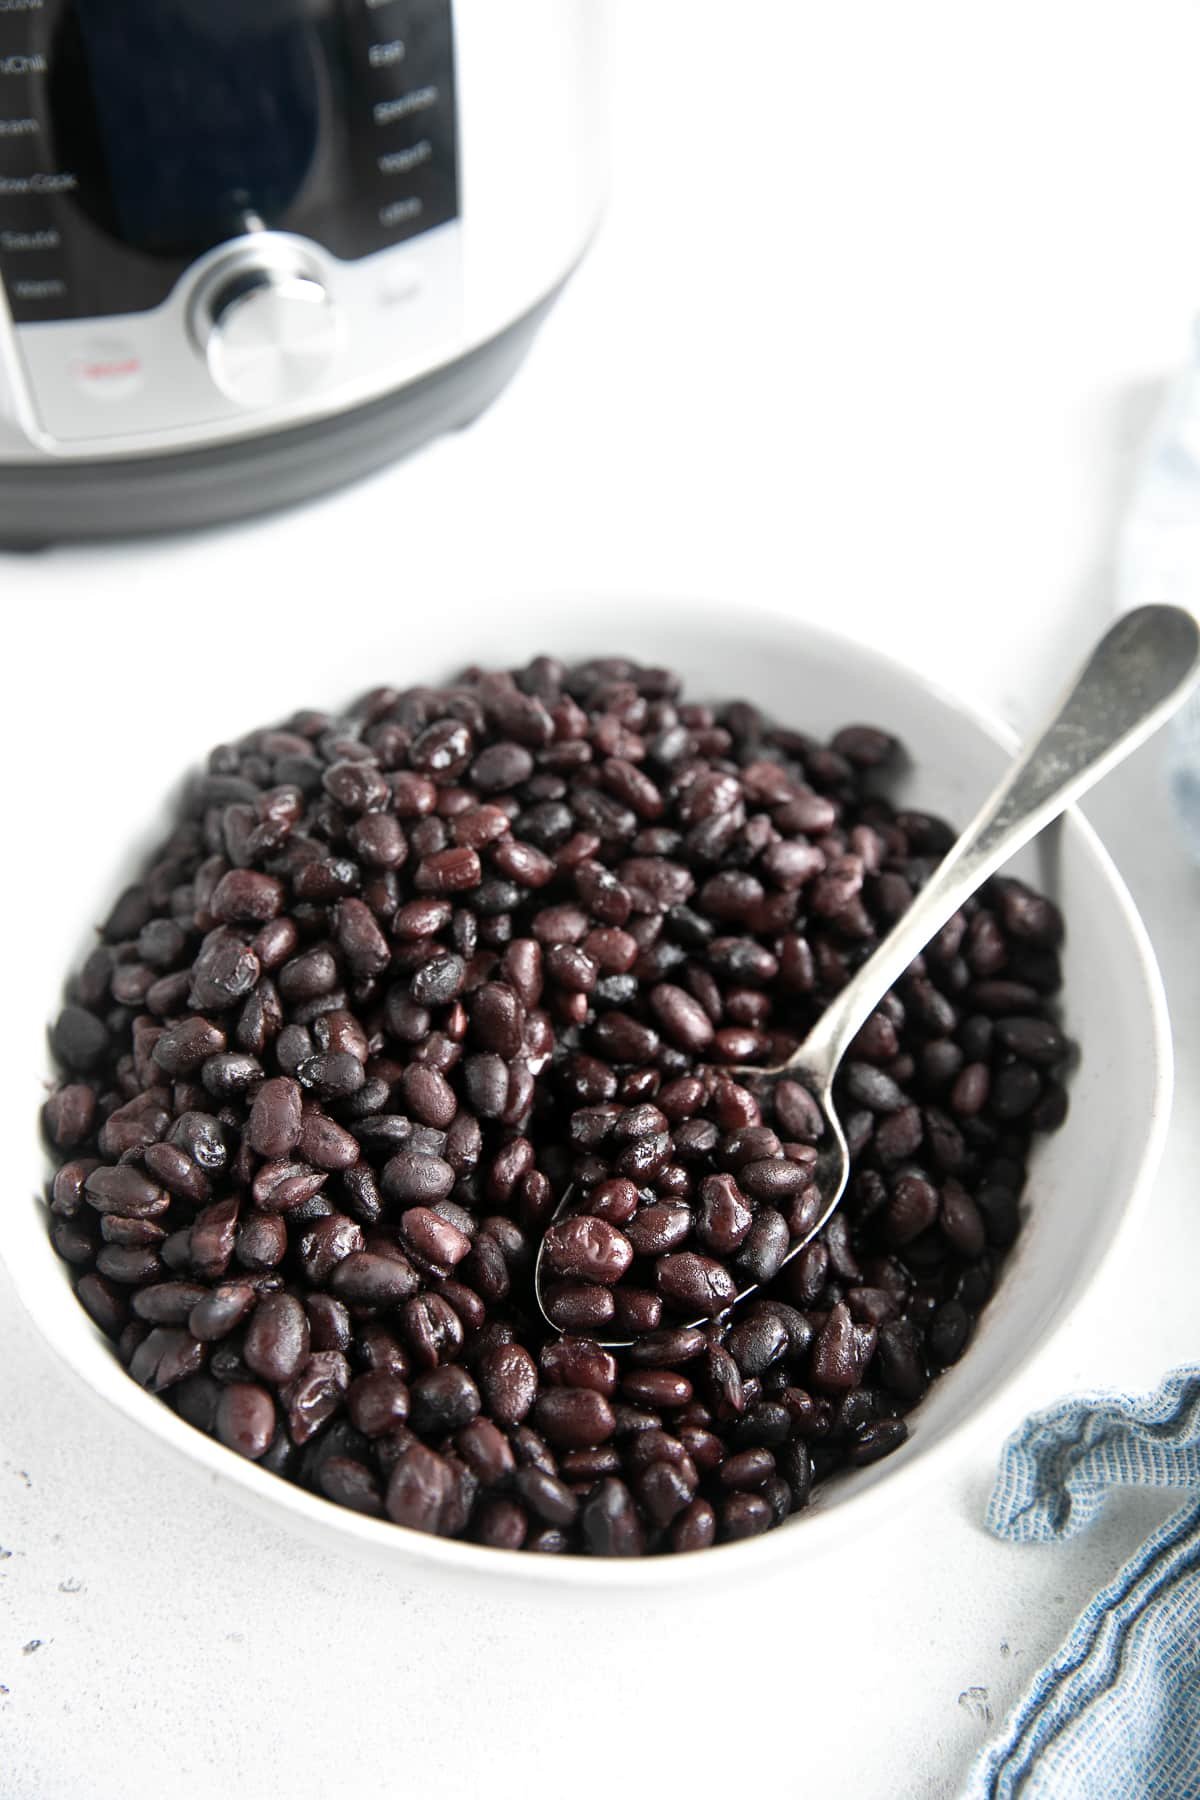
- Season and serve. Carefully remove the lid and gently stir the cooked beans. Drain or reserve the cooking liquid, then season with additional salt, to taste.
For the full list of recipe notes, tips, and FAQs, please see the recipe card at the bottom of the post.
How to Make Flavorful Instant Pot Black Beans
This recipe for Instant Pot black beans is pretty plain, which makes the beans easy to use in soups, tacos, burrito bowls, salads, and more. But if you want to make them even more flavorful, you can easily do so by adding onion, garlic, spices, and herbs before pressure cooking.
Start by setting the Instant Pot to Sauté mode. Add a little olive oil and cook 1 small diced onion until softened. Stir in 4-5 cloves of minced garlic and cook for about 30 seconds, just until fragrant.
Next, add your favorite seasonings and aromatics. Good options include:
- 1-2 teaspoons ground cumin
- 1-2 teaspoons chili powder
- 1 teaspoon dried oregano
- 1-2 bay leaves
- Diced jalapeño, for heat
- Fresh or canned tomatoes
- Fresh cilantro, stirred in after cooking
- Salt
Once the onion, garlic, and seasonings are added, stir in the dried black beans and about 1 cup of the water or broth. Scrape up any browned bits stuck to the bottom of the pot before pressure cooking, as they can sometimes trigger a burn notice.
Add the remaining cooking liquid, then cook the black beans according to the recipe instructions. The result is tender, flavorful Instant Pot black beans that are easy to serve as a side dish or add to your favorite Mexican-inspired recipes.
How many cups are in 1 pound of dried black beans?
One pound of dried black beans equals about 2 cups of dried beans and makes approximately 5-6 cups of cooked black beans.
For comparison, one 15-ounce can of black beans contains about 1 ½ cups of cooked black beans. So, one pound of dried black beans makes about the same amount as 3-4 cans of black beans, depending on how tender the beans are cooked.
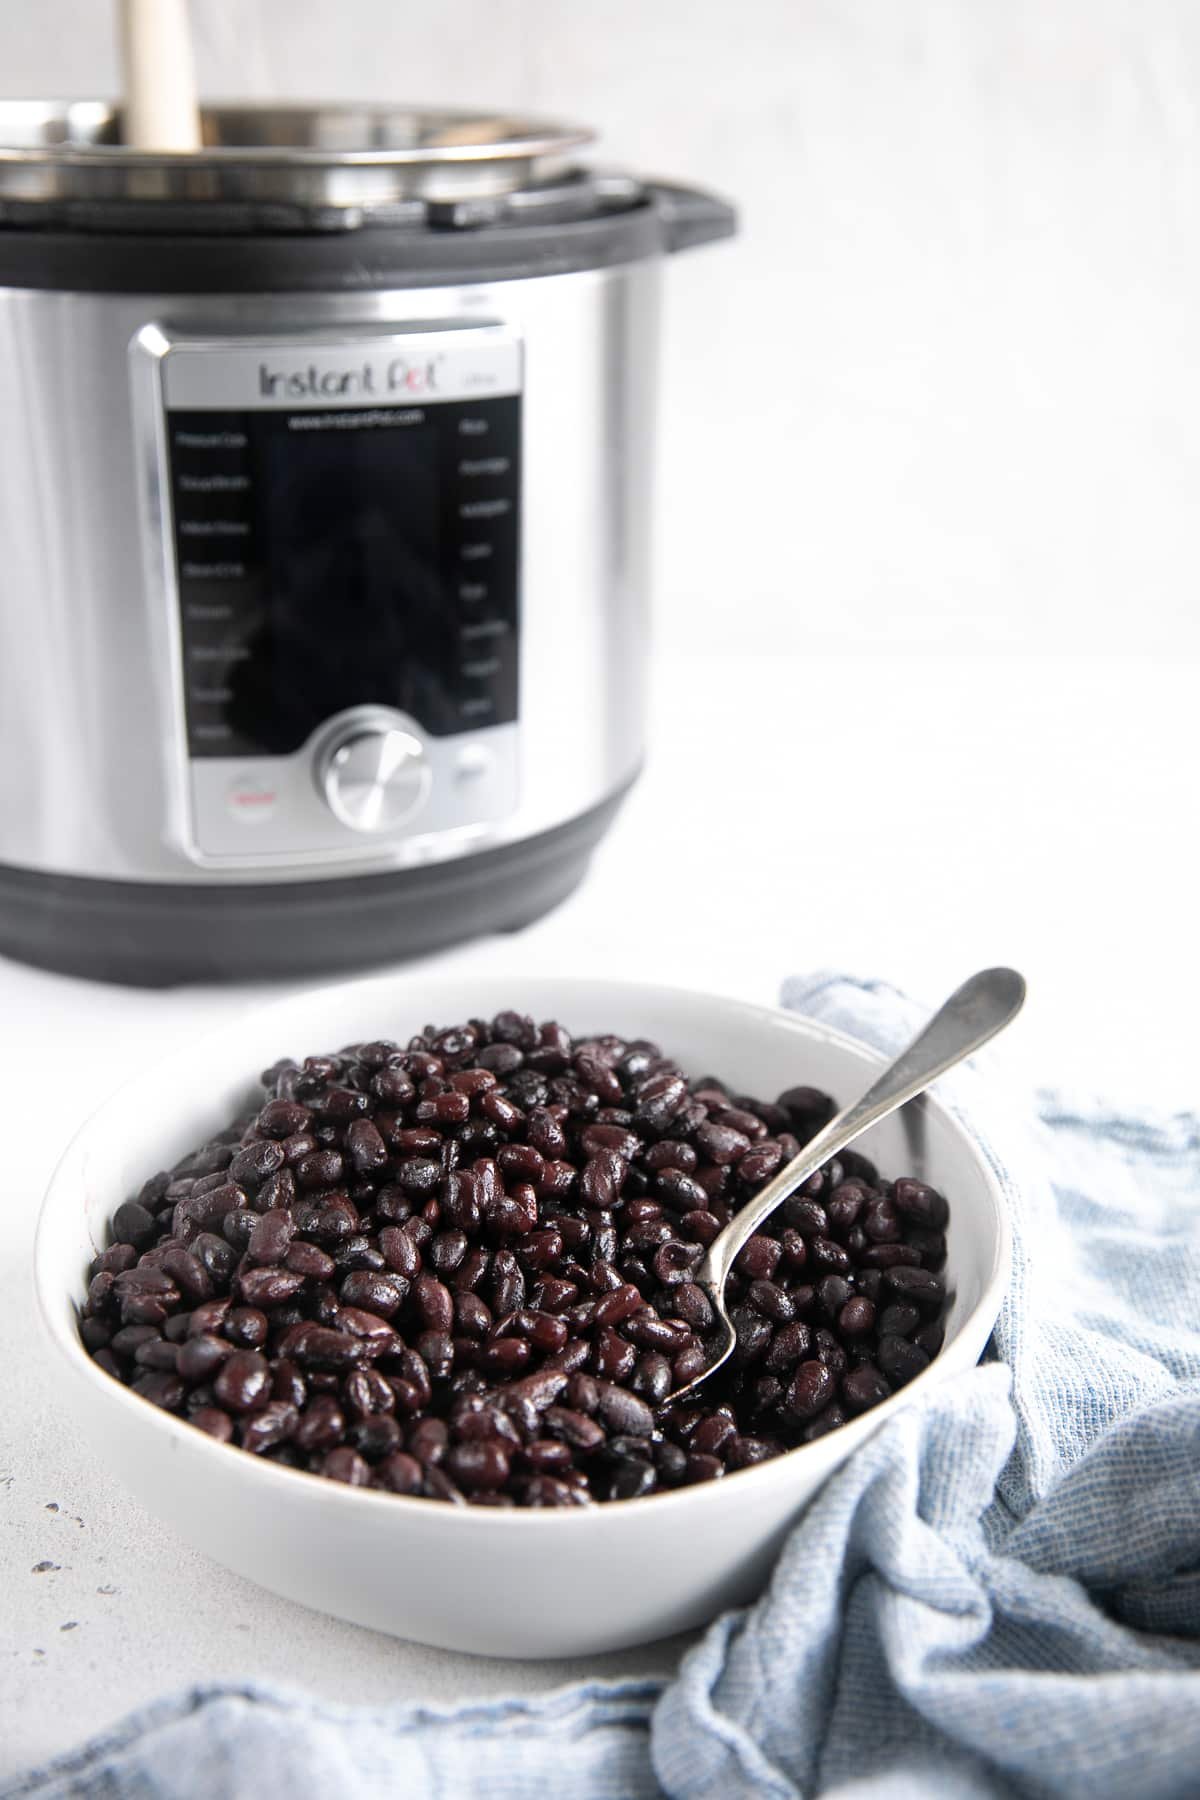
How to Use Instant Pot Black Beans
These Instant Pot black beans are delicious served as a simple side dish, but they’re also easy to add to all kinds of recipes. Use them anywhere you would normally use canned black beans, including tacos, burritos, enchiladas, soups, salads, and grain bowls.
They’re especially good in:
- Taco bowls with Mexican rice, pico de gallo, avocado, and your favorite toppings
- Burritos and tacos with shredded chicken, carnitas, or grilled vegetables
- Soups and chili, like this Instant Pot black bean soup or vegetarian butternut squash and black bean soup
- Salads, like black bean and corn salad or taco salad
- Breakfast recipes, including huevos rancheros, breakfast burritos, or scrambled eggs
- Dips and spreads, like black bean dip or refried black beans
You can also portion and freeze the cooked black beans so they’re ready to use anytime a recipe calls for canned black beans. One 15-ounce can of black beans is equal to about 1 ½ cups of cooked black beans.
How to Store and Freeze Instant Pot Black Beans
Instant Pot black beans are perfect for meal prep since they store and freeze well. I like to keep them with a little bit of their cooking liquid to prevent them from drying out.
- To store: Let the black beans cool completely, then transfer them to an airtight container. Store in the refrigerator for up to 4-5 days.
- To freeze: Let the beans cool completely, then portion them into freezer-safe bags or containers with some of the cooking liquid. Freeze for up to 3 months.
- To reheat: Reheat thawed black beans in a small pot on the stovetop or in the microwave until warm. Add a splash of water or broth as needed to loosen them up.
Frequently Asked Questions
Yes, black beans are healthy and naturally rich in fiber, plant-based protein, folate, iron, and magnesium. They also have a low glycemic index, which means they are digested more slowly and are less likely to cause a quick spike in blood sugar. This makes black beans a nutritious addition to many meals.
No, you do not need to soak black beans before cooking them in the Instant Pot. The pressure cooker cooks dried black beans until tender without soaking, which makes this method much faster and easier than the stovetop.
Dried black beans take about 50 minutes on high pressure, followed by a 20-minute natural pressure release. The total time will be longer once you include the time it takes for the Instant Pot to come to pressure.
For 1 pound of dried black beans, use about 6 cups of liquid total. This can be all water, all broth, or a combination of both. Broth adds more flavor, while water keeps the beans more neutral for different recipes.
Black beans may still be hard if they are old, undercooked, or cooked with too little liquid. Older dried beans can take longer to soften. If your beans are still firm after cooking, return the lid to the Instant Pot and cook for an additional 5-10 minutes on high pressure.
More Easy Instant Pot Recipes


If you try making Instant Pot black beans, I’d love to hear what you think! Please leave a comment and a star rating below. Your feedback helps other readers discover and enjoy this recipe too. Thank you so much! 💛 And for more easy pressure cooker bean recipes, try my Instant Pot Chickpeas and Instant Pot Pinto Beans next.
Instant Pot Black Beans
Equipment
Ingredients
- 1 pound dried black beans, rinsed and sorted
- 4 cups vegetable broth or chicken broth
- 2 cups water
- 1 teaspoon salt, optional
Instructions
- Rinse and sort the beans. Place 1 pound of dried black beans in a fine-mesh strainer and rinse well under cool running water. Pick through the beans and remove any small stones, debris, or damaged beans.
- Add the beans and liquid. Transfer the rinsed black beans to the inner pot of your Instant Pot. Add 4 cups of vegetable broth or chicken broth, 2 cups of water, and 1 teaspoon of salt, if using. Stir to combine.
- Seal the Instant Pot. Secure the lid and turn the venting knob to the sealing position.
- Pressure cook the beans. Cook on manual high pressure for 50 minutes. Keep in mind that the Instant Pot will take additional time to come to pressure before the cook time begins.
- Natural release. Once the cooking time is complete, allow the pressure to release naturally for 20 minutes. After 20 minutes, carefully quick-release any remaining pressure.
- Check and season. Carefully remove the lid and gently stir the black beans. Taste and season with additional salt, if needed.
- Serve or store. Serve the black beans with some of the cooking liquid, or drain and use them in your favorite recipes.
Notes
- For more flavor: Before adding the beans and liquid, sauté diced onion in a little olive oil directly in the Instant Pot. Add minced garlic, cumin, chili powder, oregano, bay leaves, or jalapeño for more flavor.
- Plan for extra time: The Instant Pot takes approximately 15 minutes to come to full pressure before the cooking time begins.
- If your beans are still firm after cooking: This may happen if your beans are old, were not stored properly, or if you live at a higher altitude. If needed, cook for an additional 5-10 minutes on high pressure.
- To double the recipe: Use the same cooking time. Make sure not to fill your Instant Pot past the recommended fill line.
- For firmer beans: Reduce the cooking time to 30 minutes on high pressure, followed by a 20-minute natural release.
- For softer beans: Cook as written, or add an additional 5-10 minutes if needed.
- For soaked black beans: I have not tested this recipe with pre-soaked black beans, but soaked beans will need less cooking time. I would start with 25 minutes on high pressure followed by a manual pressure release. You can use the full amount of liquid, or reduce it to about 3 cups total.
- Different types of beans: This method is written specifically for dried black beans. Other dried beans, such as pinto beans, chickpeas, or kidney beans, may need different cooking times and liquid amounts.
- Special diets: As written, these Instant Pot black beans are gluten-free, dairy-free, vegan, and vegetarian when made with vegetable broth.
- To store: Cool completely, then transfer to an airtight container with some of the cooking liquid. Refrigerate for up to 4-5 days.
- To freeze: Portion cooled black beans into freezer-safe bags or containers with a little cooking liquid. Freeze for up to 3 months.
- To replace canned beans: One 15-ounce can of black beans equals about 1 ½ cups of cooked black beans.
Nutrition
Nutrition information is automatically calculated, so should only be used as an approximation.


did for 45 minutes, however missed when done and naturally released. some were mushy .
did 1 c beans, 1 c water, 2 c chicken broth & 1/2 tsp salt. tasted fine. rinsed and froze on cookies sheet
Thank you for sharing your experience and details! Naturally releasing pressure for a long time can definitely make some beans a bit mushier, but I’m glad they still tasted good. Freezing them on a cookie sheet is a great idea for easy portioning—I am glad they tasted fine and I hope they work perfectly in your future meals!
Thanks for the simple recipe. I’m reading put “the venting knob in the venting position” and then pressure cook. Wondering if the venting knob should at some point be put in the Sealing position for pressure cooking. Please clarify. Thank you.
Hi Ella,
Please see the recipe card for the full instructions on venting 🙂
Per step 4:
”
Secure the lid on top of your pressure cooker, with the venting knob in the sealing position. Pressure cook on MANUAL MODE, high pressure for 50 minutes with a Natural Release of 20 minutes. After the 20 minutes is complete, manually release (quick release) the remaining pressure by turning the venting knob to the venting position.
“
Perfectly soft (but not mushy) beans with not a lot of extra liquid when done cooking. I used them for a chili that called for canned beans and was able to just add them at the end. Would be great to have on hand for refried beans too. I would use the suggested reduced time for beans that I wanted to strain and freeze on a tray before bagging for “loose” beans to add to salads, etc. Thank you!