
This post may contain affiliate links. See my disclosure policy.

This easy teriyaki sauce recipe shows you exactly how to make teriyaki sauce at home in just 10 minutes. Use it thickened as a sauce or glaze, or skip the cornstarch slurry to make a flavorful teriyaki marinade. So much better than store-bought and perfect for chicken, salmon, stir-fries, rice bowls, and more.
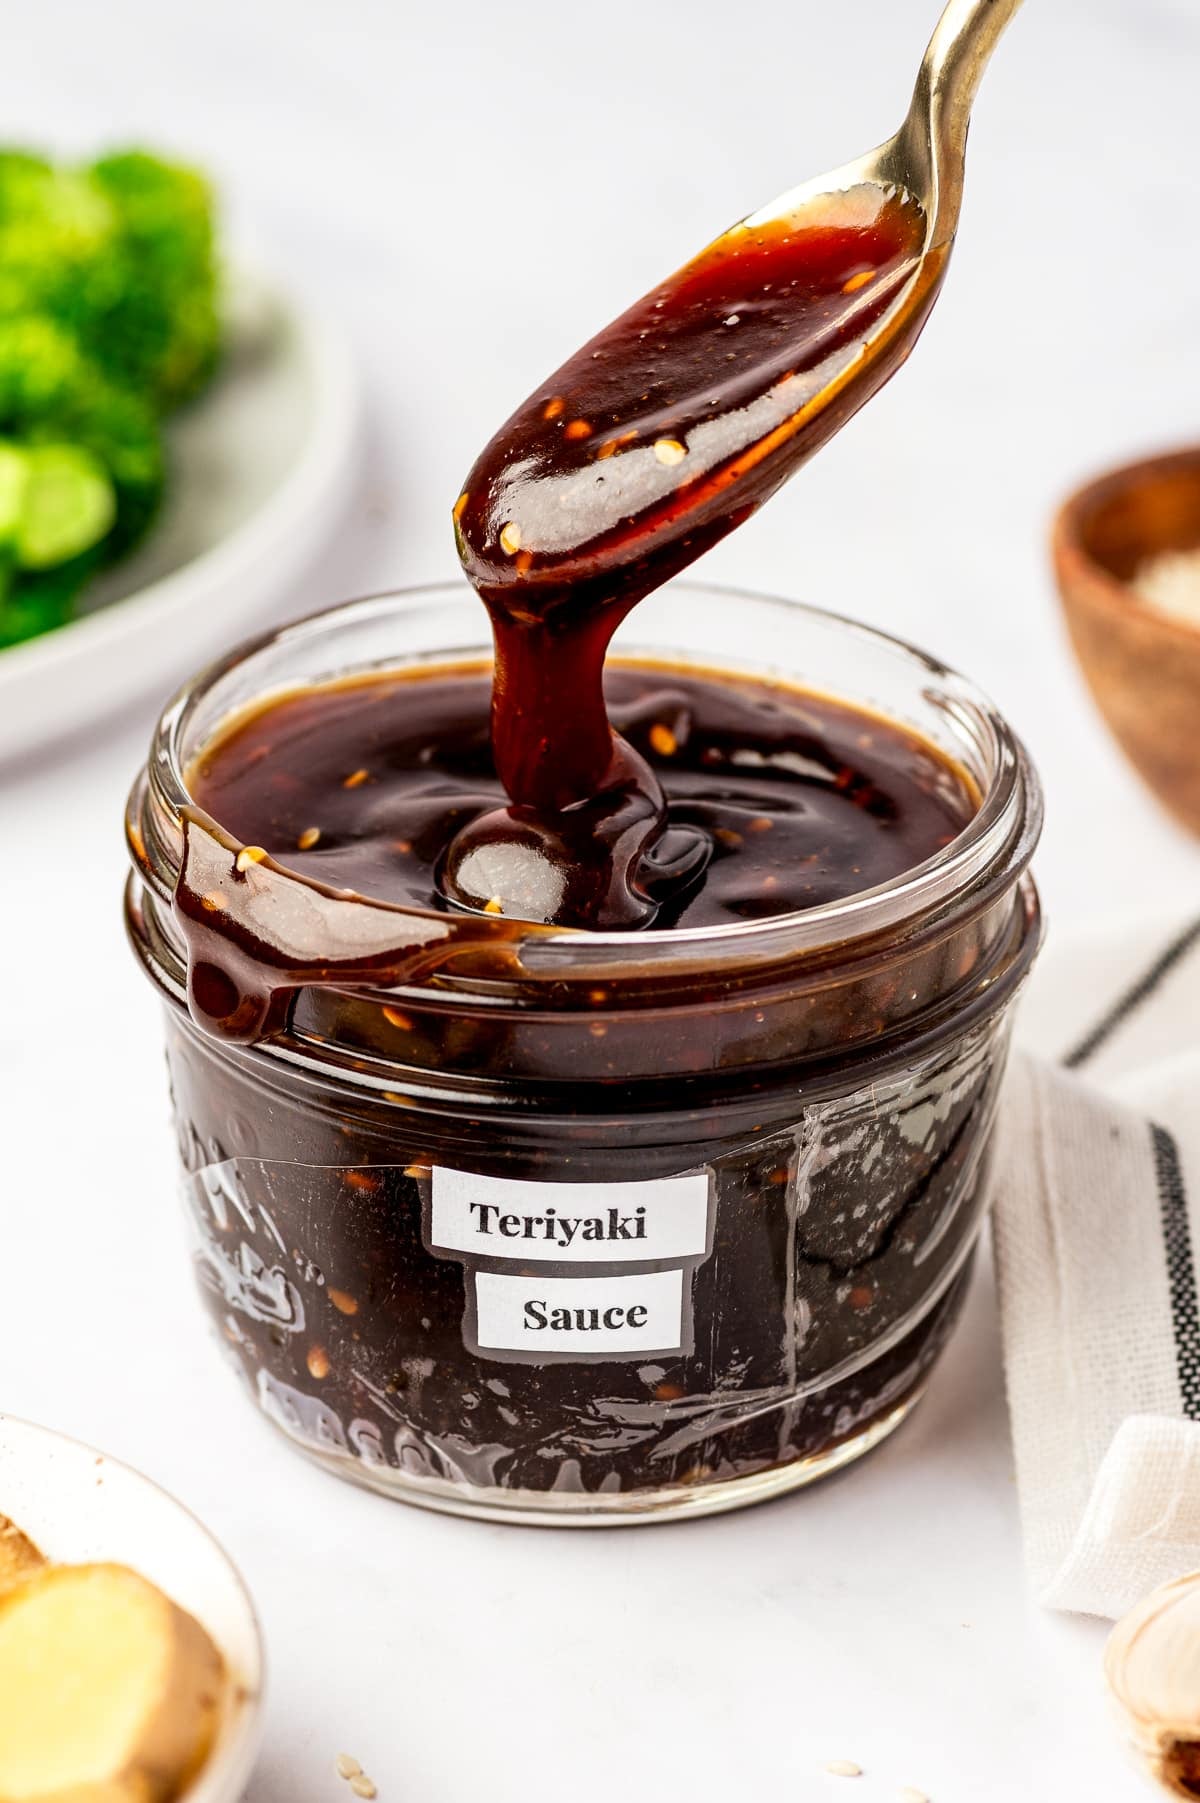
This super easy homemade teriyaki sauce recipe has been my go-to for nearly two decades. It’s a little sweet, a little salty, perfectly thick and glossy, and exponentially better than store-bought teriyaki sauce. I use it the same way I use bottled teriyaki sauce, but making it myself lets me adjust the sweetness, saltiness, and thickness until it tastes exactly how I want it. Plus, making it myself means I’ll never run out — a real lifesaver for last-minute weeknight dinners. Use it as a marinade, glaze, or stir-fry sauce with so many recipes, like grilled chicken, baked teriyaki chicken, and teriyaki chicken bowls with rice. Best of all, this teriyaki sauce recipe comes together fast and lasts for up to two weeks in the refrigerator.
About This Recipe
- Time: 10 minutes
- Yield: About 2 cups
- Texture: Thick and glossy (with cornstarch), or thinner (without cornstarch)
- Best used as: Stir-fry sauce, dipping sauce, glaze, or marinade
- Best for: Chicken, salmon, beef, tofu, stir-fries, rice bowls, noodles
- Key tip: Slowly whisk in the cornstarch slurry for the smoothest, glossiest sauce
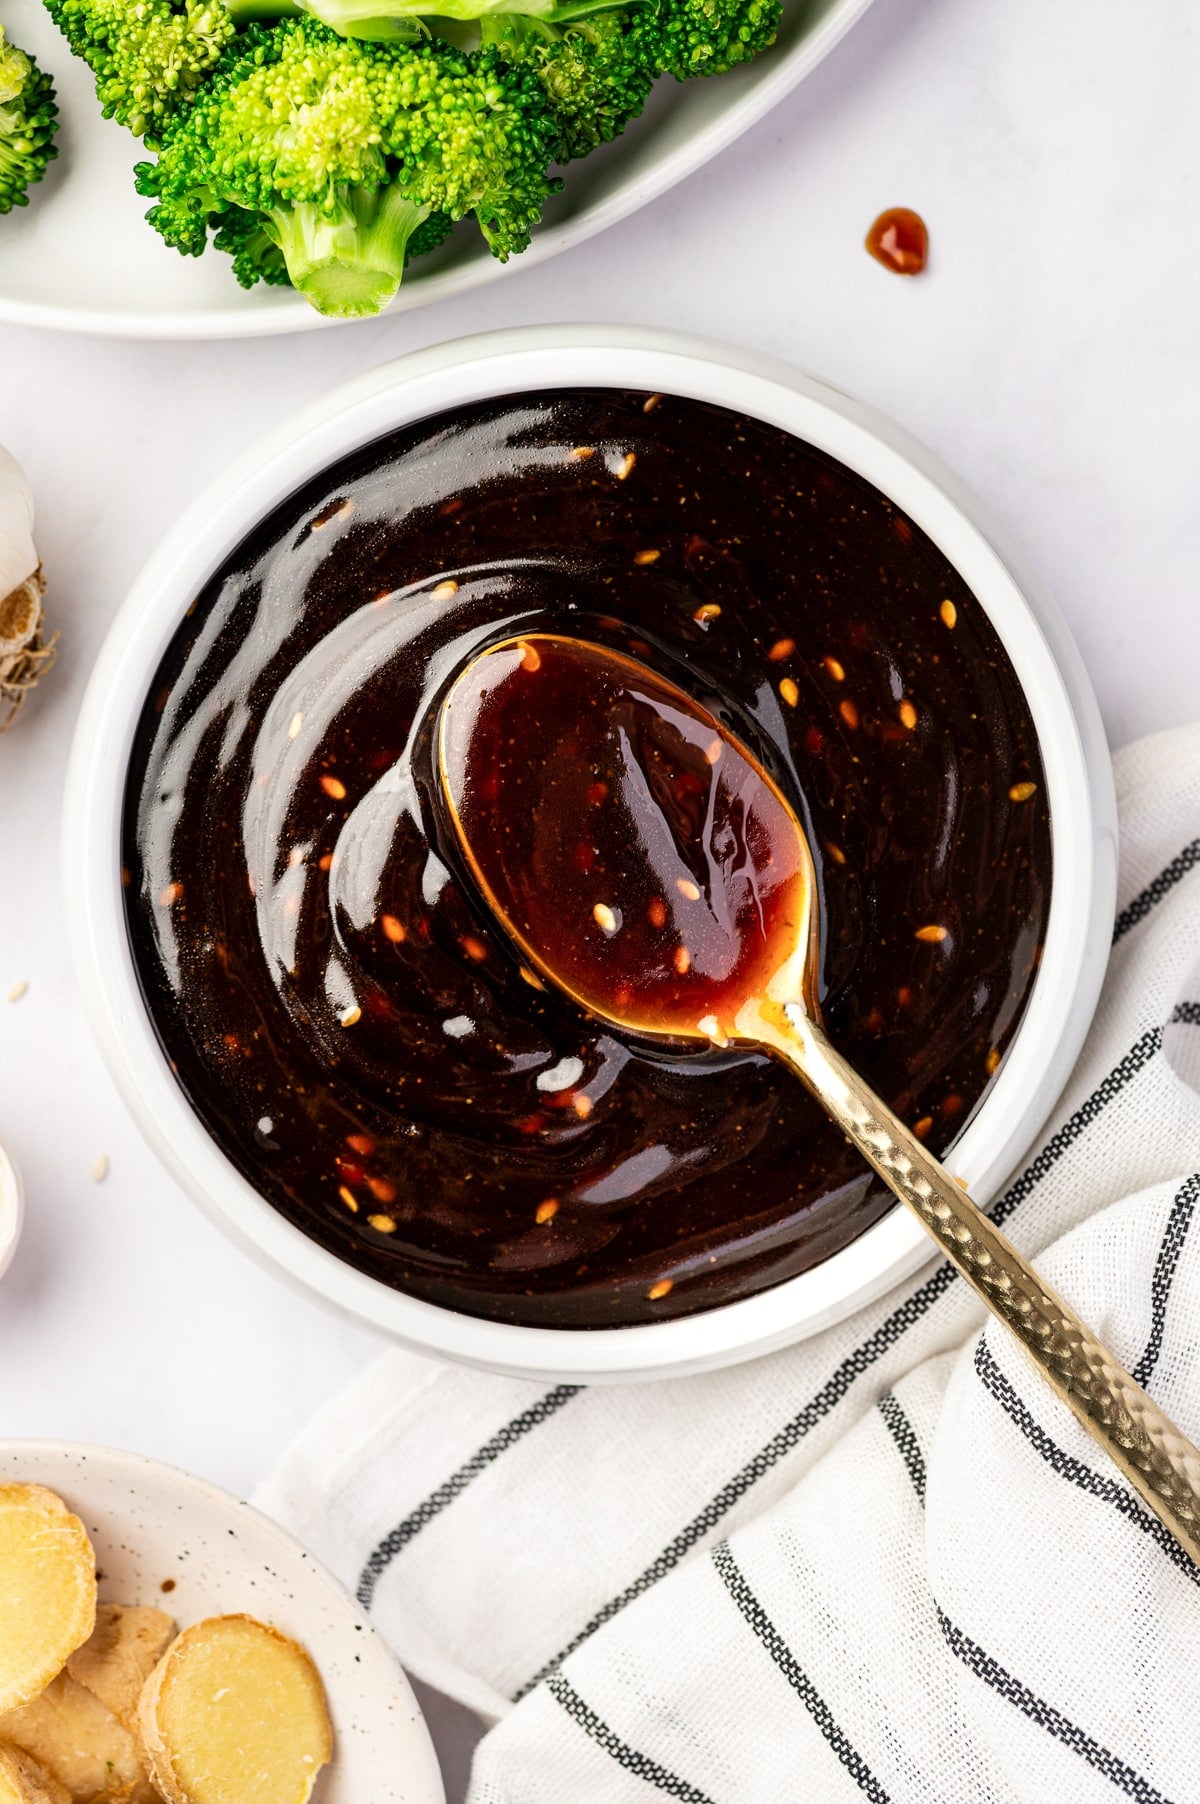
Table of Contents
What is Teriyaki Sauce?
Teriyaki is a Japanese cooking method in which food is grilled, broiled, or pan-cooked with a sweet and savory glaze, giving it a glossy finish. The word comes from:
- teri = shine or gloss
- yaki = grilled, broiled, or pan-cooked
Traditionally, teriyaki is made by brushing foods like chicken, salmon, beef, or tofu with a sauce made from soy sauce, mirin, sake, and sugar. The sauce reduces into a shiny glaze. In the U.S., “teriyaki” often refers to the sauce itself.
Teriyaki Sauce Ingredients
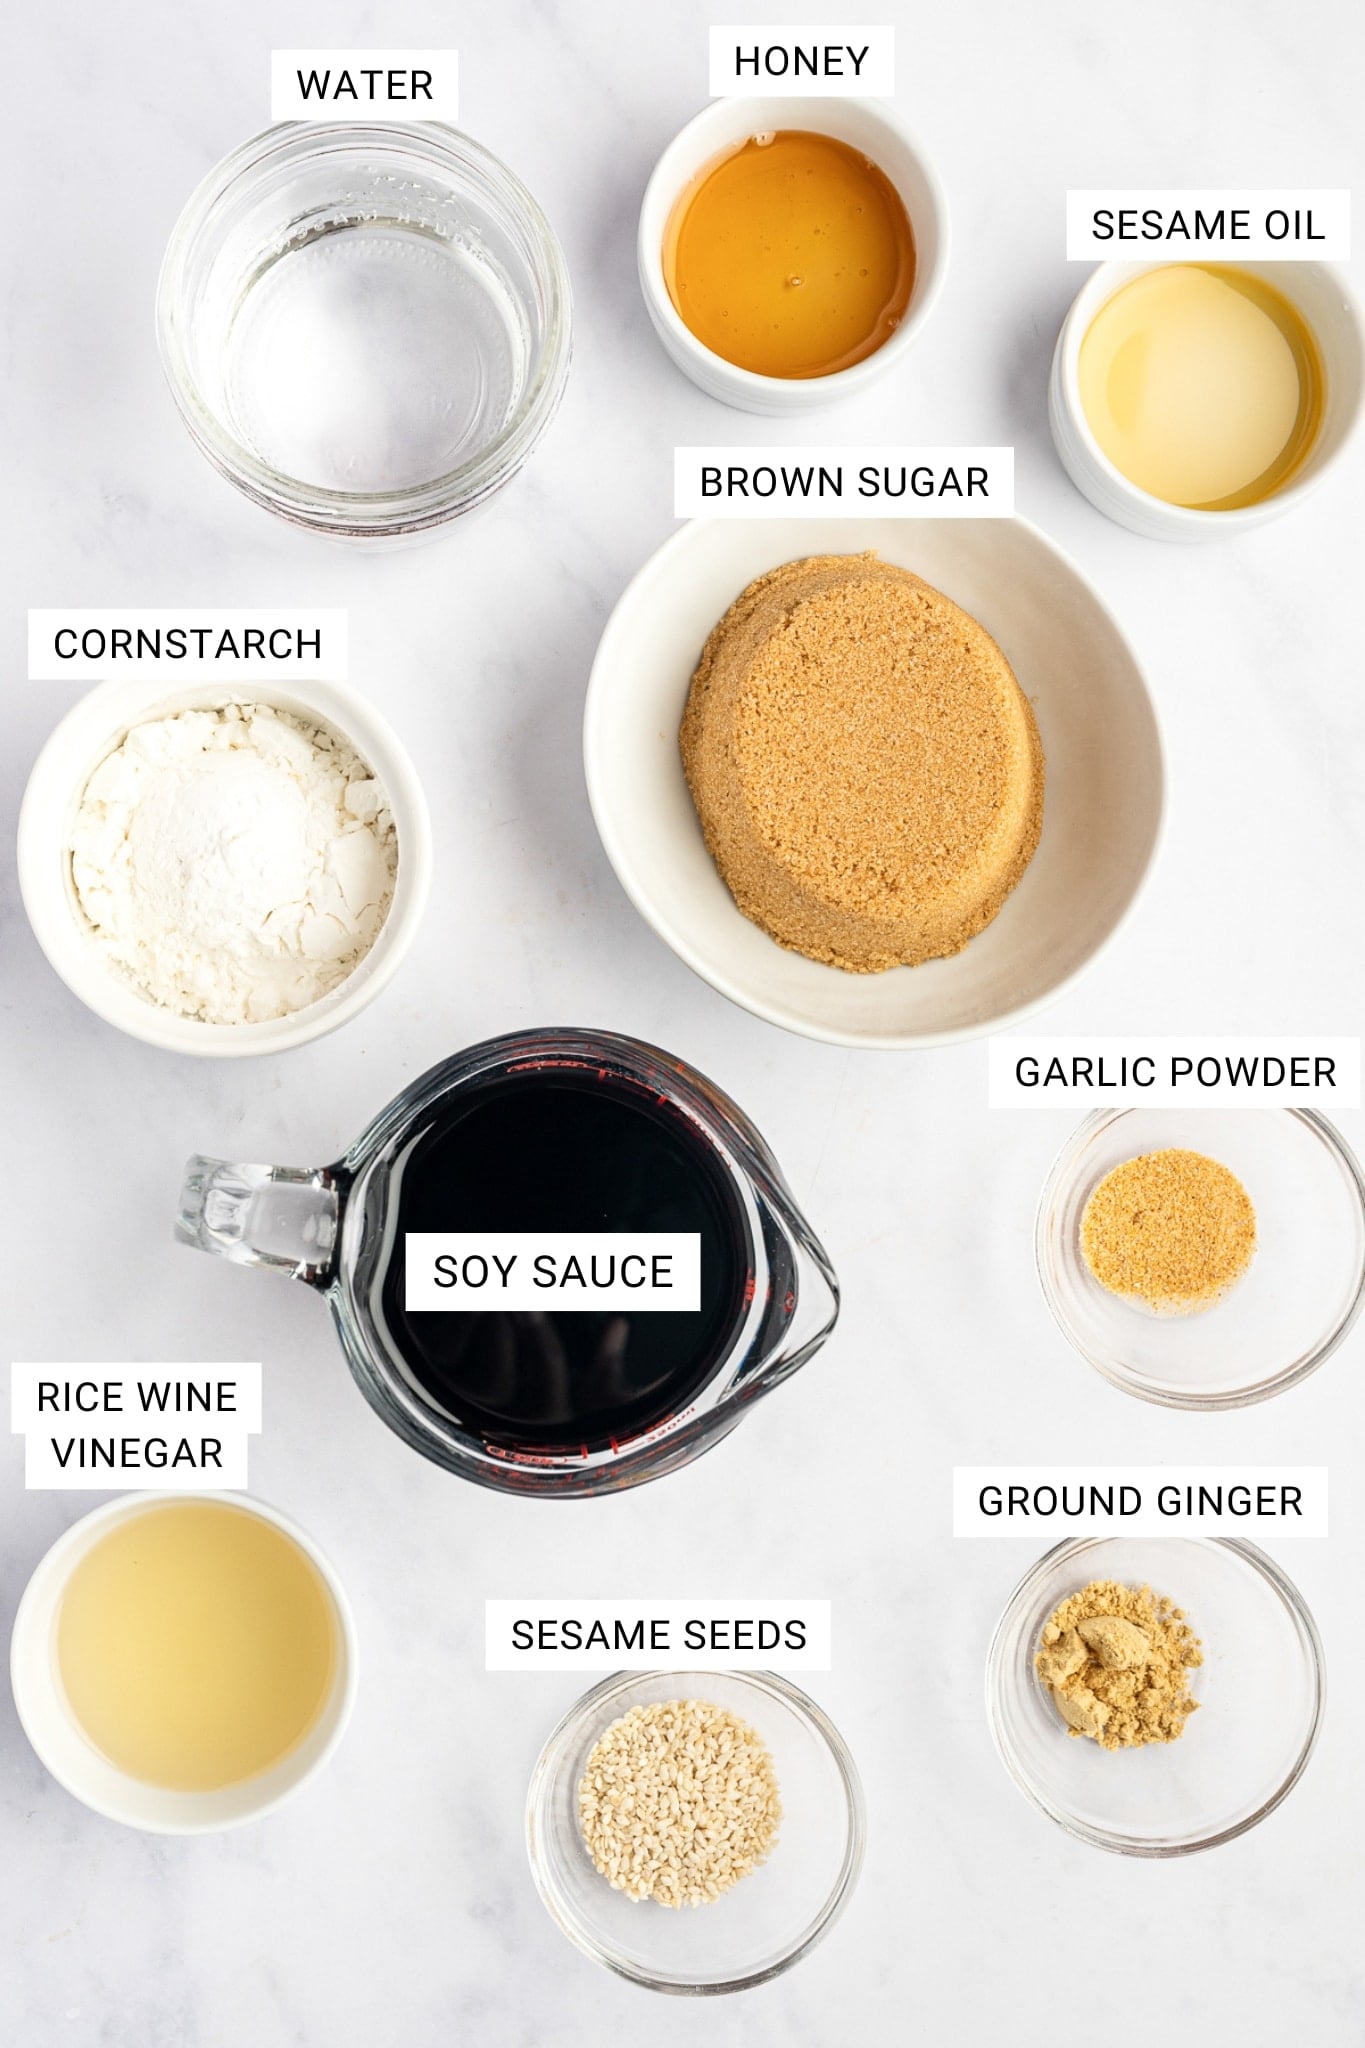
- Soy sauce gives teriyaki sauce its salty, savory flavor. I recommend using low-sodium soy sauce so the sauce does not taste overly salty, especially after simmering. To make your homemade teriyaki sauce gluten-free, replace regular soy sauce with an equal amount of coconut aminos or liquid aminos, or use a gluten-free soy sauce such as this San-J Tamari Gluten-Free Soy Sauce.
- Brown sugar and honey add sweetness, balance the soy sauce’s saltiness, and help give the sauce its rich flavor. The honey also helps make the sauce extra smooth and glossy. You can replace the honey with additional brown sugar if preferred.
- Rice wine vinegar adds brightness and helps balance the sauce’s sweetness. Mirin, a type of rice wine similar to sake, may also be used. Mirin is sweeter and less acidic than rice wine vinegar and considerably harder to find.
- Ground garlic and ground ginger add flavor and blend smoothly into the sauce. If you prefer using fresh aromatics, substitute 1 tablespoon of grated fresh ginger and 4 cloves of minced garlic.
- Sesame oil is optional, but I love the subtle nutty flavor it adds. A little goes a long way.
- Water helps dilute the soy sauce and keeps the sauce from becoming too salty or too thick.
- Cornstarch slurry (cornstarch mixed with cold water) thickens the sauce and gives it a glossy, spoon-coating finish. For a thinner teriyaki marinade, skip the cornstarch slurry.
For the full list and amounts of ingredients, scroll down to the recipe card at the bottom of the page.
How to Make Teriyaki Sauce
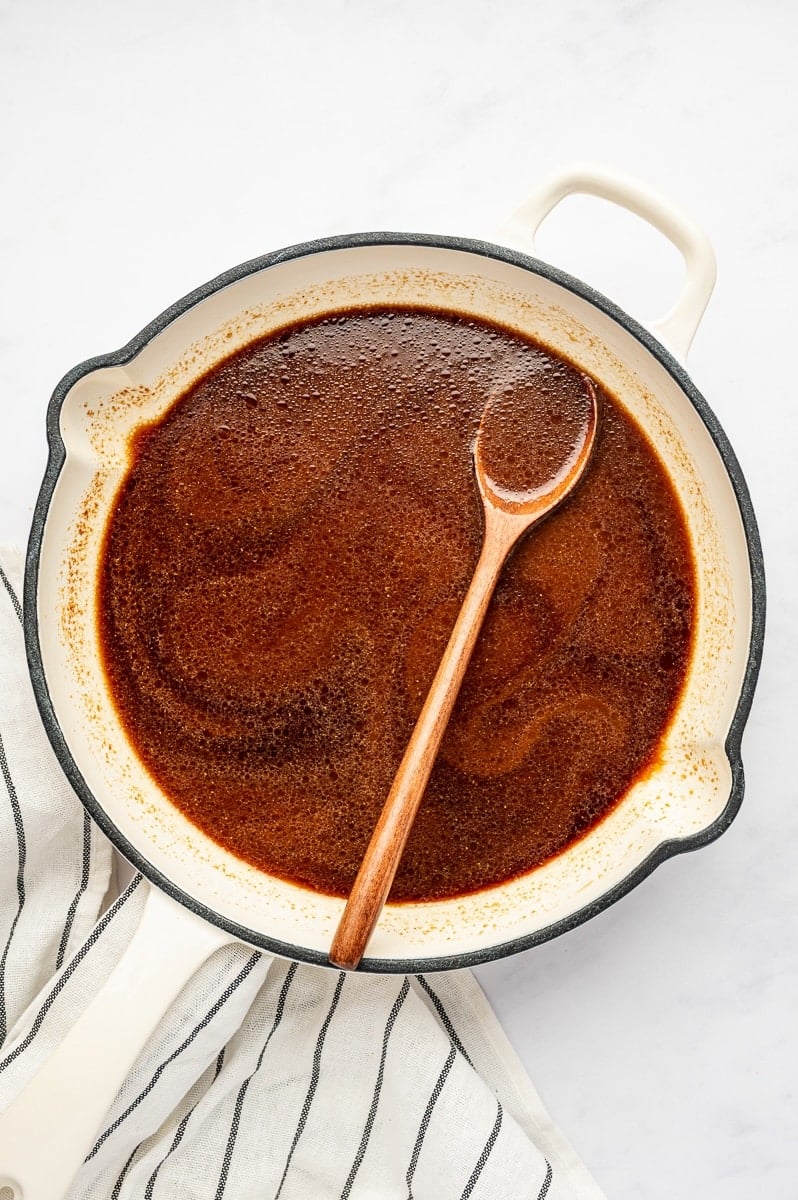
- Combine the soy sauce, brown sugar, honey, rice wine vinegar, ginger, garlic, sesame oil, and water in a saucepan.
- Bring to a gentle simmer, then reduce heat and cook for 3-4 minutes. Planning to use this recipe as a teriyaki marinade? Stop here.
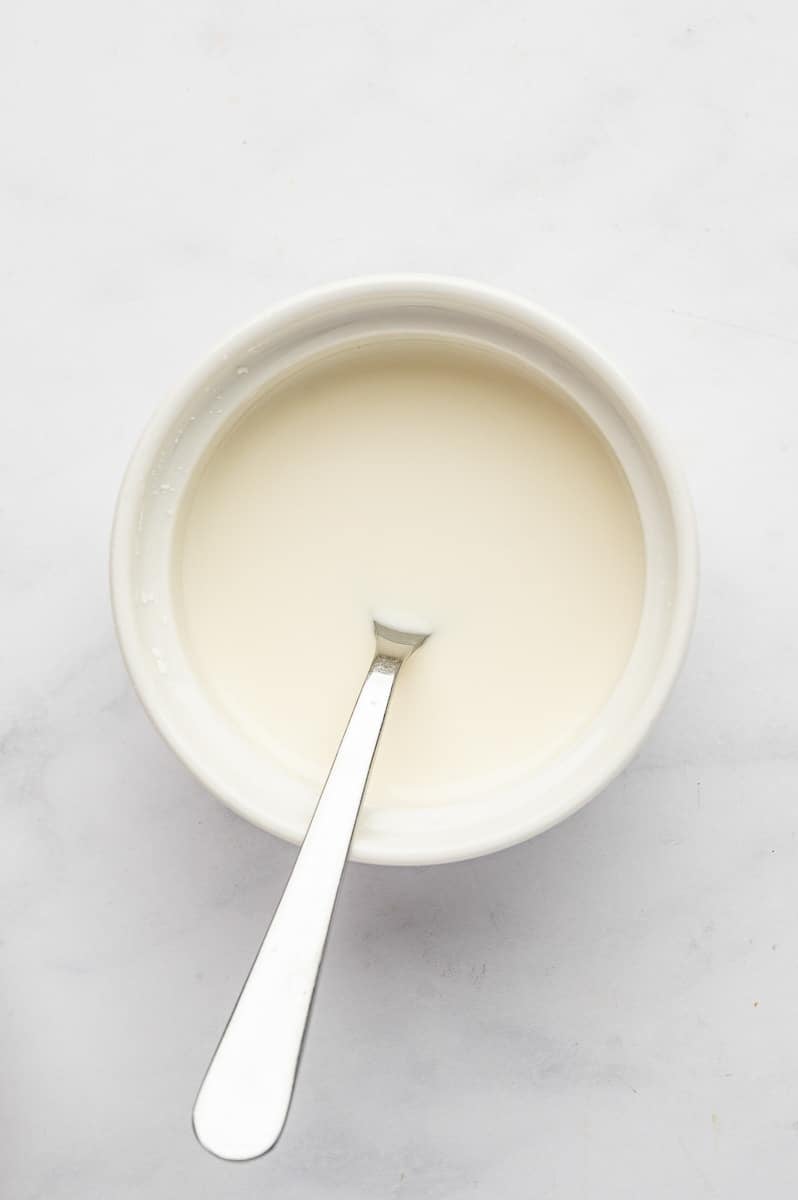
- Mix the cornstarch with cold water until smooth (this is your cornstarch slurry).
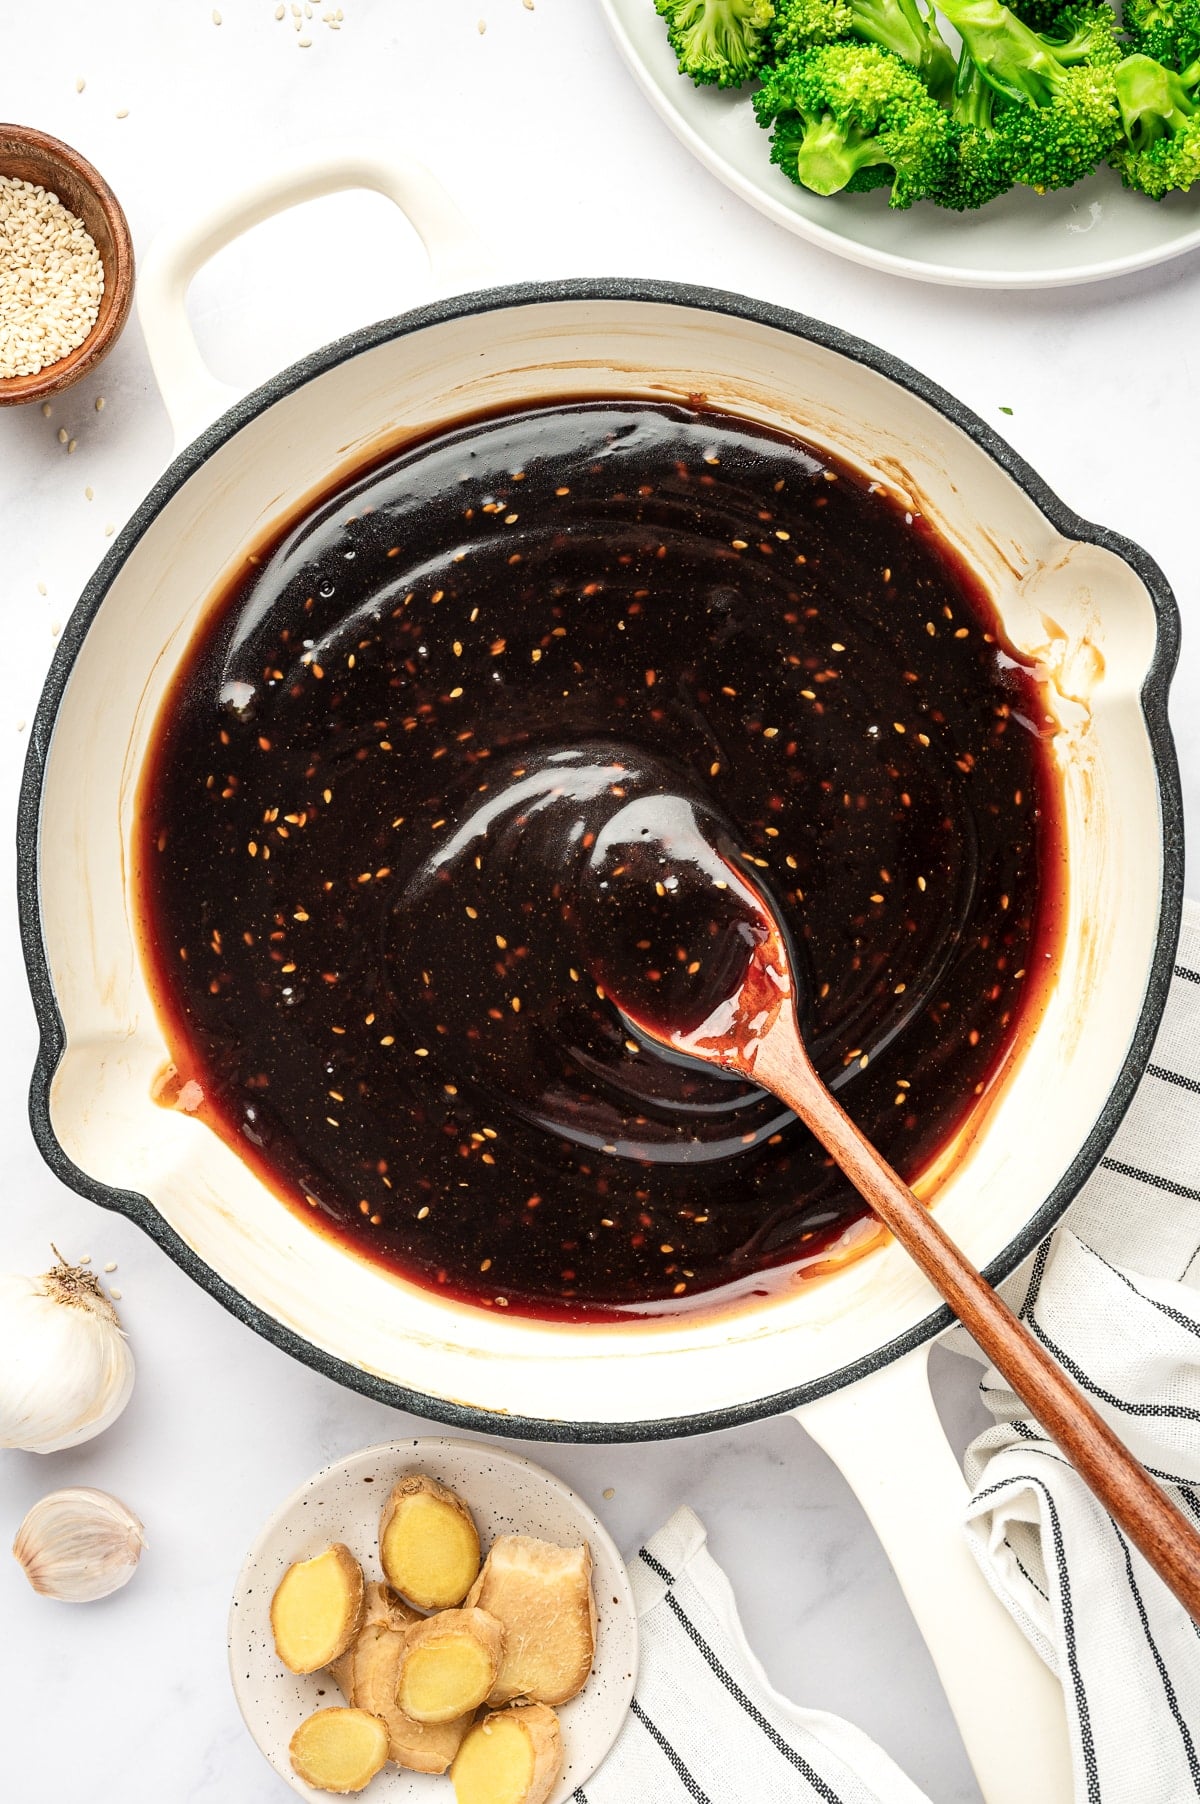
- Slowly whisk the slurry into the simmering sauce and cook 1-2 minutes, until glossy and thick enough to coat the back of a spoon. Remove from heat and garnish with 1-2 teaspoons of sesame seeds, if desired.
- Use right away or cool before storing.
5 Ways to Use Homemade Teriyaki Sauce
This teriyaki sauce recipe can be used just about anywhere you would use store-bought sauce, but with fresher flavor and more control over the final texture. Use it thin as a marinade, slightly thickened as a stir-fry or dipping sauce, or glossy and syrupy as a glaze.
- As a marinade: Skip the cornstarch slurry and pour the sauce over chicken, beef, pork, salmon, shrimp, tofu, or vegetables. It is especially delicious in this Teriyaki Salmon Bowl. Marinate delicate proteins like salmon or shrimp for 15-30 minutes, and heartier meats like chicken thighs, pork, or beef for at least 30 minutes or up to overnight.
- As a glaze: Brush it over grilled chicken, salmon, shrimp, beef, tofu, and vegetables in the last few minutes of cooking. As a glaze, teriyaki sauce should cling to the surface and create a shiny, caramelized coating. Since it contains sugar, add it near the end of cooking to prevent burning.
- As a stir-fry sauce: Add the sauce near the end of cooking and toss until the meat, vegetables, rice, or noodles are evenly coated. As a stir-fry sauce, teriyaki is great added to recipes like chicken stir fry with bok choy, cabbage stir fry, chow mein, or yaki udon.
- As a dipping sauce: Serve the thickened sauce warm or at room temperature with egg rolls, spring rolls, gyoza, chicken skewers, tempura, or roasted vegetables.
- As a finishing sauce: Spoon or drizzle over fried rice, teriyaki chicken bowls, noodle bowls, baked salmon, baked chicken breasts, roasted vegetables, tofu, or my air fryer salmon bites.
Teriyaki Texture + Troubleshooting Tips
One of the best things about homemade teriyaki sauce is that you can adjust the texture depending on how you plan to use it. Keep it thin for a marinade, lightly thicken it for stir-fries and drizzling, or make it glossy and syrupy for a glaze.
- For a thin marinade: Skip the cornstarch slurry completely. The sauce will be thin, pourable, and easy to use as a marinade.
- For a pourable sauce: Use about half of the cornstarch slurry, then add more only if needed. The sauce should be smooth and glossy, but still easy to drizzle. This consistency is best for stir-fries, rice bowls, noodles, and finishing sauce.
- For a thick glaze: Use the full cornstarch slurry and simmer until the sauce is glossy, slightly syrupy, and coats the back of a spoon. This consistency is best for brushing over grilled, baked, or broiled foods.
Jessica’s Tip: The sauce will continue to thicken as it cools, so remove it from the heat when it is slightly thinner than your ideal consistency.
quick fixes
- Too thin? Simmer the sauce for another 1-2 minutes, or whisk together a small amount of extra slurry. Add a little at a time until thickened.
- Too thick? Whisk in 1-2 tablespoons of water at a time until it reaches your desired consistency.
- Clumpy? The cornstarch may not have been fully mixed into the cold water before it was added, or it may have been poured in too quickly. Whisk vigorously to smooth it out, or strain the sauce through a fine-mesh sieve.
- Too salty? Add a splash of water, a little more brown sugar or honey, or a small splash of rice wine vinegar to balance the flavor. If you used regular soy sauce, consider using low-sodium soy sauce next time.
Storage and Freezing Tips
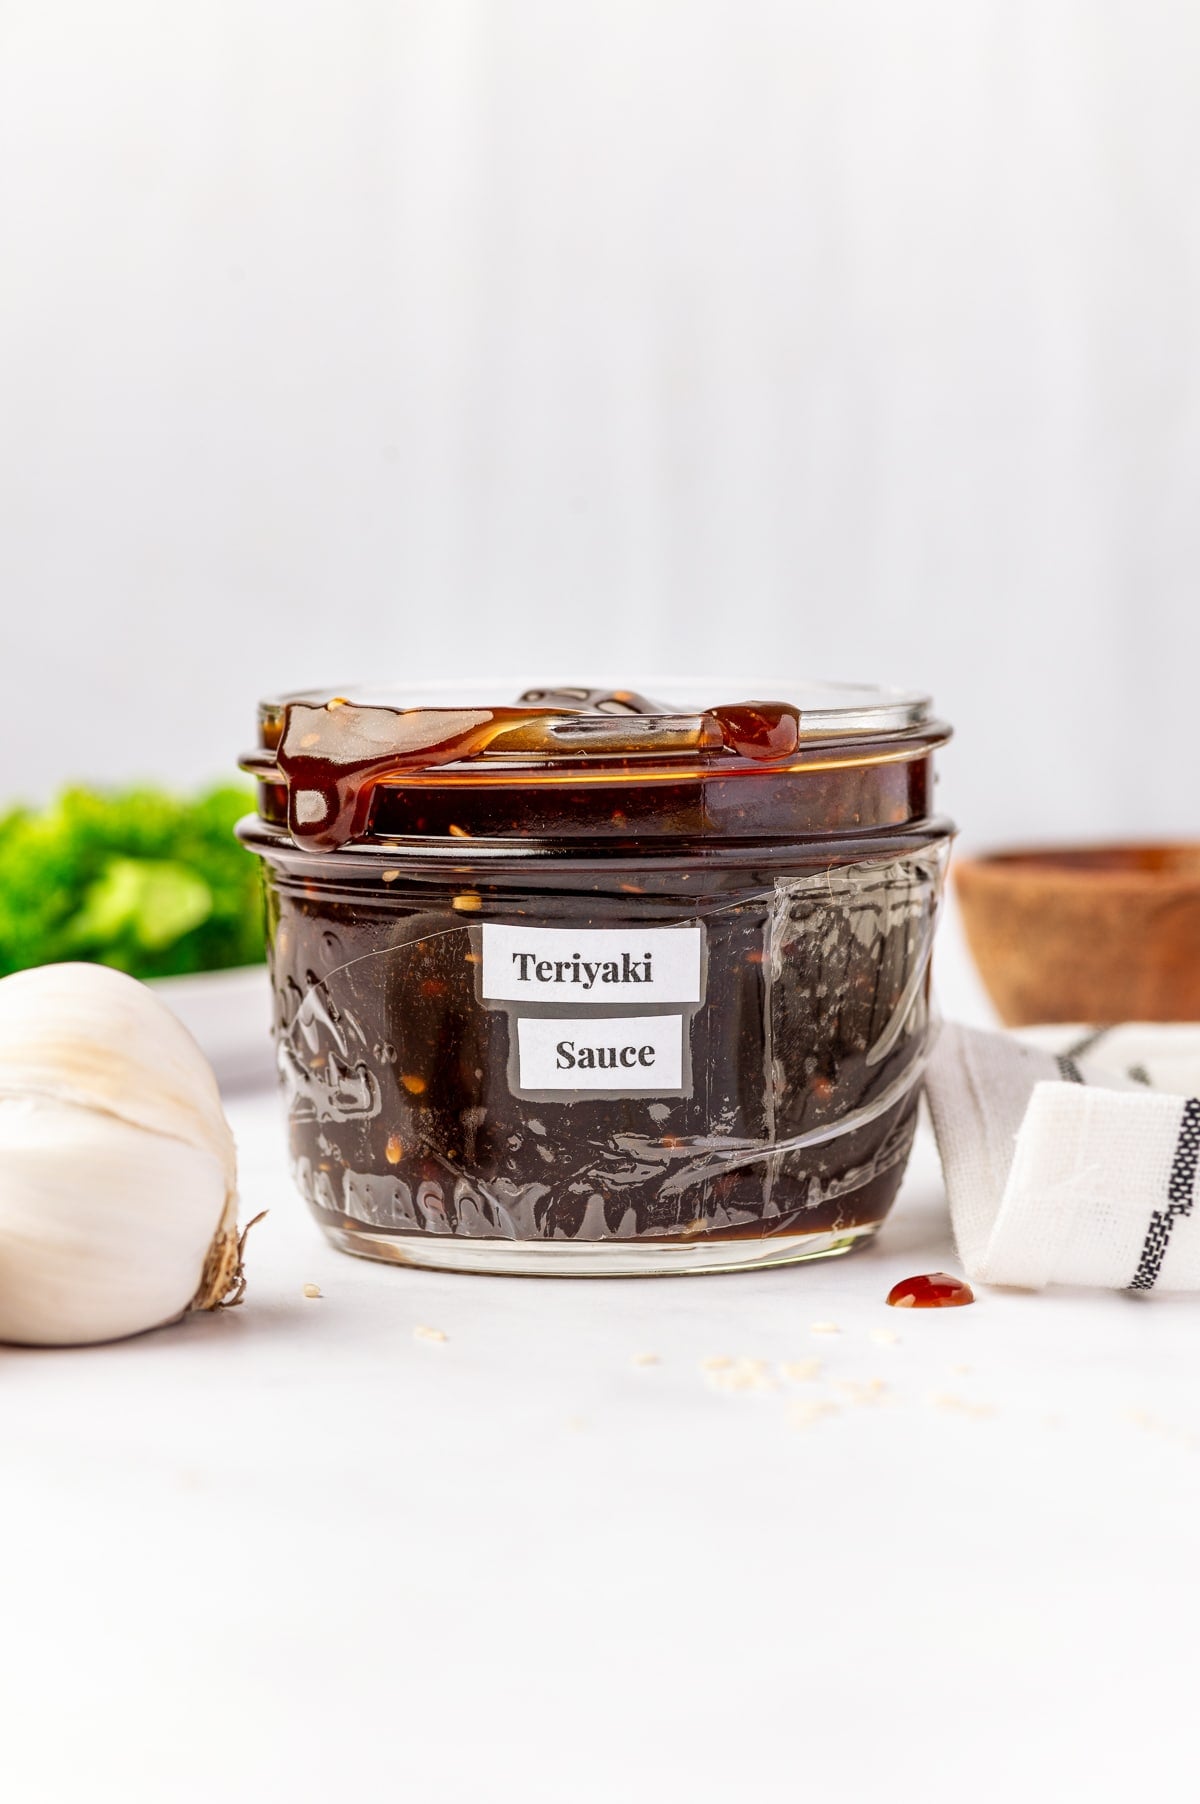
- Refrigerator: Allow the sauce to cool completely, then transfer it to an airtight jar or container. Store in the refrigerator for up to 2 weeks.
- Freezer: Cool completely, then freeze in small airtight containers, freezer bags, or ice cube trays for up to 3 months. Once frozen, transfer the cubes to a freezer-safe bag so you can thaw only what you need.
- Reheating: Warm gently in a small saucepan over low heat or in the microwave in short intervals, stirring often. If the sauce is too thick after chilling or reheating, whisk in a splash of water until it reaches your desired consistency.
More Sauce Recipes From The Forked Spoon



If you try making this teriyaki sauce recipe, I’d love to hear what you think! Please leave a comment and a star rating below. Your feedback helps other readers discover (and enjoy) this recipe too. Thank you so much! 💛
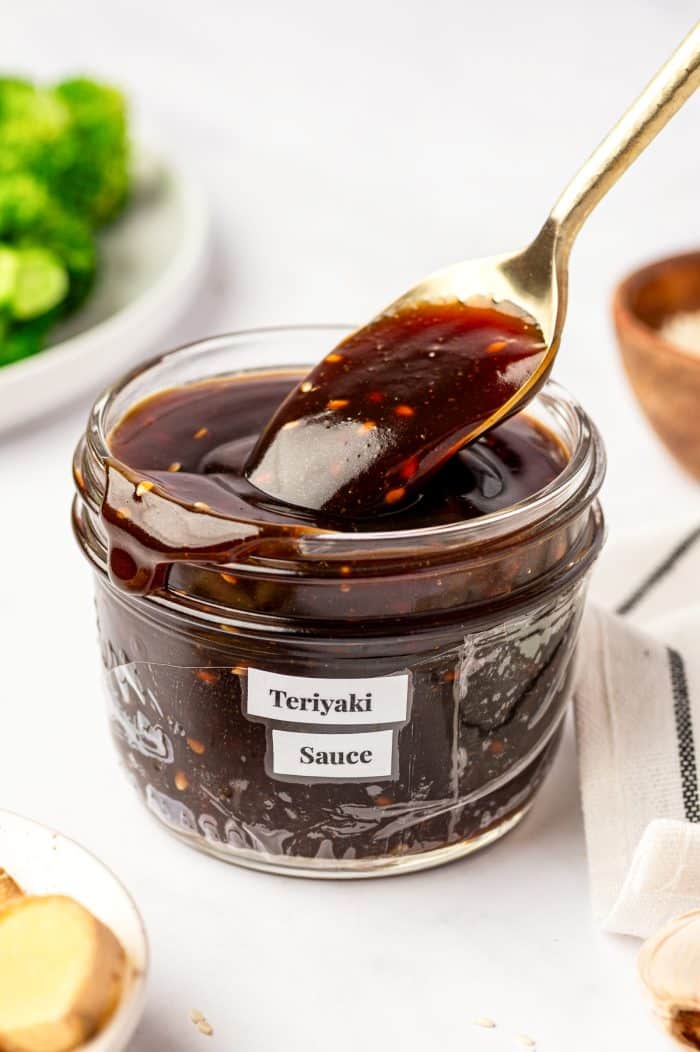
Teriyaki Sauce Recipe

Ingredients
- 1 cup low-sodium soy sauce,
- ¾ cup brown sugar
- 2 tablespoons honey, or more brown sugar
- 3 tablespoons rice wine vinegar
- ½ teaspoon ground ginger, or 1 tablespoon freshly grated ginger
- ½ teaspoon garlic powder, or 4 cloves garlic, minced
- 1 tablespoon sesame oil, optional
- ¾ cup water
- 3 tablespoons cornstarch, mixed with 4 tablespoons cold water
- sesame seeds, to garnish, optional
Instructions
- Combine the sauce ingredients. Add the soy sauce, brown sugar, honey, rice wine vinegar, ground ginger, ground garlic, sesame oil, and water to a small saucepan. Whisk well to combine.1 cup low-sodium soy sauce, ¾ cup brown sugar, 2 tablespoons honey, 3 tablespoons rice wine vinegar, ½ teaspoon ground ginger, ½ teaspoon garlic powder, 1 tablespoon sesame oil, ¾ cup water
- Bring to a simmer. Place the saucepan over medium heat and bring the mixture to a gentle simmer, stirring often so the sugar dissolves.
- Simmer briefly. Reduce the heat to low and simmer for 3-4 minutes, stirring occasionally.
- Make the cornstarch slurry. In a small bowl, whisk together the cornstarch and cold water until smooth. Make sure there are no dry clumps of cornstarch remaining.3 tablespoons cornstarch
- Thicken the sauce. Slowly pour the cornstarch slurry into the simmering sauce while whisking constantly. Continue cooking for 1-2 minutes, or until the sauce is thick and glossy and coats the back of a spoon.
- Finish and serve. Remove from heat and stir in sesame seeds, if desired. Use immediately, or let the sauce cool completely before transferring it to an airtight jar or container.sesame seeds
Notes
- For a thinner teriyaki marinade: Skip the cornstarch slurry. The sauce will be thinner and easier to pour over chicken, beef, pork, salmon, shrimp, tofu, or vegetables.
- For a pourable sauce: Use about half of the cornstarch slurry, then add more only if needed. This is best for stir-fries, rice bowls, noodles, and drizzling.
- For a thicker glaze: Use the full cornstarch slurry and simmer until the sauce is glossy, slightly syrupy, and coats the back of a spoon.
- Use low-sodium soy sauce: Regular soy sauce can make the sauce taste too salty, especially after simmering.
- Vegan: Replace the honey with additional brown sugar.
- Gluten-free: Replace regular soy sauce with an equal amount of coconut aminos or liquid aminos or use a gluten-free soy sauce such as this San-J Tamari Gluten-Free Soy Sauce.
- Cornstarch tip: Always mix cornstarch with cold water before adding it to hot sauces. Adding dry cornstarch directly to the pan can make the sauce clumpy.
- The sauce thickens as it cools: Remove it from the heat when it is slightly thinner than your ideal consistency.
- Storage: Let the sauce cool completely, then refrigerate it in an airtight jar or container for up to 2 weeks.
- Freezing: Freeze in small airtight containers or ice cube trays for up to 3 months. Thaw overnight in the refrigerator before using.
- Reheating: Warm gently in a small saucepan or in the microwave in short intervals, stirring often. Add a splash of water if the sauce is too thick.
Explore More with AI
Nutrition
Nutrition information is automatically calculated, so should only be used as an approximation.










Very good! just made this today everyone loved it. Definitely will make again.
Thanks, Bonnie 🙂
I can’t eat garlic so I left it out and upped the ginger. Its perfect! TY!
I’m so glad you enjoyed it! Upping the ginger is such a great swap when leaving out the garlic – thanks for sharing your tip!
I keep seeing teriyaki recipes and photos with little seeds in them, but not in the recipes. Are those sesame seeds and how much would I add for your recipe above? Do you roast them? Thank you!
Please see the end step #4:
”
Remove from heat and garnish with 1-2 teaspoons sesame seeds, if desired.
”
They don’t need to be roasted, but you can if you want that roasted flavor 🙂
Super yummy! Loved it 🙂
Thanks for the super yummy feedback and rating, Samantha 😀
This was first time on your site. We thought recipe was 1 and a quarter cup of everything in recipe had problems with making it.kepted reading and saw where it was broken out with other amounts. So what was it suppose to be?
Please see the recipe card at the bottom of the post for full ingredients and instructions. 🙂
Ingredients amounts are as follows:
1¼ cups soy sauce
½ cup brown sugar
2 tablespoon honey
3 tablespoon apple cider vinegar
1 tablespoon fresh grated ginger
2 tablespoon sesame oil
4 cloves garlic – minced
½ cup water
3 tablespoon cornstarch – mixed with 4 tbsp cold water
Whoa. I followed this recipe to the T and it was incredibly salty. Not sure if I did anything wrong since I followed it exactly and read the notes.
It was probably the type of soy sauce you used that provided that salty taste. I recommend reduced-sodium soy sauce in the post if you don’t like salty foods 🙂