This post may contain affiliate links. See my disclosure policy.
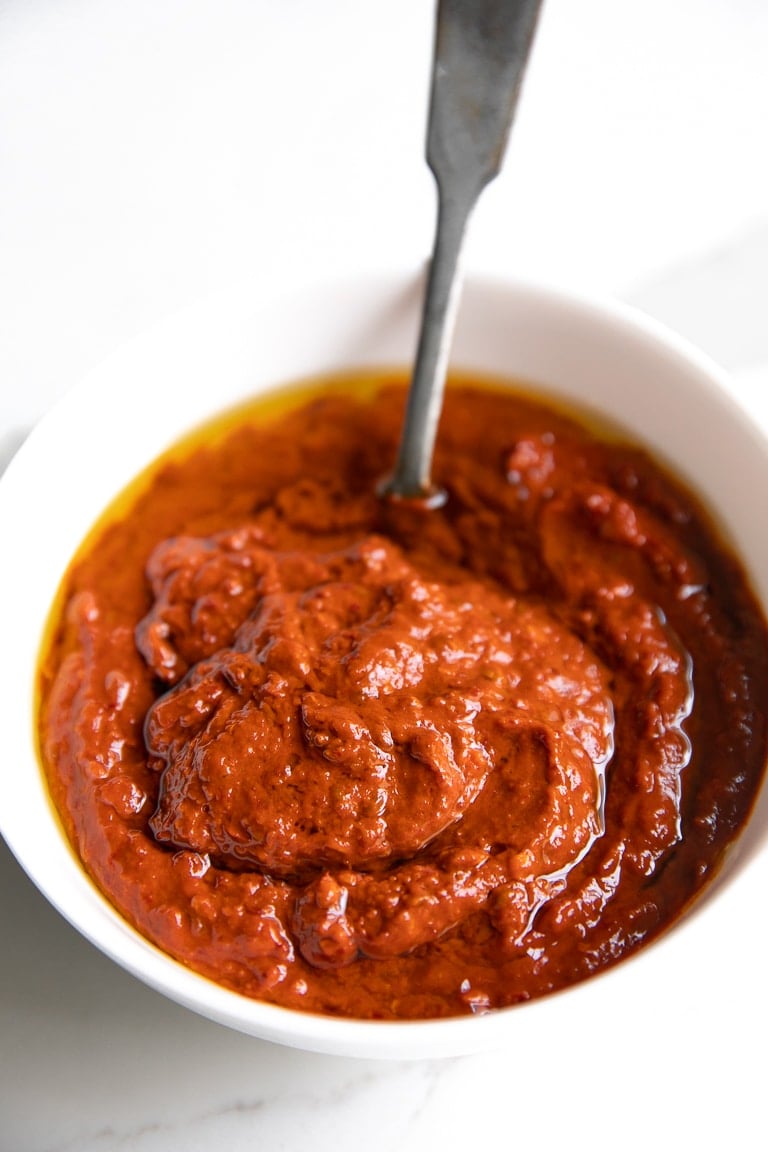
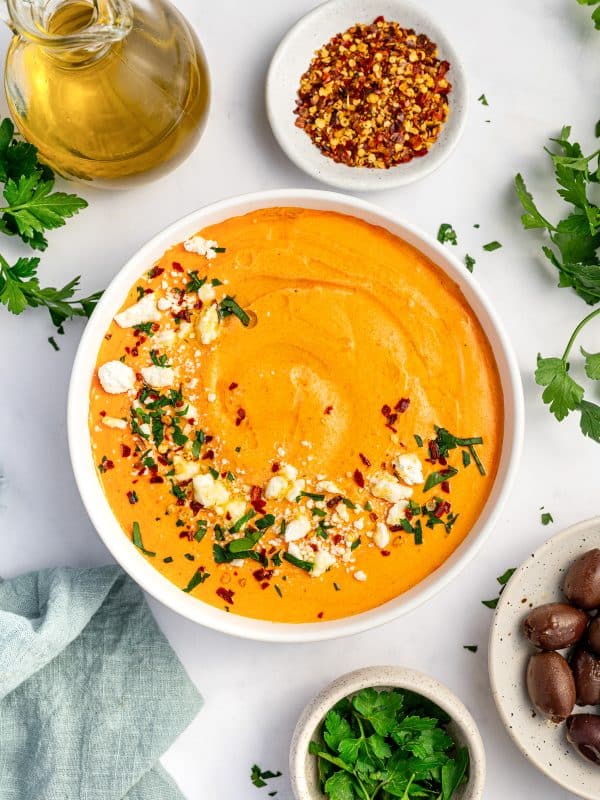
Harissa is a versatile North African chili pepper paste made from dried chilis, garlic, olive oil, and toasted spices. It’s spicy, smoky, and packs BIG flavor! Learn how to make your own harissa paste and use it to instantly upgrade meats, vegetables, soup, and more!
I remember the first time I saw Harissa paste. I was shopping at Trader Joe’s, and there it was in its fancy glass jar, just waiting to be picked up and taken to a new home. Naturally, I obliged. Given that it was my first time trying harissa paste, I had no idea what to expect. So, I mixed it with a random assortment of leftovers and fried them up with eggs.
The result? A deeply flavorful blend of spicy, smoky, tangy, and aromatic flavors. I was instantly hooked.
Table of Contents
What is Harissa?
Harissa (pronounced hah-ree-suh) is a spicy red chili pepper paste native to the Maghreb, a region of central and western North Africa, specifically Tunisia (where it originated), Libya, Morocco, and Syria. It is believed that harissa originated during the Spanish occupation of Ottoman Tunisia between 1535 and 1574 (source). The simplest versions are made with just chiles, salt, and olive oil; today, most recipes consist of a blend of hot chili peppers, garlic, olive oil, and spices like cumin, coriander, and caraway seeds.
While harissa is known for its bold and complex flavor, its overall heat level ranges from warm and smoky to all-out fire, depending on the chilies used.
The spiciest of them all, Tunisian harissa serves as an everyday sauce and dip, or as a base for soup, stew, and grilled meats. Moroccan harissa is milder and slightly sweeter, and may also include tomato paste or preserved lemon for added flavor. Libyan versions are bold, spicy, and heavy on garlic and cumin. They are often used to marinate meat or fish before cooking.
In short, harissa is an incredibly versatile flavor-boosting ingredient that transforms simple, everyday dishes into something completely unforgettable.
Is Harissa Spicy?
Yes. Harissa is typically spicy, but the heat level will vary. The intensity depends on the type and quantity of peppers used (Baklouti, serrano, or dried red chilies), as well as how it’s balanced with other ingredients like garlic, olive oil, and spices. Some harissa pastes are fiery and intense, while others are milder and smokier, especially if they include tomatoes or citrus to mellow the heat.
Key Ingredients
As written, this harissa recipe is very spicy. Consider reducing to 10-15 árbol chiles for a less spicy, more balanced heat. It most closely resembles traditional Tunisian harissa, with a few nontraditional touches (which I note below).
You can find the complete list of ingredients and full recipe in the recipe card below.

- Dried Chili Peppers: Together, dried chiles form the base of harissa’s flavor and heat. This recipe uses dried chiles de árbol, dried guajillo chiles, and dried ancho chiles. The combination balances fiery spice (árbol), tanginess and color (guajillo), and rich, mild smokiness (ancho). The result is a paste that’s bold, complex, and full-flavored. Note: Traditional North African harissa pastes typically use Baklouti chiles. This homemade recipe delivers the same depth and intensity using more readily available dried chile peppers.
- Spices: Cumin seeds, coriander seeds, and smoked paprika add warm, earthy, and slightly smoky flavor, balancing the heat of the chiles with their warmth and complexity. I like to toast the cumin seeds and coriander seeds before blending to intensify their flavor (it only takes a couple of minutes).
- Lemon Juice (or Preserved Lemon): The addition of preserved lemon is most traditional in Moroccan harissa, cutting through the bold spices and adding tang. I have replaced preserved lemon with lemon juice, an easily accessible ingredient.
- Tomato Paste: Tomato paste is slightly sweet and tangy, which complements the heat and spice and balances the spiciness. It also helps create a smoother paste. It is not always included in traditional Tunisian harissa, but popular in many Moroccan and Western versions.
- Additional Ingredients: Garlic, olive oil, and white wine vinegar.
How to Make Harissa
Making harissa at home is quite simple.
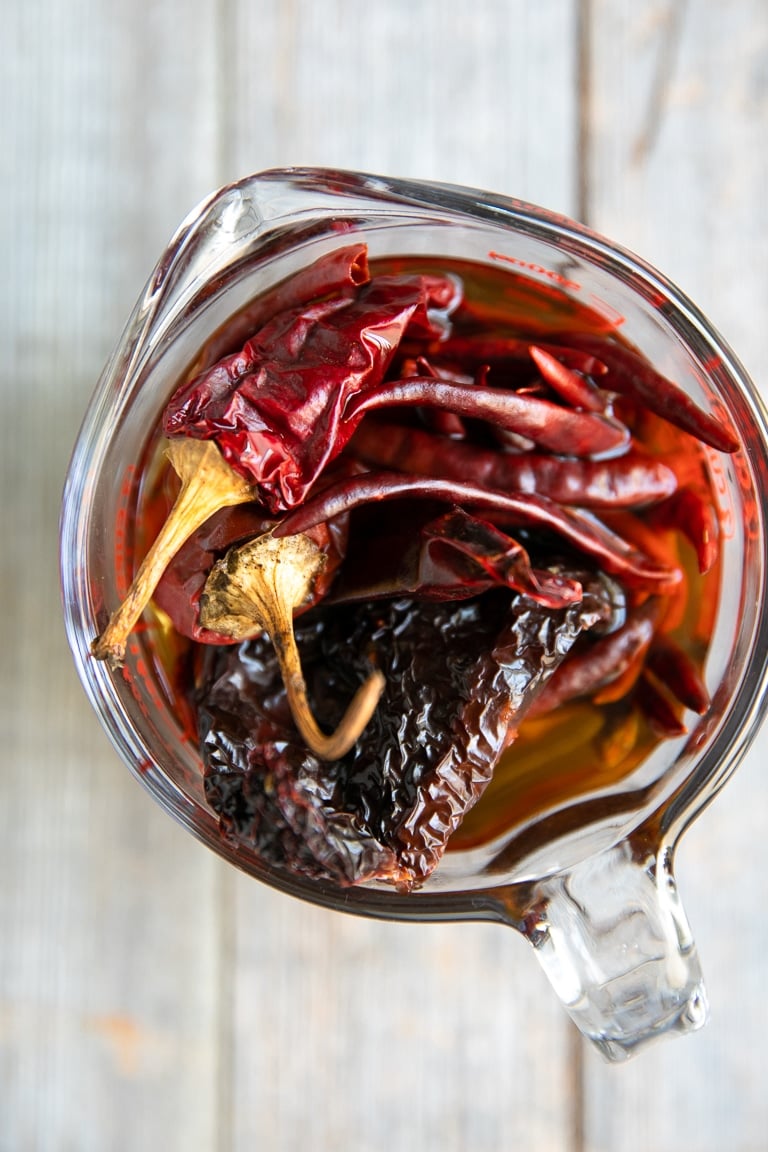
To begin, transfer the dried árbol, guajillo, and ancho chilies to a heatproof bowl or large glass measuring cup. Pour boiling water over the chilies until they are completely submerged. Cover with a lid or plastic wrap and allow the chilies to soak for 20-30 minutes, or until completely soft.
Once softened, drain the chilies. Remove the stems and as much of the seeds, pith, and ribs from the interior as possible. Wearing gloves is strongly recommended when handling hot chile peppers. Set the chiles aside.
Next, toast the cumin and coriander seeds in a dry skillet set over medium-low heat. This takes just a minute or so, so don’t walk away! To help prevent the seeds from burning, gently rotate the skillet throughout cooking.
Place the toasted cumin and coriander seeds, and smashed garlic in a mini food processor. Process until it forms a thick, textured paste. Add the rehydrated chilies and process again, scraping down the sides as needed, until a coarse, choppy mixture forms.
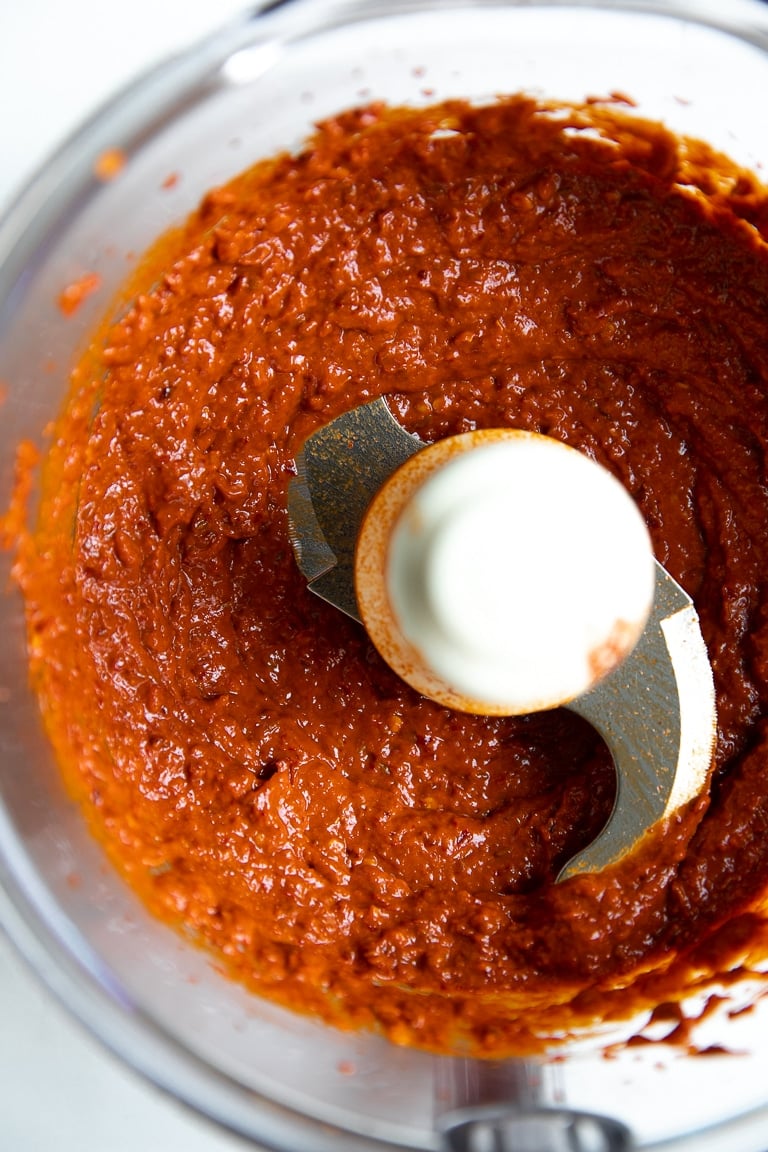
Add the lemon juice, vinegar, tomato paste, smoked paprika, and salt. Process to combine, forming a textured, yet smooth, paste.
Transfer the mixture to a larger food processor or high speed blender with an opening in the lid (if possible). With the motor running, slowly drizzle in 1/2 cup of olive oil until it is fully incorporated and smooth.
Recipe Tips
- Use different types of chiles: Harissa is all about combining different types of chiles to build layers of balanced and complex flavor. Combine spicy chiles de árbol with mild and fruity guajillo and ancho chile peppers. If you prefer a milder-tasting harissa, add a couple of pasilla, mulato, or dried cascabel chiles, and reduce the amount of chiles de árbol. Love a little smoky heat? Add a couple of chipotle chiles in adobo sauce.
- Play with different flavors: Have fun and tweak this recipe to your preference. Try it with roasted red bell pepper, roasted garlic, or even a little ground cinnamon. Balance the heat or bitterness with a pinch of sugar or honey! You can even add a tiny bit of miso paste for a real umami pick-me-up. Or, for even more traditional flavor, add ½ teaspoon caraway seeds.
How to Use Harissa
One of my favorite ways to use it is to make this harissa chicken recipe with roasted onions, potatoes, and acorn squash. Mixed with a little apricot jam to balance the heat, the result is sweet, spicy, and crazy flavorful!
It’s also absolutely delicious as a seasoning for baked chicken breasts, fish, and shrimp, or added to vegetables before or after roasting like honey glazed carrots or roasted eggplant.
Try adding it to dips and sauces like homemade tahini or baba ganoush, or stir a little into soups and stews like my lentil soup recipe or beef stew for a fiery North African twist!
You can even spread it over homemade pita bread topped with homemade falafel or add it to this hamburger recipe.
Storage
Transfer leftovers to a clean, airtight container. Use a spoon to smooth the harissa’s surface and remove any air pockets. Top with a thin layer of olive oil and seal with a tight-fitting lid. Harissa paste can last in the refrigerator for up to one month when stored properly.
Can I Freeze Harissa?
Yes! You can freeze the whole thing in one container or freeze it in ice cube trays or smaller portions for easier use. Once frozen, transfer the cubes to a freezer bag or container to prevent freezer burn. Best if used within 1-2 months.
Have you tried this harissa recipe? Tell me about it in the comments below! I always love to hear your thoughts. And tag #theforkedspoon on Instagram if you’ve made any of my recipes. I always love to see what you’re cooking in the kitchen.

Harissa Paste Recipe
Ingredients
- 20 dried chiles de árbol, Use less for a mild, less spicy harissa
- 3 dried guajillo chiles
- 1 dried ancho chile
- 1 tablespoon cumin seeds
- 2 teaspoon coriander seeds
- 5 cloves garlic, smashed
- 1 large lemon, juiced (or 2 tbsp preserved lemon)
- 2 tablespoon white wine vinegar
- 2 tablespoon tomato paste
- 2 teaspoon smoked paprika
- ½ teaspoon salt
- ½ cup olive oil, plus ¼ cup for storage (see notes)
Instructions
- Rehydrate the chiles: Transfer the dried árbol, guajillo, and ancho chiles to a large heatproof bowl or cup. Pour boiling water over the chiles until they are fully submerged. Cover with a lid or plastic wrap and allow the chiles soak for 20-30 minutes, or until completely soft.
- Deseed the chiles: Remove the stems and as many of the seeds, ribs, and inner membranes as possible. (Wearing gloves is strongly recommended) Set the cleaned chiles aside in a bowl.
- Toast the spices: In a clean, dry skillet over medium-low heat, toast the cumin and coriander seeds until fragrant. This takes just 2-3 minutes (don't walk away!) Stir frequently to prevent burning and remove from heat once fragrant.
- Make the base paste: Add the toasted spices and smashed garlic to a small food processor. Pulse until the mixture is finely ground and begins to form a paste. Add the rehydrated chiles and blend again, scraping down the sides as needed, until a coarse, chunky mixture forms.
- Build the flavor. Add the lemon juice (or preserved lemon), white wine vinegar, tomato paste, smoked paprika, and salt. Blend until well combined and mostly smooth, scraping the sides as needed.
- Emulsify with olive oil. Transfer the mixture to a larger food processor or high-speed blender with an opening in the lid. With the motor running, slowly drizzle in ½ cup of olive oil until fully incorporated and smooth.
- To store: Transfer the prepared harissa paste to a jar or container and cover with the remaining 1/4 cup olive oil.
Notes
Nutrition
Nutrition information is automatically calculated, so should only be used as an approximation.


It won’t let me click the stars….but this was a 5-star winner! My husband gave you a 5 out of 5, and me a 10 out of 5!!!!!!
Thanks for the great feedback Constancia, I am glad you both enjoyed it 🙂
The best I’ve found! I did add a bit more oil to blend to get thing moving and a few more chiles to keep us warm at night. 5 Stars
Saludos,
I have been searching around everywhere for a good harissa recipe! Thank you so much for this. I want to start making my own so I don’t have to buy it from the store anymore!
Thanks Billy – I am glad to help!