This post may contain affiliate links. See my disclosure policy.
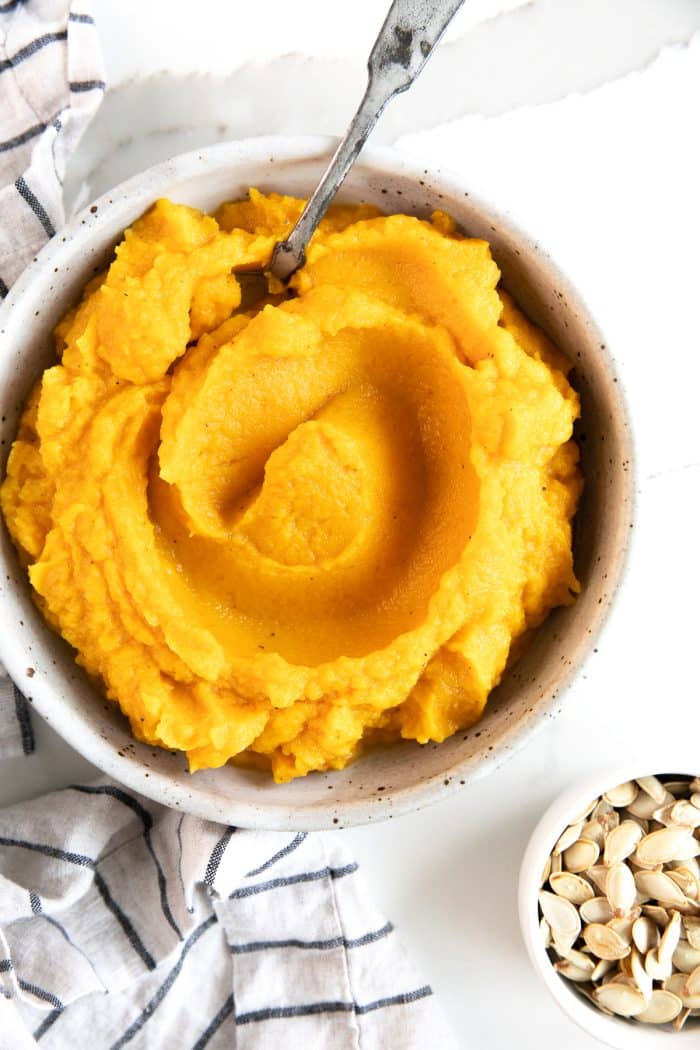
Learn How to Make Pumpkin Puree from Scratch with this easy step-by-step guide. Fresh, smooth, and naturally flavorful, homemade pumpkin puree is perfect for baking, soups, muffins, breads, pies, and more. I’ll show you how to cook and puree fresh pumpkin, plus how to store and freeze it for later.

Pumpkin puree is an absolute must-have in my house this time of year. It’s used to make my favorite pumpkin spice cookies, pumpkin chocolate chip muffins, curried pumpkin soup, and even pumpkin smoothies. The season is incomplete it.
Some of you may be wondering, why make homemade pumpkin puree when I can just buy a can at the grocery store?
The answer is flavor. Homemade pumpkin puree tastes fresher, lighter, and naturally sweeter. Is it less convenient? Well, yes. I mean, you can’t just pop open a fresh pumpkin and have smooth, velvety puree ready to go (although that would be VERY cool).
But making it is surprisingly SUPER easy. All you need is a sugar pumpkin, an oven, and a blender or food processor. In less than an hour, you’ll have fresh homemade pumpkin puree ready for all your favorite pumpkin recipes.
The Best Pumpkins for Pumpkin Puree
First things first, put down that big, fat, jack-o-lantern carving pumpkin. When making homemade puree, you want to use sugar pumpkins, also referred to as pie pumpkins. They are cultivated specifically for cooking and are sweet and flavorful with smooth flesh.
Big carving pumpkins, while a wonderful choice for roasted pumpkin seeds is not so great for puree. The flesh tends to be bland, watery, and stringy.

How to Make Pumpkin Puree
Making homemade pumpkin puree is honestly much easier than it sounds.
Start by washing the outside of your pumpkins and dry them completely. Carefully slice it in half from stem to base and scoop out all the seeds and stringy bits with a sturdy spoon. If you want a little extra flavor, you can lightly brush the cut sides with olive oil and sprinkle on a pinch of salt, but that part is totally optional.

Now, to cook the pumpkin, place the pumpkin halves cut-side down on a parchment-lined baking sheet. Pierce the skin with a fork in 2-3 places to allow for steam to escape while it roasts. Bake at 350°F for about 45 minutes, or until the flesh is very soft and easily pierced with a fork. You can also see my full post, how to cook pumpkin, for more information.
Once it’s out of the oven, let it cool just enough so you can handle it safely. From there, the skin should peel away easily, or you can simply scoop the soft flesh out with a spoon.
Transfer the pumpkin to a blender or food processor and blend until completely smooth and creamy. Avoid adding water – the pumpkin will blend into a silky puree on its own, and adding liquid can make it too thin for baking.
The best part? You can use this same method to cook all kinds of other squash varieties, like butternut squash, acorn squash, and delicata squash.


How to Use Pumpkin Puree
Once you’ve made a batch of homemade pumpkin puree, the fun part is deciding what to make with it. Use it anywhere you would normally use canned pumpkin, including both sweet and savory recipes.
A few of my favorite ways to use pumpkin puree include:
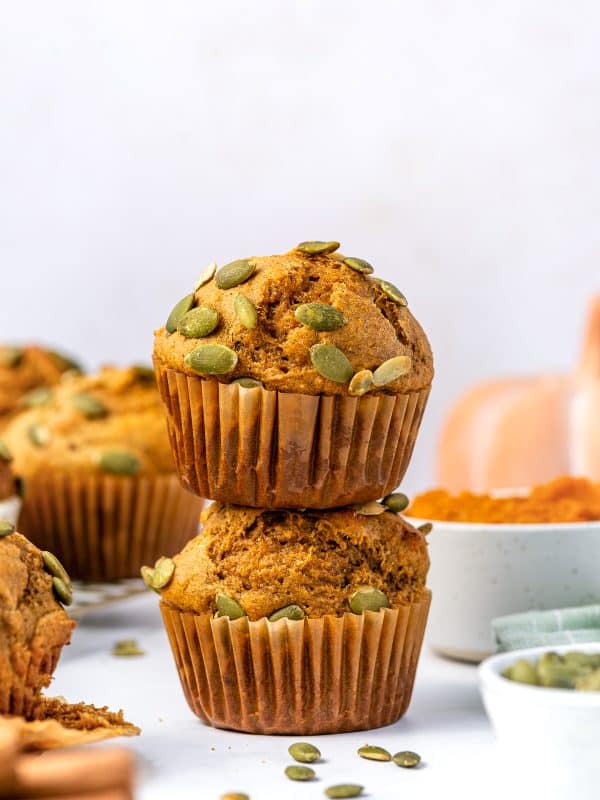
- Healthy Pumpkin Muffins
- Pumpkin Chocolate Chip Muffins
- Pumpkin Oatmeal Chocolate Chip Cookies
- Pumpkin Smoothie
- Curried Pumpkin Soup
- Pumpkin Spice Cookies
- Protein Pumpkin Muffins
You can also it to pancakes and waffles, oatmeal and overnight oats, plus pasta sauces, curries, and creamy soups.
Can I Substitute Homemade Pumpkin Puree for Canned Pumpkin?
Yes! Homemade pumpkin puree can be substituted for canned pumpkin in most recipes using a 1:1 ratio. One 15-ounce can of pumpkin puree contains approximately 1 3/4 cups, so you can replace it with the same amount of homemade puree.
The biggest difference to watch for is moisture. Homemade pumpkin puree can be thinner or more watery than canned pumpkin. If your puree looks noticeably thinner than canned pumpkin, let it drain in a fine-mesh sieve or cheesecloth until it has a thick, spoonable consistency.
For soups, sauces, smoothies, and other recipes where a little extra moisture won’t matter, you can usually use homemade pumpkin puree as-is.

Storage and Freezing
- Refrigerator: Allow the pumpkin puree to cool completely, then transfer it to an airtight container and refrigerate for up to 3-4 days.
- Freezer: Divide the pumpkin puree into convenient portions and transfer to freezer-safe containers or bags, leaving a little room for expansion. For smaller amounts, freeze the puree in an ice cube tray first, then transfer the frozen cubes to a freezer bag.
Thaw frozen pumpkin puree overnight in the refrigerator before using. Some liquid may separate as it thaws, so give it a good stir before adding it to your recipe. If it seems unusually watery, strain off some of the excess liquid first.
And if you try making your own pumpkin puree, I would love to hear what you think! Please leave a comment and a star rating below. Your feedback helps other readers discover and enjoy this recipe too. Thank you so much! 💛
How to Make Pumpkin Puree Recipe

Instructions
- Preheat the oven: Preheat the oven to 350°F. Line a large rimmed baking sheet or roasting pan with parchment paper.
- Prepare the pumpkin: Wash and dry the outside of the pumpkin. Using a sturdy, sharp knife, carefully cut the pumpkin in half from stem to base. Scoop out the seeds and stringy fibers with a large spoon or ice cream scoop. Save the seeds for roasting, if desired.
- Arrange for roasting: Place the pumpkin halves cut-side down on the prepared baking sheet. Pierce the skin of each half 2-3 times with a fork to allow steam to escape.
- Roast until tender: Bake for approximately 45-50 minutes, or until the pumpkin flesh is very soft and easily pierced with a fork. Larger pumpkins may require additional cooking time.
- Scoop out the flesh: Remove the pumpkin from the oven and let it cool for 5-10 minutes, or until comfortable to handle. Scoop the soft pumpkin flesh away from the skin and transfer it to a food processor or high-speed blender. Discard the skin.
- Puree until smooth: Blend until completely smooth and creamy, scraping down the sides as needed. Avoid adding water unless absolutely necessary, as homemade pumpkin puree can naturally contain more moisture than canned pumpkin.
Notes
- Use a sugar pumpkin: Sugar pumpkins, also called pie pumpkins, have sweeter, denser, less stringy flesh than large carving pumpkins and are the best choice for homemade pumpkin puree.
- Yield will vary: The exact amount of puree depends on the size, variety, and moisture content of your pumpkin. A 4-5 pound sugar pumpkin should yield approximately 4 cups.
- If the puree is watery: Transfer it to a fine-mesh sieve lined with cheesecloth and allow the excess liquid to drain until the puree reaches a thick, spoonable consistency.
- Substituting for canned pumpkin: Homemade pumpkin puree can generally replace canned pumpkin 1:1. One 15-ounce can of pumpkin puree contains approximately 1 3/4 cups.
- For baking: If your homemade puree is noticeably thinner than canned pumpkin, drain it before using it in breads, muffins, cookies, cakes, or pies.
- Storage: Cool completely and store in an airtight container in the refrigerator for up to 3-4 days.
- Freezing: Transfer cooled puree to freezer-safe containers or bags, leaving a little room for expansion. Thaw overnight in the refrigerator and stir well before using. For best quality, use within approximately 8-12 months.
- Do not home-can pumpkin puree: Mashed or pureed pumpkin should be frozen for long-term storage rather than canned.
Explore More with AI
Nutrition
Nutrition information is automatically calculated, so should only be used as an approximation.